The Internet of Things on AWS – Official Blog
Introducing Secure Tunneling for AWS IoT Device Management, a new secure way to troubleshoot IoT devices
AWS IoT Device Management has a breadth of tools that enable businesses to build IoT applications for every industry. However, when it comes to remote access to devices, that typically has involved a customer sending a control message either through a MQTT topic, or updating the device’s shadow and then having the device agent take action on those messages. This has meant that the hardware development teams have needed to explicitly build those specific control capabilities into the devices’ firmware.
Device management outside of these pre-configured flows has been especially tricky when the devices are behind a firewall. On a normal desktop computer, this would be a trivial problem as you could simply install a remote management application or use a tool such as VNC. However, to date, this sort of capability has been difficult to implement on IoT devices.
What’s launching today?
Today we’re launching Secure Tunneling, a new feature in AWS IoT Device Management, which provides a secure remote access solution that directly integrates with AWS IoT to allow you to remotely access your IoT devices from anywhere. The endpoint is secured with Identity and Access Management (IAM) and communication happens over Transport Layer Security (TLS).
How does it work?
I’ll start by installing a proxy application on my device (a Raspberry Pi) which will facilitate the secure WebSocket connection to the Secure Tunneling service. Authentication tokens are generated when the open-tunnel CLI command is called. These tokens are then passed to the proxy that is running on the device. Since I am using devices managed in the Thing Registry, the delivery of the device token is handled for me. After authenticating to the Secure Tunneling service, a token will be delivered to both the user and device. The IoT device launches the proxy upon receipt of the token. Let’s do a high-level walk-through using the AWS Command Line Interface (CLI). I’ll need to make sure that’s configured before getting started.
Start proxy on target device
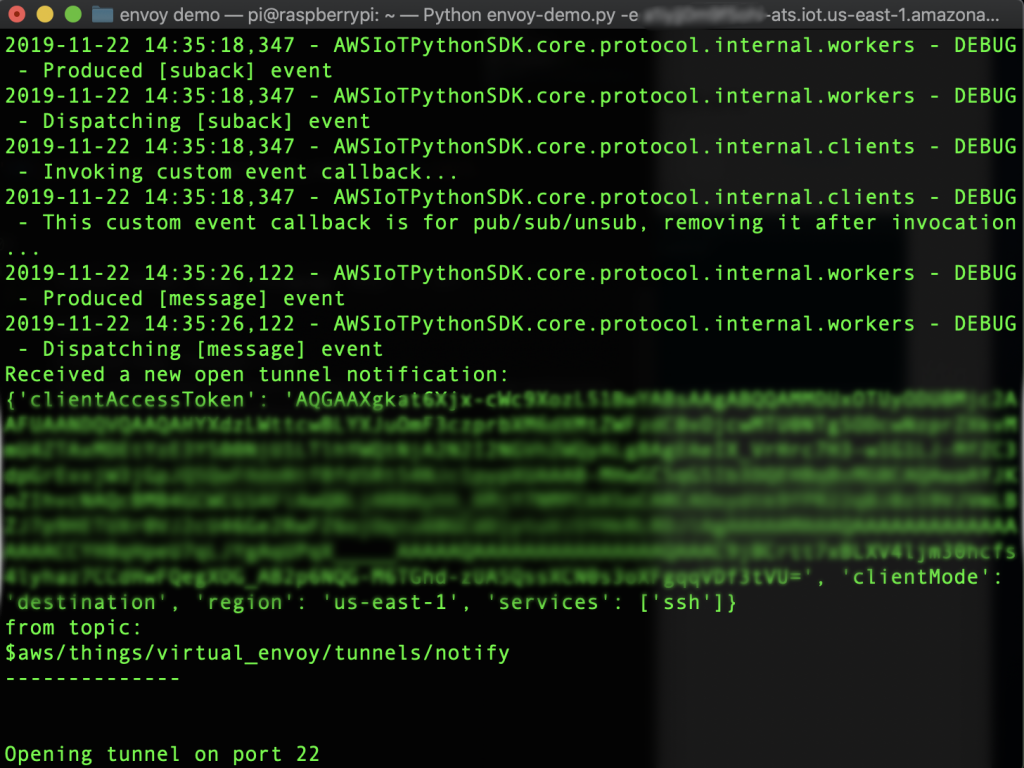
Now that I have a thing in the Thing Registry, I’ll install the device’s private key and certificate onto my device. This key pair enables the device to subscribe to a reserved MQTT topic, $aws/things/<thing-name>/tunnels/notify. Secure Tunneling uses this MQTT topic to publish a token that will be used to establish a tunnel to my Raspberry Pi.
Now that my device is able to receive this token information, I can use the AWS IoT Device SDK’s to initialize the tunneling proxy. To achieve this, I modify the IoT Device SDK to listen for notifications on the MQTT topic for tunneling, and once a token is received on my device, I use it to start the proxy.
json_message = json.loads(message.payload.decode('utf-8'))
if message.topic == "$aws/things/<thing-name>/tunnels/notify":
    subprocess.run([
        "./localproxy",
        "-t", json_message['clientAccessToken'],
        "-r", "us-east-1",
        "-d", "localhost:22"
   ])
I’m hard-coding the host and port here (localhost:22) for demonstration purposes. In practice you might want to dynamically load the host and port mappings from a configuration file based on the services passed through the open-tunnel CLI command.
Start proxy on the local machine
With the target device now listening and ready for access, I’ll need to switch to my local machine I previously configured with my AWS credentials. I’ll use the CLI to open a tunnel – see documentation for more details.

The open-tunnel CLI command gives back a sourceAccessToken that is used to start the proxy. Simultaneously, because I’m using managed token delivery, Secure Tunneling will send the destinationAccessToken to the previously mentioned special topic to my device. From there, my modified device code will start the proxy.
Once that’s done, I am ready to remotely access the device!
Access!
In my case, I want to open an SSH session to the device. So I’ll open up a shell and run a standard SSH connection command using the “-p” to specify the proxy port (I specified this port when I started the source proxy on my local machine).
ssh pi@localhost -p 8000

And just like that, I’ve connected to my device over the Internet through a firewall, two firewalls actually!
What’s next?
Now with Secure Tunneling you can implement several use cases for remote operations and interacting with your devices. For example, as a Fleet Manager you can combine Secure Tunneling with AWS IoT Jobs or AWS Federated Identities. You could federate access of your AWS account to an external identity provider for your users of Secure Tunneling using a service such as ADFS, AWS Single Sign-On, Okta or Ping. To learn more, refer to the developer guide.
We think providing a managed, secure tunneling solution to customers will enhance their ability to be able to manage and troubleshoot their devices. And we’re excited by the use cases that will be unlocked.
Secure Tunneling for AWS IoT Device Management is available today.