AWS News Blog
AWS IoT 1-Click – Use Simple Devices to Trigger Lambda Functions
 We announced a preview of AWS IoT 1-Click at AWS re:Invent 2017 and have been refining it ever since, focusing on simplicity and a clean out-of-box experience. Designed to make IoT available and accessible to a broad audience, AWS IoT 1-Click is now generally available, along with new IoT buttons from AWS and AT&T.
I sat down with the dev team a month or two ago to learn about the service so that I could start thinking about my blog post. During the meeting they gave me a pair of IoT buttons and I started to think about some creative ways to put them to use. Here are a few that I came up with:
Help Request – Earlier this month I spent a very pleasant weekend at the HackTillDawn hackathon in Los Angeles. As the participants were hacking away, they occasionally had questions about AWS, machine learning, Amazon SageMaker, and AWS DeepLens. While we had plenty of AWS Solution Architects on hand (decked out in fashionable & distinctive AWS shirts for easy identification), I imagined an IoT button for each team. Pressing the button would alert the SA crew via SMS and direct them to the proper table.
Camera Control – Tim Bray and I were in the AWS video studio, prepping for the first episode of Tim’s series on AWS Messaging. Minutes before we opened the Twitch stream I realized that we did not have a clean, unobtrusive way to ask the camera operator to switch to a closeup view. Again, I imagined that a couple of IoT buttons would allow us to make the request.
Remote Dog Treat Dispenser – My dog barks every time a stranger opens the gate in front of our house. While it is great to have confirmation that my Ring doorbell is working, I would like to be able to press a button and dispense a treat so that Luna stops barking!
Homes, offices, factories, schools, vehicles, and health care facilities can all benefit from IoT buttons and other simple IoT devices, all managed using AWS IoT 1-Click.
All About AWS IoT 1-Click
As I said earlier, we have been focusing on simplicity and a clean out-of-box experience. Here’s what that means:
Architects can dream up applications for inexpensive, low-powered devices.
Developers don’t need to write any device-level code. They can make use of pre-built actions, which send email or SMS messages, or write their own custom actions using AWS Lambda functions.
Installers don’t have to install certificates or configure cloud endpoints on newly acquired devices, and don’t have to worry about firmware updates.
Administrators can monitor the overall status and health of each device, and can arrange to receive alerts when a device nears the end of its useful life and needs to be replaced, using a single interface that spans device types and manufacturers.
I’ll show you how easy this is in just a moment. But first, let’s talk about the current set of devices that are supported by AWS IoT 1-Click.
Who’s Got the Button?
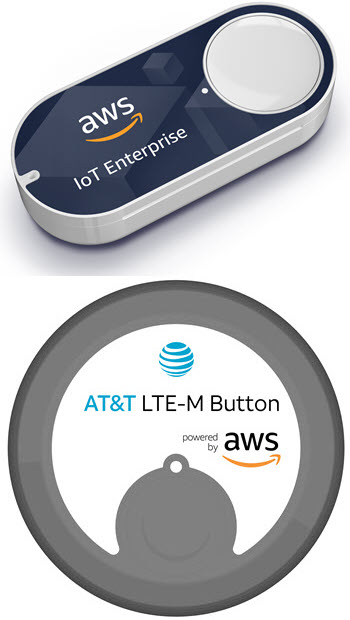
We’re launching with support for two types of buttons (both pictured above). Both types of buttons are pre-configured with X.509 certificates, communicate to the cloud over secure connections, and are ready to use.
The AWS IoT Enterprise Button communicates via Wi-Fi. It has a 2000-click lifetime, encrypts outbound data using TLS, and can be configured using BLE and our mobile app. It retails for $19.99 (shipping and handling not included) and can be used in the United States, Europe, and Japan.
The AT&T LTE-M Button communicates via the LTE-M cellular network. It has a 1500-click lifetime, and also encrypts outbound data using TLS. The device and the bundled data plan is available an an introductory price of $29.99 (shipping and handling not included), and can be used in the United States.
We are very interested in working with device manufacturers in order to make even more shapes, sizes, and types of devices (badge readers, asset trackers, motion detectors, and industrial sensors, to name a few) available to our customers. Our team will be happy to tell you about our provisioning tools and our facility for pushing OTA (over the air) updates to large fleets of devices; you can contact them at iot1click@amazon.com.
AWS IoT 1-Click Concepts
I’m eager to show you how to use AWS IoT 1-Click and the buttons, but need to introduce a few concepts first.
Device – A button or other item that can send messages. Each device is uniquely identified by a serial number.
Placement Template – Describes a like-minded collection of devices to be deployed. Specifies the action to be performed and lists the names of custom attributes for each device.
Placement – A device that has been deployed. Referring to placements instead of devices gives you the freedom to replace and upgrade devices with minimal disruption. Each placement can include values for custom attributes such as a location (“Building 8, 3rd Floor, Room 1337”) or a purpose (“Coffee Request Button”).
Action – The AWS Lambda function to invoke when the button is pressed. You can write a function from scratch, or you can make use of a pair of predefined functions that send an email or an SMS message. The actions have access to the attributes; you can, for example, send an SMS message with the text “Urgent need for coffee in Building 8, 3rd Floor, Room 1337.”
Getting Started with AWS IoT 1-Click
Let’s set up an IoT button using the AWS IoT 1-Click Console:
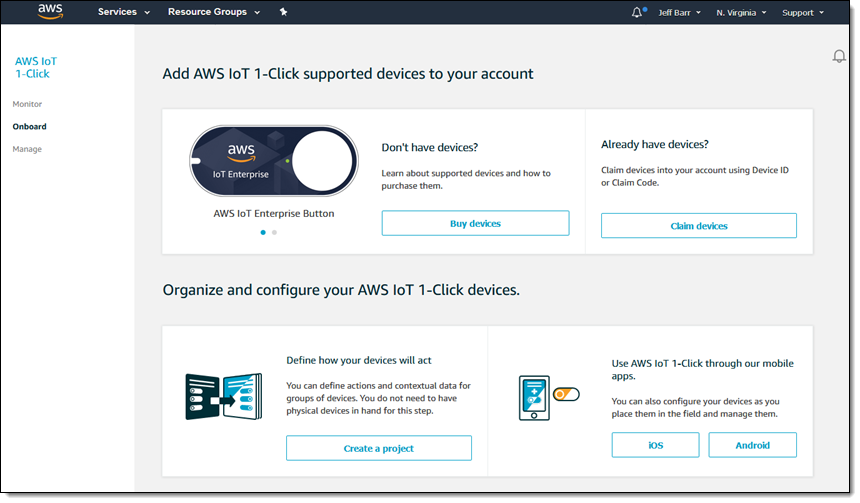
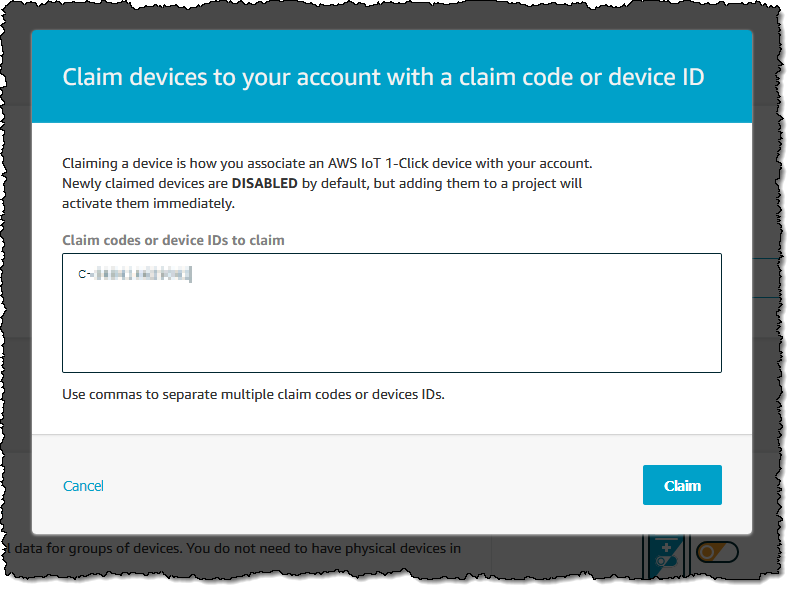
If I didn’t have any buttons I could click Buy devices to get some. But, I do have some, so I click Claim devices to move ahead. I enter the device ID or claim code for my AT&T button and click Claim (I can enter multiple claim codes or device IDs if I want):
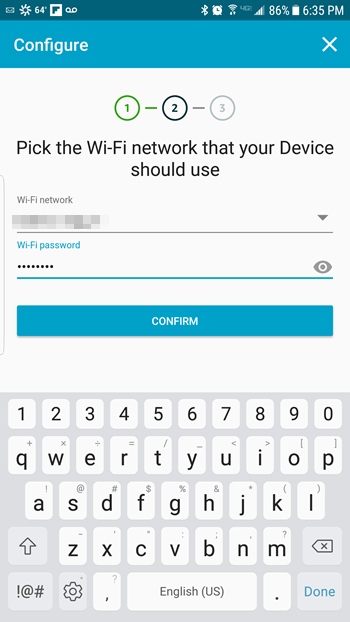
The AWS buttons can be claimed using the console or the mobile app; the first step is to use the mobile app to configure the button to use my Wi-Fi:
Then I scan the barcode on the box and click the button to complete the process of claiming the device. Both of my buttons are now visible in the console:
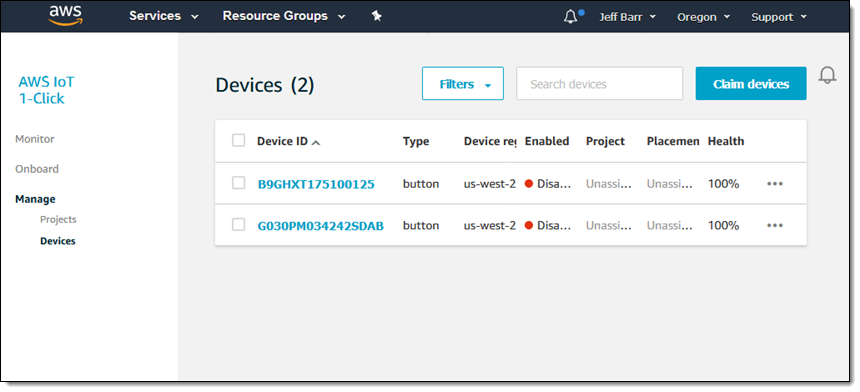
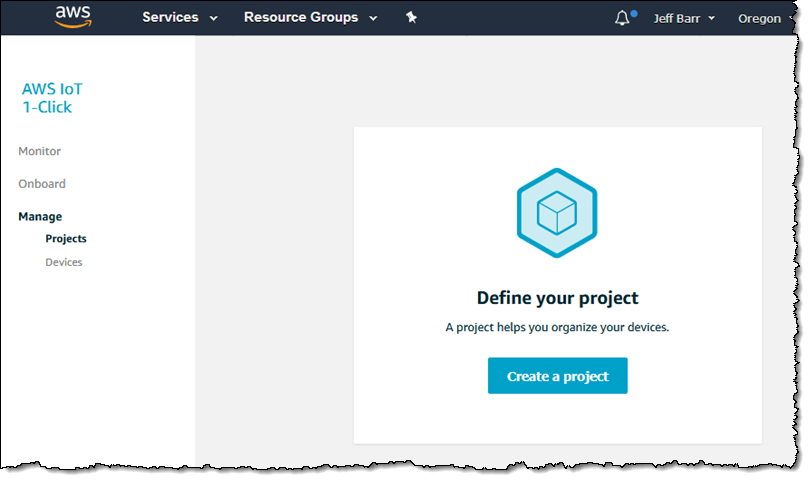
I am now ready to put them to use. I click on Projects, and then Create a project:
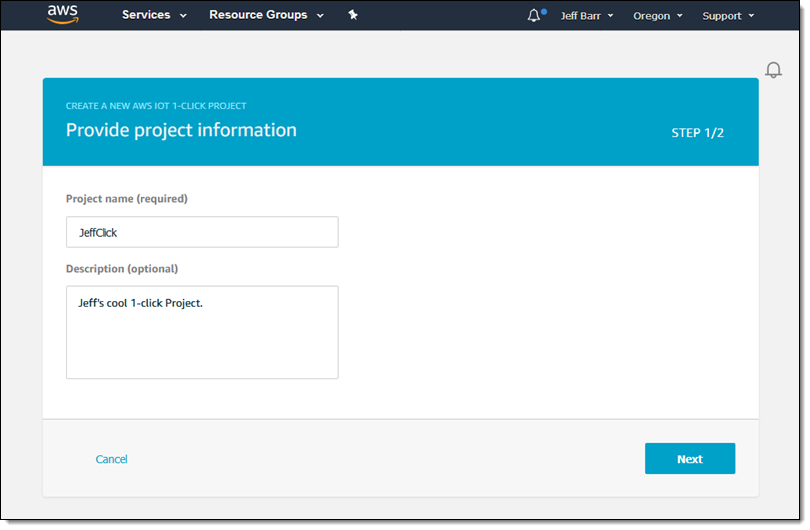
I name and describe my project, and click Next to proceed:
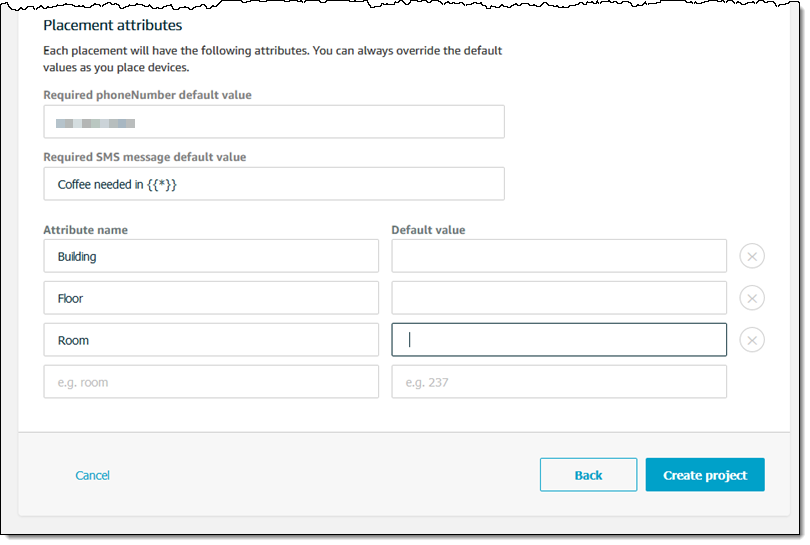
Now I define a device template, along with names and default values for the placement attributes. Here’s how I set up a device template (projects can contain several, but I just need one):
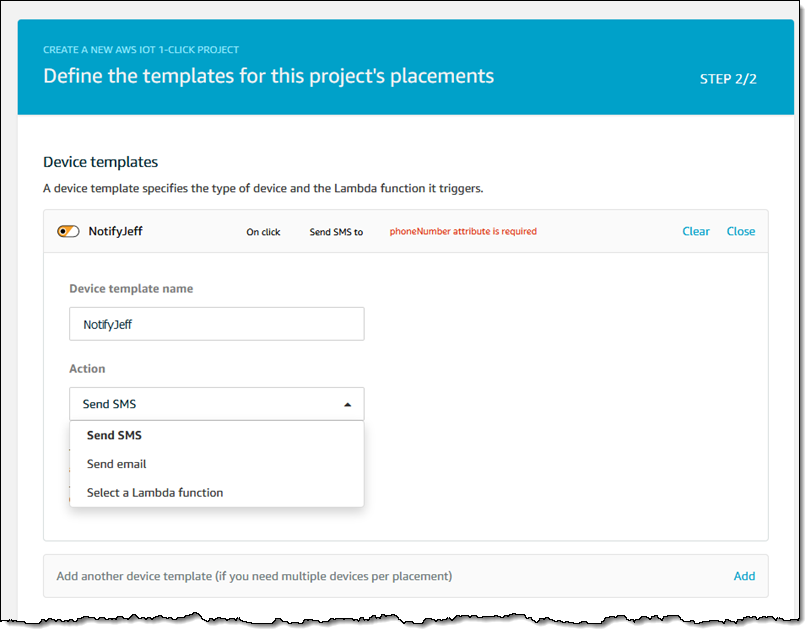
The action has two mandatory parameters (phone number and SMS message) built in; I add three more (Building, Room, and Floor) and click Create project:
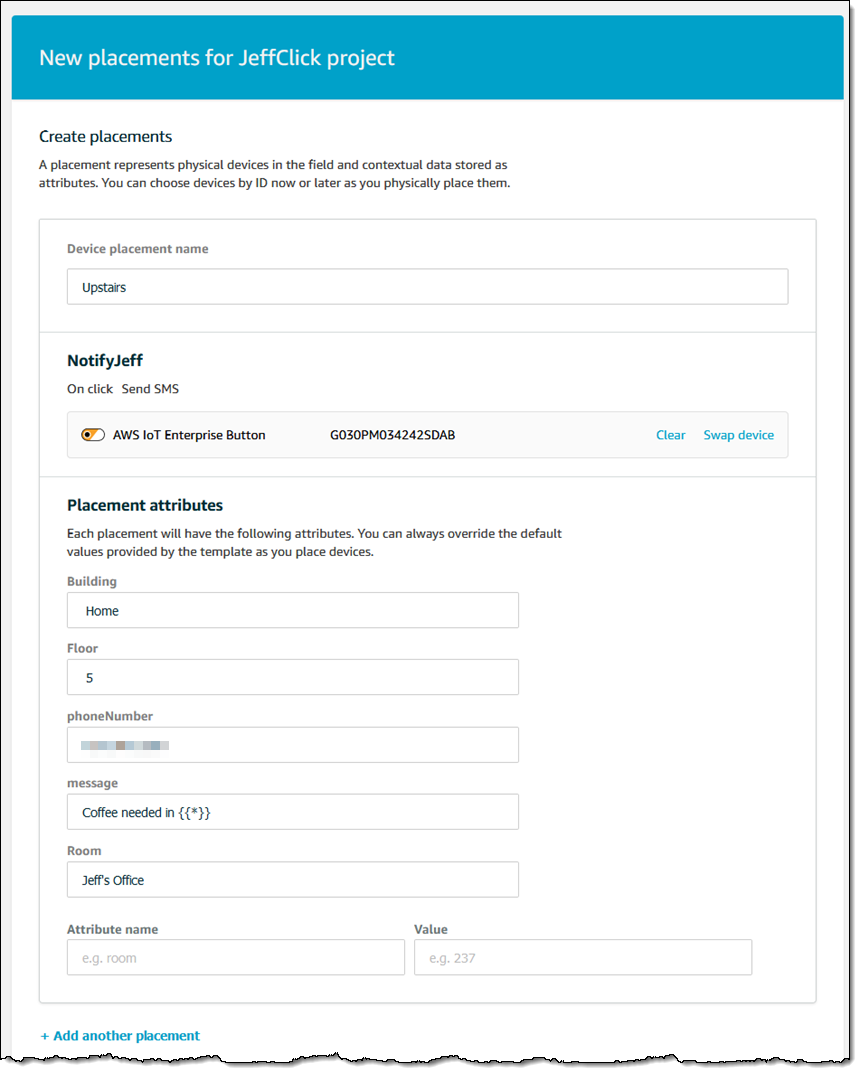
I’m almost ready to ask for some coffee! The next step is to associate my buttons with this project by creating a placement for each one. I click Create placements to proceed. I name each placement, select the device to associate with it, and then enter values for the attributes that I established for the project. I can also add additional attributes that are peculiar to this placement:
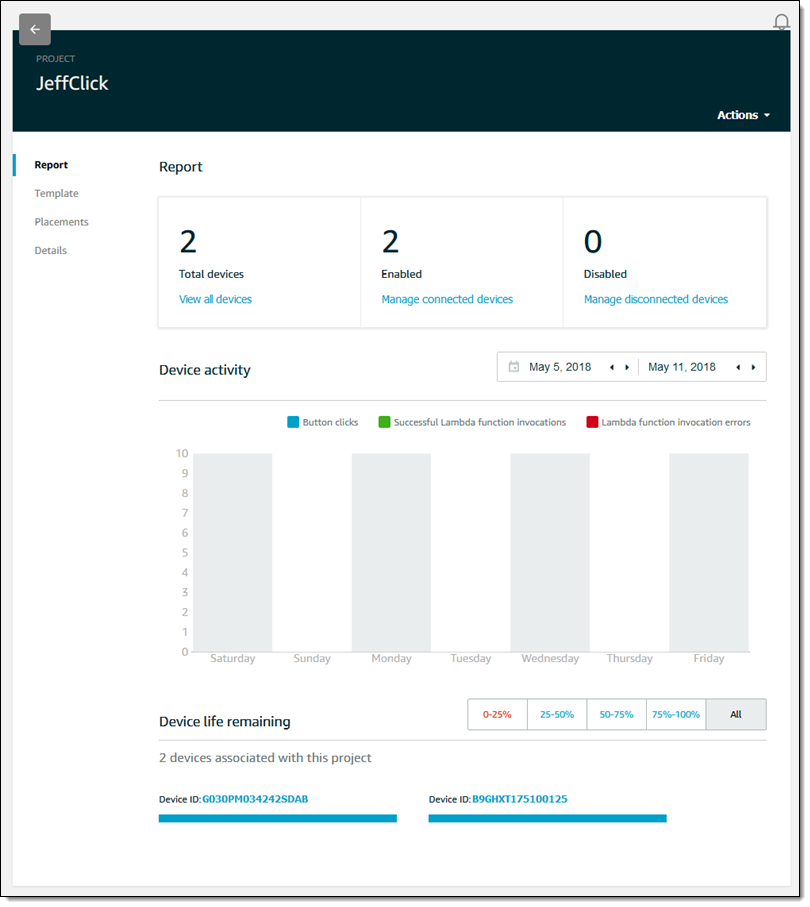
I can inspect my project and see that everything looks good:
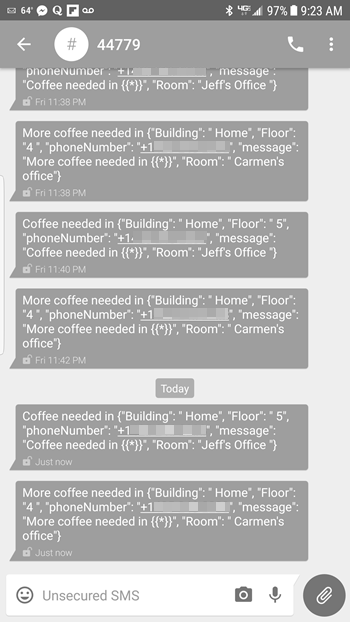
I click on the buttons and the SMS messages appear:
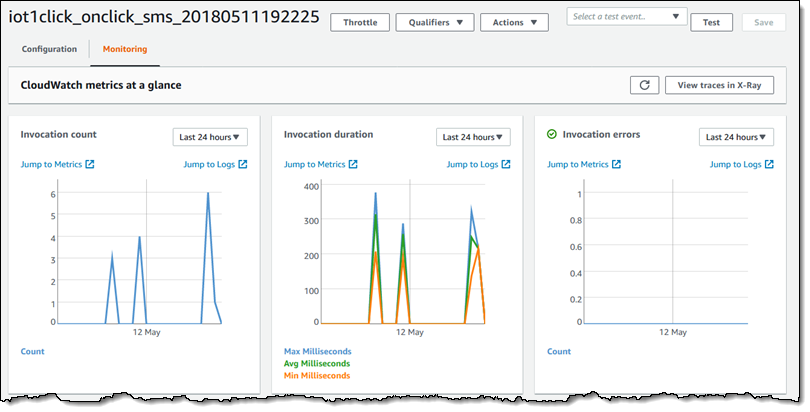
I can monitor device activity in the AWS IoT 1-Click Console:

And also in the Lambda Console:
The Lambda function itself is also accessible, and can be used as-is or customized:
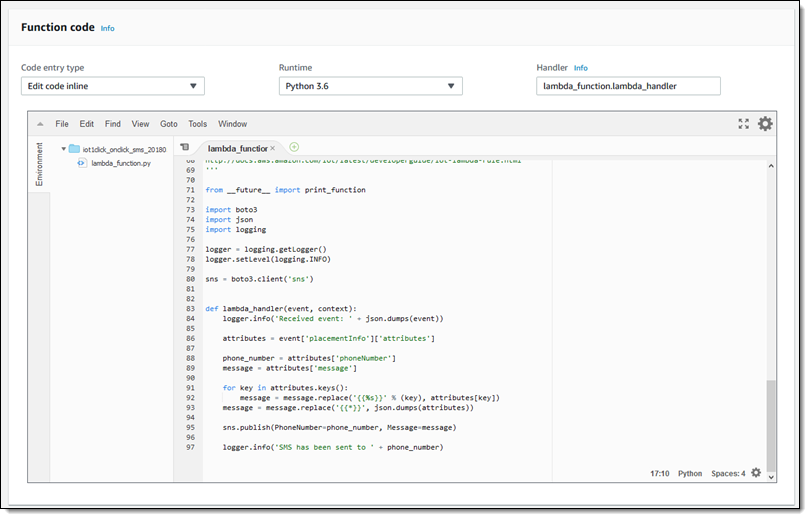
As you can see, this is the code that lets me use {{*}}include all of the placement attributes in the message and {{Building}} (for example) to include a specific placement attribute.
Now Available
I’ve barely scratched the surface of this cool new service and I encourage you to give it a try (or a click) yourself. Buy a button or two, build something cool, and let me know all about it!
Pricing is based on the number of enabled devices in your account, measured monthly and pro-rated for partial months. Devices can be enabled or disabled at any time. See the AWS IoT 1-Click Pricing page for more info.
To learn more, visit the AWS IoT 1-Click home page or read the AWS IoT 1-Click documentation.
— Jeff;