The Internet of Things on AWS – Official Blog
Using Device Jobs for Over-the-Air Updates
Whether it’s a firmware update or security patch, an update to a config file on a device, or a factory reset, all products need maintenance after they are in your customers’ hands. And to manage your fleet, you need to know which devices in your fleet have received and processed, either successfully or unsuccessfully, any of your updates. AWS IoT Device Management facilitates the deployment and tracking of management tasks to your fleet of devices with the Jobs service, whether you manage hundreds, thousands, or even millions of devices. Using Jobs, you can send remote actions to one or many devices at once, control the deployment of your jobs to your devices, and track the current and historical status of job executions for each device.
Jobs can be used to manage your fleet of devices in many ways:
- To update firmware, software or other files such as security certificates on your devices.
- To perform administrative tasks, such as restarting devices or performing diagnostics.
- To restore devices to factory settings or other known good state
This blog post walks you through the creation and deployment of an example job to a device: setting up a device, configuring it to communicate with AWS IoT, creating a job, and tracking the job processing events.
For an overview of the way AWS IoT Core works with AWS IoT Device Management, see the AWS IoT Core Features and the Jobs documentation.
Setting Up Your Device
After your device operating system is set up and has network connectivity, do the following:
- Follow the steps in the AWS IoT Raspberry Pi tutorial found here. Although the steps are written for the Raspberry Pi, you can use them for other Linux-based devices, too. After you complete the tutorial, you will have an IoT thing registered in your AWS account called “MyRaspberryPi.” You will also have configured security certificates to download onto your device.
- Follow the instructions here to install and use the AWS IoT Device SDK for JavaScript on your device. Certificates referred to in this blog post are the certificates set up in the previous step.
Your device is now configured to communicate with AWS IoT, including the Jobs service.
Running the Example on Your Device
One of the examples included in the AWS IoT Device SDK for JavaScript is called jobs-example.js. Run this example using the following command, substituting the path to your certificates and the name of the file you used for your thing configuration:
Your device is now ready to process jobs and send and receive AWS IoT Core messages.
Create a Job Document
A job document is a free form valid JSON document that provides all of the information that your device needs to execute the job. Although the job document can contain anything you deem relevant to your device, by convention the AWS IoT Device SDK for JavaScript uses the property “operation” to route job documents to specific handlers. The jobs-example.js program has a sample handler for an operation called “customJob”, so we are going to create a job document JSON file called “example-job.json”. For this blog post, this is what “example-job.json” should contain:
For other job document examples, see the jobs-agent example in the AWS IoT SDK for JavaScript readme.
Create a Job
It is now possible to create a job that delivers the job document to all of the devices you specify. You can use the AWS IoT console, the SDK, or the AWS CLI to create a job.
Here is an example of how to create a job through the AWS CLI:
If you’d like to store your job document on S3, you might use the `–document-source` parameter instead of the `–document` parameter to specify the S3 URL for the job document.
Alternatively, to create the job through the AWS IoT console, follow these steps:
Upload the job document to an S3 bucket. For information about uploading documents to S3, see How Do I Upload Files and Folders to an S3 Bucket in the Amazon Simple Storage Service Console Guide.
In the AWS IoT console, choose Manage and then choose Jobs.
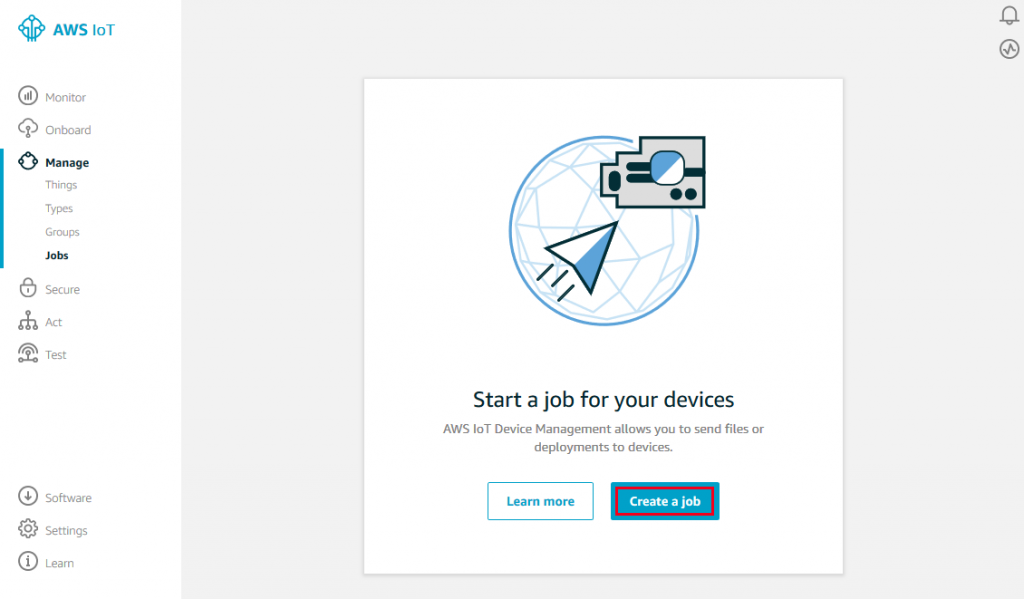
On the Select a job page, choose Create custom job.

On the Create a job page, enter a unique job ID. Under Select devices to update, select your previously created thing, as shown here:

Scroll down and choose the “example-job.json” file you uploaded to the S3 bucket. Under Job type, select Your job will complete after deploying to the selected devices/groups (snapshot). The other selection, continuous jobs, is used to deploy a job to groups of devices as devices are added to the groups. Leave Job executions rollout configuration unchanged, as shown here:
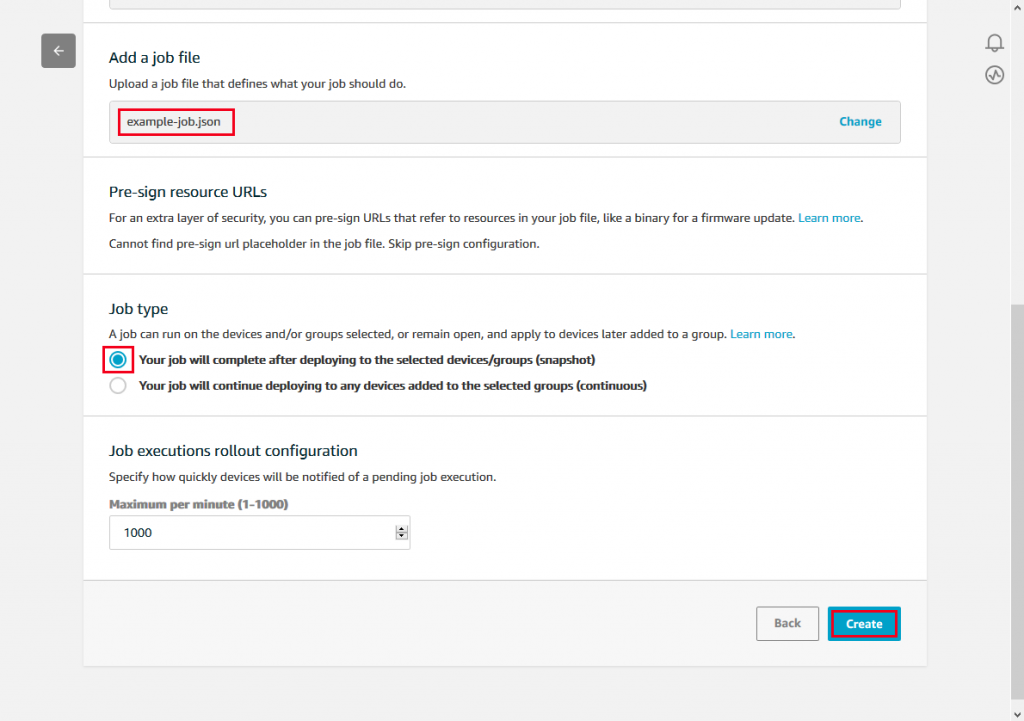
Choose Create and then you’ll see your newly created job.

Execute the Job on a Device
After your job is created, the Jobs service will send notification of a pending job to your device. Your device will get the job details and document through the NextJobExecutionChanged API which it is subscribed to. The jobs-example.js program will execute the job on the device, and then publish its completed status using UpdateJobExecution API. During that process, you should see the following output on your IoT client.
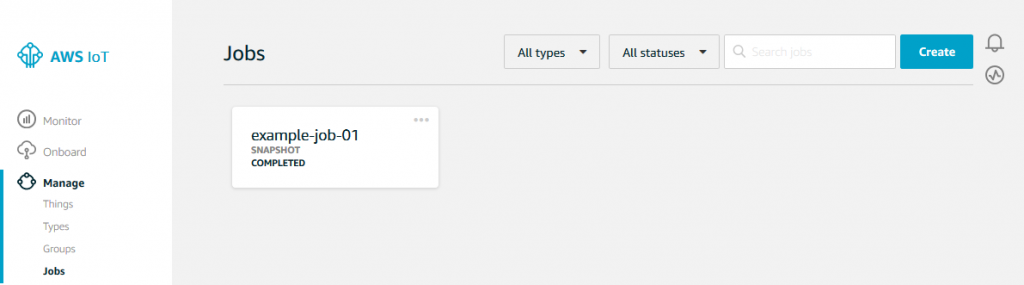
If you refresh the Jobs page, you should see that your job was completed successfully.
Tracking Job Progress with Job and Job Execution Events
You can also use job and jobExecution events to track the progress of your job. This can be helpful to alert users, system administrators, or other parts of your system that a job is complete or a job execution has changed its status. For example, you can alert a user about a firmware update on a device or inform a system administrator of an issue in their fleet that needs to be investigated and resolved.
Job events are sent to the following topics when a job is completed or canceled.
Job execution events are sent to the following topics when a job execution reaches a final status.
When the job execution on MyRaspberryPi is successful, you should receive a JobExecution succeeded event. You can see this event by navigating to the AWS IoT test page and subscribing to the following topic:

When the job execution for your device is complete, you should see the following message:

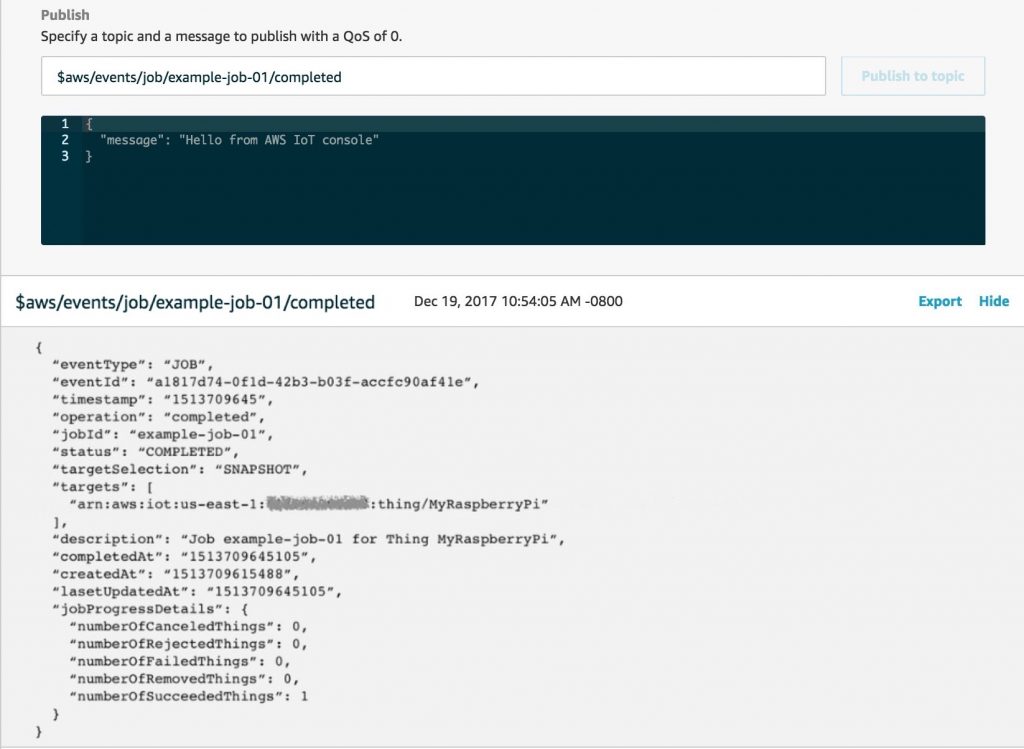
After the entire job example-job-01 is complete, you should also receive a job completed event after you subscribe to the following topic:
Conclusion
Feel free to leave your feedback in the comments. If you have questions or issues implementing this solution, open a thread on the AWS IoT Device Management forum.