Lightsail is the easiest way to get started on AWS. It offers virtual servers, storage, databases and networking, plus a cost-effective, monthly plan. It’s designed to help you start small, and then scale as you grow.
In this tutorial, you add, edit, and delete firewall rules to an existing instance. You learn how to add rules to the firewall for your instance to control the traffic connected to it. You’ll also learn how to specify the application layer protocol type, ports, and the source IP addresses that are allowed to connect to your instance.
Prerequisite: You must already have an instance up and running. Run through these tutorials to launch either a Linux or Windows instance.
Step 1. Add and edit an instance firewall rule
Complete the following steps to create and edit instance firewall rules in the Lightsail console.
a. Sign in to the Lightsail console.
b. On the Lightsail homepage, choose the Instances tab.
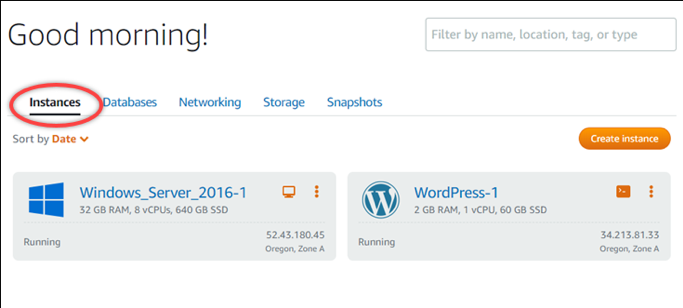
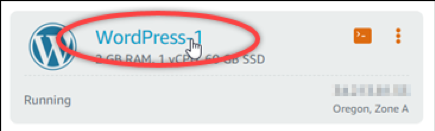
c. Choose the name of the instance for which you want to add or edit a firewall rule.
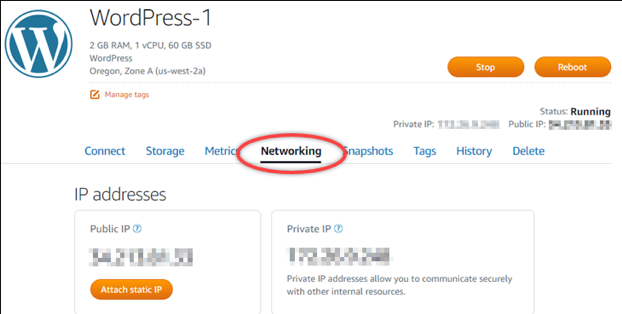
d. Choose the Networking tab on your instance’s management page.
The Networking tab displays your instance's public and private IP addresses, and the configured firewall rules for your instance.
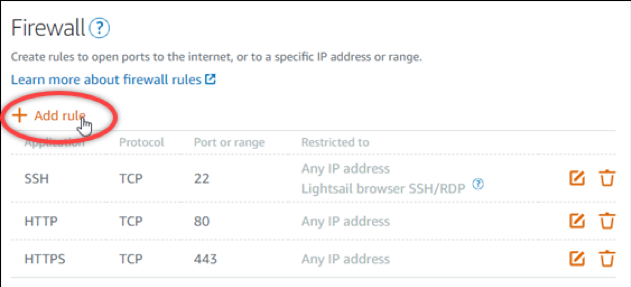
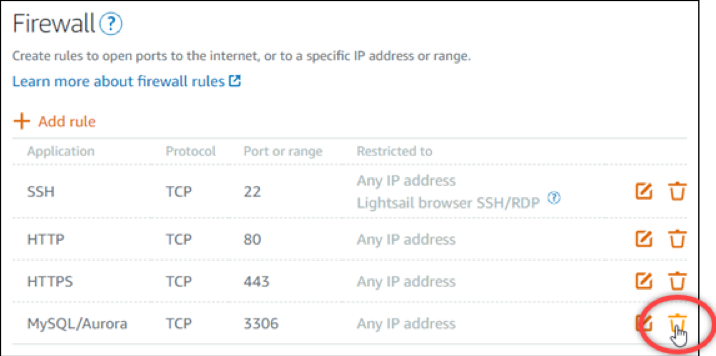
e. Scroll down to the Firewall section of the page. Choose Add rule.
You can also choose Edit (pencil icon) next to an existing rule to edit it.
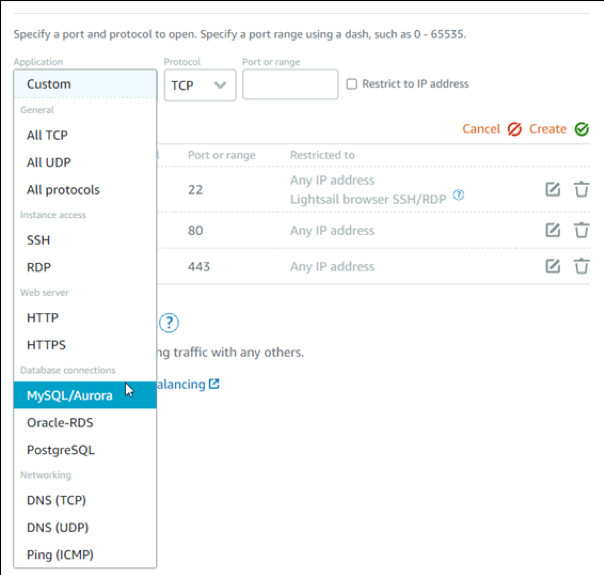
f. Choose an application layer protocol type in the Application drop-down menu.
When you choose an application layer protocol type, a set of protocol and port presets are specified for you. Example values are Custom rule, All TCP, All UDP, SSH, and RDP.
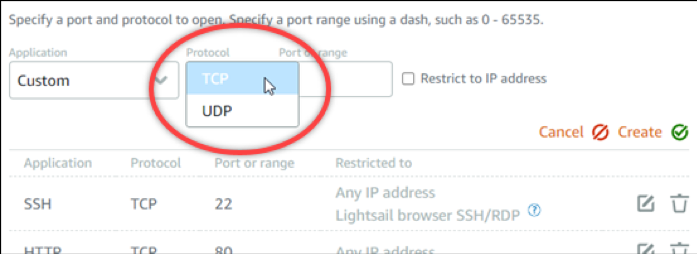
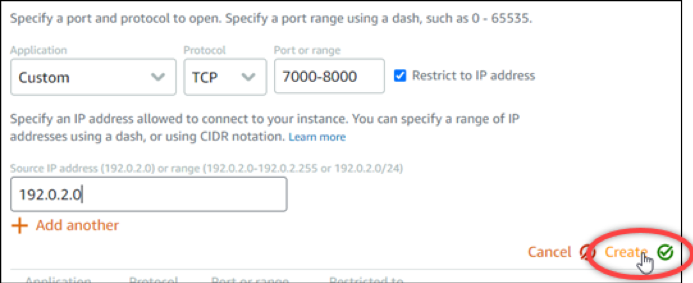
g. (Optional) If you choose the Custom rule option, then you can select a value in the Protocol drop-down menu.
The available protocol values are TCP and UDP.
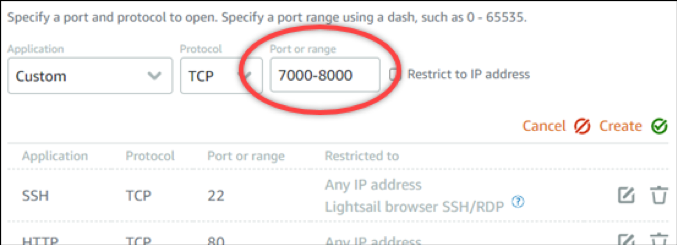
h. (Optional) If you choose the Custom rule option, then you can enter a single port number or range of port numbers (for example, 7000-8000) in the Port field.
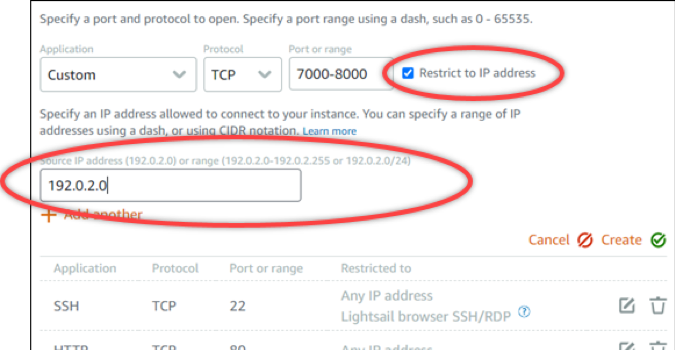
i. (Optional) Select Restrict to IP address to restrict access for the specified protocol and port to a specific IP address or range of IP addresses. Leave this option unselected to allow all IP addresses for the specified protocol and port.
j. (Optional) If you chose the SSH or RDP application layer protocol type, then you can select Allow Lightsail browser SSH/RDP to allow connection to your instance using the browser-based SSH and RDP clients available in the Lightsail console. Leave this option unselected to block access through those browser-based clients.
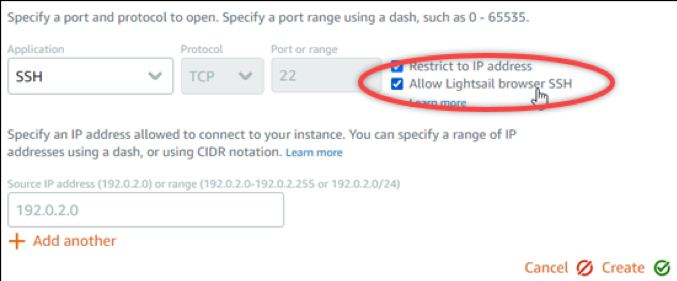
k. Choose Create to add the rule to the firewall.
The firewall rule is added after a few moments.
Step 2. Deleting instance firewall rules
Complete the following steps to delete instance firewalls rule in the Lightsail console.
a. Sign in to the Lightsail console.
Congratulations
You have added, edited, and deleted firewall rules for an Amazon Lightsail instance.
Amazon Lightsail is a great choice to develop, build, and deploy a variety of applications like WordPress, websites, and blog platforms.