How to host a dedicated Valheim server
Learn how to host a dedicated Valheim server in the cloud with this tutorial. Follow this tutorial to get your dedicated Valheim server up and running in the cloud.
Valheim is a popular game, and is best experienced on a dedicated server. Dedicated servers have many advantages, for example:
- Performance: you might not notice it at first, but as you progress in the game, hosting and playing at the same time can cause you to lag, sometimes at the worst possible moment.
- Always on: if you are playing with two or more friends, it might be challenging for everyone to log on at the same time. A dedicated server is always available so you and you friends can log on any time.
- Latency: if your friends live far away, a dedicated server can split the latency difference and provide a better overall experience to everyone.
| About this Tutorial | |
|---|---|
| Time | 30 minutes |
| Cost | Free-Tier eligible |
| Use Case | Compute, Gametech |
| Products | Amazon Lightsail |
| Level | 200 |
| Last Updated | March 3, 2021 |
Step 1: Create a Linux Instance
1.1 — Sign up for an Amazon Lightsail account.
Already have an account? Log in to your account
1.2 — Open the Amazon Lightsail console.
1.3 — Click Create instance.
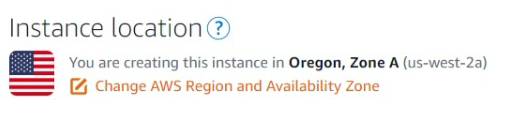
1.4 — Click Change AWS Region and Availability Zone.
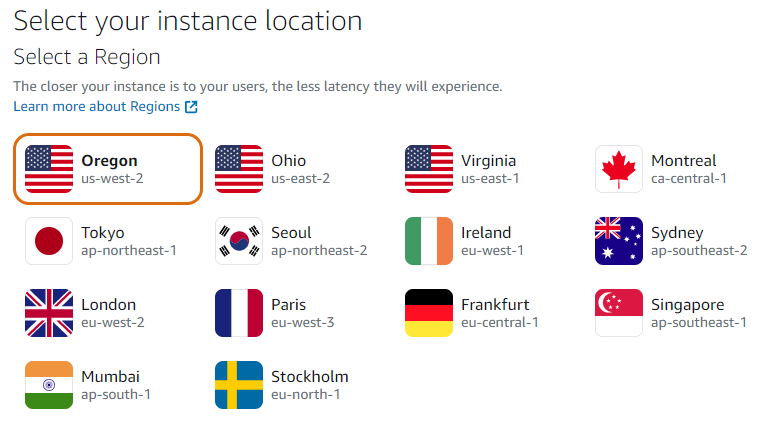
1.5 — Choose a region in which to launch your server. The closer to you, the lower latency you will get while playing. But don't forget to consider where your friends are connecting from!
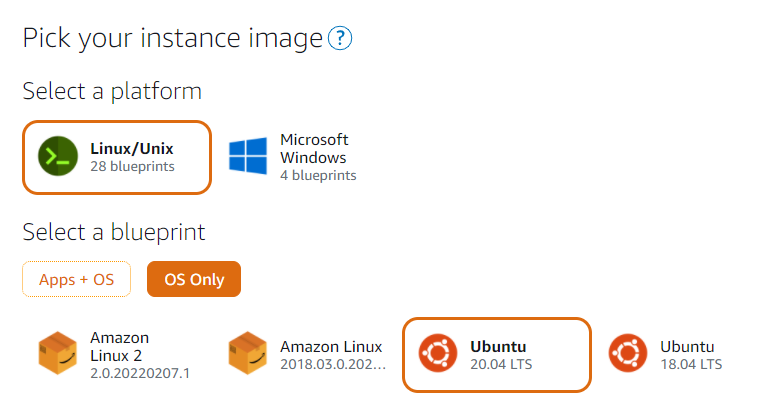
1.6 —Under Pick your instance image, choose Linux/Unix, OS Only, Ubuntu 20.04
1.7 —Choose the 4GB RAM instance type or higher.
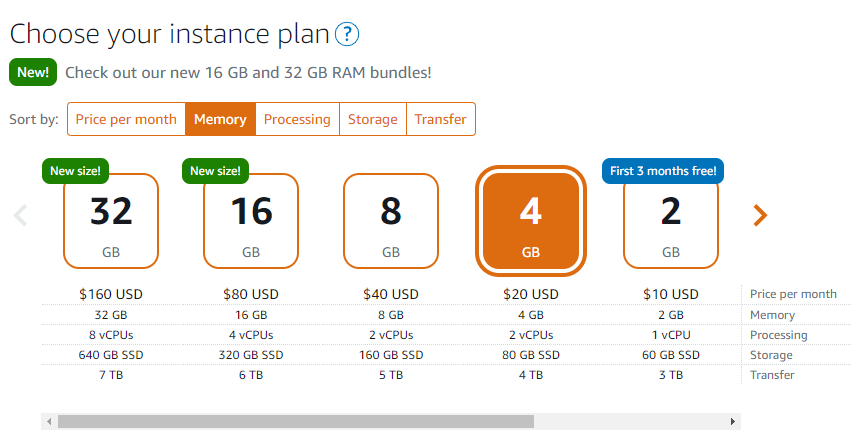
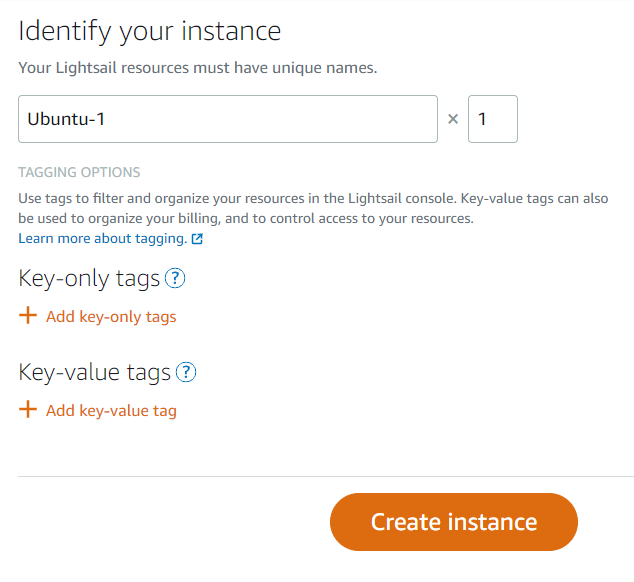
1.8 — Give your instance a name, then click Create instance.
Note: if you are using a brand new AWS account, you might not be able to successfully launch your instance. If this happens, wait for a few minutes; you should receive an email indicating that your account was successfully verified.
Step 2: Connect to your instance
Now that you created your instance, you are ready to connect and manage your instance.
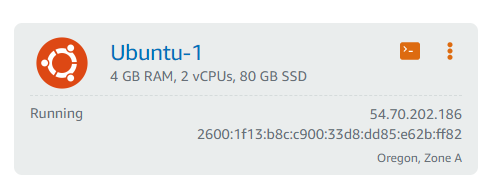
2.1 — Once your server is up, click the "..." icon and then click Manage:
2.2 —Valheim uses several UDP ports for communication, so you need to configure the firewall rules on our instance.
Click the Networking tab, the click Add Rule:

2.3 — Enter the rule by changing Protocol to UDP and Port or range to 2456-2458.
Click Create to save the firewall rule.

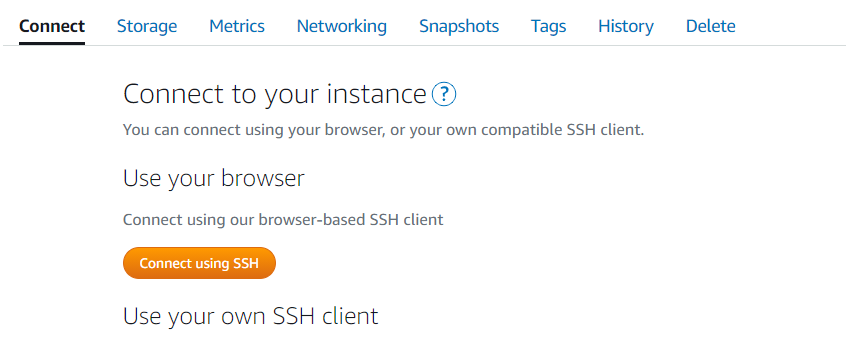
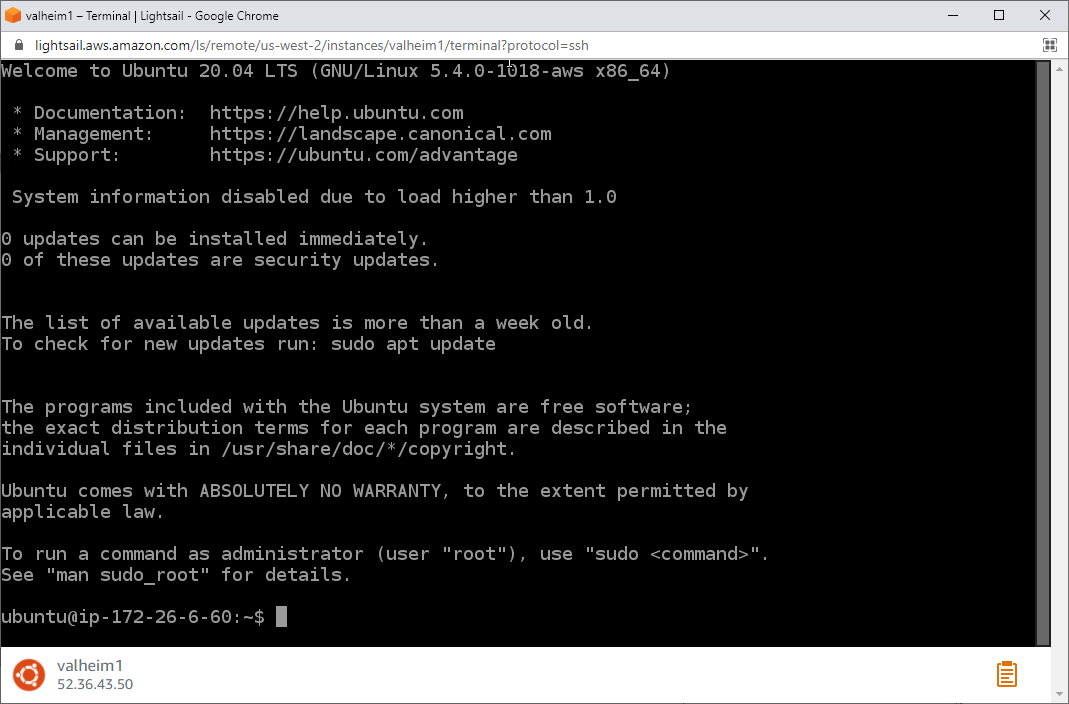
2.4 — Click the Connect tab and click Connect using SSH. This page also has instructions on how to use your own SSH client if you prefer.
Once connected, you should see a browser window like so:
Step 3: Setup the Valheim server on your instance
Now you're ready to install and run the Valheim server.
3.1 — You will run Valheim using docker. First, install docker:
curl -fsSL https://get.docker.com -o get-docker.sh
sudo sh get-docker.sh
sudo apt install docker-compose3.2 —Create the docker-compose.yml file.
The file output should look like the second code block.
Replace YOURSERVERNAME and ATLEAST5CHARACTERS with a valid server name and password. Notice that this compose file also enables automatic updates and backups!
curl -o docker-compose.yml https://gist.githubusercontent.com/robzhu/a127a6bce1ea25b01d40efb57ad1c26e/raw/30a2927a901dd614a518319cfeaa63a6bd2648a4/gistfile1.txt

nano docker-compose.yml

#make your edits inside nano, then press CTRL+S, CTRL+X to save and quitversion: "3"
services:
valheim:
image: mbround18/valheim:latest
ports:
- 2456:2456/udp
- 2457:2457/udp
- 2458:2458/udp
environment:
- PORT=2456
- NAME="YOURSERVERNAME"
- WORLD="Dedicated"
- PASSWORD="ATLEAST5CHARACTERS"
- TZ=America/Chicago
- PUBLIC=1
- AUTO_UPDATE=1
- AUTO_UPDATE_SCHEDULE="0 1 * * *"
- AUTO_BACKUP=1
- AUTO_BACKUP_SCHEDULE="*/15 * * * *"
- AUTO_BACKUP_REMOVE_OLD=1
- AUTO_BACKUP_DAYS_TO_LIVE=3
- AUTO_BACKUP_ON_UPDATE=1
- AUTO_BACKUP_ON_SHUTDOWN=1
volumes:
- ./valheim/saves:/home/steam/.config/unity3d/IronGate/Valheim
- ./valheim/server:/home/steam/valheim
- ./valheim/backups:/home/steam/backups3.3 — Bring up the server by running:
After a few moments, you should see a similar output to the following screenshot.
You can now close the Lightsail SSH browser window and your container will continue to run in the background.
sudo docker-compose up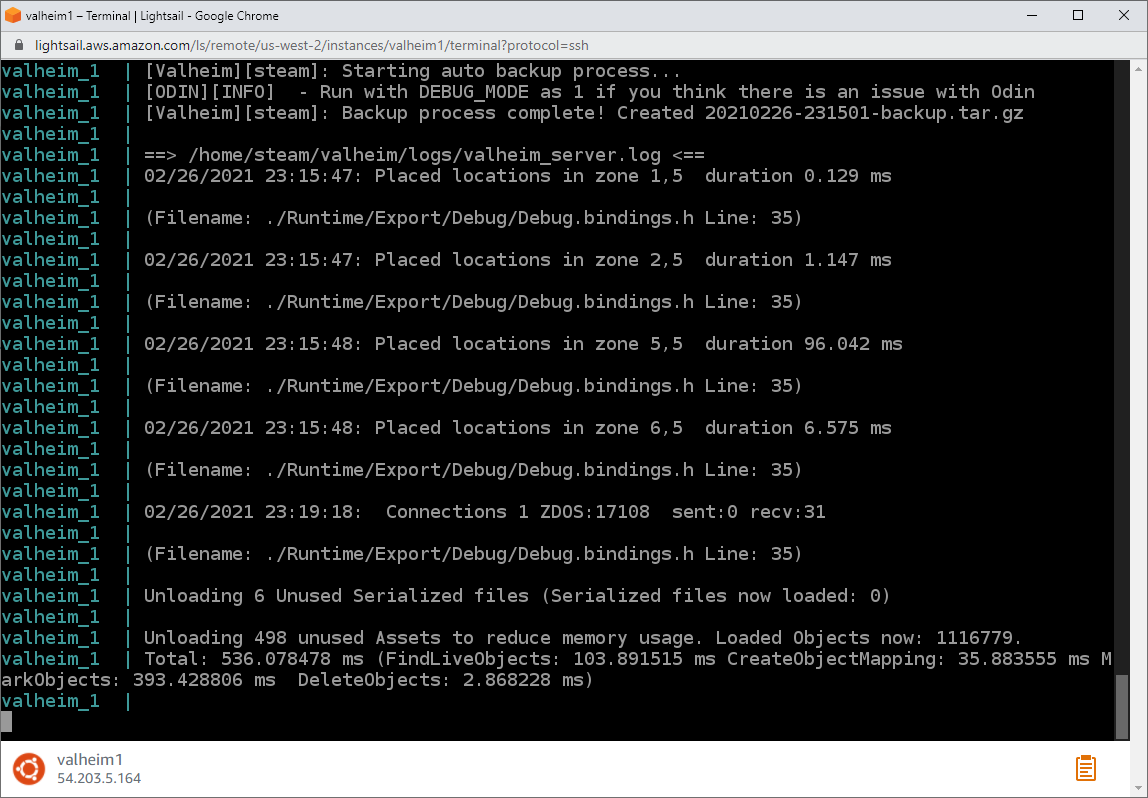
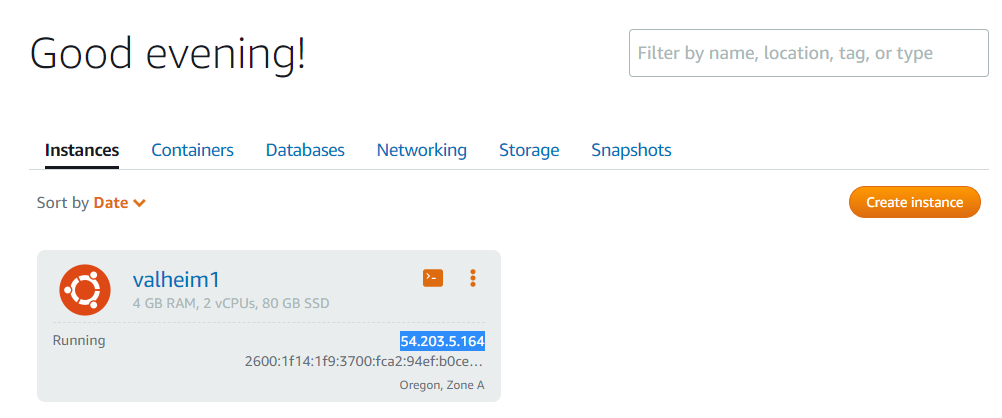
3.4 —Navigate back to the Lightsail console and copy the IP address of your instance.
3.5 — Launch Valheim and click Join IP.
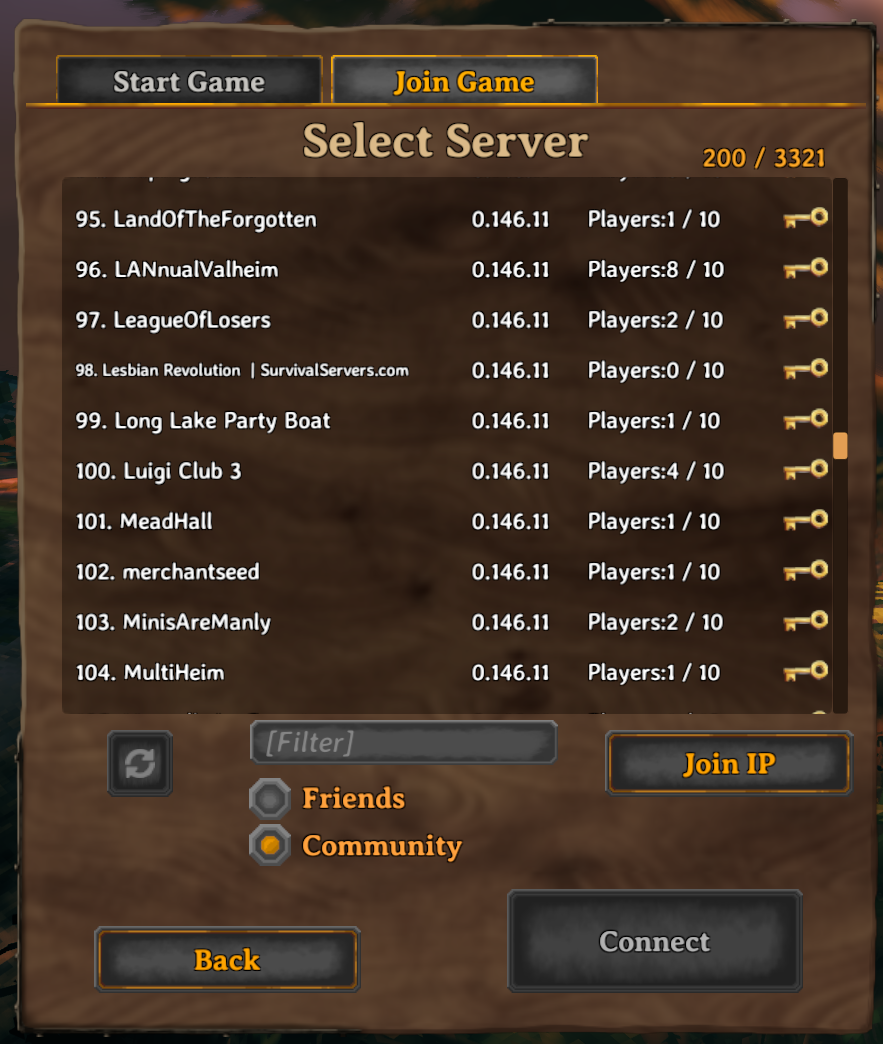
3.6 —Paste the IP address into the IP address input. If you are running the server on a different port, also append the port number.
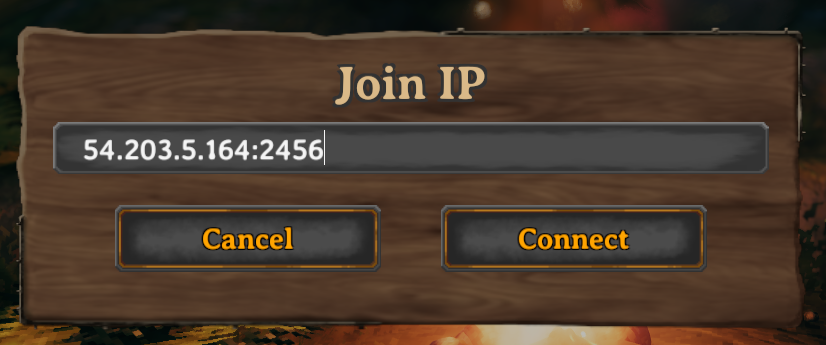
3.7 — Click Connect and your adventure begins!
Step 4: Upload your current world to your new Valheim server
If you've been playing Valheim alone or hosting a server from your PC, you probably want to move your world to the dedicated server. Here's how:
4.1 —Connect to the instance and stop the Valheim server by running:
sudo docker stop $(docker ps -aq)4.2 —Open the worlds directory on your PC, for example: C:\Users\%USERPROFILE%\AppData\LocalLow\IronGate\Valheim\worlds
There should be two files there: YOURWORLD.db and YOURWORLD.fwl. You need to get these files onto your dedicated server. The best way to do this is with scp, but since we didn't set up an SSH key for Lightsail, you can upload your files a hosting service like Dropbox and download them from your server.
4.3 —Upload these files to a file hosting service, such as Dropbox. In your Dropbox folder, right-click and select Copy Dropbox link.
4.4 —In your Lightsail instance, download these two files to your ./valheim/saves/worlds directory
cd ./valheim/saves/worlds
wget https://www.dropbox.com/s/<FILE_ID>/YOURWORLD.db?dl=0 -O YOURWORLD.db
wget https://www.dropbox.com/s/<FILE_ID>/YOURWORLD.fwl?dl=0 -O YOURWORLD.fwl4.5 —Open docker-compose.yml and edit the WORLD property (line 12) to match the name of your .db/.fwl files.
For example, if your file is called Valheim.db, then your docker-compose.yml file line 12 would contain WORLD="Valheim"
4.6 — Restart your server.
You should be good to go!
sudo docker-compose upCongratulations
Congratulations! you created a dedicated server to host your Valheim server on. Enjoy!