.NET on AWS Blog
The New AWS Transform .NET Developer Experience
At re:Invent 2025, AWS Transform unveiled an enhanced .NET developer experience in Visual Studio that is customizable, transparent, iterative, and collaborative. Our customers have asked for more insight into transformation activity and the ability to steer transformations. Developers can now benefit from editable transformation plans, estimated transformation time, real-time progress updates, next steps recommendations, and handoff to AI code companions.
In this post, I’ll take you on a tour of the IDE experience. If you want to follow along but are new to AWS Transform, follow the instructions at Getting started with AWS Transform to onboard to the service and assign users.
Use the latest Visual Studio and .NET
The latest Visual Studio 2026 and .NET 10 releases offer significant performance improvements and other benefits, and you can take full advantage of them with AWS Transform. To use AWS Transform in Visual Studio 2026 or Visual Studio 2022, install the AWS Toolkit for Visual Studio extension in Extensions > Manage Extensions. We update the toolkit regularly, so be sure you’re on the latest version. AWS Transform supports .NET 10 as a modernization target. In addition, class libraries can be transformed to .NET Standard.
Prepare to transform
After you launch Visual Studio, navigate to Extensions > AWS Toolkit > Getting Started to sign in. There is now a dedicated sign-in panel for AWS Transform, as shown in Figure 1. Sign in with your IAM Identity Center credentials.
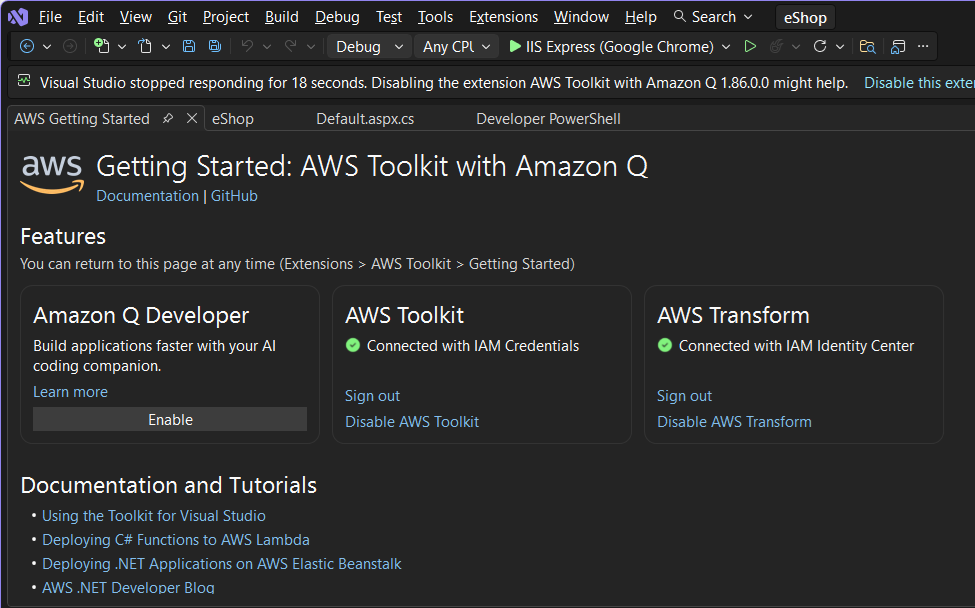
Figure 1: AWS Toolkit Getting Started page with AWS Transform sign-in panel
Next, open a .NET solution you want to modernize. I am using eShop, a .NET Framework 4.8 Web Forms sample application, shown in Figure 2. Then, open any code file (.cs or .vb) in the editor to initialize the connection to the AWS Transform service. Now you’re ready to transform.
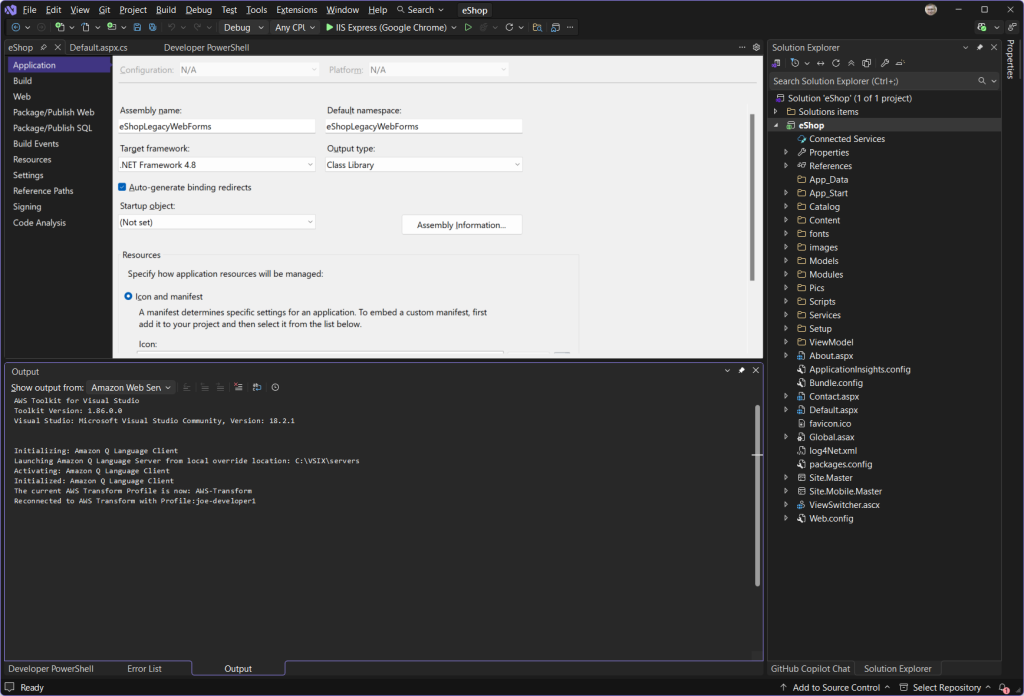
Figure 2: .NET Framework solution open in Visual Studio 2026
Start a transformation job in a workspace
In Solution Explorer, right-click the solution or a project and choose Port with AWS Transform. The Port Solution dialog appears, as shown in Figure 3. This is where you specify your target .NET version and job options, but there’s something new on this dialog: workspaces. Workspaces are a place to run jobs, invite collaborators, and chat about transformation activity in the AWS Transform web console. Now you can select or create a workspace in your IDE as well, which brings the web and IDE experiences together. We’ll see how that works later. In the Choose a workspace dropdown, select + Create new workspace to create a new workspace, or select an existing workspace if you have previously created any. Workspaces you create in IDE have auto-generated names, but you can rename or remove them using the web console.
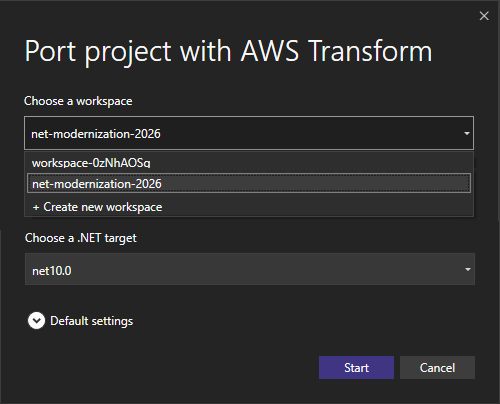
Figure 3: Port Solution dialog
After choosing Start, your transformation job will begin, and you’ll see a Transformation is in progress banner message at the top of Visual Studio, as shown in Figure 4. The AWS Transform Hub will show job progress.
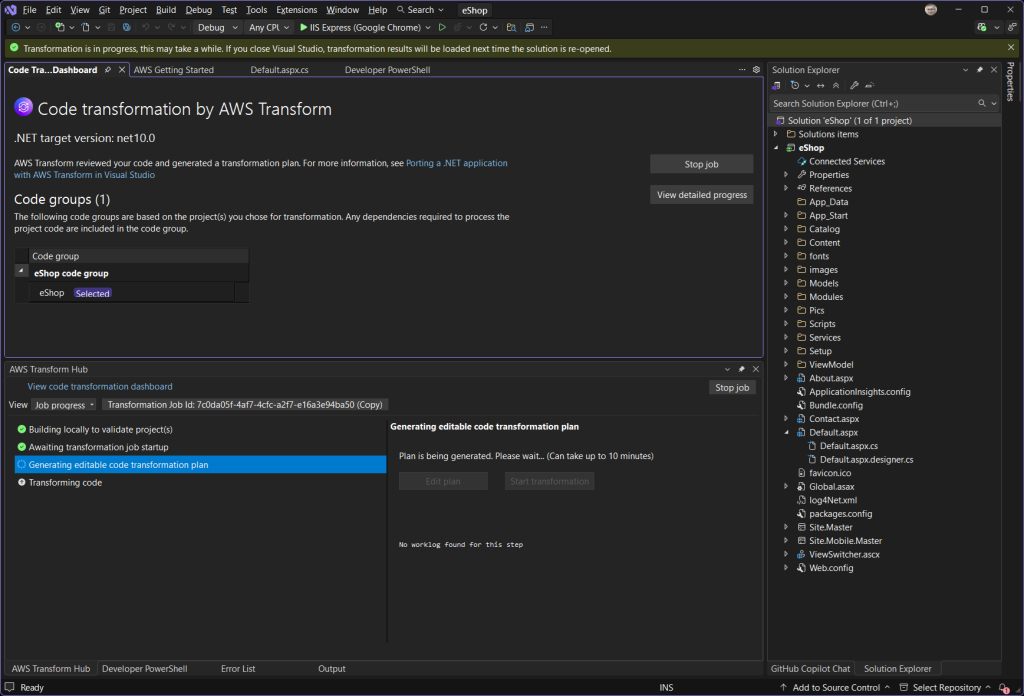
Figure 4: Job started with progress in AWS Transform Hub
Editable transformation plan you can customize
A few minutes into the job, a transformation plan is generated and you are prompted whether you wish to edit the plan, as shown in Figure 5. This is your opportunity to review and customize the plan. Choose Edit Plan to bring up the markdown plan in the code editor, as shown in Figure 6, or choose Start transformation to use the generated plan as-is and start transforming. In the transformation plan, you can change, add, or remove steps and substeps to control structural transformation and package update details. You can even provide examples of preferrred coding patterns.
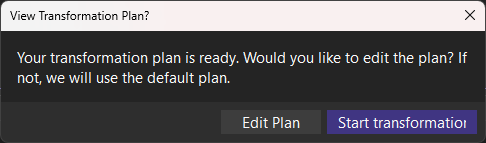
Figure 5: Prompt to edit the transformation plan
Also available at this point is a markdown assessment report that you can download from the AWS Transform Hub. If you choose to edit the transformation plan, review the comments for helpful instructions about customization. You can customize the plan by revising existing steps, adding or removing steps, leaving instructions about package upgrades, or giving code examples to show your organization’s preferred coding patterns. You can also direct AWS Transform to port class libraries to .NET Standard in the plan. Once you’re satisfied with the plan, choose Start transformation in the AWS Transform Hub to continue the transformation job.
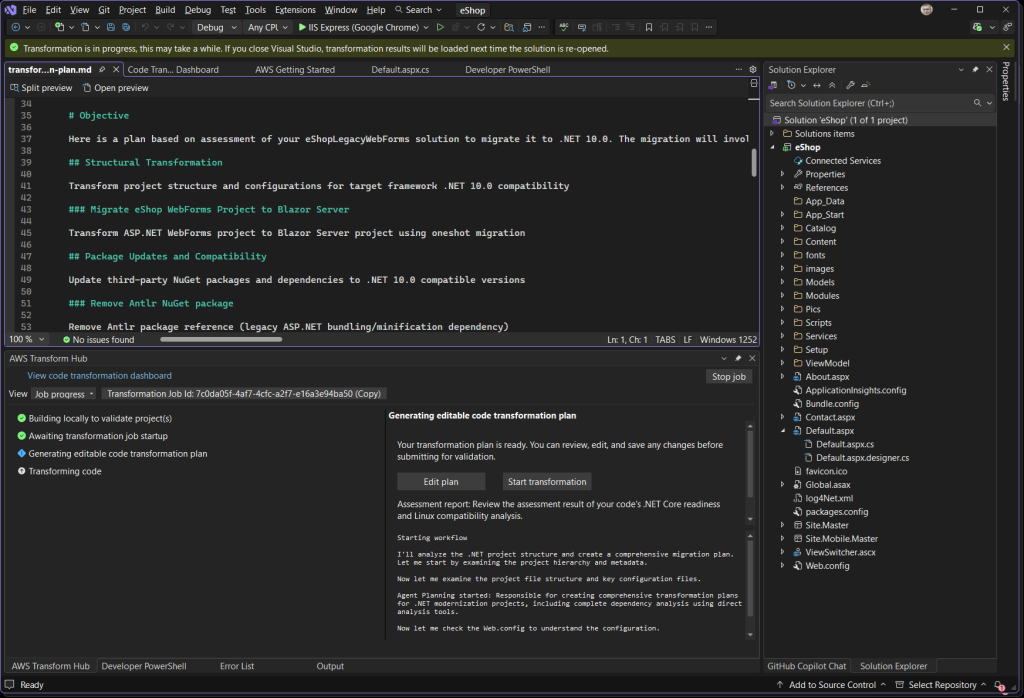
Figure 6: Transformation plan in code editor
Transformation progress with real-time updates
As the transformation proceeds, you’ll get detailed progress information and real-time updates in the AWS Transform Hub, shown in Figure 7. At the top, you’ll see Max Estimated Remaining Time to set expectations about wait time, and Transform Job ID with a copy button, which you’ll need to provide if you report an issue. Job progress is displayed with granular steps and substeps as code is transformed. Choose a step or substep to see a natural language description of activity. Figures 7-9 show, respectively, progress details for structural transformation, package updates, and error fixing steps.
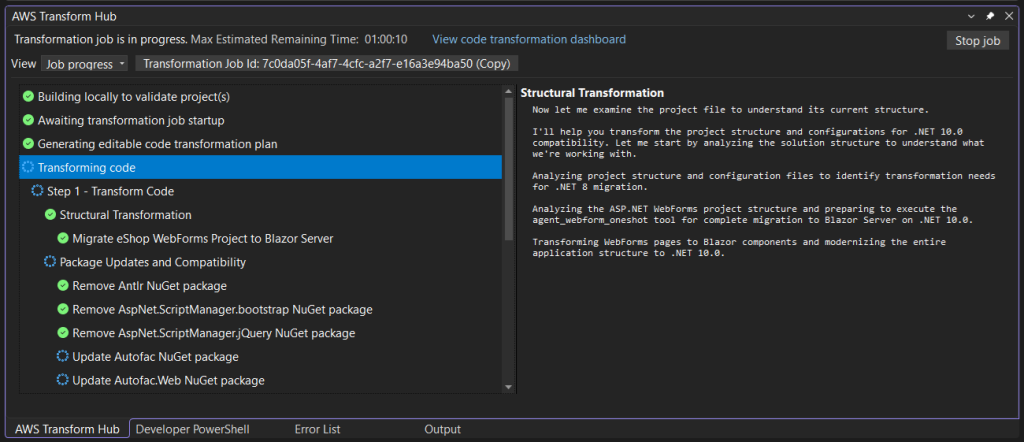
Figure 7: Structural transformation progress details
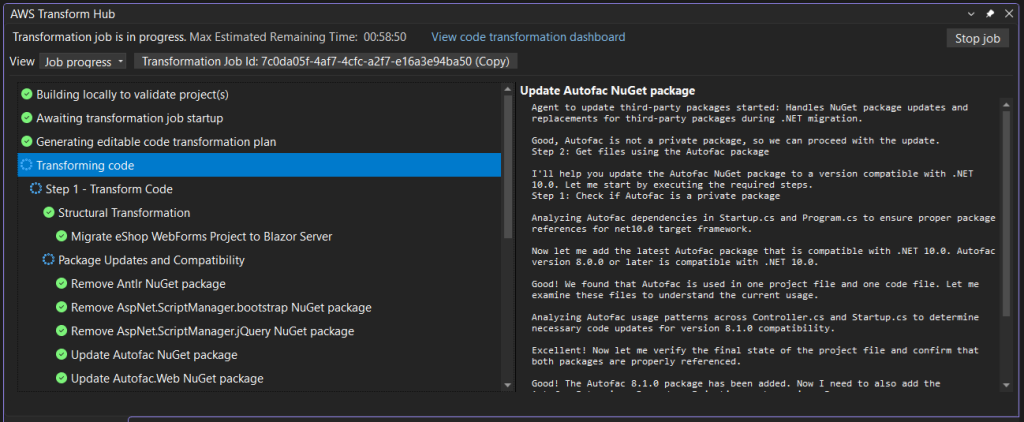
Figure 8: Package update progress details
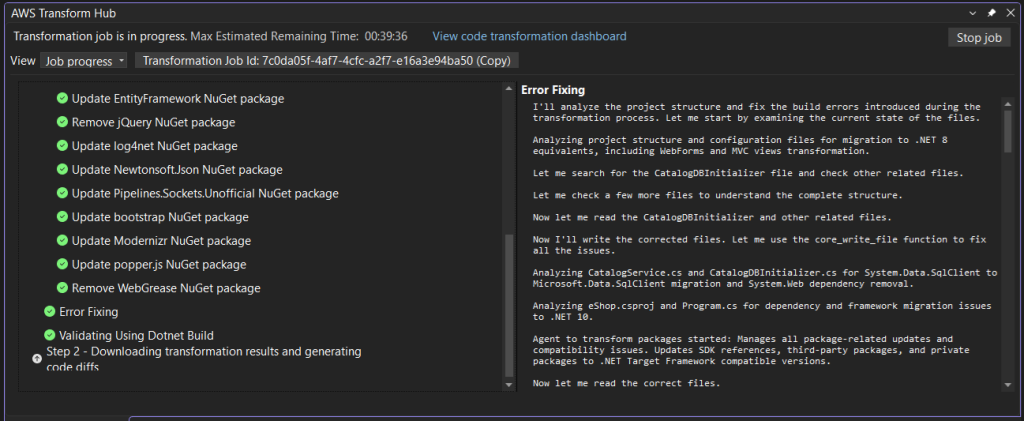
Figure 9: Error fixing progress details
Transformation results
When the transformation completes, you’ll see a Your transformation is completed banner message at the top of Visual Studio, and a final Transformation complete step in the AWS Transform Hub, as shown in Figure 10. This is where you can view the results of the transformation and recommendations on what to do next. The transformation status shows whether the transformation succeeded, was partial (only some projects succeeded), or failed.
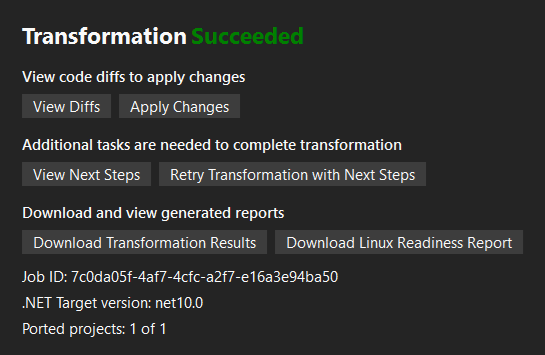
Figure 10: Transformation complete
To understand your transformation results, choose Download transformation results for a transformation report with details about what changed and why, build error information, unit test results, and Linux readiness information. To inspect file changes, choose View diffs to review side-by-side code diffs in Visual Studio, as shown in Figure 11. Choose Apply Changes to apply all code changes to the solution, and you now have a .NET 10 solution, as shown in Figure 12.
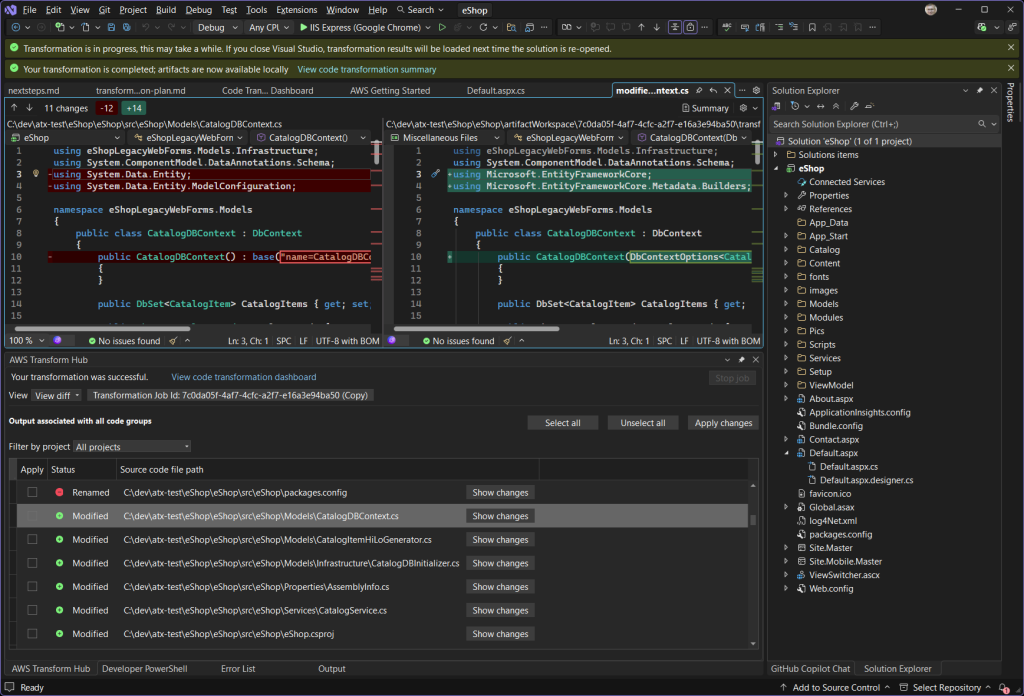
Figure 11: View diffs
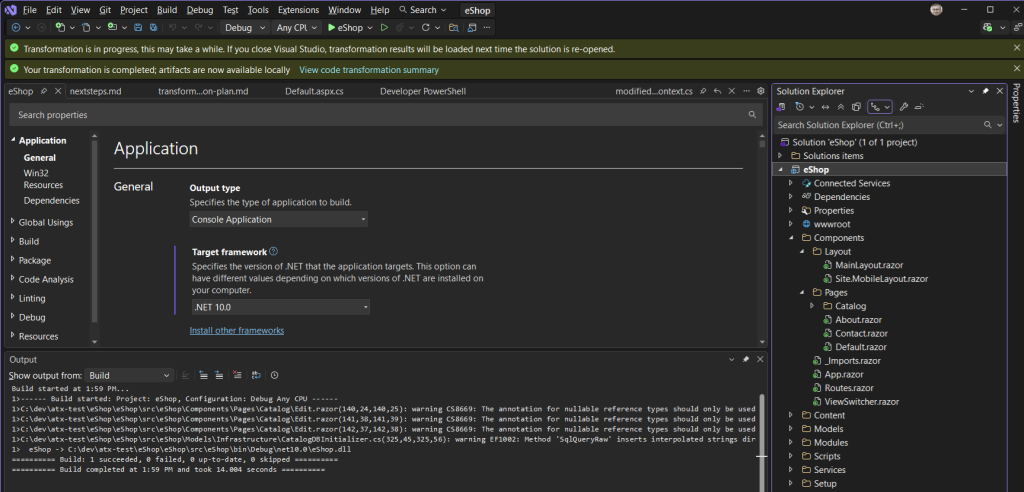
Figur 12: Transformed .NET 10 solution
Next steps and iteration
Software modernization is often an iterative process, and can involve more than one tool. The new IDE experience embraces iteration and provides guidance on any remaining porting tasks. You may have outstanding porting tasks for several reasons: your job may have reached the maximum time of 12 hours, portions of your application may not be supported by AWS Transform for .NET, or you may have build errors to resolve.
AWS Transform generates a Next Steps markdown file and prompts you to view it, as shown in Figure 13. The prompt dialog may include a recommendation about whether to continue in AWS Transform or handoff to an AI code companion, and offers to open the Next Steps file in the code editor as shown in Figure 14.
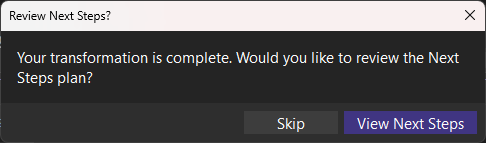
Figure 13: Next steps prompt
If you decide to transform further with AWS Transform, choose Retry Transformation with Next Steps in the AWS Transform Hub to start a new transformation job with a revised plan. If you decide to continue with an AI code companion, such as Kiro, use the Next Steps content as prompts.
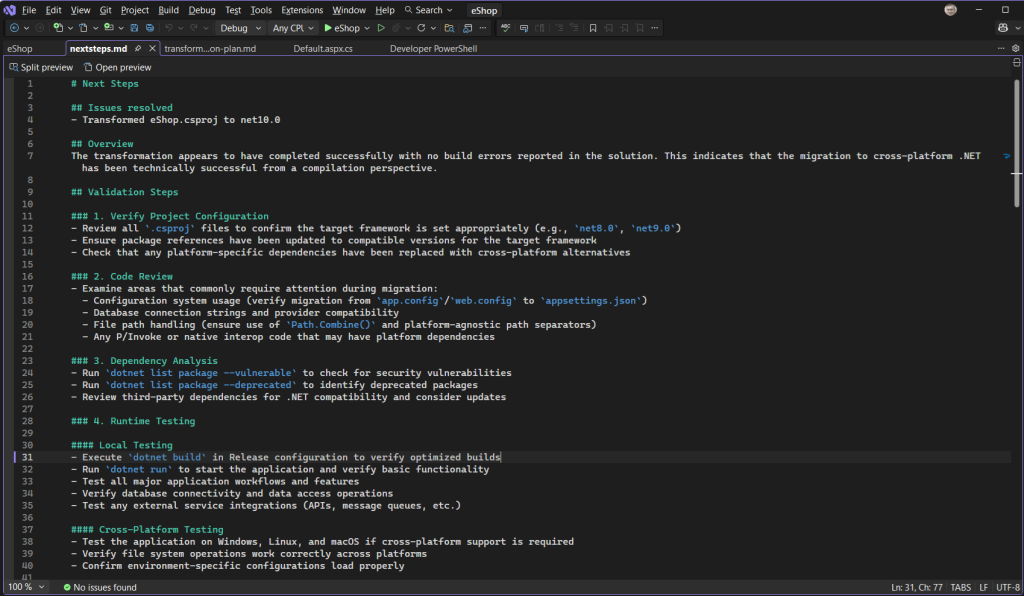
Figure 14: Next Steps markdown
Collaboration
IDE and web console users of AWS Transform can collaborate through workspaces. The workspace you specify when you launch an IDE job makes the job visible to workspace members in the web console, who can view job progress and chat about transformation activity, both during and after job execution. Figure 15 shows my IDE job in the web console, with chat queries.

Figure 15: IDE job visible in web console
Conclusion
In this post, I shared the AWS Transform enhanced .NET developer experience in Visual Studio. You can now transform more productively with the help of workspace collaboration, insightful transformation details, a steerable transformation plan, next steps recommendations suitable for an AI code companion, and iterative transformation. In upcoming posts, we’ll go deeper into transformation plan customization and hand-off to AI code companions.
I encourage you to kick the tires on the new developer experience in Visual Studio and share feedback. Accelerate your .NET modernization today with AWS Transform. For more information, visit the AWS Transform User Guide.