使用 Terraform 在 AWS 中国区域实现自动化部署指南系列文章:
使用 Terraform 在 AWS 中国区域实现自动化部署指南系列(一) TERRAFORM 入门
使用 Terraform 在 AWS 中国区域实现自动化部署指南系列(二) TERRAFORM 进阶(本博文)
————
第3章 Terraform进阶
Terraform的功能非常丰富,可以通过Providers来提供对多平台的支持,通过Provisioners来实现本地与远程的脚本调用等功能,支持ssh与winrm的连接方式,也能作为Chef Client的方式运行,通过Modules去重用组件提高开发效率,大数AWS资源都能通过官方托管的Module Sources来重用。
本章节我们将利用更多的Terraform功能,来实现较复杂场景的部署。
3.1 部署架构

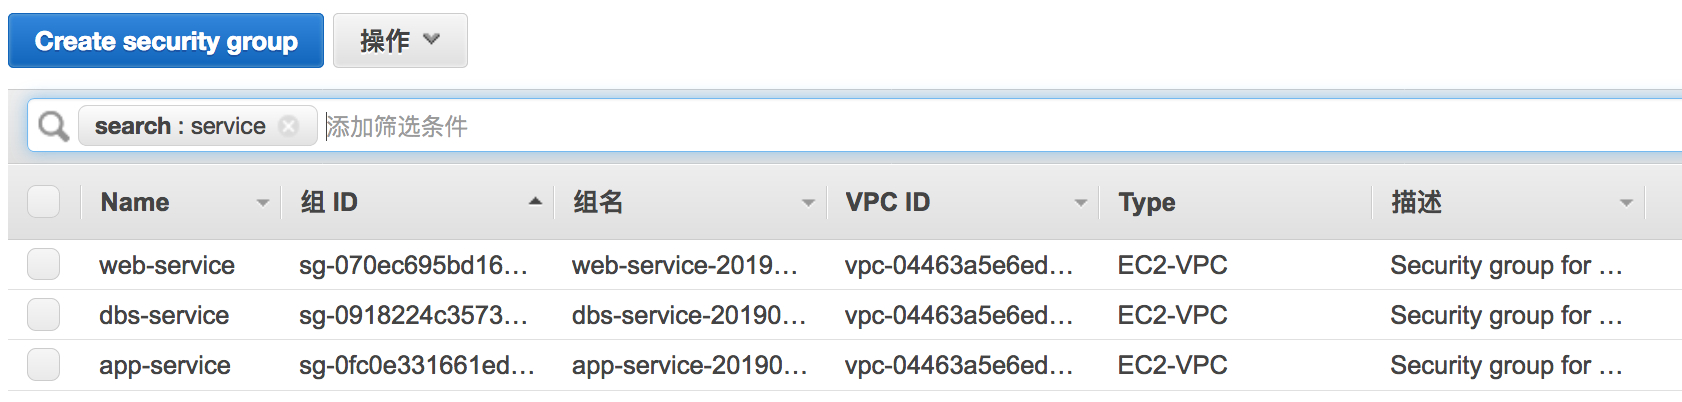
以上架构要采用常见的三层应用方式,Web层位于公网,App与DB层位于私有网段,Web层安全组开放80及22端口,App层安全组对Web层开放,DB层安全组对App层开放。
3.2 配置文件
新建一个helloworld2目录,将下面的四个文件存放到同一目录,文件的易读比较好,这里不对内容做详细解释,有关详细使用方法可以参考如下:
https://www.terraform.io/docs/index.html
https://registry.terraform.io/browse?provider=aws
3.2.1 variable.tf
变量申明, 编辑名为variable.tf的文件,内容如下
variable "aws_access_key" {}

variable "aws_secret_key" {}

variable "aws_key_pair" {}

variable "aws_region" {}

variable "inst_ami" {}

variable "inst_type" {}
3.2.2 terraform.tfvars
编辑名为terraform.tfvars的文件,内容如下
aws_access_key =  "Access Key"

aws_secret_key = "Secret_Key"

aws_key_pair =  "Your Key Pair"

aws_region = "cn-north-1"

inst_ami = "ami-fba67596"

inst_type = "t2.micro"
3.2.3 aws.tf
编辑名为aws.tf的文件,内容如下
provider "aws" {

access_key = "${var.aws_access_key}"

secret_key = "${var.aws_secret_key}"

region     = "${var.aws_region}"

}
3.2.4 main.tf
编辑名为main.tf的文件,内容如下
module "vpc" {

source = "terraform-aws-modules/vpc/aws"


name = "myvpc"

cidr = "10.10.0.0/16"


azs              = ["cn-north-1a", "cn-north-1b"]

public_subnets   = ["10.10.0.0/24", "10.10.10.0/24"]

private_subnets  = ["10.10.1.0/24", "10.10.11.0/24"]

database_subnets = ["10.10.2.0/24", "10.10.12.0/24"]


create_database_subnet_group = true

enable_dns_hostnames         = true

enable_dns_support           = true

enable_dynamodb_endpoint     = true

enable_s3_endpoint           = true


tags = {

Owner       = "user"

Environment = "staging"

}

}


module "websg" {

source = "terraform-aws-modules/security-group/aws"


name        = "web-service"

description = "Security group for HTTP and SSH within VPC"

vpc_id      = "${module.vpc.vpc_id}"


ingress_rules            = ["http-80-tcp", "https-443-tcp", "ssh-tcp", "all-icmp"]

ingress_cidr_blocks      = ["0.0.0.0/0"]

ingress_ipv6_cidr_blocks = []

egress_rules             = ["all-all"]

egress_cidr_blocks       = ["0.0.0.0/0"]

egress_ipv6_cidr_blocks  = []

}


module "appsg" {

source = "terraform-aws-modules/security-group/aws"


name        = "app-service"

description = "Security group for App within VPC"

vpc_id      = "${module.vpc.vpc_id}"


ingress_ipv6_cidr_blocks = []

egress_ipv6_cidr_blocks  = []


ingress_with_source_security_group_id = [

{

rule                     = "all-all"

source_security_group_id = "${module.websg.this_security_group_id}"

},

]


egress_with_source_security_group_id = [

{

rule                     = "all-all"

source_security_group_id = "${module.websg.this_security_group_id}"

},

]

}


module "dbssg" {

source = "terraform-aws-modules/security-group/aws"


name        = "dbs-service"

description = "Security group for Database within VPC"

vpc_id      = "${module.vpc.vpc_id}"


ingress_ipv6_cidr_blocks = []

egress_ipv6_cidr_blocks  = []


ingress_with_source_security_group_id = [

{

rule                     = "all-all"

source_security_group_id = "${module.appsg.this_security_group_id}"

},

]


egress_with_source_security_group_id = [

{

rule                     = "all-all"

source_security_group_id = "${module.appsg.this_security_group_id}"

},

]

}


module "ec2_web_1a" {

source = "terraform-aws-modules/ec2-instance/aws"


name  = "web_1a"

instance_count = 1


ami                         = "${var.inst_ami}"

instance_type               = "${var.inst_type}"

key_name                    = "${var.aws_key_pair}"

monitoring                  = true

vpc_security_group_ids      = ["${module.websg.this_security_group_id}"]

subnet_id                   = "${module.vpc.public_subnets[0]}"

associate_public_ip_address = true


tags = {

Terraform   = "true"

Environment = "dev"

}

}


module "ec2_web_1b" {

source = "terraform-aws-modules/ec2-instance/aws"


name  = "web_1b"

instance_count = 1


ami                         = "${var.inst_ami}"

instance_type               = "${var.inst_type}"

key_name                    = "${var.aws_key_pair}"

monitoring                  = true

vpc_security_group_ids      = ["${module.websg.this_security_group_id}"]

subnet_id                   = "${module.vpc.public_subnets[1]}"

associate_public_ip_address = true


tags = {

Terraform   = "true"

Environment = "dev"

}

}


module "ec2_app_1a" {

source = "terraform-aws-modules/ec2-instance/aws"


name  = "app_1a"

instance_count = 2


ami                         = "${var.inst_ami}"

instance_type               = "${var.inst_type}"

key_name                    = "${var.aws_key_pair}"

monitoring                  = true

vpc_security_group_ids      = ["${module.appsg.this_security_group_id}"]

subnet_id                   = "${module.vpc.private_subnets[0]}"

associate_public_ip_address = false


tags = {

Terraform   = "true"

Environment = "dev"

}

}


module "ec2_app_1b" {

source = "terraform-aws-modules/ec2-instance/aws"


name  = "app_1b"

instance_count = 2


ami                         = "${var.inst_ami}"

instance_type               = "${var.inst_type}"

key_name                    = "${var.aws_key_pair}"

monitoring                  = true

vpc_security_group_ids      = ["${module.appsg.this_security_group_id}"]

subnet_id                   = "${module.vpc.private_subnets[1]}"

associate_public_ip_address = false


tags = {

Terraform   = "true"

Environment = "dev"

}

}


module "mysql01" {

source = "terraform-aws-modules/rds/aws"


identifier             = "mysql01"

engine                 = "mysql"

engine_version         = "5.7.11"

instance_class         = "db.t2.small"

allocated_storage      = 20

storage_type           = "gp2"

name                   = "demodb"

username               = "myadmin"

password               = "rootroot"

port                   = "3306"

multi_az               = true

vpc_security_group_ids = ["${module.dbssg.this_security_group_id}"]

maintenance_window     = "Mon:00:00-Mon:03:00"

backup_window          = "03:00-06:00"


tags = {

Owner       = "user"

Environment = "dev"

}


subnet_ids                = ["${module.vpc.database_subnets}"]

family                    = "mysql5.7"

final_snapshot_identifier = false

backup_retention_period   = 0

publicly_accessible       = false


parameters = [

{

name  = "character_set_client"

value = "utf8"

},

{

name  = "character_set_server"

value = "utf8"

},

]

}
3.3 部署运行
3.3.1 初始化
运行terraform init进行初始化,等待插件与Module自动下载

3.3.2 查看计划
运行terraform plan执行计划,暂时忽略这个报错,有可能是安全组相互引用的问题,在后面分段运行即可。

3.3.3 分块运行
由于资源相互引用,请按下面的顺序执行,也可以放一个shell脚本里面。运行过程有可能遇到时间过长,在控制台上看到资源都已经建好,请耐心等待。
1)terraform apply -target=module.vpc ### 创建VPC及相关资源
请留意最后一行,表示增加29个资源
Apply complete! Resources: 29(27) added, 0 changed, 0 destroyed.

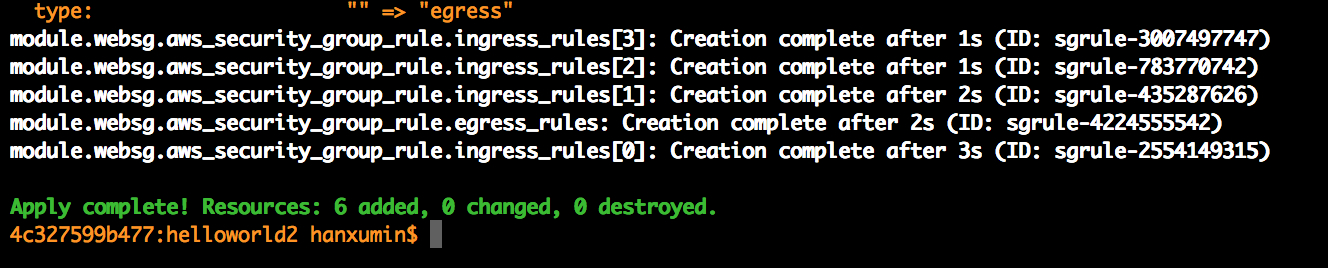
2)terraform apply -target=module.websg ### 创建Web层安全组

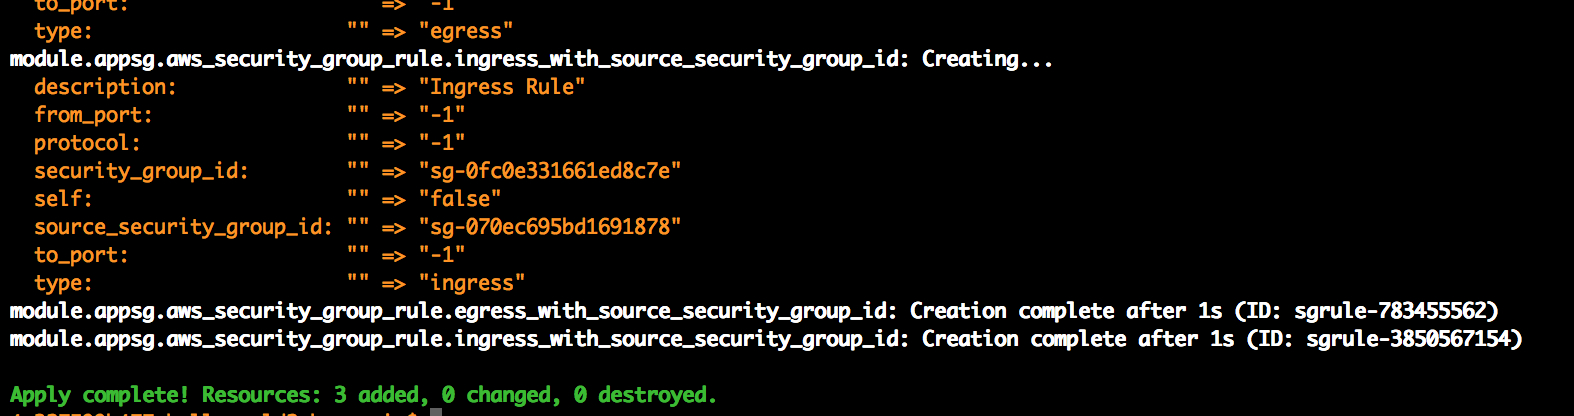
3)terraform apply -target=module.appsg ### 创建App层安全组

4)terraform apply -target=module.dbssg ### 创建DB层安全组

5)terraform apply -target=module.ec2_web_1a ### 创建EC2 Web

6)terraform apply -target=module.ec2_web_1b ### 创建EC2 Web

7)terraform apply -target=module.ec2_app_1a ### 创建2个EC2 APP

8)terraform apply -target=module.ec2_app_1b ### 创建2个EC2 APP

9)terraform apply -target=module. mysql01 ### 创建多AZ MySQL实例

3.4 环境检查
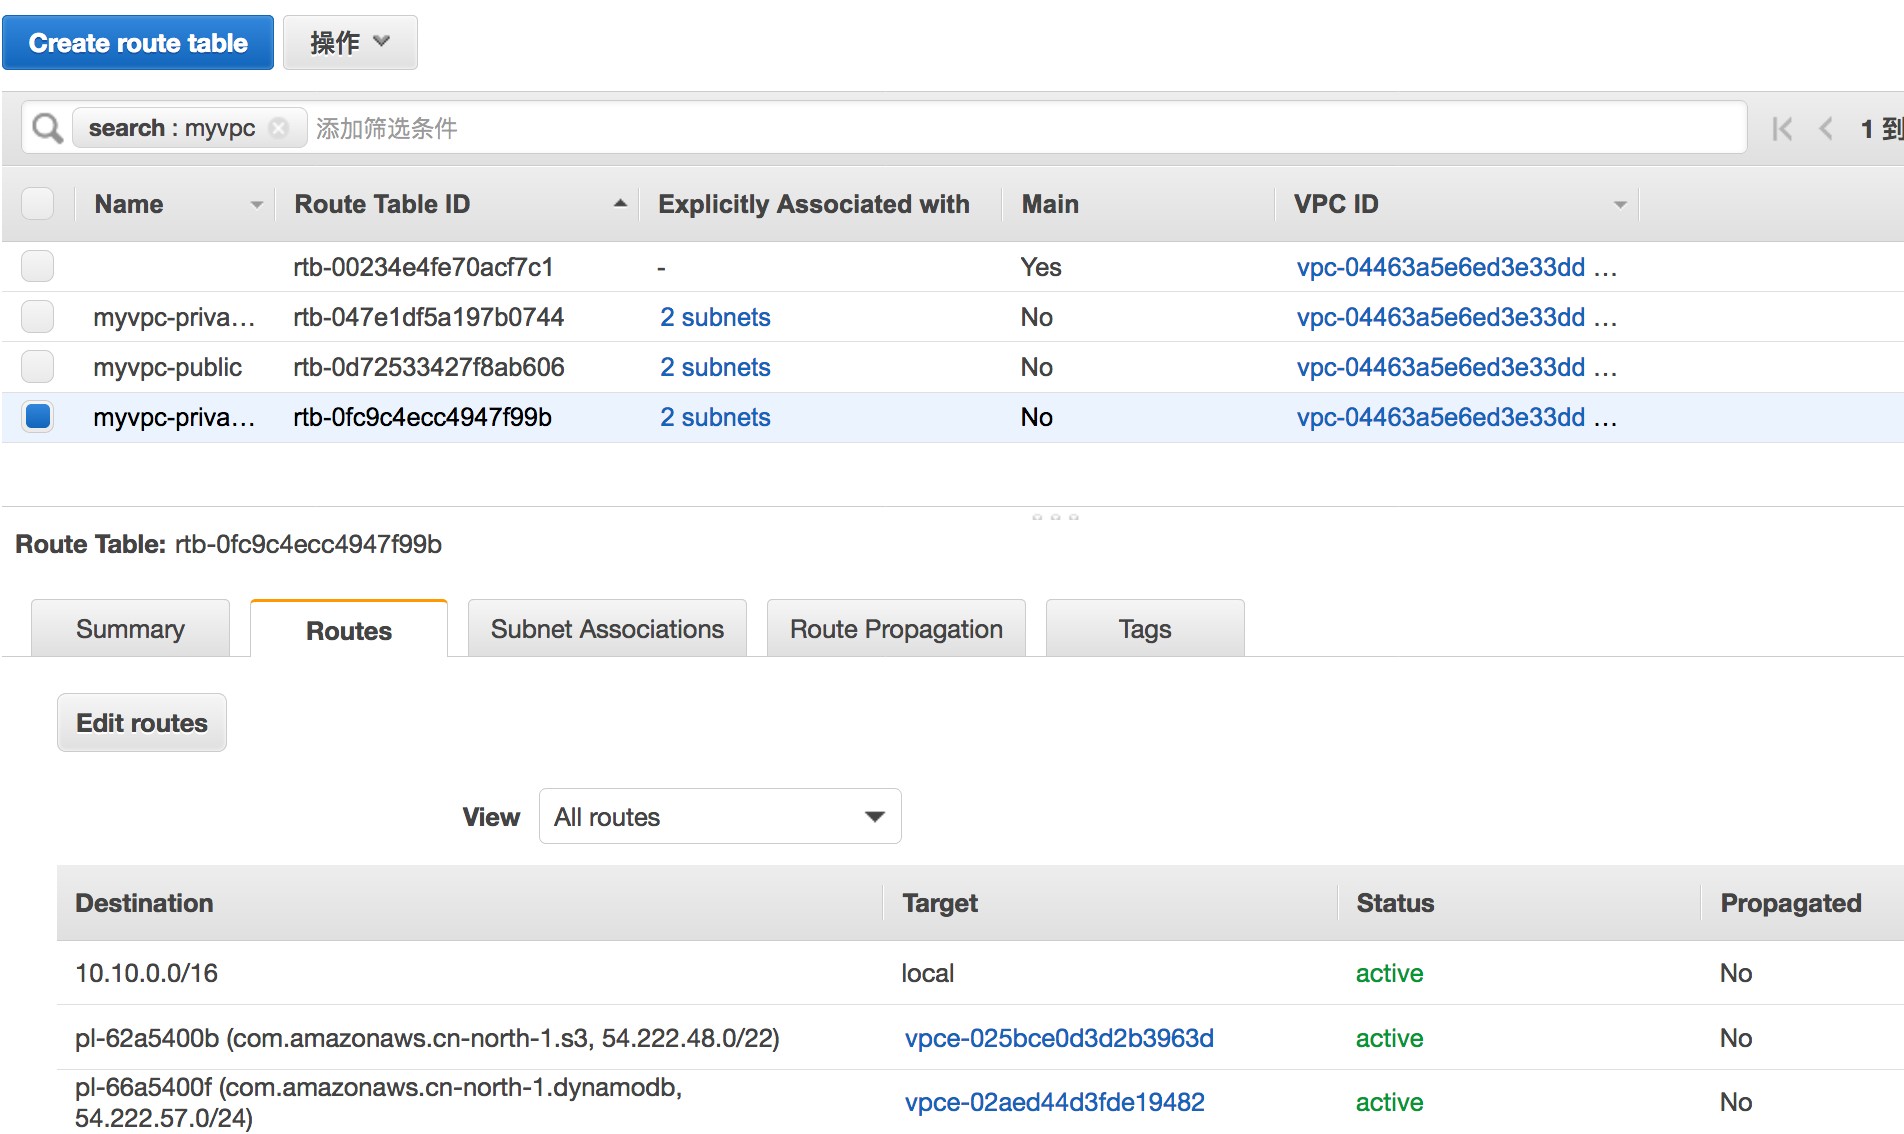
3.4.1 VPC相关


3.4.2 EC2相关

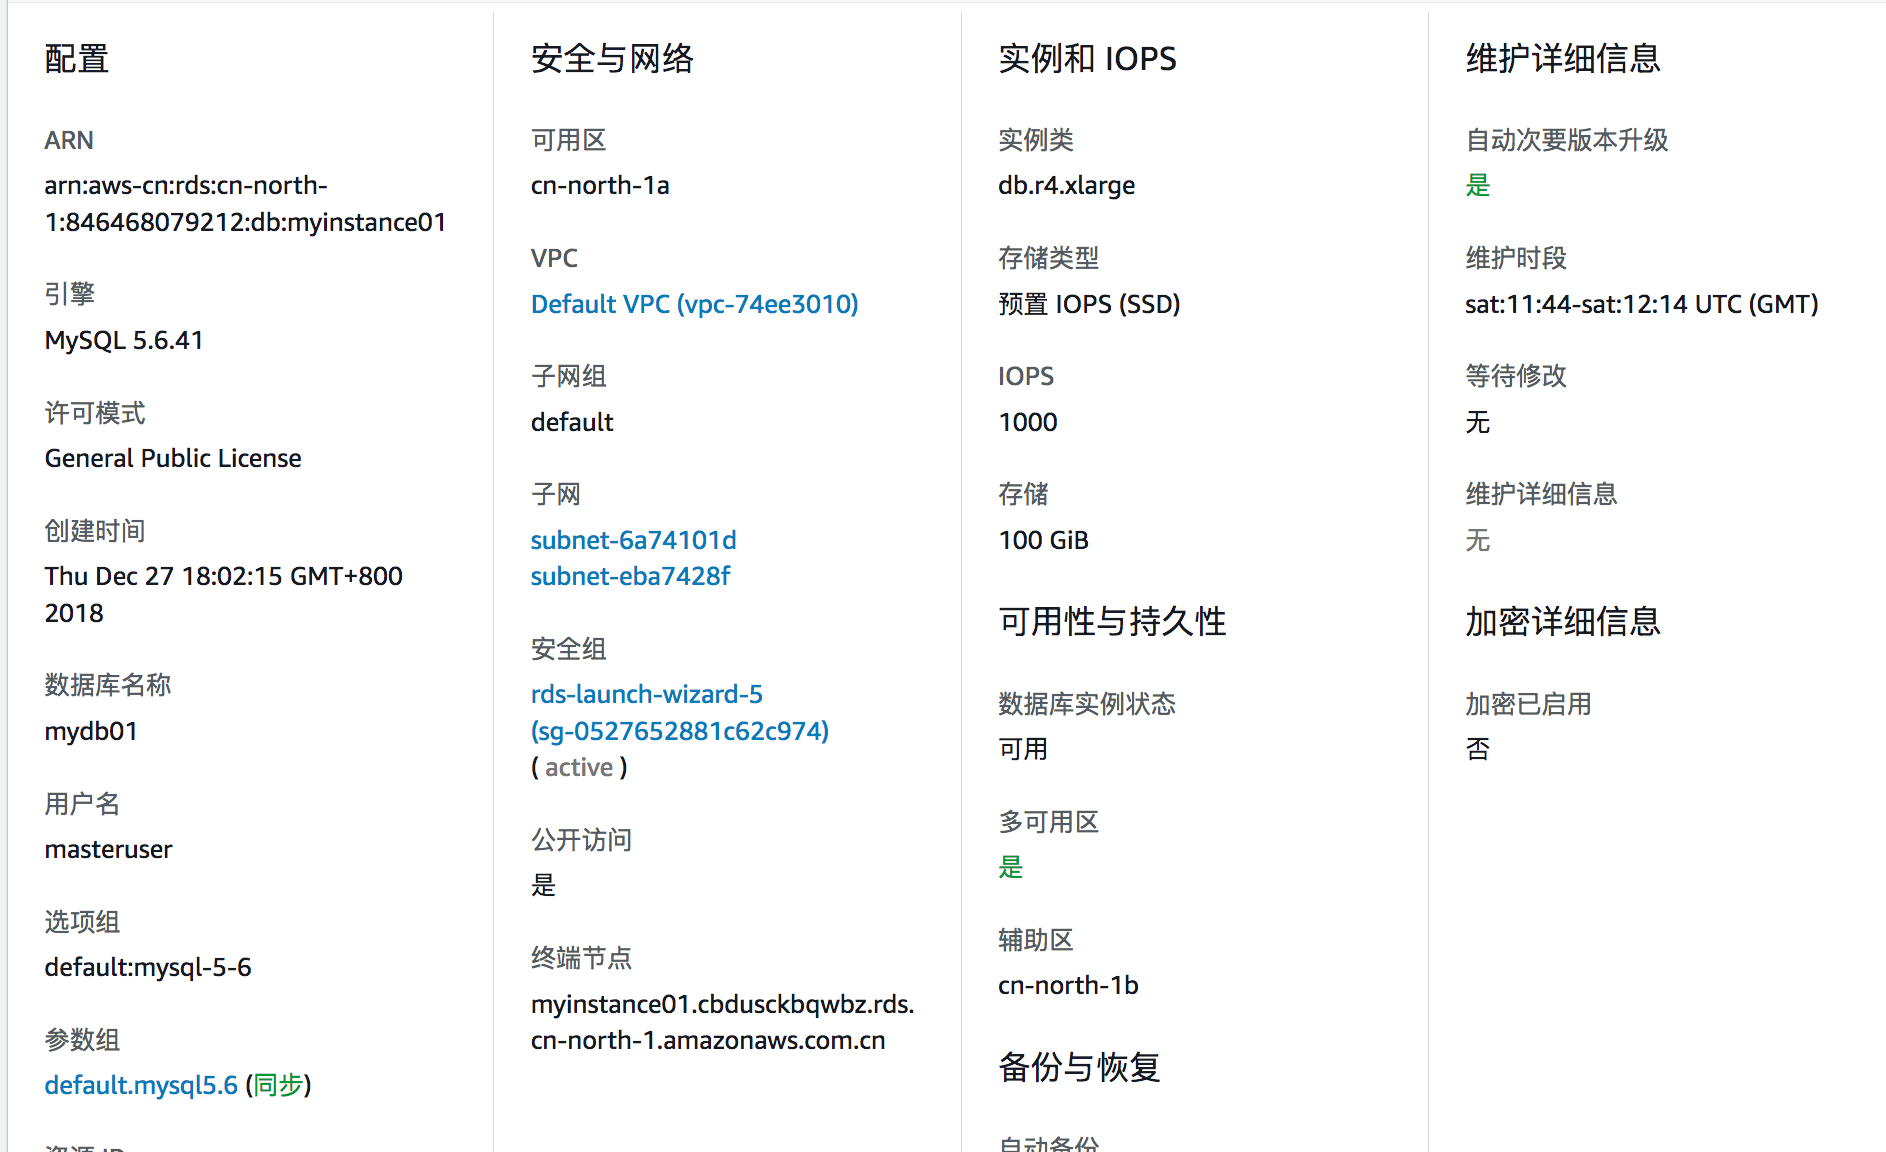
3.4.3 MySQL相关

3.5 资源回收
terraform destroy ### 将自动删除所有创建的资源即可
————
使用 Terraform 在 AWS 中国区域实现自动化部署指南系列(一) TERRAFORM 入门
使用 Terraform 在 AWS 中国区域实现自动化部署指南系列(二) TERRAFORM 进阶(本博文)
本篇作者