Task 1: Host a Static Website
In this task, you will create a React application and deploy it to the Cloud using AWS Amplify
Introduction
Implementation
Create a new React application
1. Create the application
In a new terminal or command line window, run the following command to use Vite to create a React application:
npm create vite@latest ai-recipe-generator -- --template react-ts -ycd ai-recipe-generatornpm installnpm run dev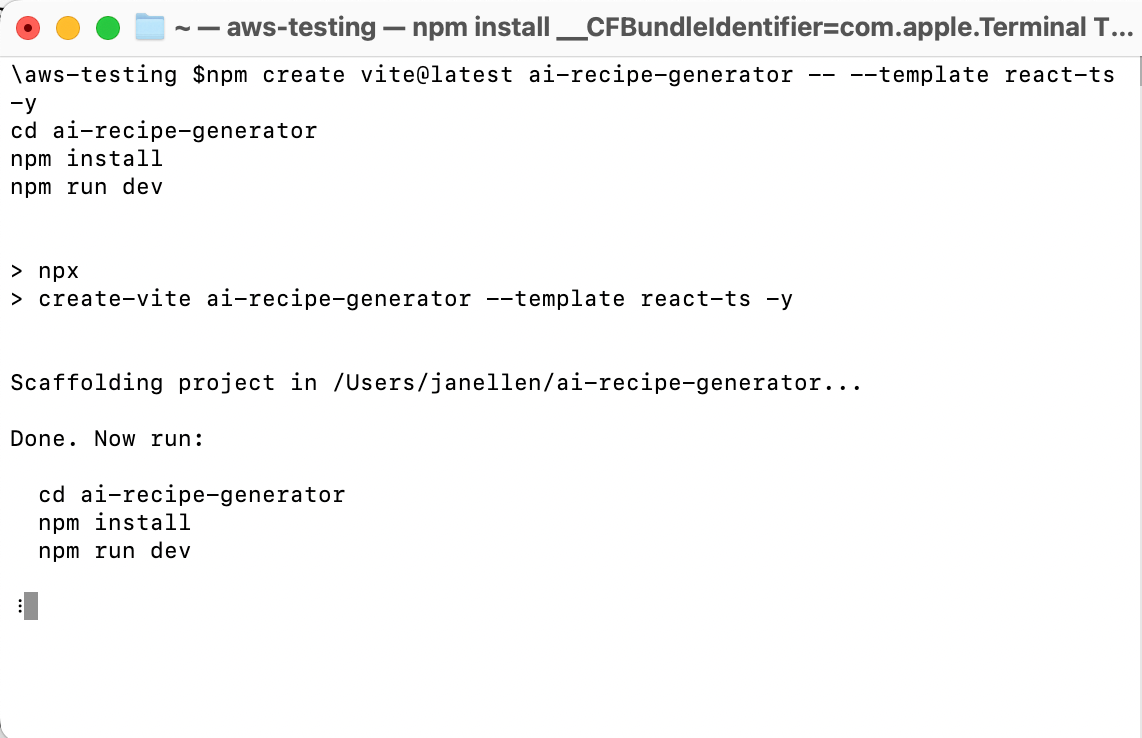
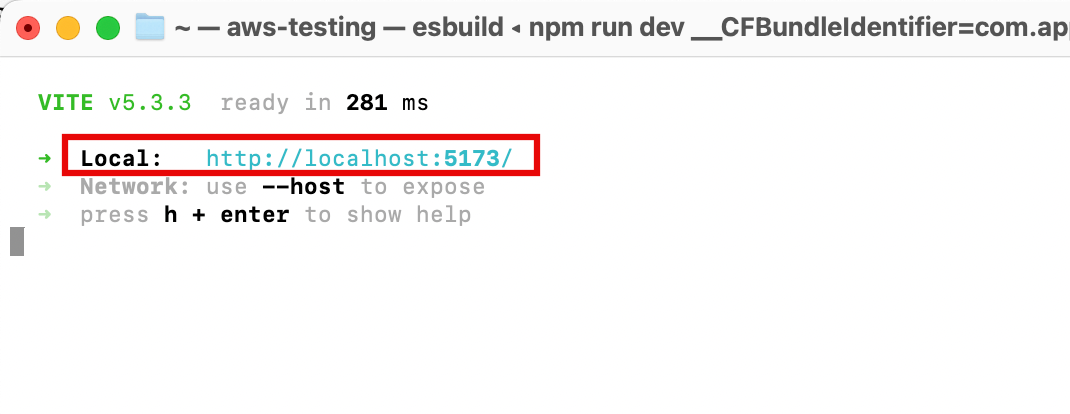
2. Open the application
In the terminal window, select and open the Local link to view the Vite + React application.
Initialize a GitHub repository
In this step, you will create a GitHub repository and commit your code to the repository. You will need a GitHub account to complete this step, if you do not have an account, sign up here.
Note: If you have never used GitHub on your computer, follow these steps before continuing to allow connection to your account.
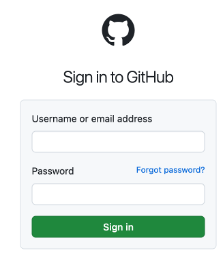
1. Sign in to GitHub
Sign in to GitHub at https://github.com/.
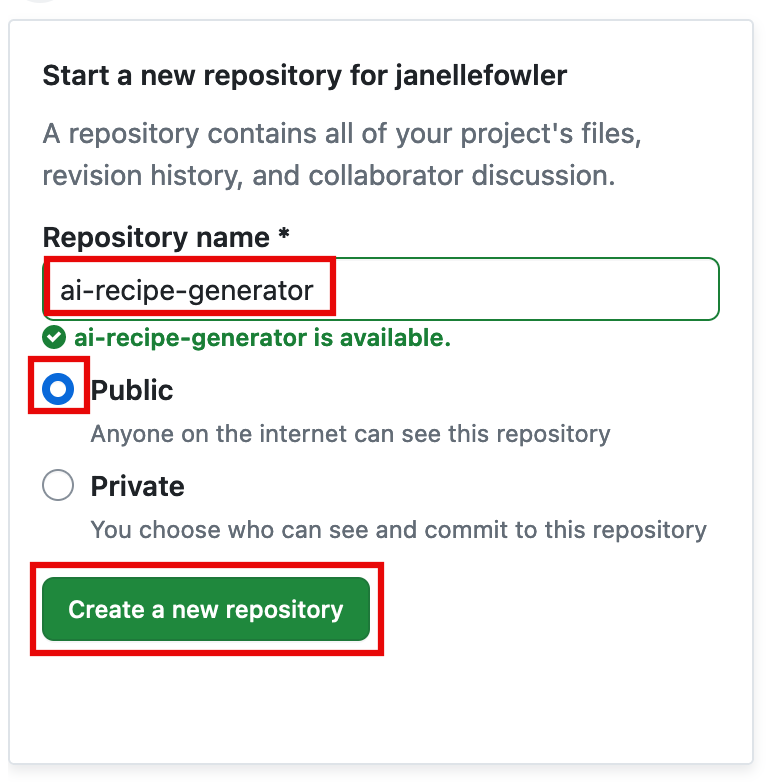
2. Start a new repository
In the Start a new repository section, make the following selections:
For Repository name, enter ai-recipe-generator, and choose the Public radio button.
Then select, Create a new repository.
3. Initialize Git
Open a new terminal window, navigate to your projects root folder (ai-recipe-generator), and run the following commands to initialize a git and push of the application to the new GitHub repo:
Note: Replace the SSH GitHub URL in the command with your GitHub URL.
git initgit add .git commit -m "first commit"git remote add origin git@github.com:<your-username>/ai-recipe-generator.gitgit branch -M maingit push -u origin main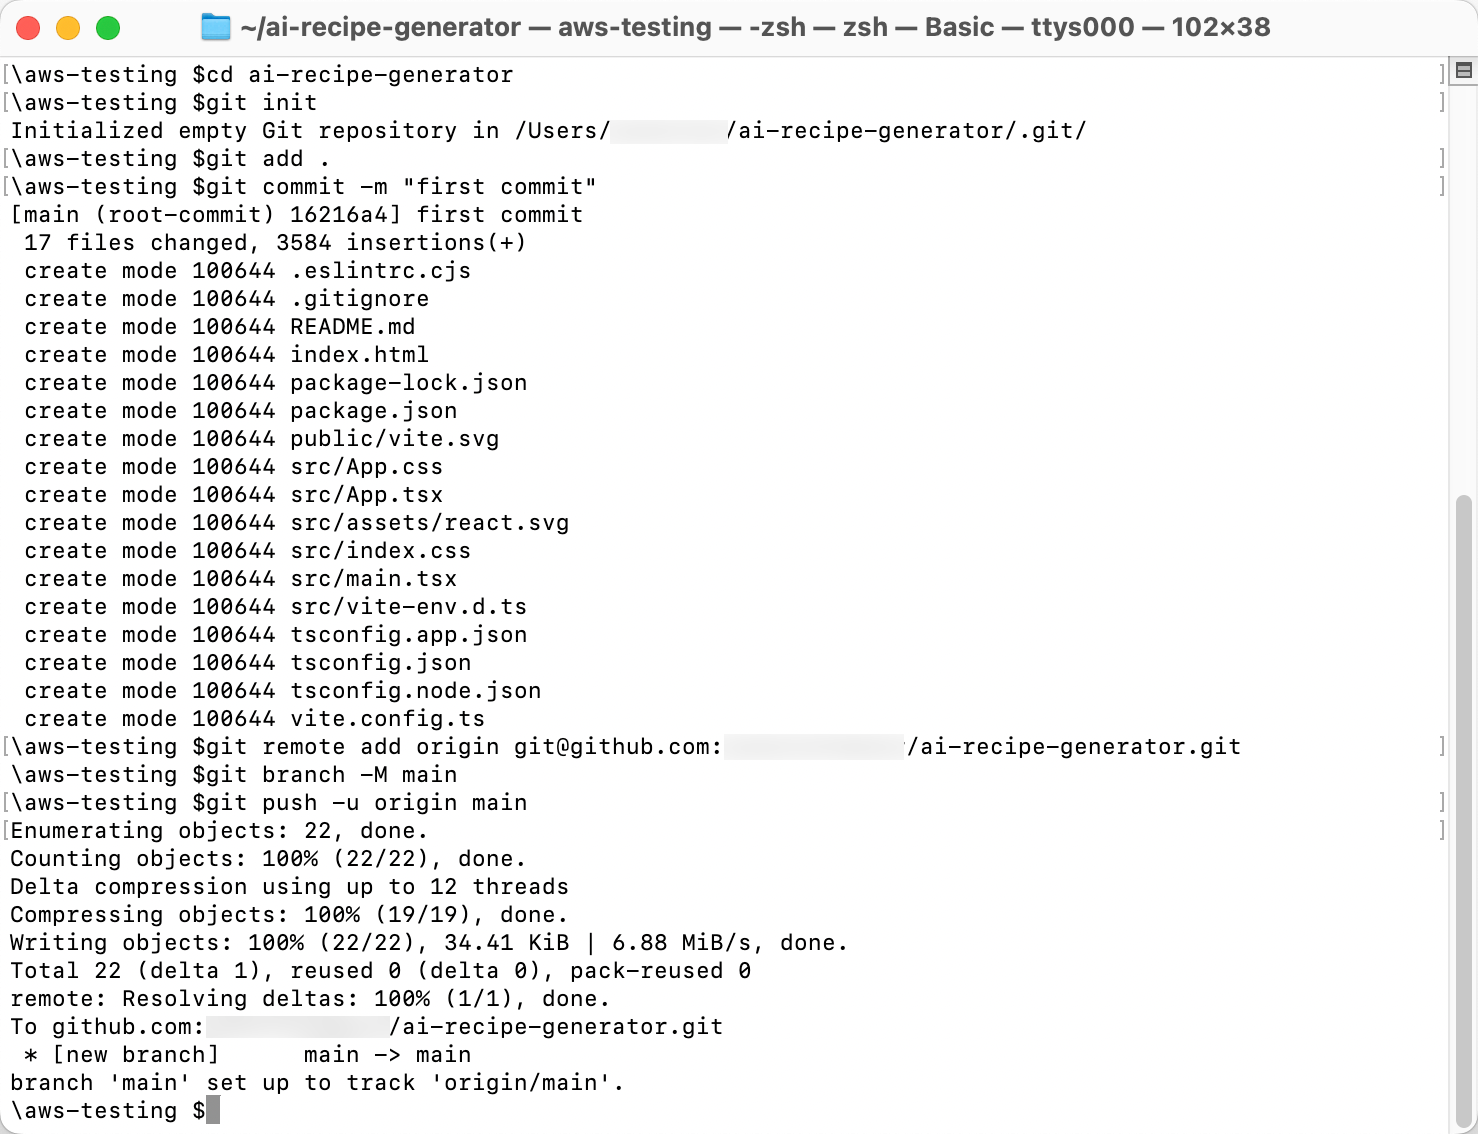
Install the Amplify packages
1. Install Amplify
Open a new terminal window, navigate to your app's root folder (ai-recipe-generator), and run the following command:
npm create amplify@latest -y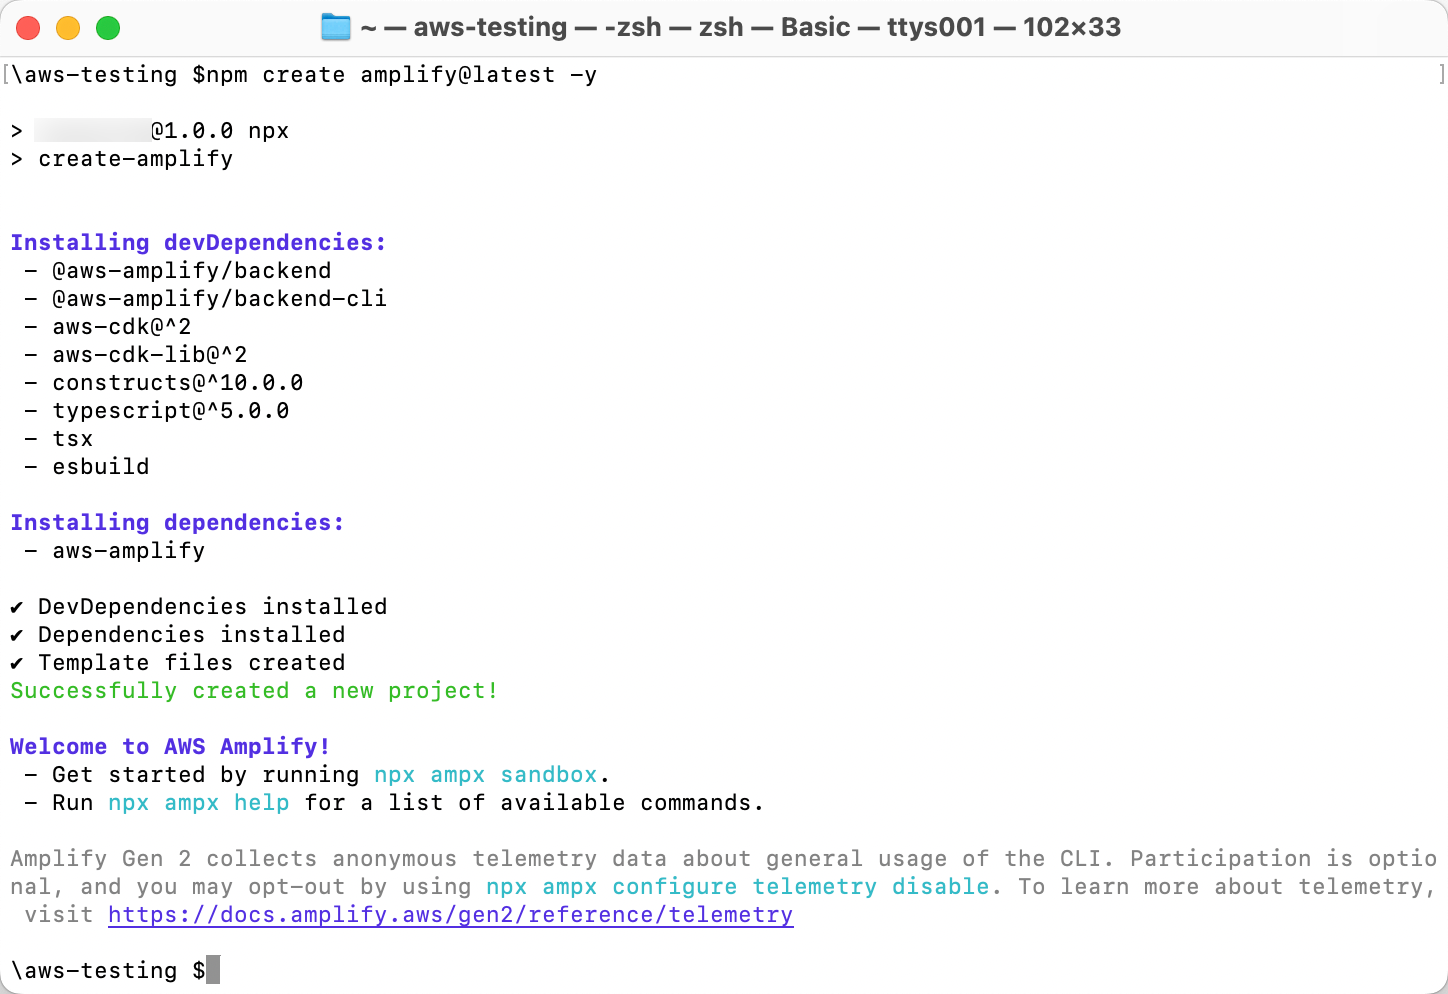
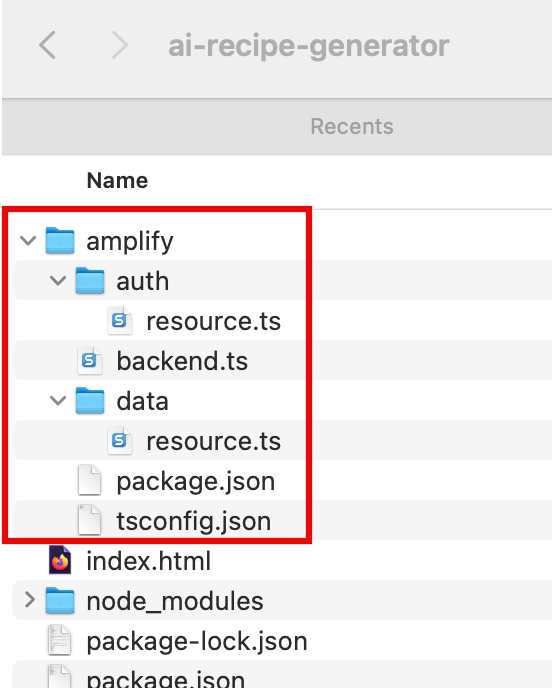
2. View directory
Running the previous command will scaffold a lightweight Amplify project in the app’s directory.
Manage Users
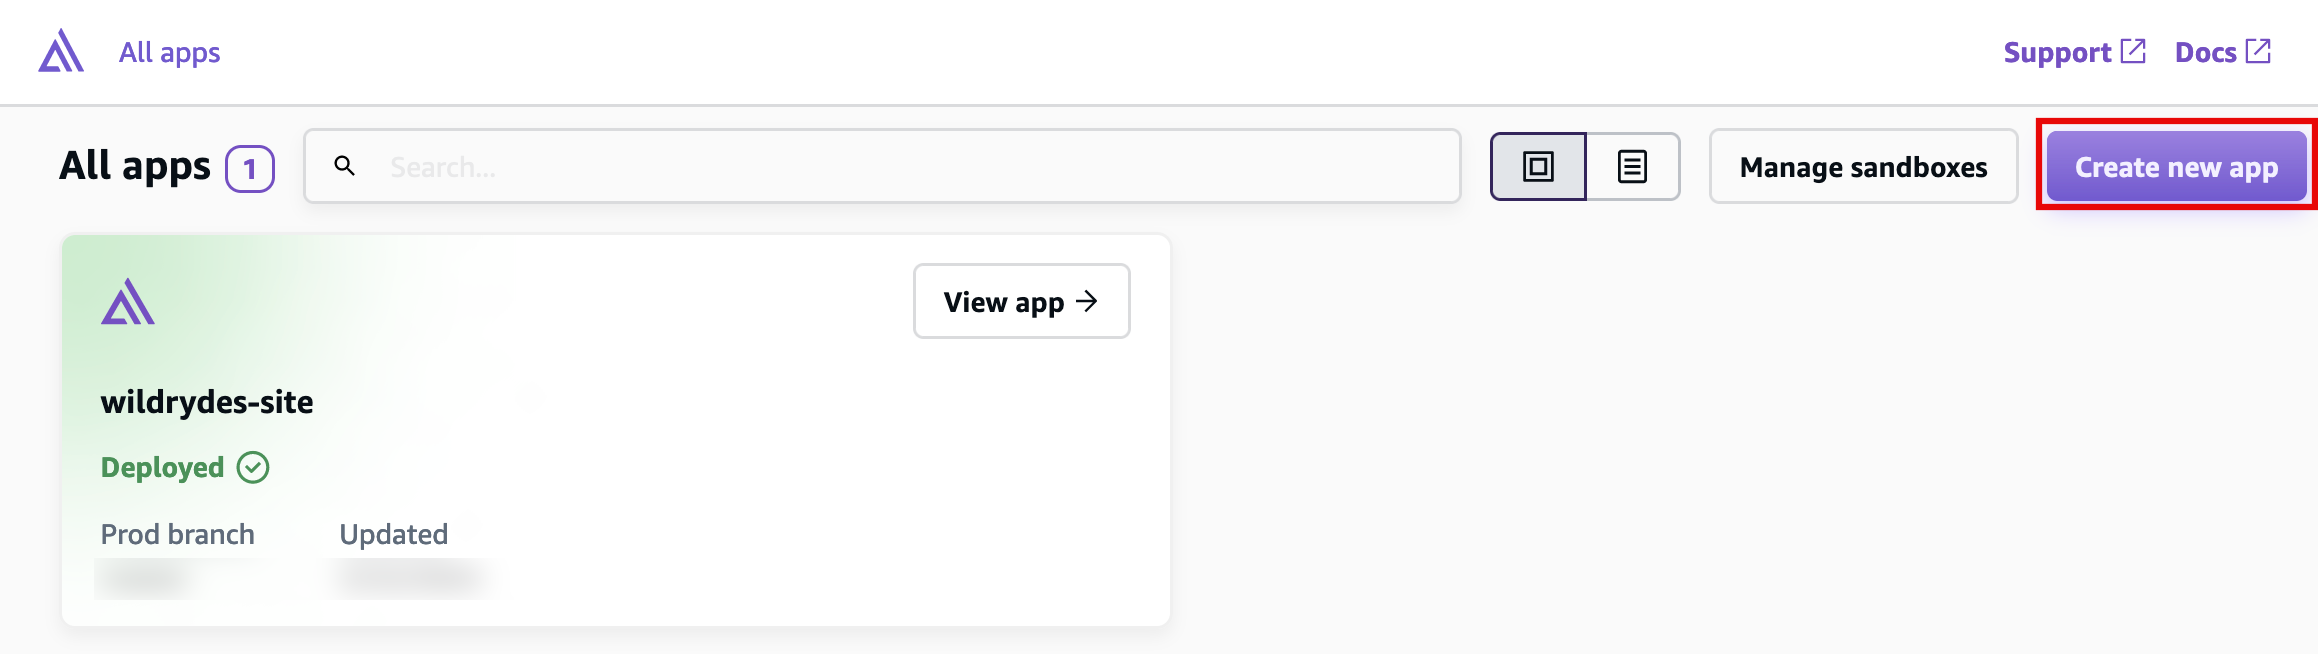
Start Task Two1. Create a new Amplify app
Sign in to the AWS Management console in a new browser window, and open the AWS Amplify console at https://console.aws.amazon.com/amplify/apps.
Choose Create new app.
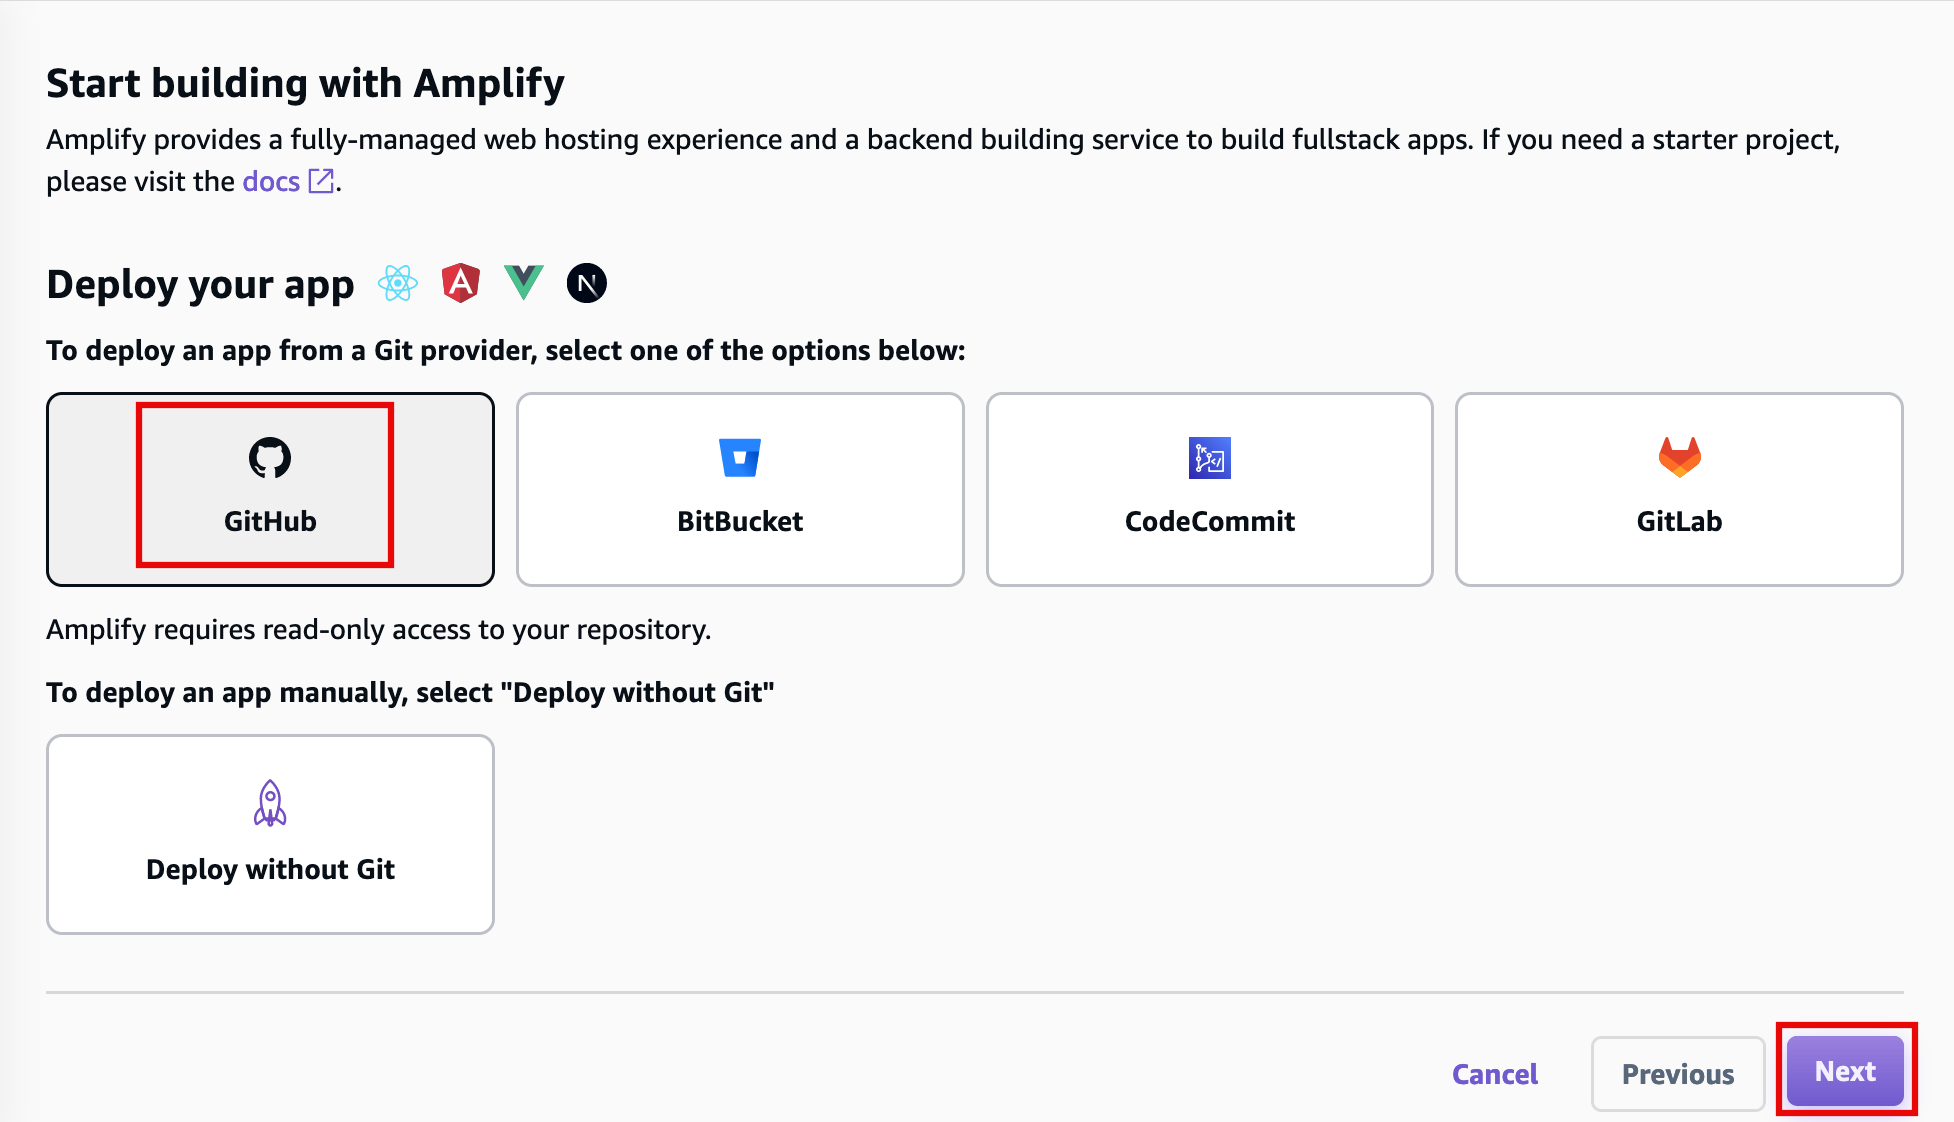
2. Select GitHub to deploy your app
On the Start building with Amplify page, for Deploy your app, select GitHub, and select Next.
3. Authenticate with GitHub
When prompted, authenticate with GitHub. You will be automatically redirected back to the Amplify console.
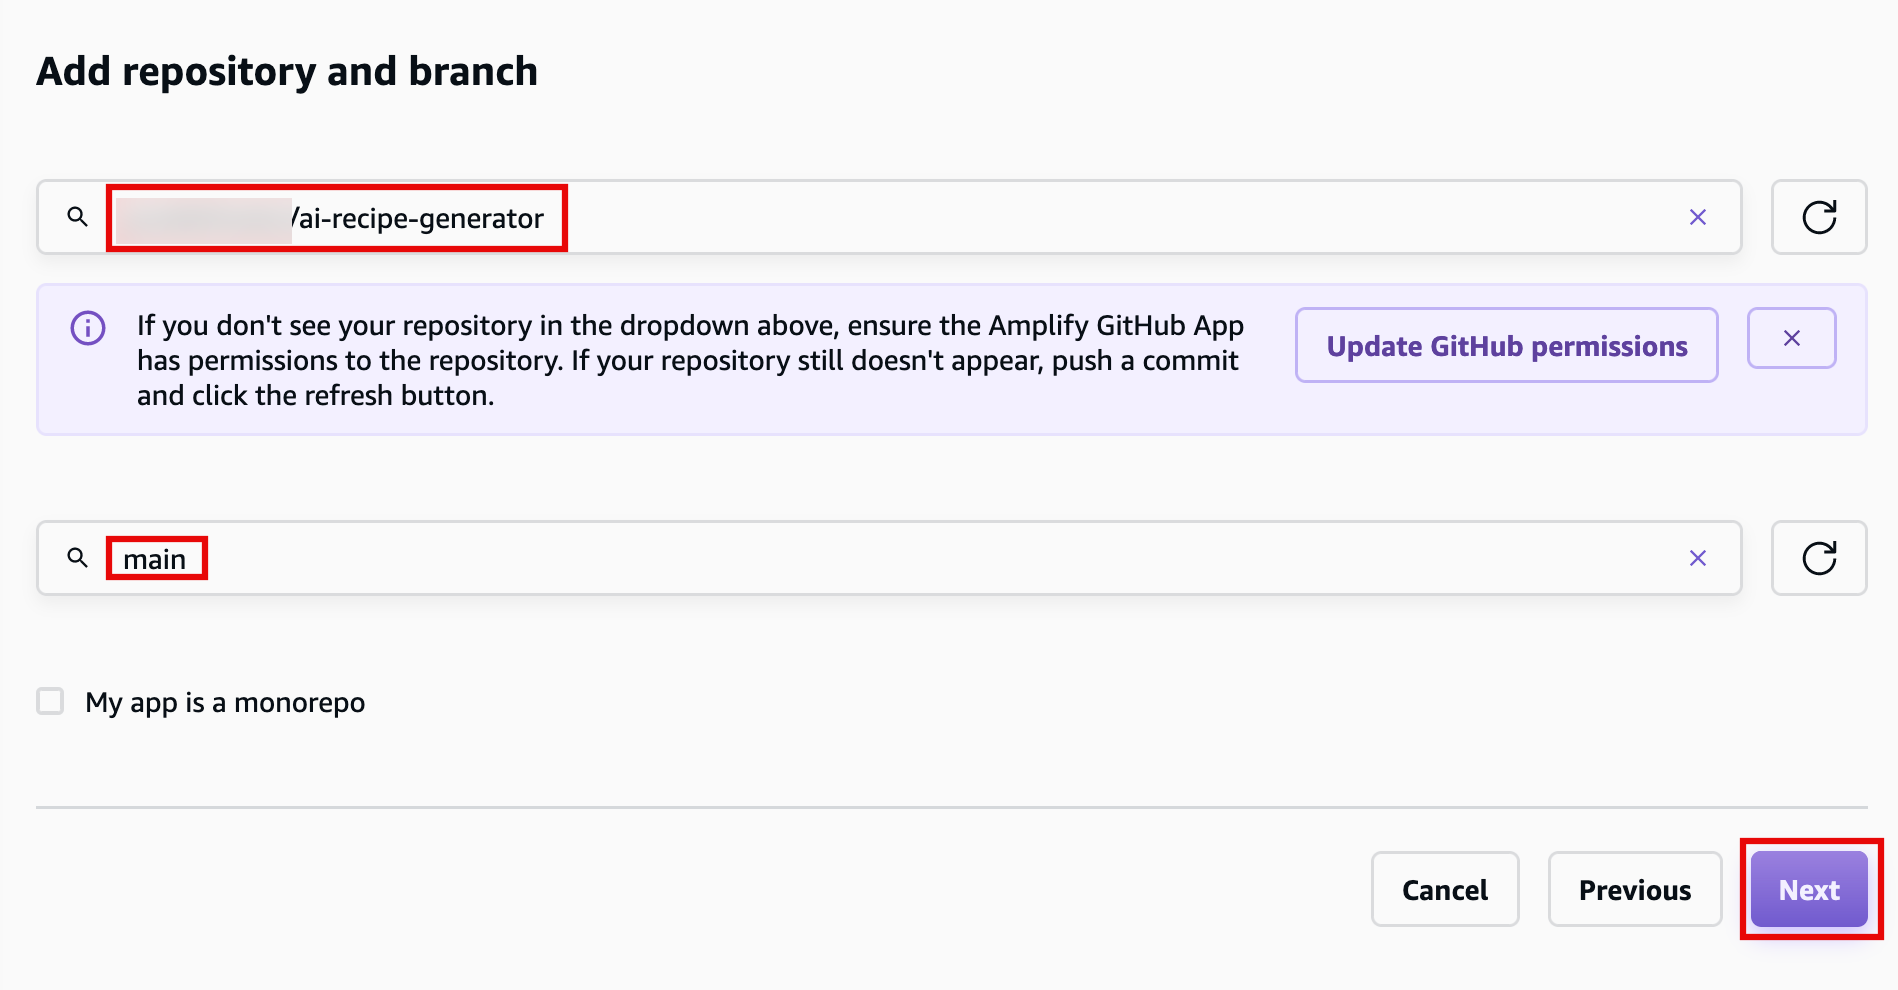
Choose the repository and main branch you created earlier.
Then select Next.
4. Select Next
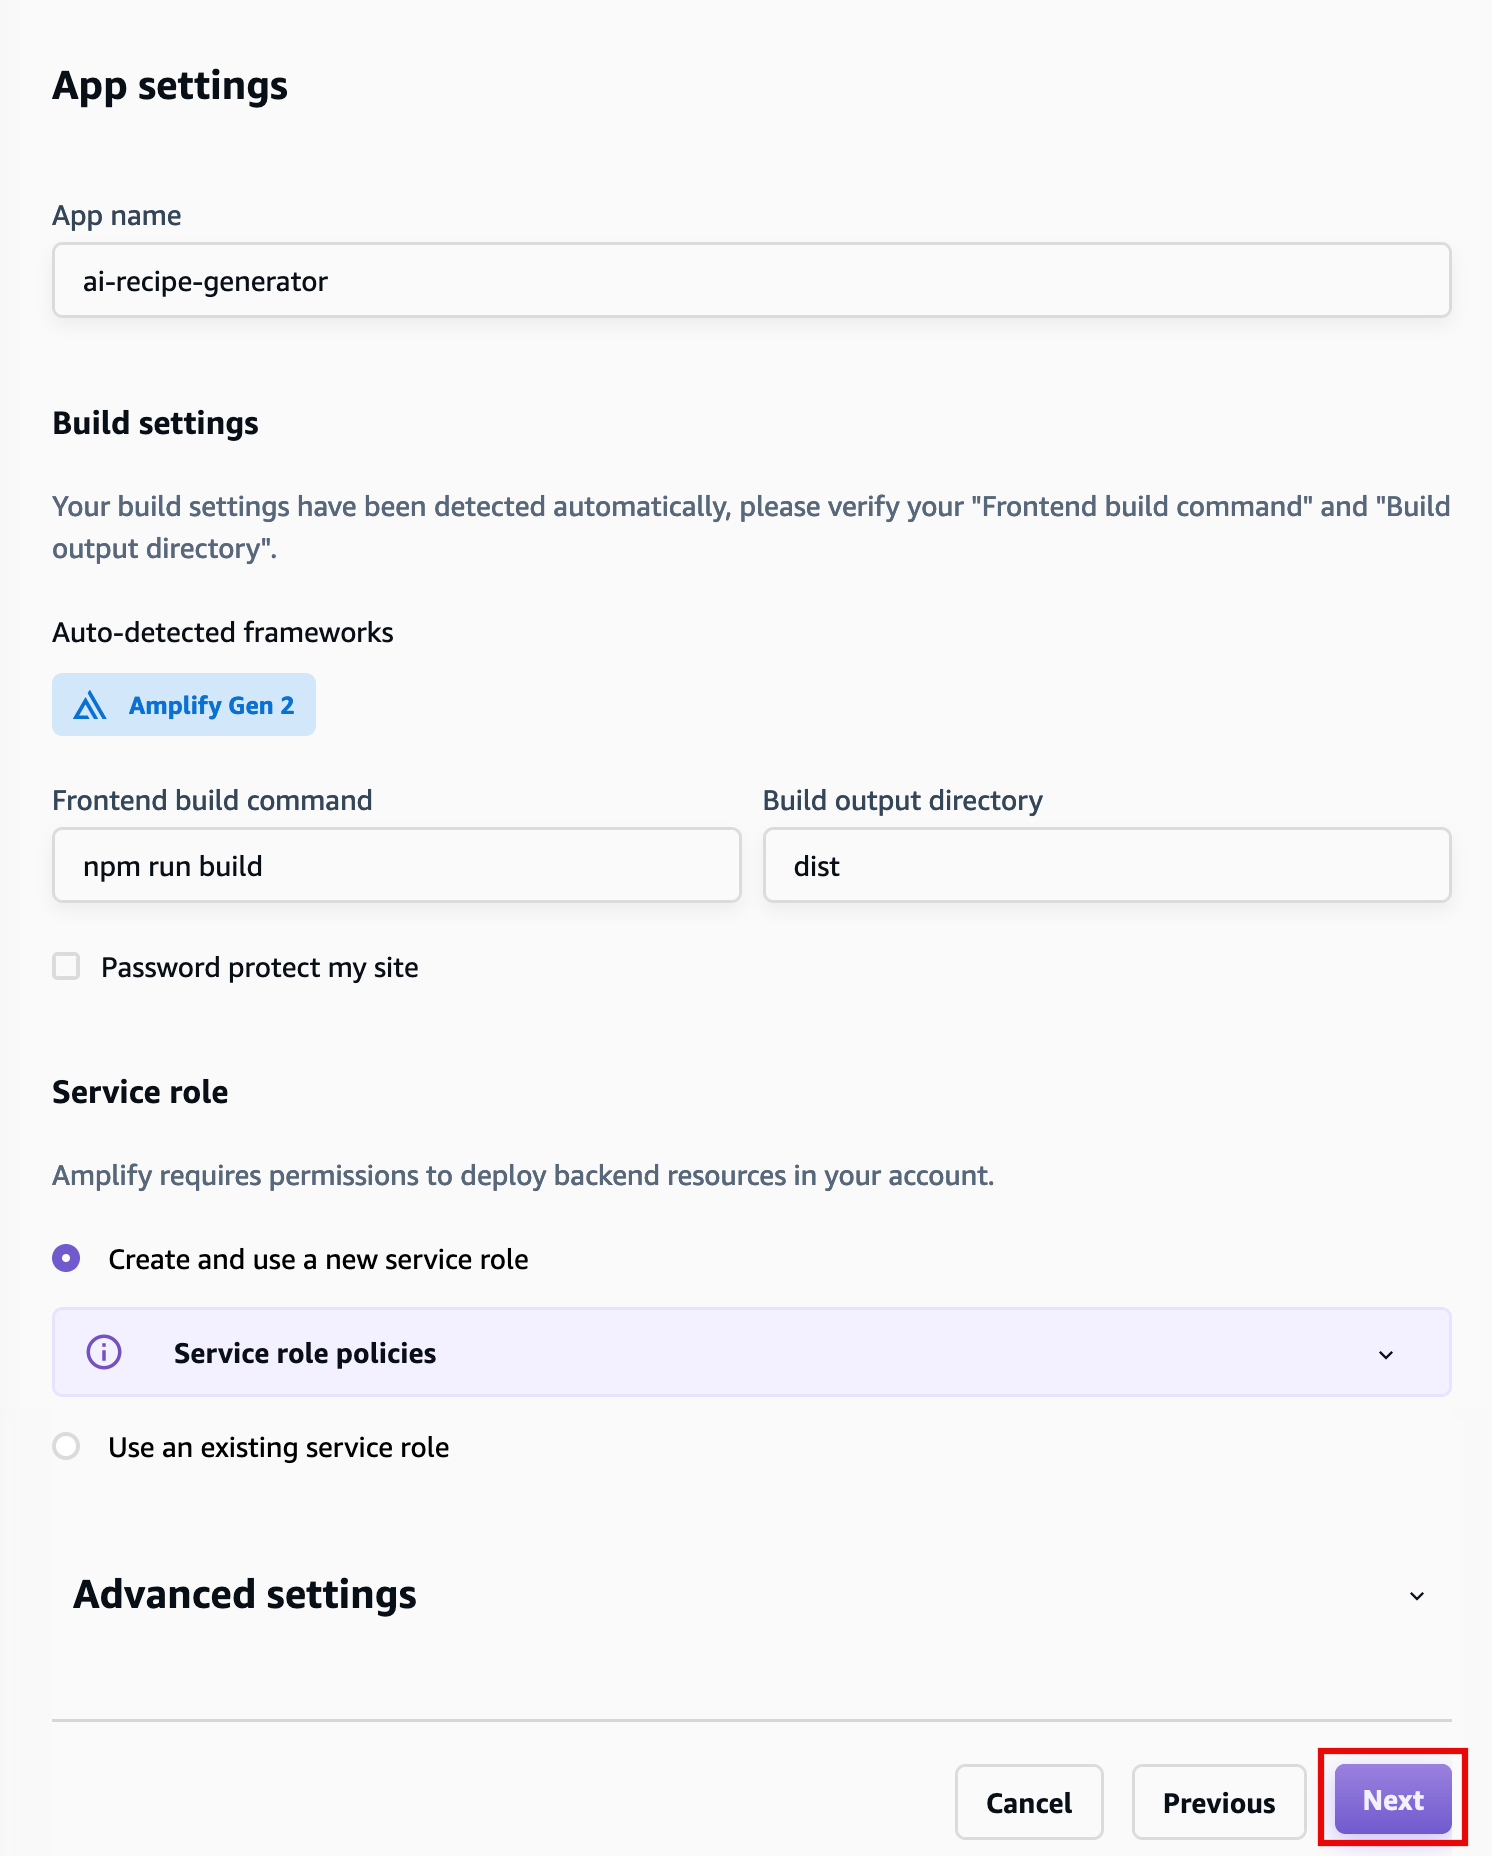
Leave the default build settings, and select Next.
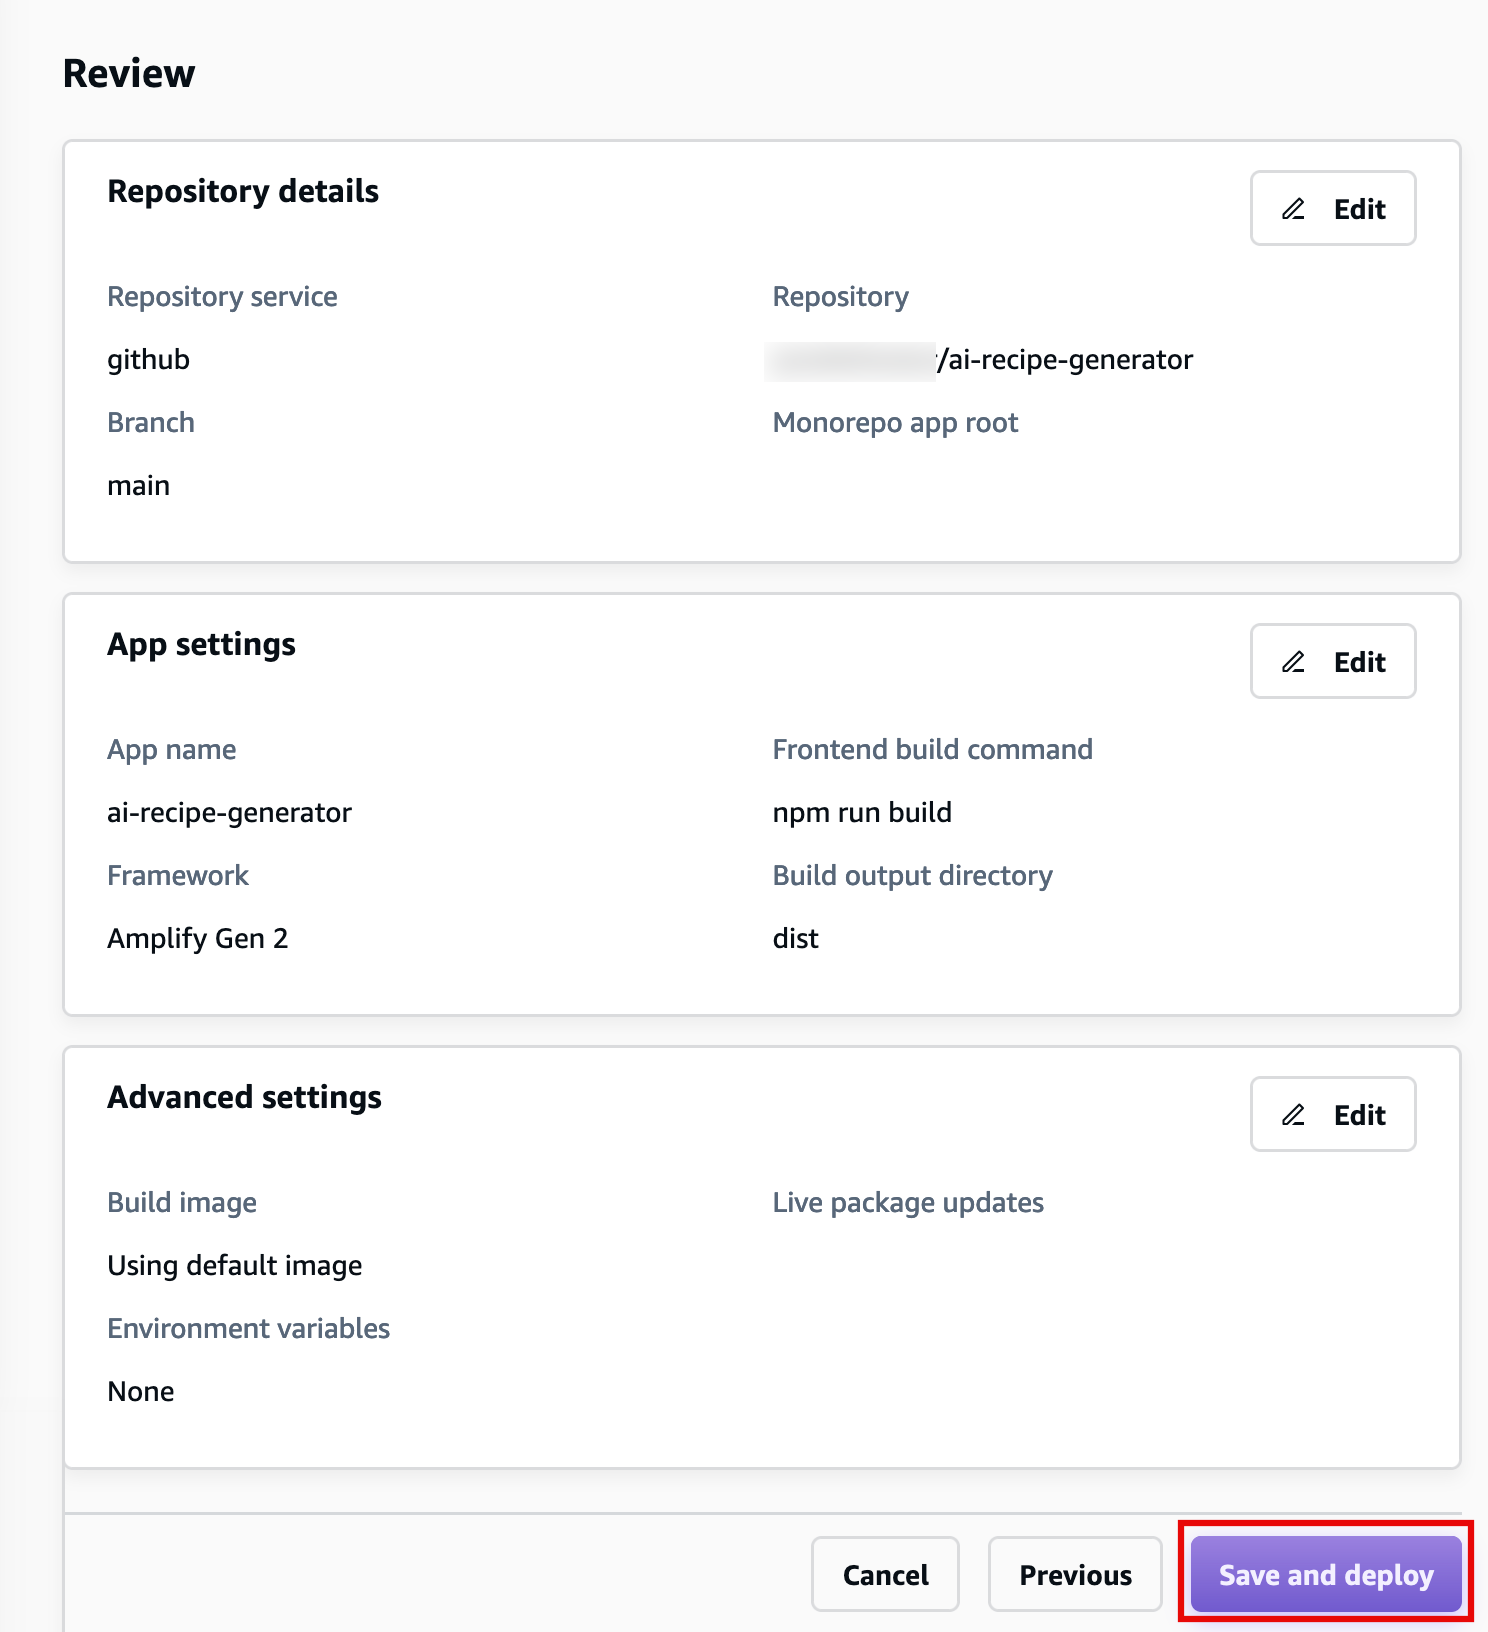
5. Review configuration
Review the inputs selected, and choose Save and deploy.
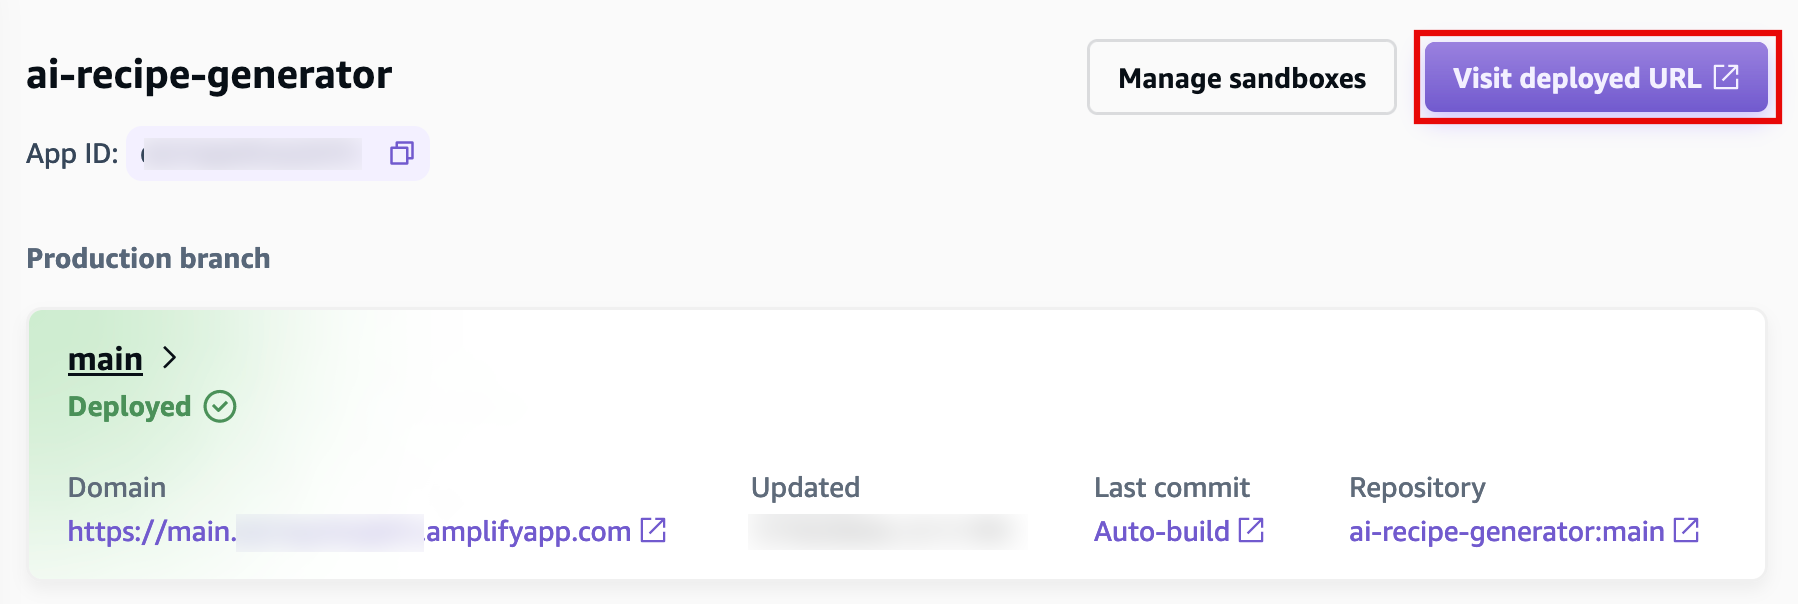
6. View your app
AWS Amplify will now build your source code and deploy your app at https://...amplifyapp.com, and on every git push your deployment instance will update. It may take up to 5 minutes to deploy your app.
Once the build completes, select the Visit deployed URL button to see your web app up and running live.
Conclusion
Did you find what you were looking for today?
Let us know so we can improve the quality of the content on our pages