How do I set up my account?
Learn how to create your AWS account and configure your development workspace. We'll guide you through the essential steps to get your environment ready, so you can start working with AWS resources and services.
Get to know the AWS Cloud
Onboarding to AWS
If you're a beginner looking for a starting point to learn AWS, we recommend that you complete the following onboarding tasks in order, from task 1 to task 12.
These tasks will help you learn how to launch and configure several different AWS services across a broad range of categories.

Decision guides
AWS decision guides provide an overview of our services with guidance to help you choose the services that fit your use case.
Decision guides are now available for a range of service categories including machine learning, analytics, containers, storage, networking services, and more.

Learn the essentials
Taking the first steps as you start building on the cloud can seem overwhelming. Adjusting to a cloud-native approach can take time, especially if you are accustomed to the traditional on-premises way of provisioning hardware and building applications.
Gaining familiarity with core concepts of cloud computing and the AWS Cloud will help give you confidence as you begin your cloud journey. In the following sections, we answer common questions about cloud computing and explore best practices for building on AWS.

Getting started with Amazon Q Developer in Visual Studio Code
In this quick tutorial, we show you how to install and use the Amazon Q extension to supercharge your development process with AI-powered features like inline code completion, sophisticated code analysis, and more.
Perfect for developers looking to enhance productivity and streamline their coding workflow. Whether you’re a beginner or a pro, Amazon Q has something to offer.
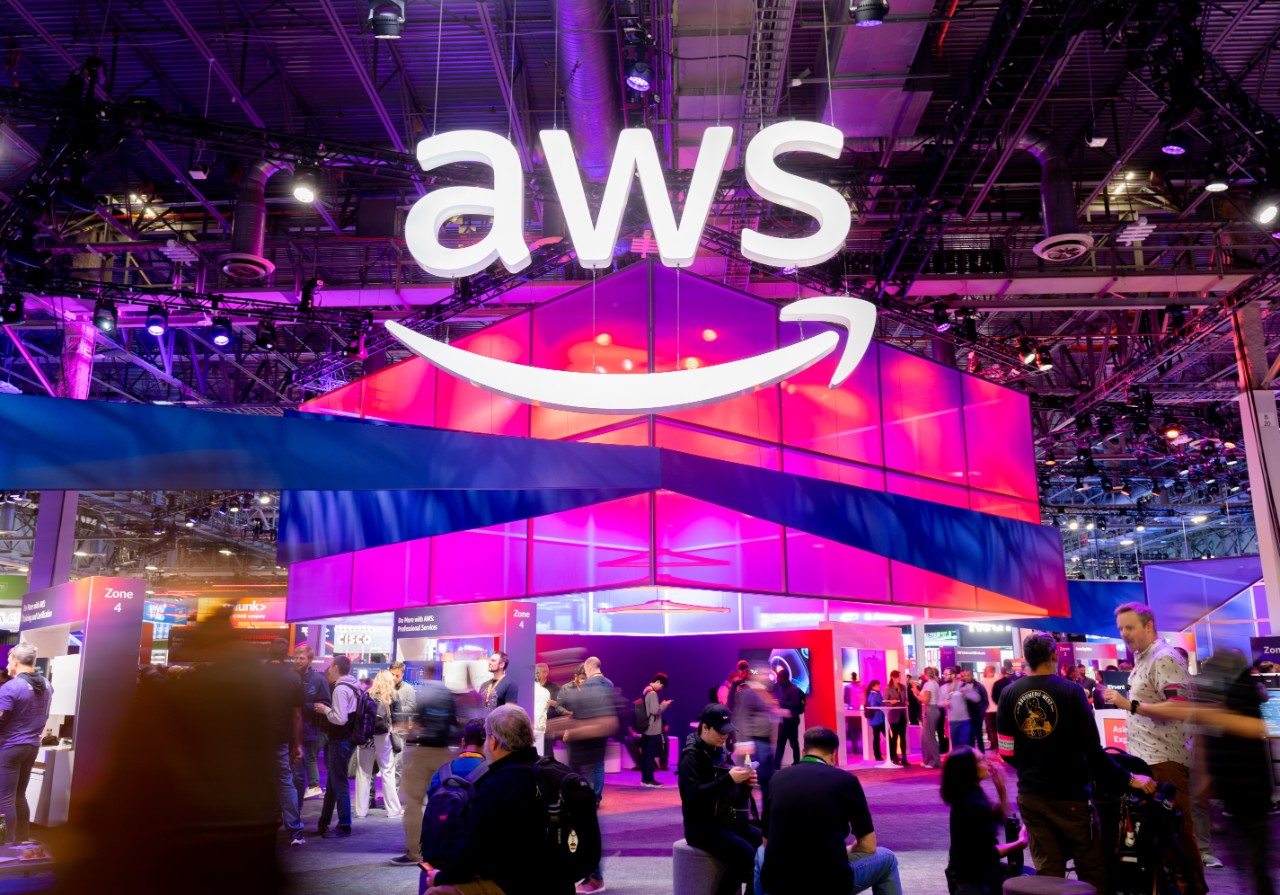
AWS re:Invent 2024
AWS re:Invent is where the global cloud community unites to build the future. During a week of groundbreaking keynote announcements, hands-on technical sessions, and interactive learning opportunities, cloud pioneers and innovators build revolutionary solutions, from cloud migration to generative AI.
Customized learning paths and formats are available to fit every attendee’s needs and skill level, from new developers to seasoned experts. With direct access to experienced AWS architects, leaders, and partners, attendees get the support they need to pursue their most ambitious goals and professional milestones.
Hear insights from AWS and industry-thought leaders, grow your skills, and get inspired. Watch re:Invent 2024 videos on-demand.
Continue your journey
Did you find what you were looking for today?
Let us know so we can improve the quality of the content on our pages