Task 3: Create a Data Table
In this task, you will create a data model to persist data using a GraphQL API and Amazon DynamoDB
Introduction
Implementation
Set up Amplify Data
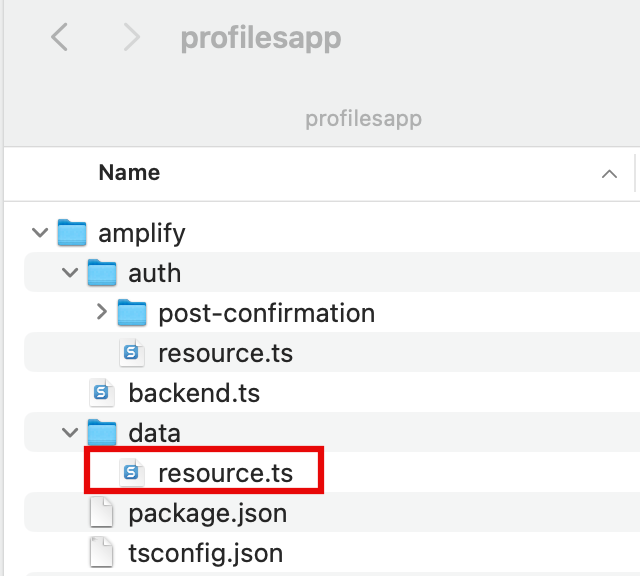
1. Update the resource file
On your local machine, navigate to the amplify/data/resource.ts file and update it with the code in this file. Then, save the file.
This code will define the schema for the UserProfile data model using a per-owner authorization rule allow.owner() to restrict the expense record’s access to the creator of the record
It also uses the field profileOwner to track the ownership, and configures the authorization rule to allow the postConfirmation resource.
Granting access to resources creates environment variables for your function, such as the GraphQL API endpoint.
2. Deploy sandbox
Open a new terminal window, navigate to your app's root folder (profilesapp), and run the following command to deploy cloud resources into an isolated development space so you can iterate fast.
npx ampx sandbox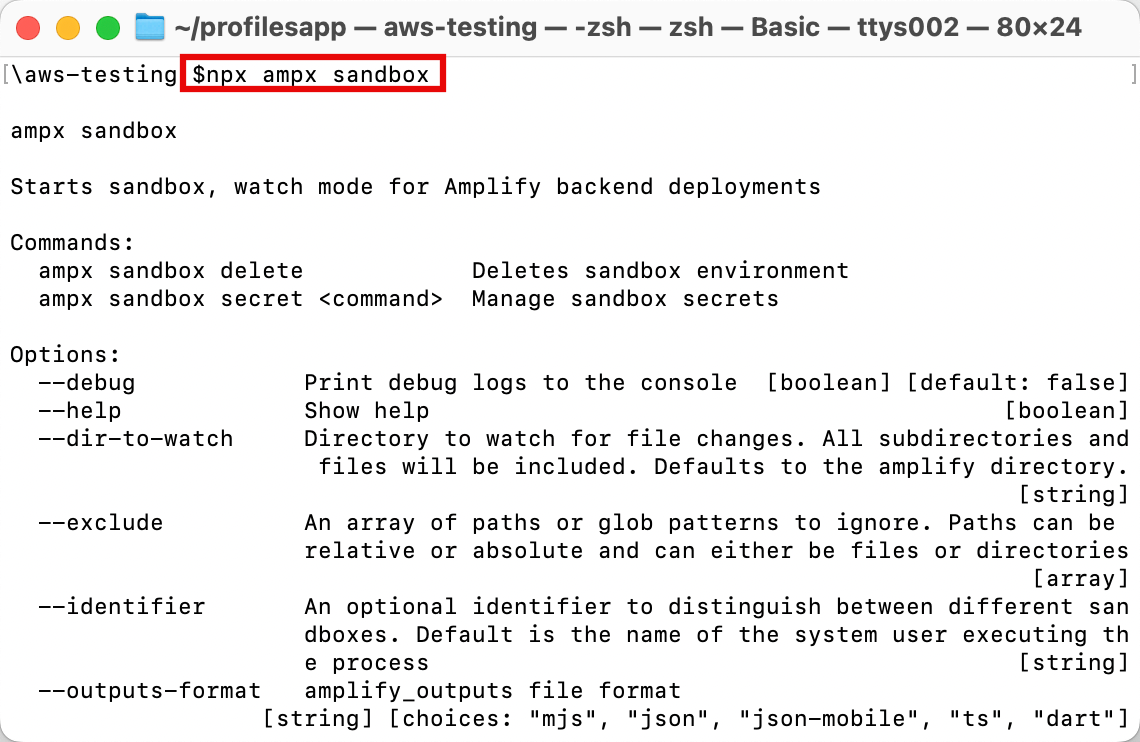
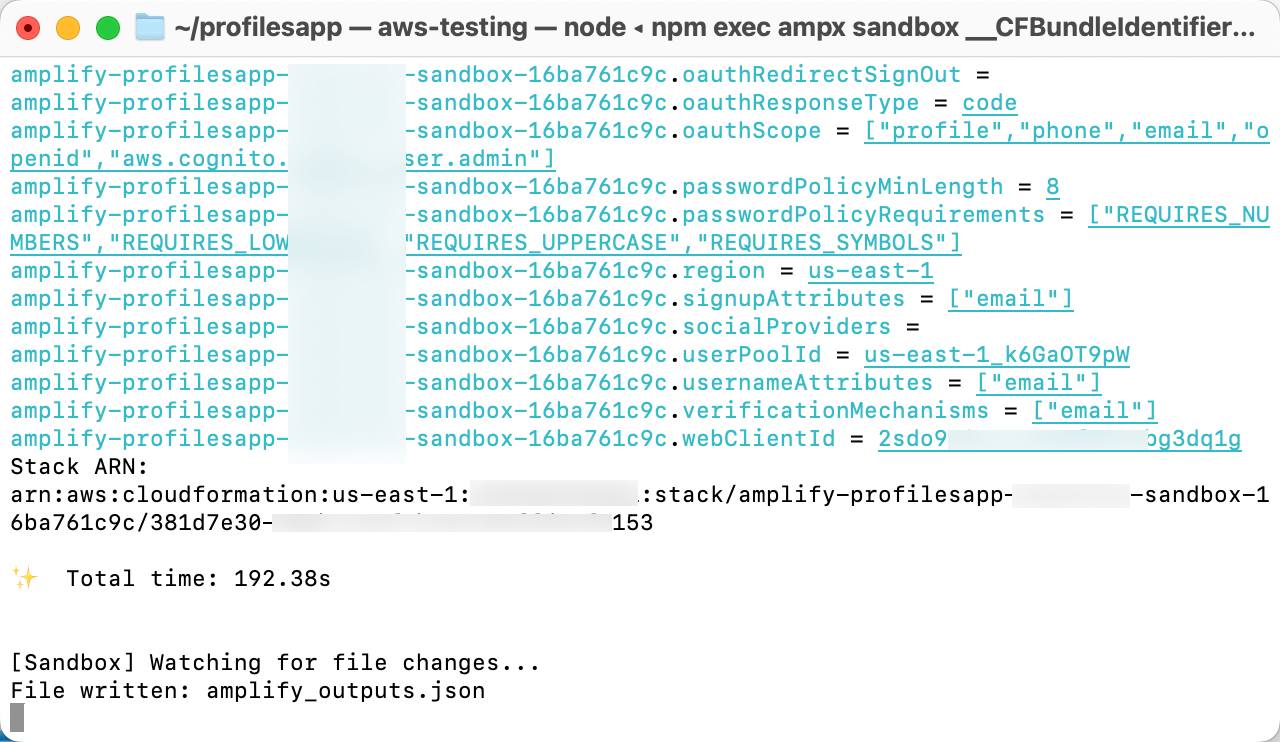
3. View confirmation message
Once the cloud sandbox has been fully deployed, your terminal will display a confirmation message.
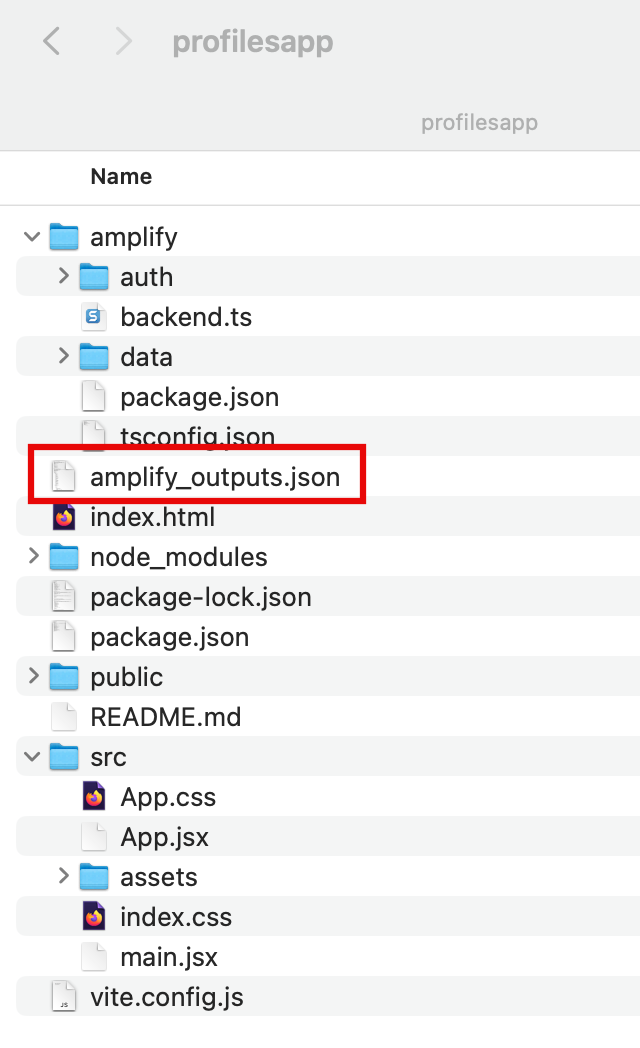
4. Verify outputs file is added to your project
Verify that the amplify_outputs.json file was generated and added to your project.
5. Generate GraphQL client code
Open a new terminal window, navigate to your app's root folder(profilesapp), and run the following command to generate the GraphQL client code to call your data backend.
Note: You will need to update the following command to use the path to the post-confirmation folder that you created in the previous step. For example: npx ampx generate graphql-client-code --out amplify/auth/post-confirmation/graphql.
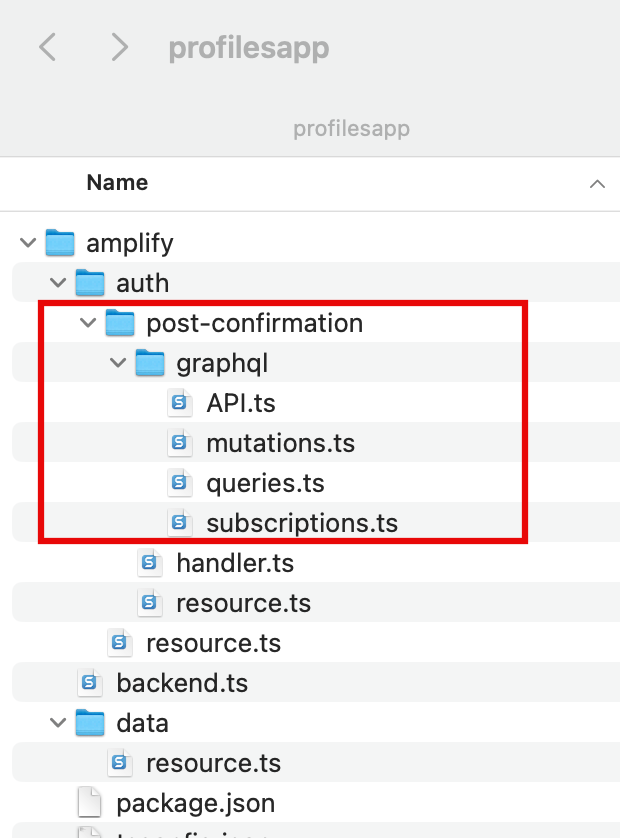
npx ampx generate graphql-client-code --out <path-to-post-confirmation-handler-dir>/graphqlAmplify will create the folder amplify/auth/post-confirmation/graphql where you will find the client code to connect to the GraphQL API.
Modify Lambda function to connect to the API
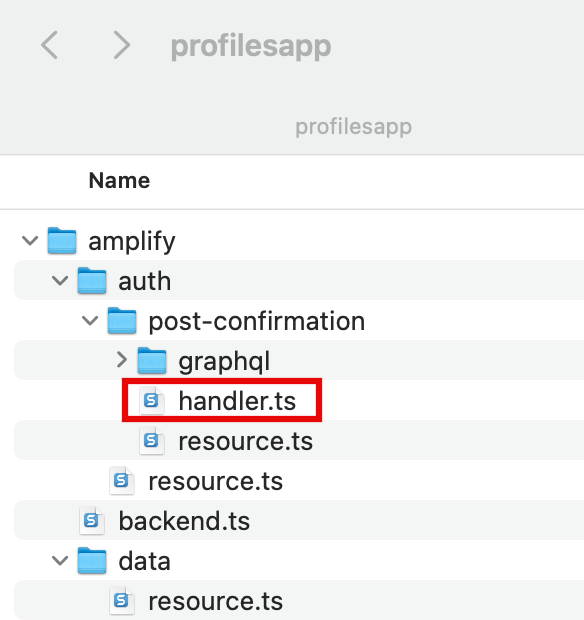
1. Modify the handler file
On your local machine, navigate to the amplify/auth/post-confirmation/handler.ts file and replace the code with the code in this file. Then, save the file.
This code configures the Amplify using the env variables and sets the authorization to use IAM. It then generates a data client using the generateClient() function. Finally, it uses the data client to create a user profile by setting the email and owner based on the attributes of the signed-up user.
Conclusion
Link a Serverless Function to a Web App
Did you find what you were looking for today?
Let us know so we can improve the quality of the content on our pages