Build a Basic Web Application
Task 2: Build a Serverless Function
In this task, you will use AWS Amplify and AWS Lambda to build a serverless function.
Introduction
Implementation
Set up an Amplify Function
1. Create files
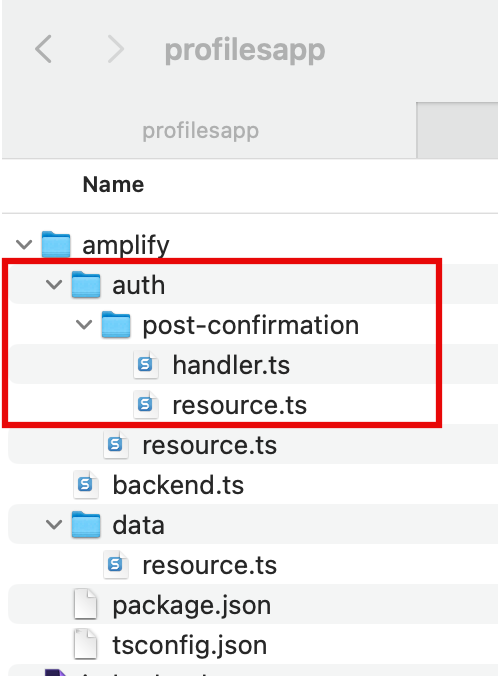
On your local machine, navigate to the profilesapp/amplify/auth folder.
Create a new folder inside the amplify/auth folder and name it post-confirmation.
Create the files named resource.ts and handler.ts inside the folder.
2. Update the resources file
Update the amplify/auth/post-confirmation/resource.ts file with the following code to define the postConfirmation function. Then, save the file.
import { defineFunction } from '@aws-amplify/backend'; export const postConfirmation = defineFunction({ name: 'post-confirmation',});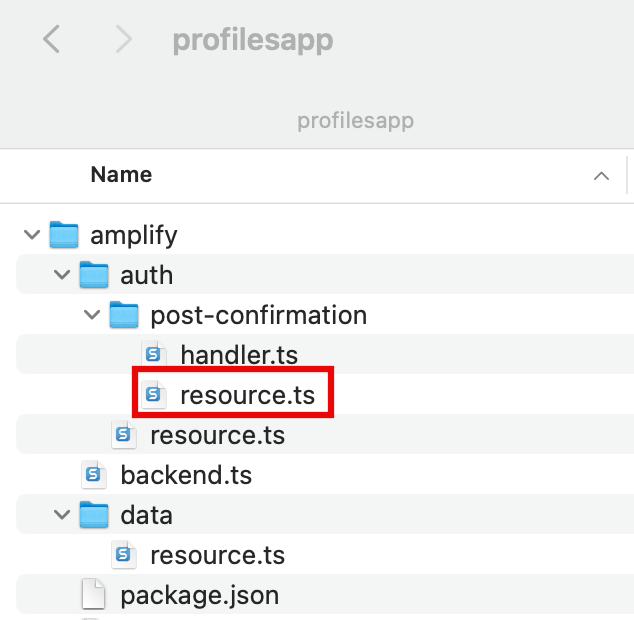
3. Update the handler file
Update the amplify/auth/post-confirmation/handler.ts file with the following code to define the function’s handler. Then, save the file.
import type { PostConfirmationTriggerHandler } from "aws-lambda"; export const handler: PostConfirmationTriggerHandler = async (event) => { return event;};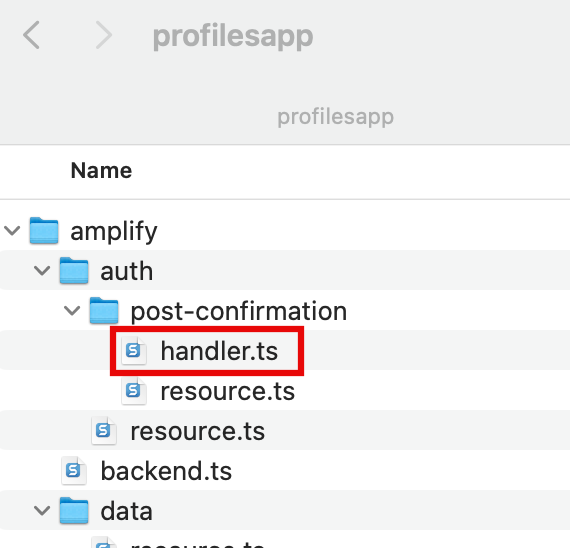
Conclusion
You have defined a Lambda function using Amplify.
Link Serverless Function to Web App
Did you find what you were looking for today?
Let us know so we can improve the quality of the content on our pages