AWS Startups Blog
A Guide to Amazon Simple Notification Service Mobile Push Self-registration for iOS
Part 1: Lets get Pushy!
Mobile applications that do not send push notifications are few and far between these days. The ability to engage with your users to prompt them to continue to interact with your app is table stakes for the continued success of your application. You accomplish this interaction with push notifications.
One of the challenges with push notification is that each platform (Kindle, iOS, Android, Windows Phone/Desktop, Baidu) have different APIs and different requirements to send push notifications. Amazon SNS mobile push comes into play as a broker between your application’s back-end and the various push notification services so you can use a single API to send push notifications to ADM, APNS, GCM, MPNS, WNS and Baidu for Android in China.
Recently, one of our startup customers was working to incorporate mobile push on their new iOS app and selected Amazon SNS Mobile Push. They knew an Android app was imminent, and they didn’t want to have to recode their back end when they launched on a second mobile platform. As a startup, they were also looking to minimize costs and stay as lean as possible. The overhead of creating and maintaining an API infrastructure to interact with Amazon SNS mobile push, the user’s device, and APNS was more than they wanted to tackle. They endeavored to have the device self-register with Amazon SNS mobile push directly, eliminating the need for their own API for such notifications.
To receive push notifications from Amazon SNS mobile push, a mobile app needs to take three basic steps, regardless of the platform:
- The app starts and makes a device-specific request to register with the push service.
- Upon successful registration, the push service returns a registration token, registration ID, a URI, or user and channel ID (platform dependent).
- The registration token is sent to your Amazon SNS mobile push app and is registered as an endpoint. Amazon SNS mobile push needs that registration device token (iOS) so that it knows where to send notifications.
In the case of iOS, you implement the first two steps by using the iOS SDK provided by Apple. Step three is handled either by using an AWS SDK or directly interacting with AWS APIs. For our example, we will use AWS SDK for iOS (2.0.7 as of this writing).
As a quick and easy starting point, let’s modify an example app that you can download from Amazon SNS mobile push documentation. We will assume that you already have the latest Xcode version and iOS SDK from Apple installed and a test device that you can deploy an iOS app to.
Deploying your test application to a device is required because the iOS device simulator that comes with Xcode does not support registering with APNS, preventing you from receiving a token to register with Amazon SNS mobile push.
Note: When following this post, the word “app” gets used a lot. We will try to make it clear which app we are talking about in each step.
Step 1: An Example App
Download the file ‘snsmobilepush.zip’ from the Amazon SNS Mobile Push documentation under Step 5: Obtain a Device Token. Unzip the file and open up the Xcode project in the following location:
/snsmobilepush-2/AppleMobilePushApp/iOS 8/AmazonMobilePush.Xcodeproj
This example app is designed to get you up and running quickly to send a push notification to a device. All it does is register with APNS at launch and prints the device’s APNS registration device token to the console in Xcode. You then manually enter the token into the Amazon SNS Console and then manually publish a push notification, also from the console.
Follow the first five steps in the documentation to get the example app running. Make sure you can run the application on your test device and you can send a test push notification from the console.
If you are having problems getting the example app to register with APNS, it is probably because of your key and provisioning profile. Make sure to follow Apple’s documentation on Provisioning and Development.
A close look at the example app code reveals that everything happens in the AppDelegate. There is a code block in the didFinishLaunchingWithOptions: method that performs the registration with APNS once the app is loaded. On successful registration, the didRegisterForRemoteNotificationsWithDeviceToken: method is called and the device token is printed to the console.
Note: The iOS 8 version of the example app also sets up a framework for using Interactive Push Notifications. These are the readAction, ignoreAction and deleteAction methods in the example app. We will ignore this extra code for now.
There is also a method didFailToRegisterForRemoteNotificationsWithError: that catches any registration errors and prints them to the console. If you run this application in the simulator, you will see an error in the console about the simulator not being supported, which this method catches.
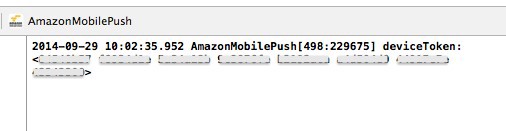
Once you have the example app running on your test device, while connected to your Mac, you will see your APNS registration device token in the console:
Step 2: Amazon SNS Mobile Push App
Amazon SNS mobile push has a concept of an app as well. An Amazon SNS mobile push app identifies your application but also defines the platform you are sending pushes to. If you are sending push notifications to multiple platforms, you will have one Amazon SNS mobile push app per platform.
Setting up an Amazon SNS mobile push app for our example is straightforward. The directions can be found in the Amazon SNS Developer Guide.
In Step 1 above, you exported .p12 files with your private and public APNS key. You will use these to create the Amazon SNS mobile push App. You can either upload your .p12 directly or cut and paste the contents of the private and public key into the console.
Note: If you created your Apple developer app and APNS certificate in the development environment, you will want to select Apple Push Notification Sandbox (APNS_SANDBOX) in the Push Platform drop-down when creating your Amazon SNS mobile push app.
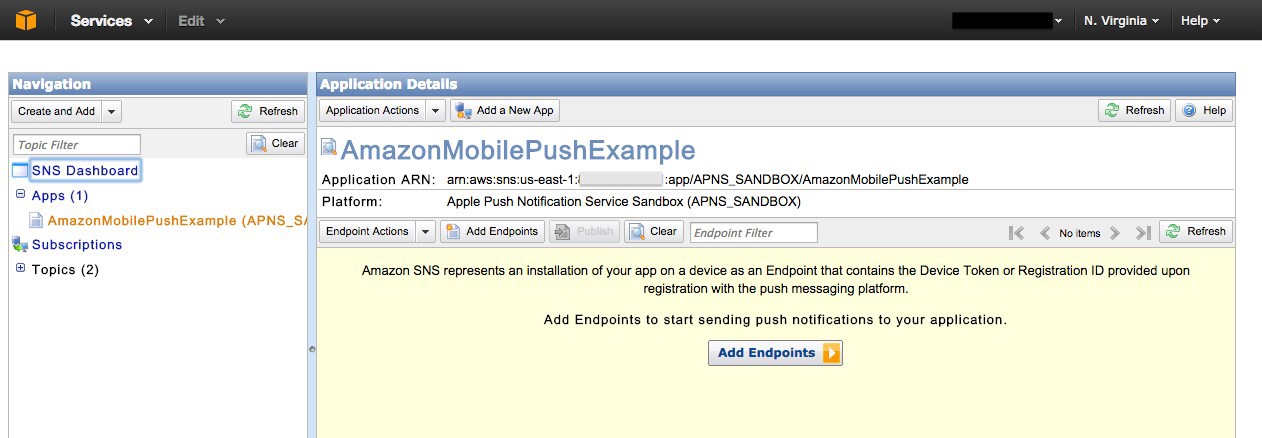
Once you have your Amazon SNS mobile push app set up, you’ll find it under Apps in the Amazon SNS console:
You can click Add Endpoints in the console and paste your APNS registration device token from the console in Xcode to add your device. Be sure to remove the spaces when entering in the device token.
Once your endpoint is added, click Publish to send a push notification.
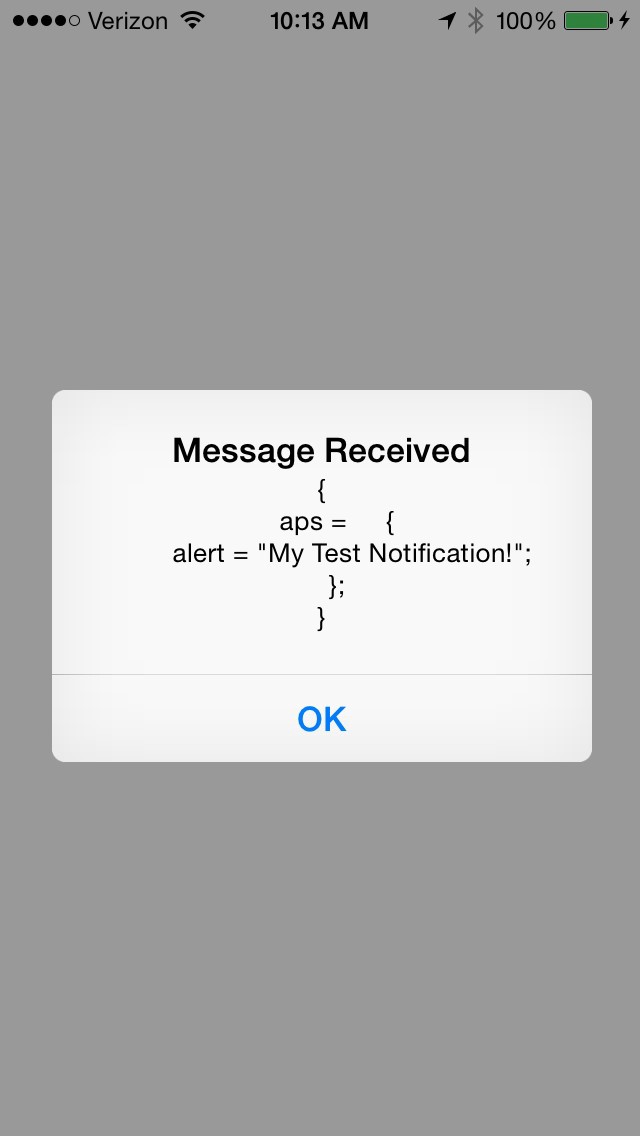
You can send a push notification while the app is running. It should look like this:
You can also send a notification while the app is closed. You should see it appear as well:

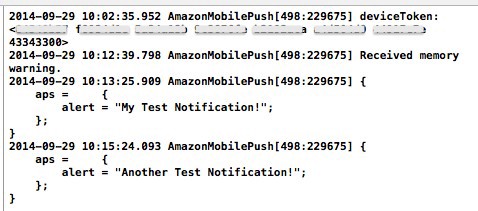
And in the Xcode console you also should see your messages logged:
Part 1 Conclusion
In this first part of this series, we deployed an example application and sent a push notification to a test iOS device. This part isn’t all that complicated, but it is a prerequisite to self-registration. In the second part, we will use the AWS SDK for iOS and Amazon Cognito to have the device self-register with Amazon SNS mobile push without the need for a custom API back end.