AWS News Blog
Introducing AWS Snowcone – A Small, Lightweight, Rugged, Secure Edge Computing, Edge Storage, and Data Transfer Device

|
Last month I published my AWS Snowball Edge Update and told you about the latest updates to Snowball Edge, including faster storage-optimized devices with more memory & vCPUs, the AWS OpsHub for Snow Family GUI-based management tool, IAM for Snowball Edge, and Snowball Edge Support for AWS Systems Manager.
AWS Snowcone
Today I would like to introduce you to the newest and smallest member of the AWS Snow Family of physical edge computing, edge storage, and data transfer devices for rugged or disconnected environments, AWS Snowcone:

AWS Snowcone weighs 4.5 pounds and includes 8 terabytes of usable storage. It is small (9″ long, 6″ wide, and 3″ tall) and rugged, and can be used in a variety of environments including desktops, data centers, messenger bags, vehicles, and in conjunction with drones. Snowcone runs on either AC power or an optional battery, making it great for many different types of use cases where self-sufficiency is vital.
The device enclosure is both tamper-evident and tamper-resistant, and also uses a Trusted Platform Module (TPM) designed to ensure both security and full chain-of-custody for your data. The device encrypts data at rest and in transit using keys that are managed by AWS Key Management Service (AWS KMS) and are never stored on the device.
Like other Snow Family devices, Snowcone includes an E Ink shipping label designed to ensure the device is automatically sent to the correct AWS facility and to aid in tracking. It also includes 2 CPUs, 4 GB of memory, wired or wireless access, and USB-C power using a cord or the optional battery. There’s enough compute power for you to launch EC2 instances and to use AWS IoT Greengrass.
You can use Snowcone for data migration, content distribution, tactical edge computing, healthcare IoT, industrial IoT, transportation, logistics, and autonomous vehicle use cases. You can ship data-laden devices to AWS for offline data transfer, or you can use AWS DataSync for online data transfer.
Ordering a Snowcone
The ordering process for Snowcone is similar to that for Snowball Edge. I open the Snow Family Console, and click Create Job:
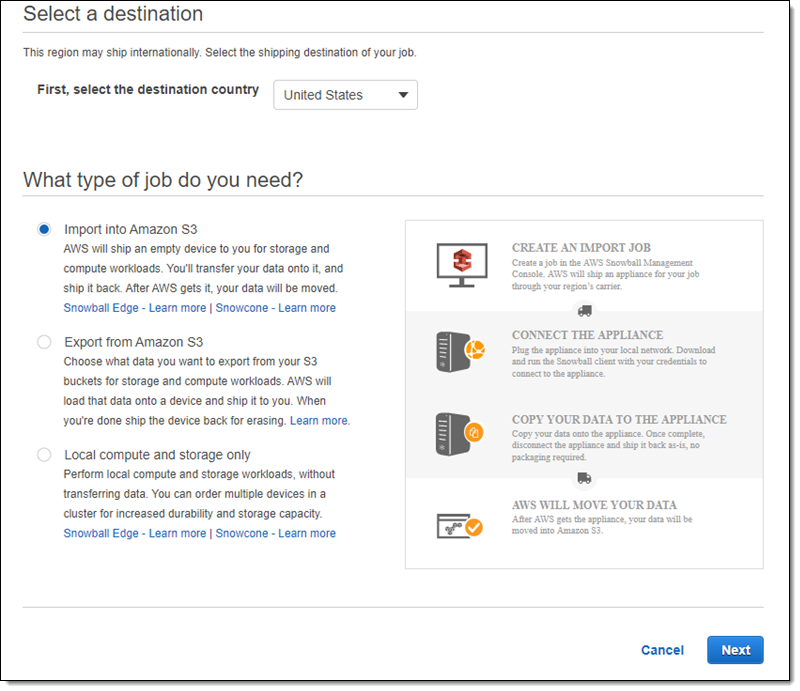
 I select the Import into Amazon S3 job type and click Next:
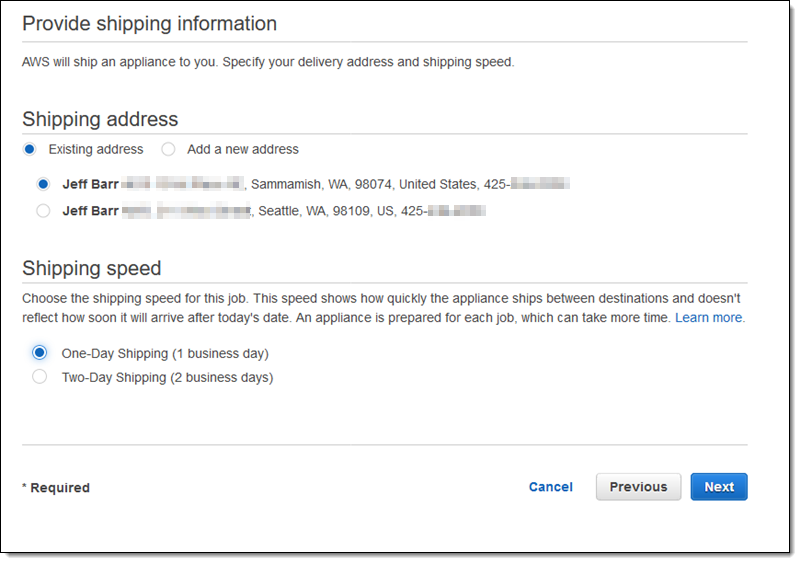
I choose my address (or enter a new one), and a shipping speed:
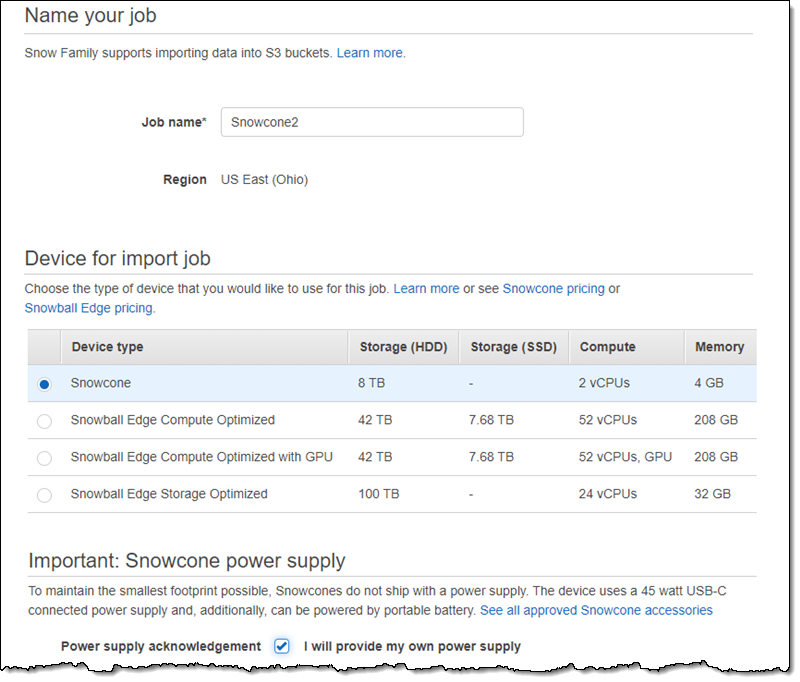
Next, I give my job a name (Snowcone2) and indicate that I want a Snowcone. I also acknowledge that I will provide my own power supply:
Deeper into the page, I choose an S3 bucket for my data, opt-in to WiFi connectivity, and choose an EC2 AMI that will be loaded on the device before it is shipped to me:
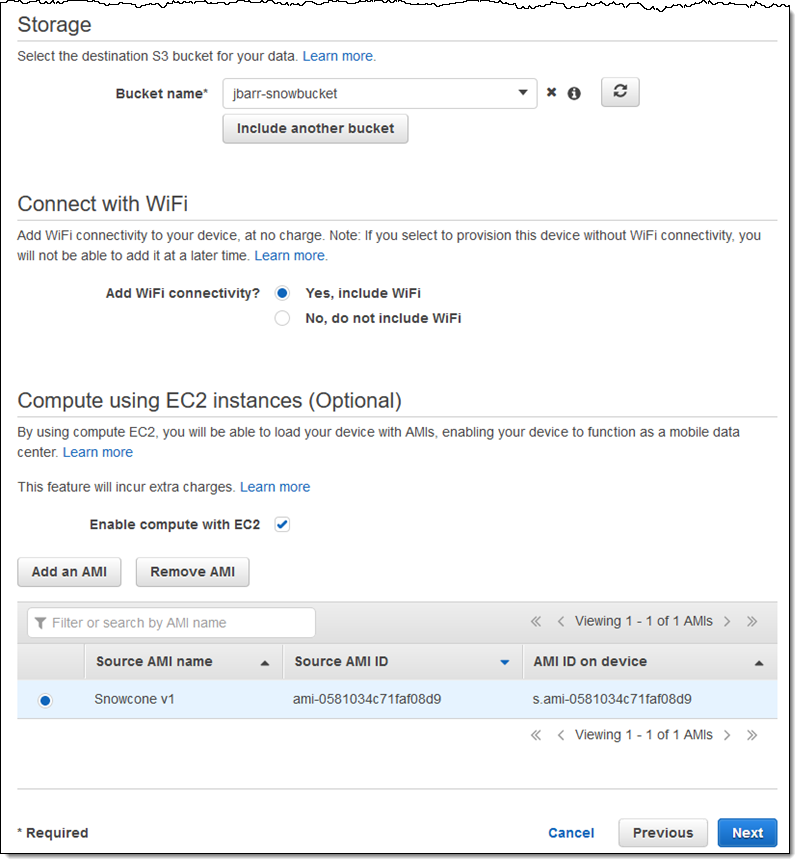
As you can see from the image, I can choose multiple buckets and/or multiple AMIs. The AMIs must be made from an instance launched from a CentOS or Ubuntu product in AWS Marketplace, and it must contain a SSH key.
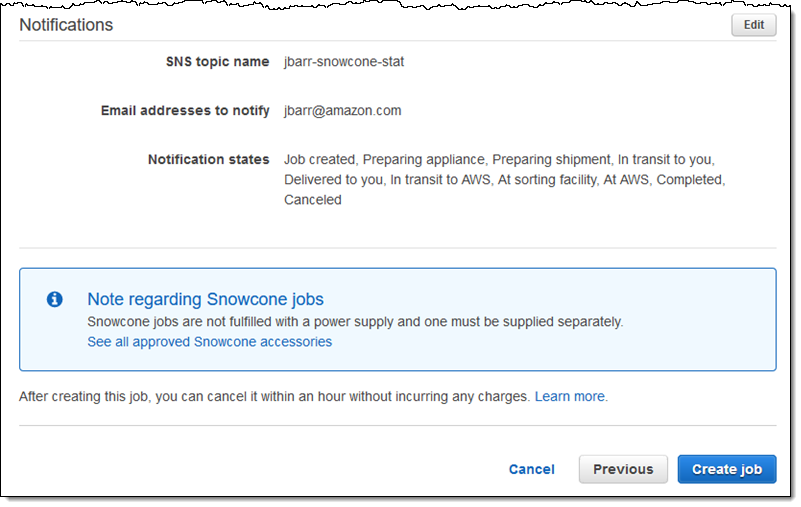
On successive pages (not shown), I specify permissions (an IAM role), choose an AWS Key Management Service (AWS KMS) key to encrypt my data, and set up a SNS topic for job notifications. Then I confirm my choices and click Create job:
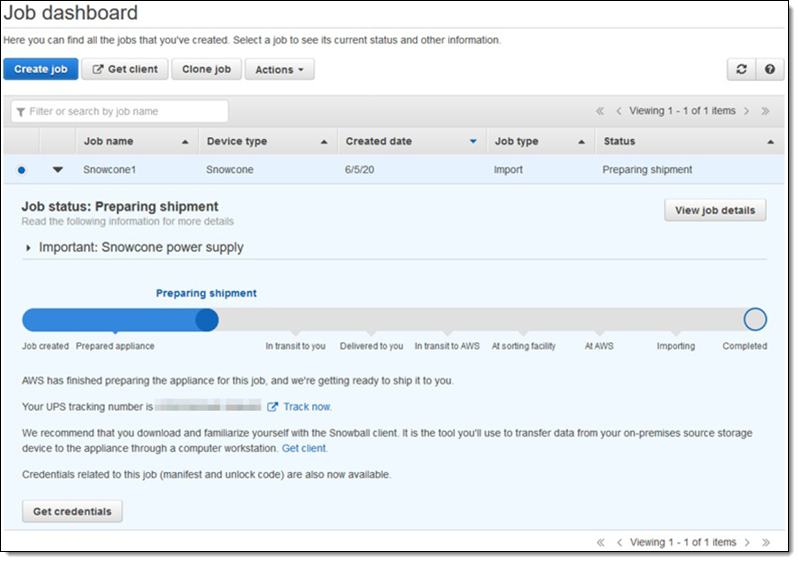
Then I await delivery of my device! I can check the status at any time:
As noted in one of the earlier screens, I will also need a suitable power supply or battery (you can find several on the Snowcone Accessories page).
Time passes, the doorbell rings, Luna barks, and my device is delivered…

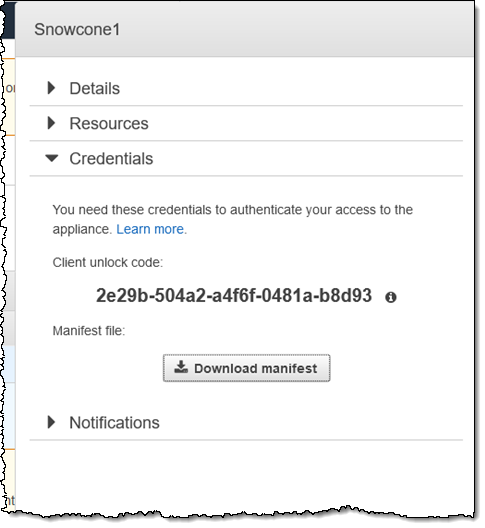
The console also updates to show that my device has been delivered:

On that page, I click Get credentials, copy the client unlock code, and download the manifest file:
Setting up My Snowcone
I connect the Snowcone to the power supply and to my network, and power up! After a few seconds of initialization, the device shows its IP address and invites me to connect:
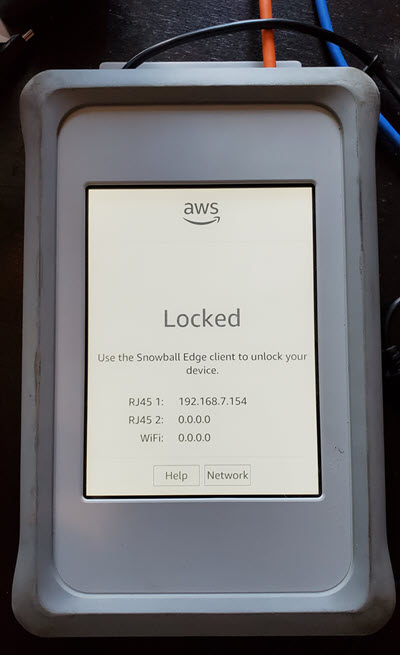
The IP address was supplied by the DHCP server on my home network, and should be fine. If not, I can touch Network and configure a static IP address or log in to my WiFi network.
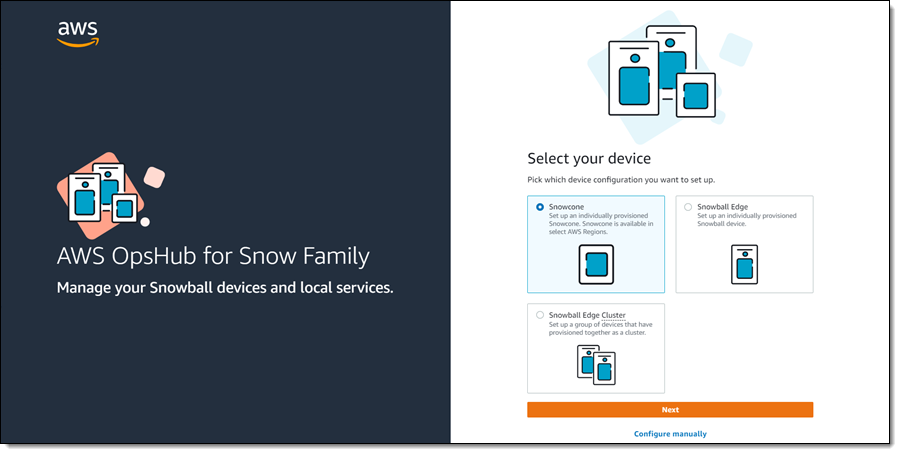
Next, I download AWS OpsHub for Snow Family, install it, and then configure it to access the device. I select Snowcone and click Next:
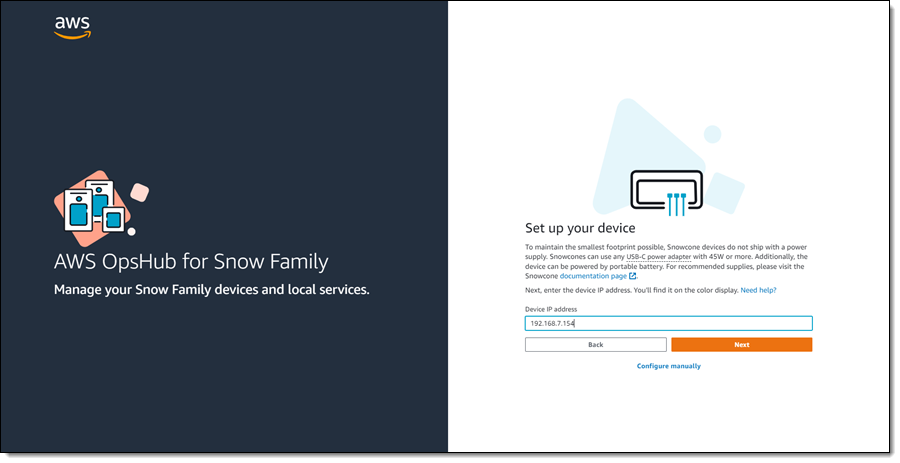
I enter the IP address as shown on the display:
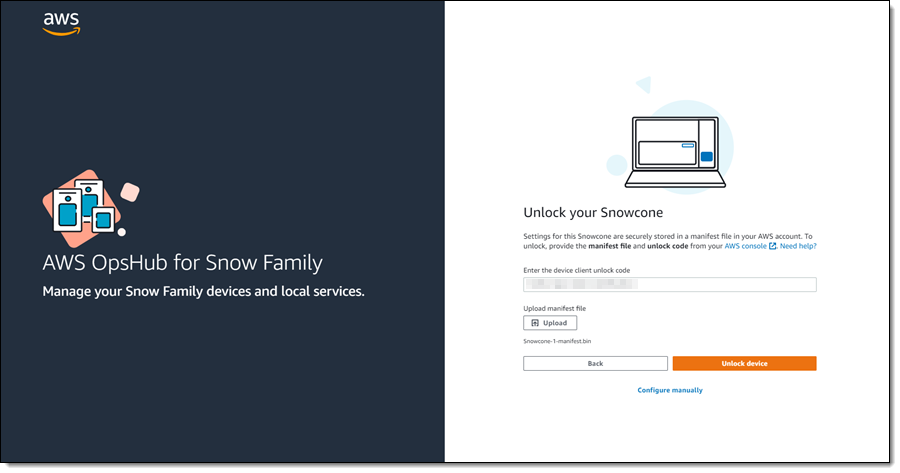
Then I enter the unlock code, upload the manifest file, and click Unlock device:
After a minute or two, the device is unlocked and ready. I enter a name (Snowcone1) that I’ll use within AWS OpsHub and click Save profile name:
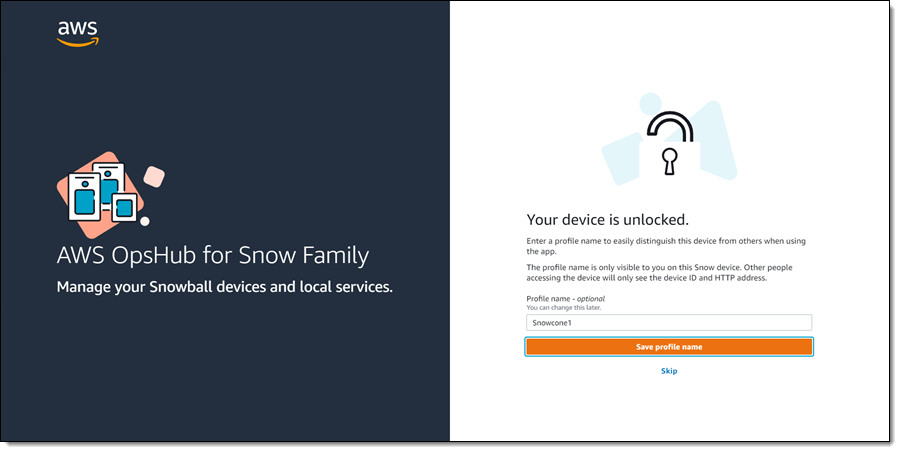
I’m all set:
AWS OpsHub for Snow Family
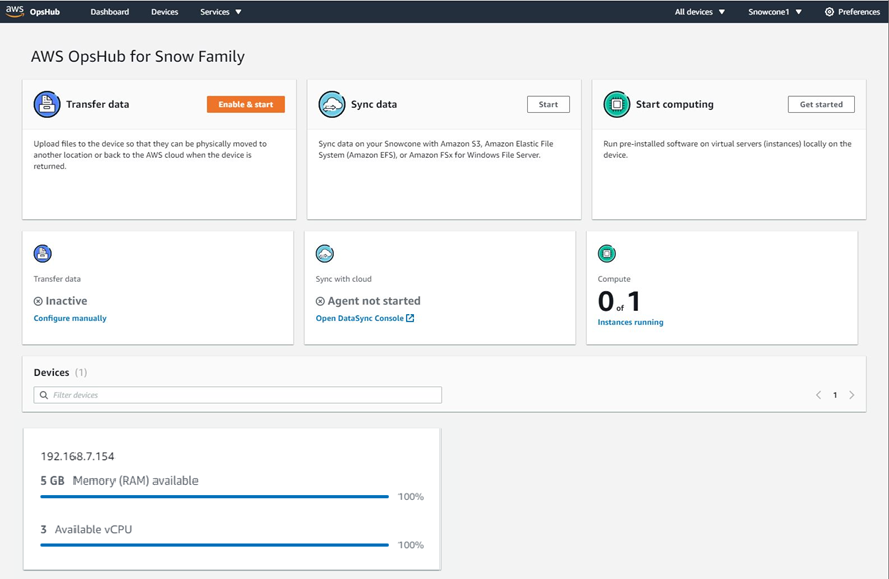
Now that I have ordered & received my device, installed AWS OpsHub for Snow Family, and unlocked my device, I am ready to start managing some file storage and doing some edge computing!
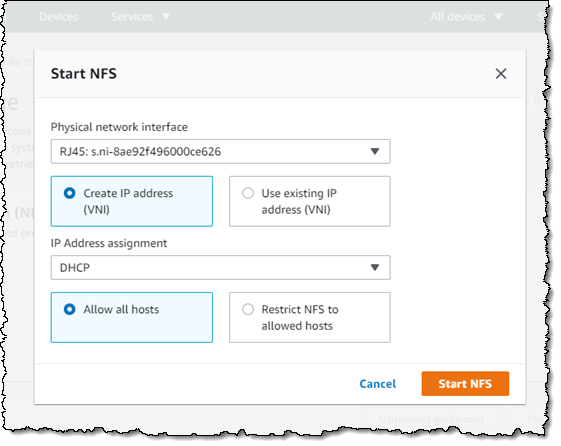
I click on Get started within Manage file storage, and Start NFS. I have several network options, and I’ll use the defaults:
The NFS server is ready within a minute or so, and it has its own IP address:
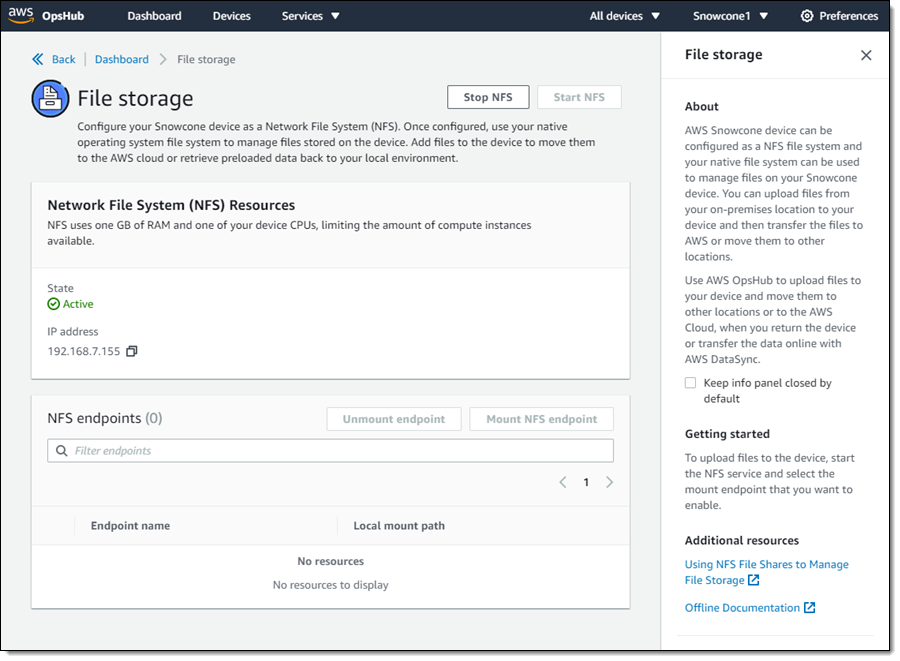
Once it is ready I can mount the NFS volume and copy files to the Snowcone:
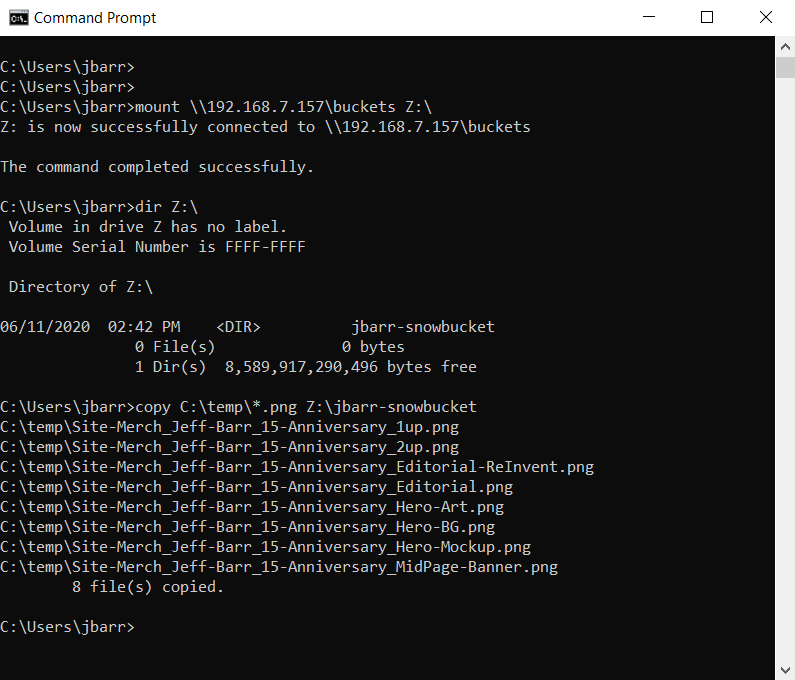
I can store process these files locally, or I can use AWS DataSync to transfer them to the cloud.
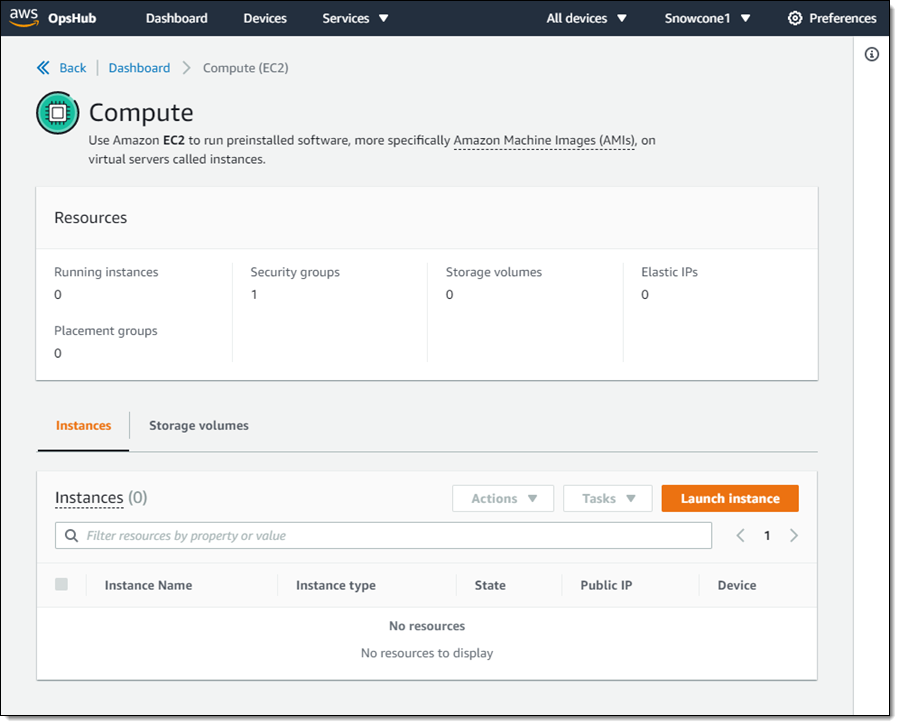
As I showed you earlier in this post, I selected an EC2 AMI when I created my job. I can launch instances on the Snowcone using this AMI. I click on Compute, and Launch instance:
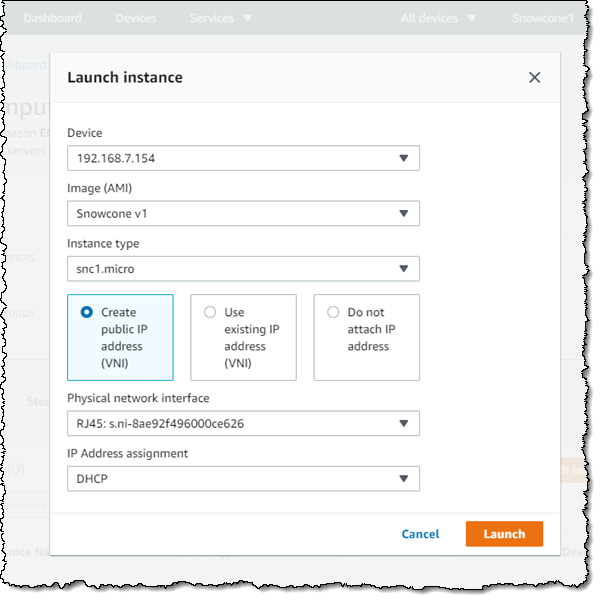
I have three instance types to choose from:
| Instance Name | CPUs | RAM |
| snc1.micro | 1 | 1 GiB |
| snc1.small | 1 | 2 GiB |
| snc1.medium | 2 | 4 GiB |
I select my AMI & instance type, confirm the networking options, and click Launch:
I can also create storage volumes and attach them to the instance.
The ability to build AMIs and run them on Snowcones gives you the power to build applications that do all sorts of interesting filtering, pre-processing, and analysis at the edge.
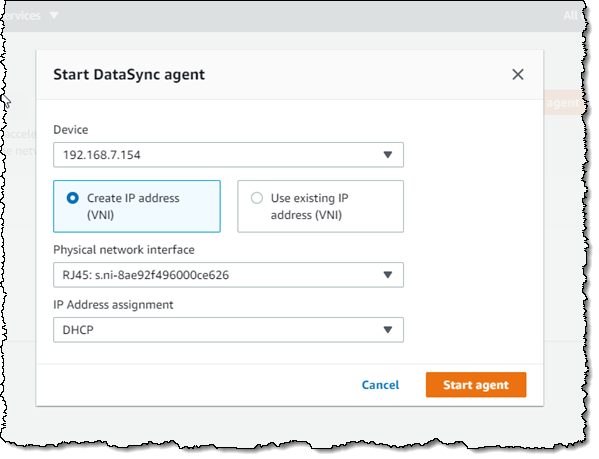
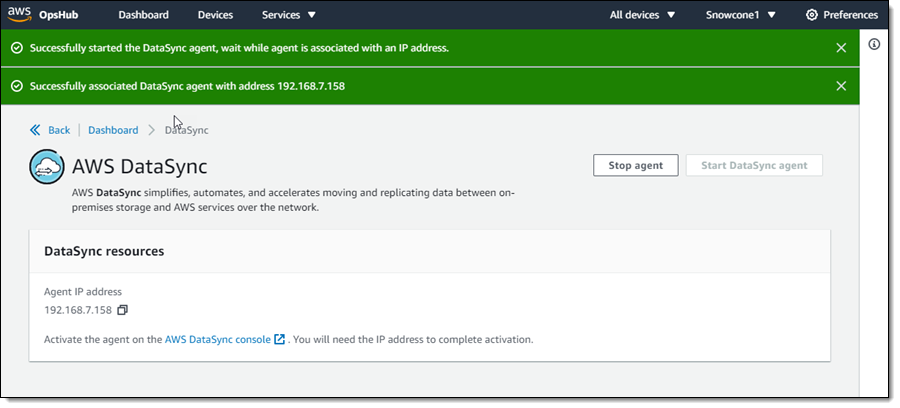
I can use AWS DataSync to transfer data from the device to a wide variety of AWS storage services including Amazon Simple Storage Service (Amazon S3), Amazon Elastic File System (Amazon EFS), or Amazon FSx for Windows File Server. I click on Get started, then Start DataSync Agent, confirm my network settings, and click Start agent:
Once the agent is up and running, I copy the IP address:
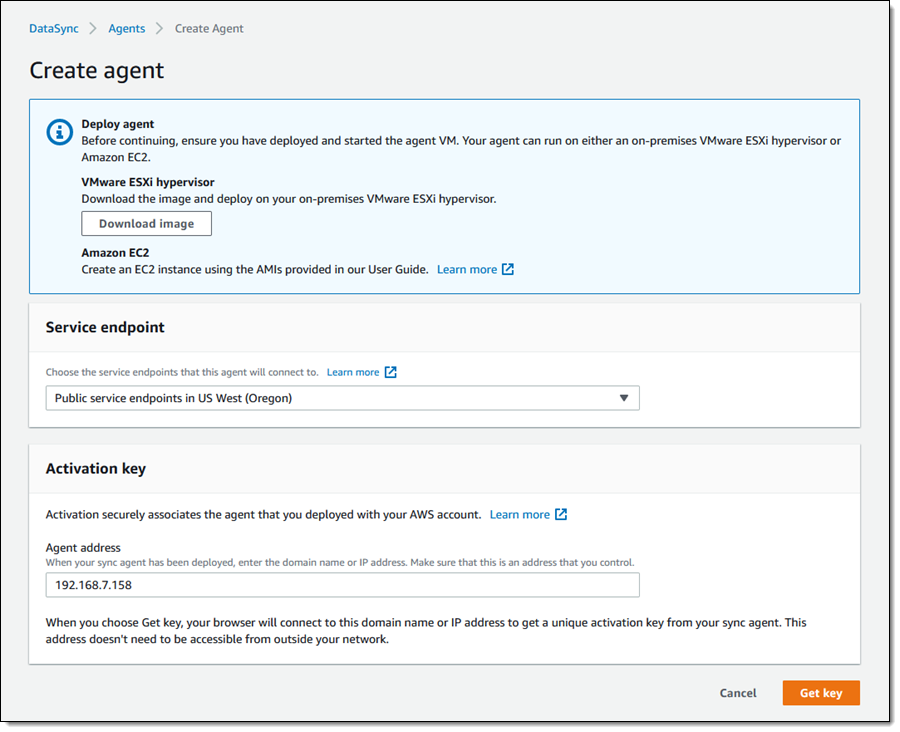
Then I follow the link and create a DataSync agent (the deploy step is not necessary because the agent is already running). I choose an endpoint and paste the IP address of the agent, then click Get key:
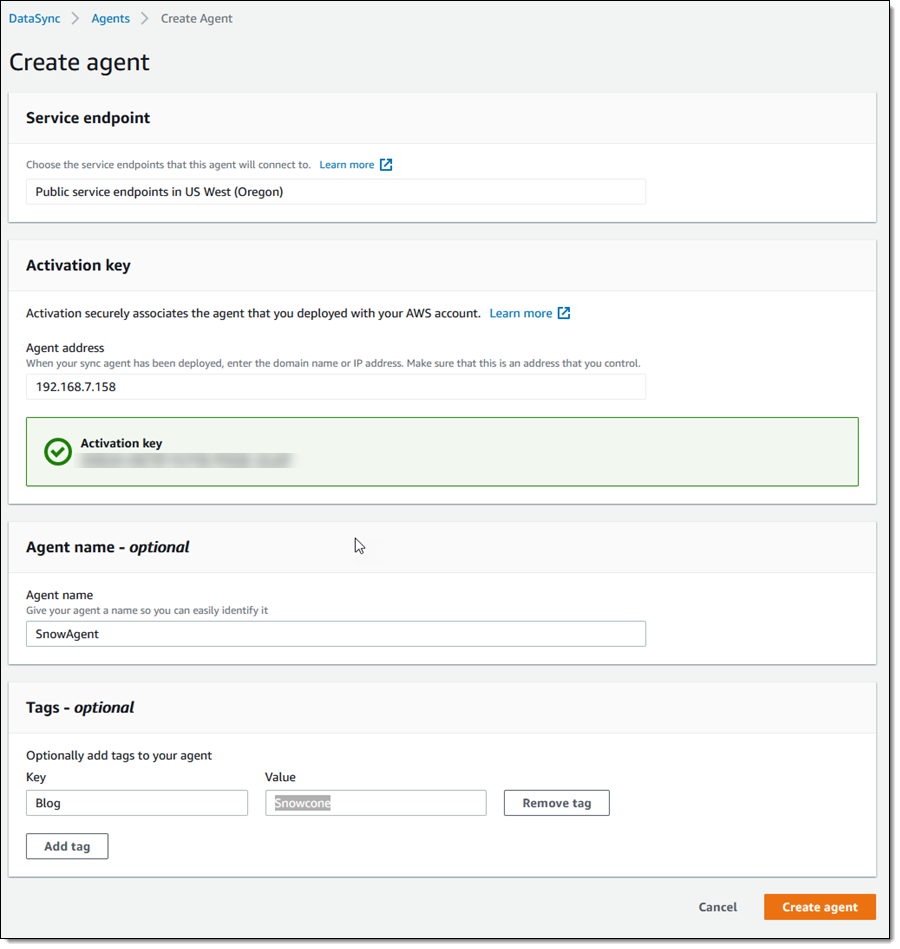
I give my agent a name (SnowAgent), tag it, and click Create agent:
Then I configure the NFS server in the Snowcone as a DataSync location, and use it to transfer data in or out using a DataSync Task.
API / CLI
While AWS OpsHub is going to be the primary access method for most users, the device can also be accessed programmatically. I can use the Snow Family tools to retrieve the AWS Access Key and Secret Key from the device, create a CLI profile (region is snow), and run commands (or issue API calls) as usual:
Get One Today
You can order a Snowcone today for use in US locations, including here in Seattle:
— Jeff;