AWS Compute Blog
Using self-hosted Apache Kafka as an event source for AWS Lambda
Apache Kafka is an open source event streaming platform used to support workloads such as data pipelines and streaming analytics. Apache Kafka is a distributed streaming platform that it is conceptually similar to Amazon Kinesis.
With the launch of Kafka as an event source for AWS Lambda, you can now consume messages from a topic in a Lambda function. This makes it easier to integrate your self-hosted Kafka clusters with downstream serverless workflows.
In this blog post, I explain how to set up an Apache Kafka cluster on Amazon EC2 and configure key elements in the networking configuration. I also show how to create a Lambda function to consume messages from a Kafka topic. Although the process is similar to using Amazon Managed Streaming for Apache Kafka (Amazon MSK) as an event source, there are also some important differences.
Overview
Using Kafka as an event source operates in a similar way to using Amazon SQS or Amazon Kinesis. In all cases, the Lambda service internally polls for new records or messages from the event source, and then synchronously invokes the target Lambda function. Lambda reads the messages in batches and provides the message batches to your function in the event payload.
Lambda is a consumer application for your Kafka topic. It processes records from one or more partitions and sends the payload to the target function. Lambda continues to process batches until there are no more messages in the topic.
Configuring networking for self-hosted Kafka
It’s best practice to deploy the Amazon EC2 instances running Kafka in private subnets. For the Lambda function to poll the Kafka instances, you must ensure that there is a NAT Gateway running in the public subnet of each Region.
It’s possible to route the traffic to a single NAT Gateway in one AZ for test and development workloads. For redundancy in production workloads, it’s recommended that there is one NAT Gateway available in each Availability Zone. This walkthrough creates the following architecture:

- Deploy a VPC with public and private subnets and a NAT Gateway that enables internet access. To configure this infrastructure with AWS CloudFormation, deploy this template.
- When configuring the security of your resources in EC2 it is best practice to limit access to specific security groups or IP addresses. For the sake of this example the following security group configuration is more permissive than you’d normally want to do. From the VPC console, edit the default security group created by this template to provide inbound access to the following ports:
- Custom TCP: ports 2888–3888 from all sources.
- SSH (port 22), restricted to your own IP address.
- Custom TCP: port 2181 from all sources.
- Custom TCP: port 9092 from all sources.
- All traffic from the same security group identifier.

Deploying the EC2 instances and installing Kafka
Next, you deploy the EC2 instances using this network configuration and install the Kafka application:
- From the EC2 console, deploy an instance running Ubuntu Server 18.04 LTS. Ensure that there is one instance in each private subnet, in different Availability Zones. Assign the default security group configured by the template.
- Next, deploy another EC2 instance in either of the public subnets. This is a bastion host used to access the private instances. Assign the default security group configured by the template.

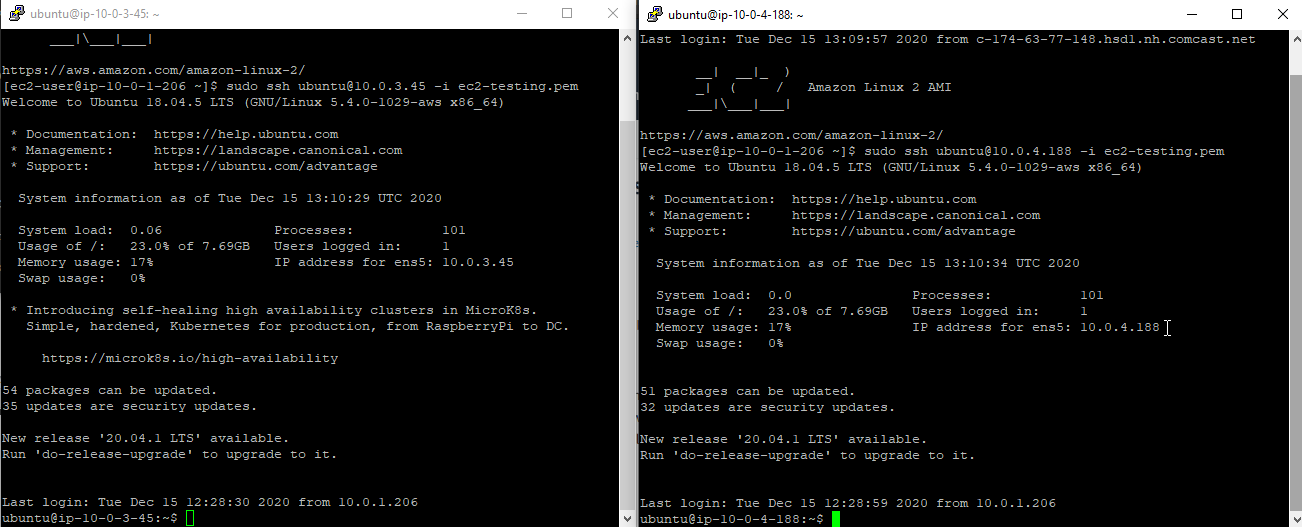
- Connect to the bastion host, then SSH to the first private EC2 instance using the method for your preferred operating system. This post explains different methods. Repeat the process in another terminal for the second private instance.

- On each instance, install Java:
sudo add-apt-repository ppa:webupd8team/java sudo apt update sudo apt install openjdk-8-jdk java –version - On each instance, install Kafka:
wget http://www-us.apache.org/dist/kafka/2.3.1/kafka_2.12-2.3.1.tgz
tar xzf kafka_2.12-2.3.1.tgz
ln -s kafka_2.12-2.3.1 kafka

Configure and start Zookeeper
Configure and start the Zookeeper service that manages the Kafka brokers:
- On the first instance, configure the Zookeeper ID:
cd kafka mkdir /tmp/zookeeper touch /tmp/zookeeper/myid echo "1" >> /tmp/zookeeper/myid - Repeat the process on the second instance, using a different ID value:
cd kafka mkdir /tmp/zookeeper touch /tmp/zookeeper/myid echo "2" >> /tmp/zookeeper/myid - On the first instance, edit the config/zookeeper.properties file, adding the private IP address of the second instance:
initLimit=5 syncLimit=2 tickTime=2000 # list of servers: <ip>:2888:3888 server.1=0.0.0.0:2888:3888 server.2=<<IP address of second instance>>:2888:3888 - On the second instance, edit the config/zookeeper.properties file, adding the private IP address of the first instance:
initLimit=5 syncLimit=2 tickTime=2000 # list of servers: <ip>:2888:3888 server.1=<<IP address of first instance>>:2888:3888 server.2=0.0.0.0:2888:3888 - On each instance, start Zookeeper:
bin/zookeeper-server-start.sh config/zookeeper.properties
Configure and start Kafka
Configure and start the Kafka broker:
- On the first instance, edit the config/server.properties file:
broker.id=1
zookeeper.connect=0.0.0.0:2181, =<<IP address of second instance>>:2181 - On the second instance, edit the config/server.properties file:
broker.id=2
zookeeper.connect=0.0.0.0:2181, =<<IP address of first instance>>:2181 - Start Kafka on each instance:
bin/kafka-server-start.sh config/server.properties
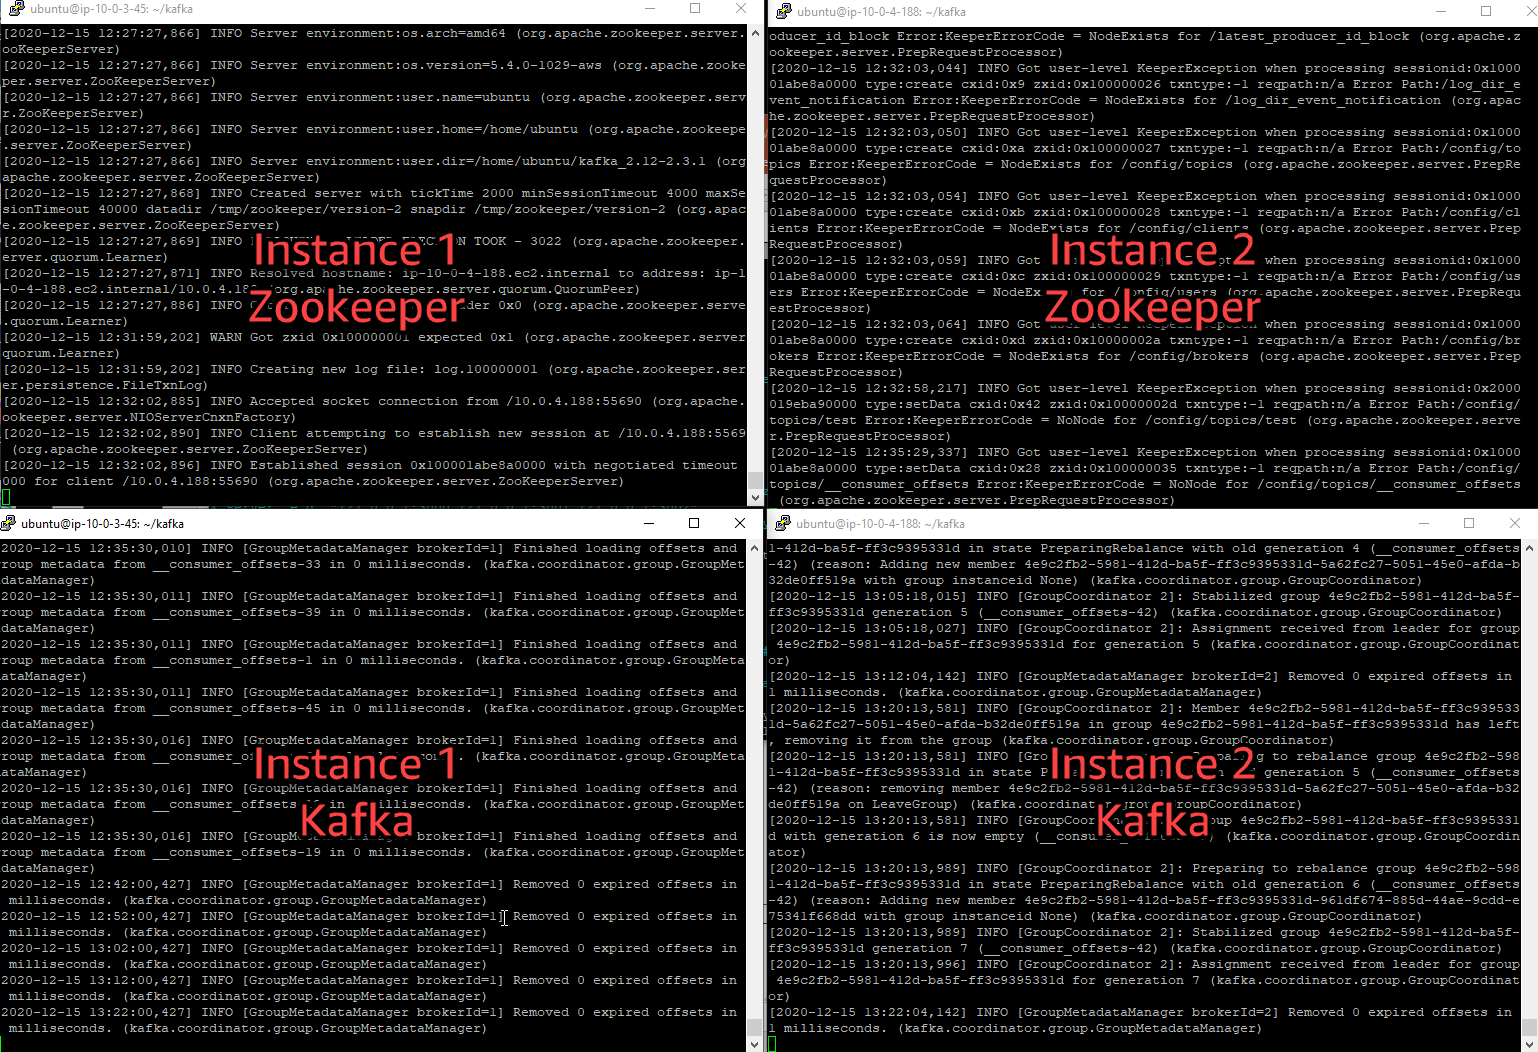
At the end of this process, Zookeeper and Kafka are running on both instances. If you use separate terminals, it looks like this:
Configuring and publishing to a topic
Kafka organizes channels of messages around topics, which are virtual groups of one or many partitions across Kafka brokers in a cluster. Multiple producers can send messages to Kafka topics, which can then be routed to and processed by multiple consumers. Producers publish to the tail of a topic and consumers read the topic at their own pace.
From either of the two instances:
- Create a new topic called test:
bin/kafka-topics.sh --create --bootstrap-server localhost:9092 --replication-factor 2 --partitions 2 --topic test - Start a producer:
bin/kafka-console-producer.sh --broker-list localhost:9092 –topic - Enter test messages to check for successful publication:

At this point, you can successfully publish messages to your self-hosted Kafka cluster. Next, you configure a Lambda function as a consumer for the test topic on this cluster.
Configuring the Lambda function and event source mapping
You can create the Lambda event source mapping using the AWS CLI or AWS SDK, which provide the CreateEventSourceMapping API. In this walkthrough, you use the AWS Management Console to create the event source mapping.
Create a Lambda function that uses the self-hosted cluster and topic as an event source:
- From the Lambda console, select Create function.
- Enter a function name, and select Node.js 12.x as the runtime.
- Select the Permissions tab, and select the role name in the Execution role panel to open the IAM console.
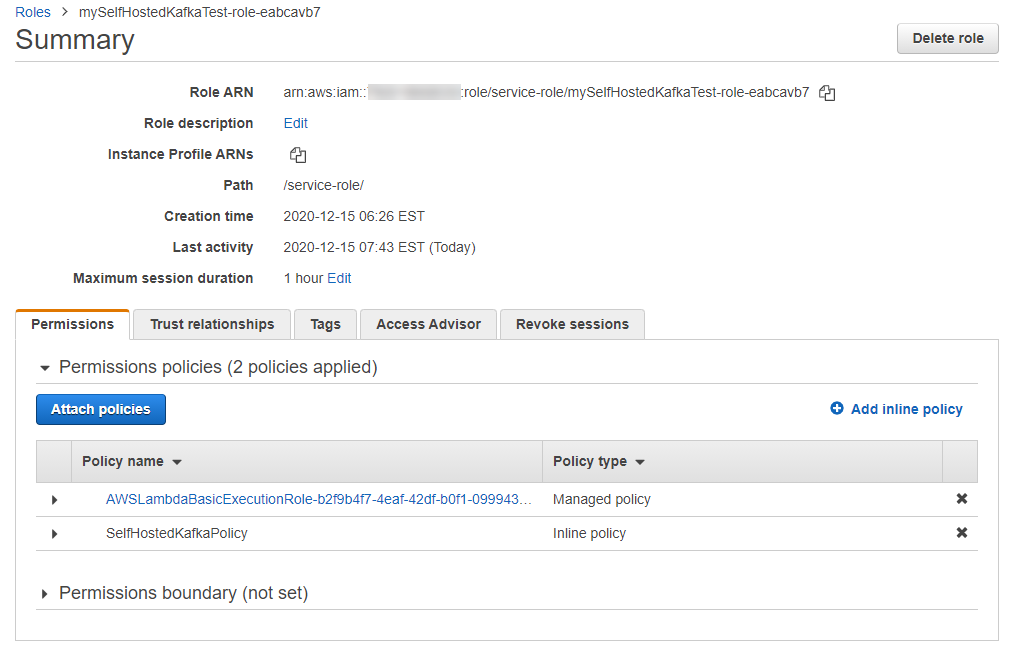
- Choose Add inline policy and create a new policy called SelfHostedKafkaPolicy with the following permissions. Replace the resource example with the ARNs of your instances:
{
    "Version": "2012-10-17",
    "Statement": [
        {
            "Effect": "Allow",
            "Action": [
                "ec2:CreateNetworkInterface",
                "ec2:DescribeNetworkInterfaces",
                "ec2:DescribeVpcs",
                "ec2:DeleteNetworkInterface",
                "ec2:DescribeSubnets",
                "ec2:DescribeSecurityGroups",
                "logs:CreateLogGroup",
                "logs:CreateLogStream",
                "logs:PutLogEvents"
            ],
            "Resource": " arn:aws:ec2:<REGION>:<ACCOUNT_ID>:instance/<instance-id>"
        }
    ]
}
- Choose Create policy and ensure that the policy appears in Permissions policies.
- Back in the Lambda function, select the Configuration tab. In the Designer panel, choose Add trigger.
- In the dropdown, select Apache Kafka:
- For Bootstrap servers, add each of the two instances private IPv4 DNS addresses with port 9092 appended.
- For Topic name, enter ‘test’.
- Enter your preferred batch size and starting position values (see this documentation for more information).
- For VPC, select the VPC created by the template.
- For VPC subnets, select the two private subnets.
- For VPC security groups, select the default security group.
- Choose Add.


The trigger’s status changes to Enabled in the Lambda console after a few seconds. It then takes several minutes for the trigger to receive messages from the Kafka cluster.
Testing the Lambda function
At this point, you have created a VPC with two private and public subnets and a NAT Gateway. You have created a Kafka cluster on two EC2 instances in private subnets. You set up a target Lambda function with the necessary IAM permissions. Next, you publish messages to the test topic in Kafka and see the resulting invocation in the logs for the Lambda function.
- In the Function code panel, replace the contents of index.js with the following code and choose Deploy:
exports.handler = async (event) => { // Iterate through keys for (let key in event.records) { console.log('Key: ', key) // Iterate through records event.records[key].map((record) => { console.log('Record: ', record) // Decode base64 const msg = Buffer.from(record.value, 'base64').toString() console.log('Message:', msg) }) } } - Back in the terminal with the producer script running, enter a test message:

- In the Lambda function console, select the Monitoring tab then choose View logs in CloudWatch. In the latest log stream, you see the original event and the decoded message:


Using Kafka as an event source
The Lambda function target in the event source mapping does not need to be connected to a VPC to receive messages from the private instance hosting Kafka. However, you must provide details of the VPC, subnets, and security groups in the event source mapping for the Kafka cluster.
The Lambda function must have permission to describe VPCs and security groups, and manage elastic network interfaces. These execution roles permissions are:
- ec2:CreateNetworkInterface
- ec2:DescribeNetworkInterfaces
- ec2:DescribeVpcs
- ec2:DeleteNetworkInterface
- ec2:DescribeSubnets
- ec2:DescribeSecurityGroups
The event payload for the Lambda function contains an array of records. Each array item contains details of the topic and Kafka partition identifier, together with a timestamp and base64 encoded message:

There is an important difference in the way the Lambda service connects to the self-hosted Kafka cluster compared with Amazon MSK. MSK encrypts data in transit by default so the broker connection defaults to using TLS. With a self-hosted cluster, TLS authentication is not supported when using the Apache Kafka event source. Instead, if accessing brokers over the internet, the event source uses SASL/SCRAM authentication, which can be configured in the event source mapping:

To learn how to configure SASL/SCRAM authentication your self-hosted Kafka cluster, see this documentation.
Conclusion
Lambda now supports self-hosted Kafka as an event source so you can invoke Lambda functions from messages in Kafka topics to integrate into other downstream serverless workflows.
This post shows how to configure a self-hosted Kafka cluster on EC2 and set up the network configuration. I also cover how to set up the event source mapping in Lambda and test a function to decode the messages sent from Kafka.
To learn more about how to use this feature, read the documentation. For more serverless learning resource, visit Serverless Land.