AWS News Blog
AWS Serverless Application Model (SAM) Command Line Interface – Build, Test, and Debug Serverless Apps Locally

|
Decades ago, I wrote page after page of code in 6502 assembly language. After assembling and linking the code, I would load it into memory, set breakpoints at strategic locations, and step through to make sure that everything worked as intended. These days, I no longer have the opportunity to write or debug any non-trivial code, so I was a bit apprehensive when it came time to write this blog post (truth be told, I have been procrastinating for several weeks).
SAM CLI
I want to tell you about the new Serverless Application Model (SAM) Command Line Interface, and to gain some confidence in my ability to build something using AWS Lambda as I do so! Let’s review some terms to get started:
 AWS SAM, short for Serverless Application Model, is an open source framework you can use to build serverless applications on AWS. It provides a shorthand syntax you can use to describe your application (Lambda functions, API endpoints, DynamoDB tables, and other resources) using a simple YAML template. During deployment, SAM transforms and expands the shorthand SAM syntax into an AWS CloudFormation template. Then, CloudFormation provisions your resources in a reliable and repeatable fashion.
The AWS SAM CLI, formerly known as SAM Local, is a command-line interface that supports building SAM-based applications. It supports local development and testing, and is also an active open source project. The CLI lets you choose between Python, Node, Java, Go, .NET, and includes a healthy collection of templates to help get you started.
The sam local command in the SAM CLI, delivers support for local invocation and testing of Lambda functions and SAM-based serverless applications, while running your function code locally in a Lambda-like execution environment. You can also use the sam local command to generate sample payloads locally, start a local endpoint to test your APIs, or automate testing of your Lambda functions.
Installation and Setup
Before I can show you how to use the SAM CLI, I need to install a couple of packages. The functions provided by sam local make use of Docker, so I need to work in a non-virtualized environment for a change! Here’s an overview of the setup process:
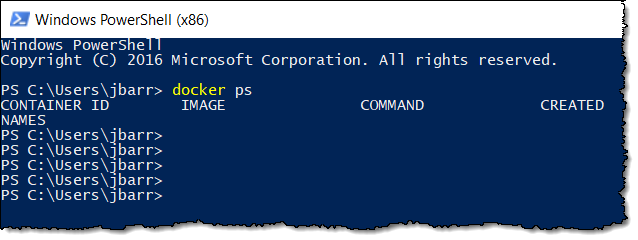
Docker – I install the Community Edition of Docker for Windows (a 512 MB download), and run docker ps to verify that it is working:
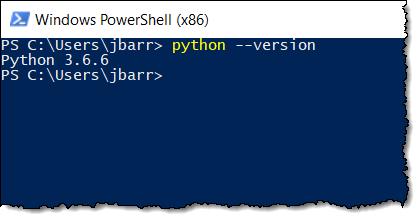
 Python – I install Python 3.6 and make sure that it is on my Windows PATH:
Visual Studio Code – I install VS Code and the accompanying Python Extension.
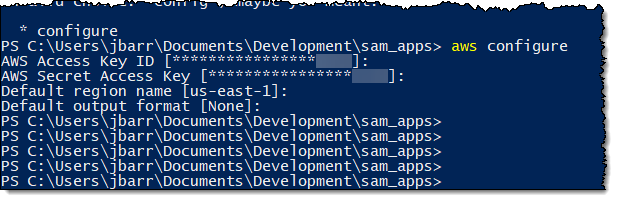
AWS CLI – I install the AWS CLI:
And configure my credentials:
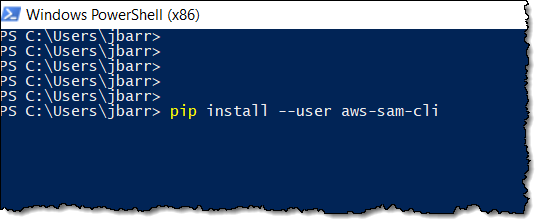
SAM – I install the AWS SAM CLI using pip:
Now that I have all of the moving parts installed, I can start to explore SAM.
Using SAM CLI
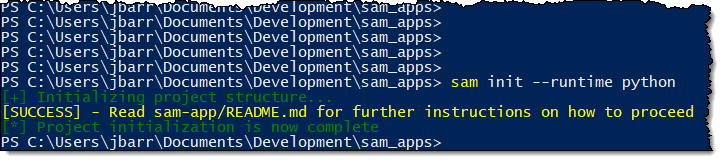
I create a directory (sam_apps) for my projects, and then I run sam init to create my first project:
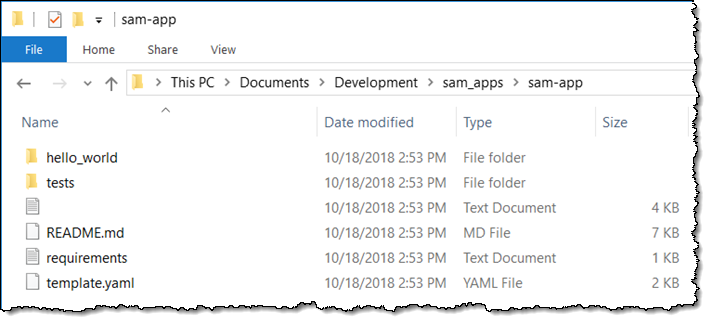
This creates a sub-directory (sam-app) with all of the necessary source and configuration files inside:
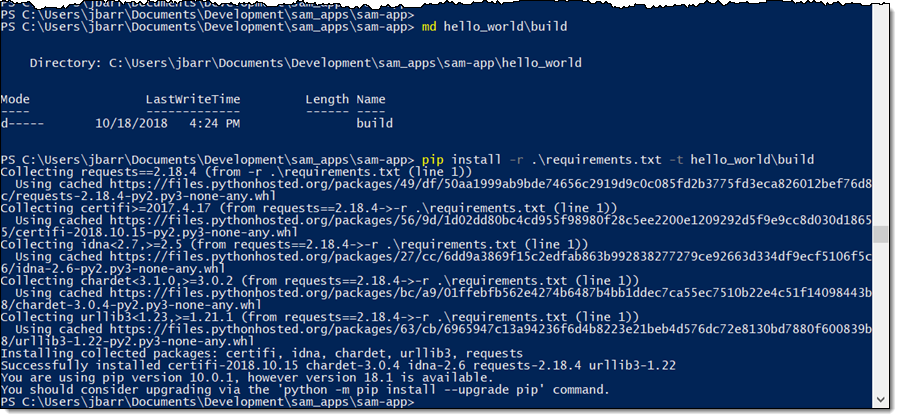
I create a build directory inside of hello_world, and then I install the packages defined in requirements. The build directory contains the source code and the Python packages that are loaded by SAM Local:
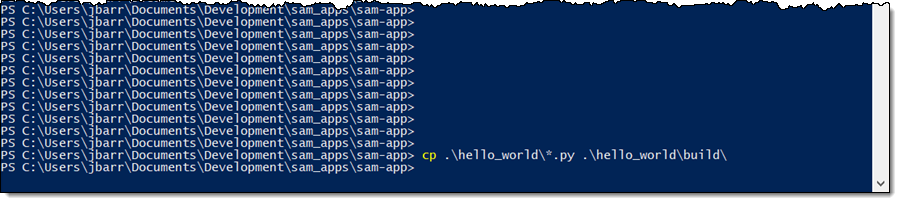
And one final step! I need to copy the source files to the build directory in order to deploy them:
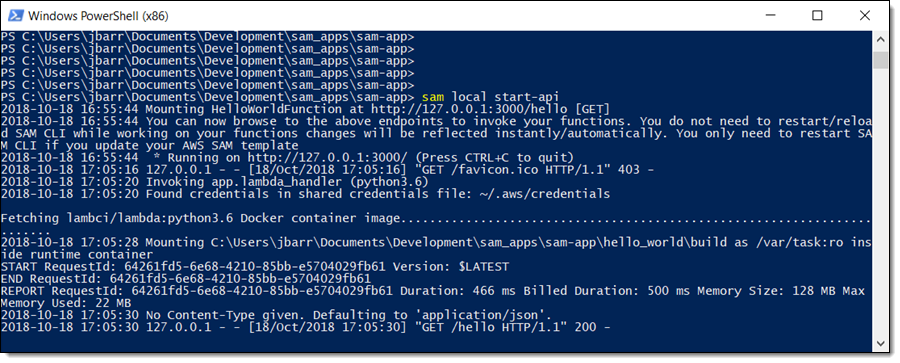
My app (app.py and an empty __init__.py) is ready to go, so I start up a local endpoint:
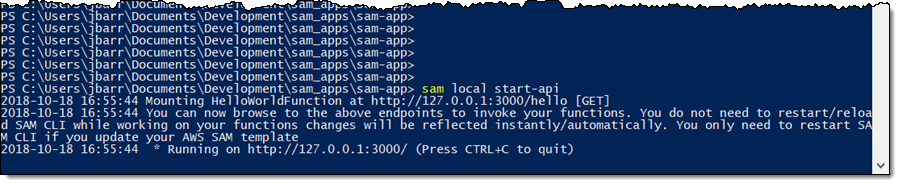
At this point, the endpoint is listening on port 3000 for an HTTP connection, and a Docker container will launch when the connection is made. The build directory is made available to the container so that the Python packages can be loaded and the code in app.py run.
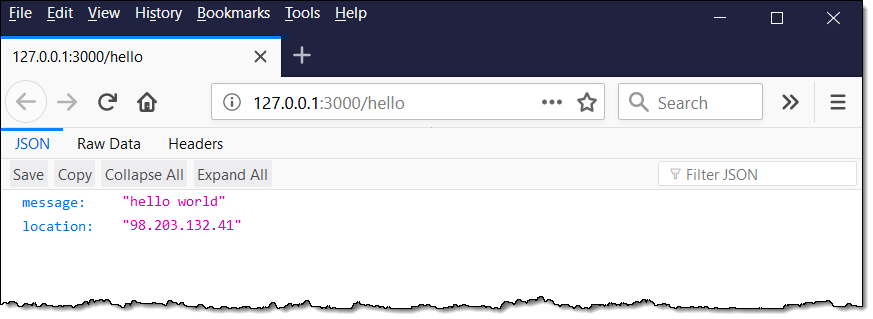
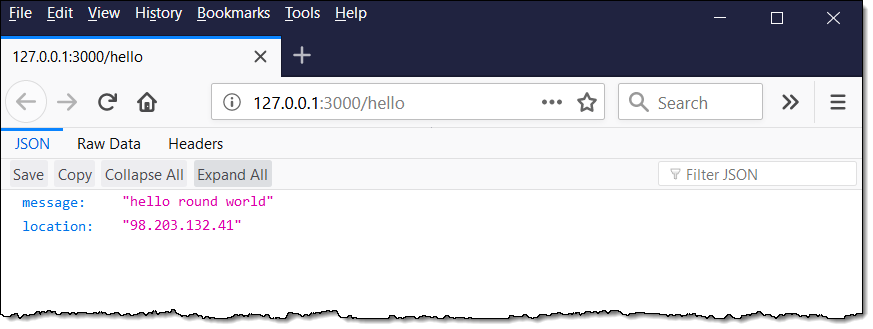
When I open http://127.0.0.1:3000/hello in my browser, the container image is downloaded if necessary, the code is run, and the output appears in my browser:
Here’s what happens on the other side. You can see all of the important steps here, including the invocation of the code, download of the image, mounting the build directory in the container, and the request logging:
I can modify the code, refresh the browser tab, and the new version is run:
The edit/deploy/test cycle is incredibly fast, and you will be more productive than ever!
There is one really important thing to remember here. The initial app.py file was created in the hello_world directory, and I copied it to the build directory a few steps ago. I can do this deployment step each time, or I can simply decide that the code in the build directory is the real deal and edit it directly. This will affect my source code control plan once I start to build and version my code.
What’s Going On
Now that the sample code is running, let’s take a look at the SAM template (imaginatively called template.yaml). In the interest of space, I’ll skip ahead to the Resources section:
This section defines the HelloWorldFunction, indicates where it can be found (hello_world/build/), how to run it (python3.6), and allows environment variables to be defined and set. Then it indicates that the function can process the HelloWorld event, which is generated by a GET on the indicated path (/hello).
This template is not reloaded automatically; if I change it I will need to restart SAM Local. I recommend that you spend some time altering the names and paths here and watching the errors that arise. This will give you a good understanding of what is happening behind the scenes, and will improve your productivity later.
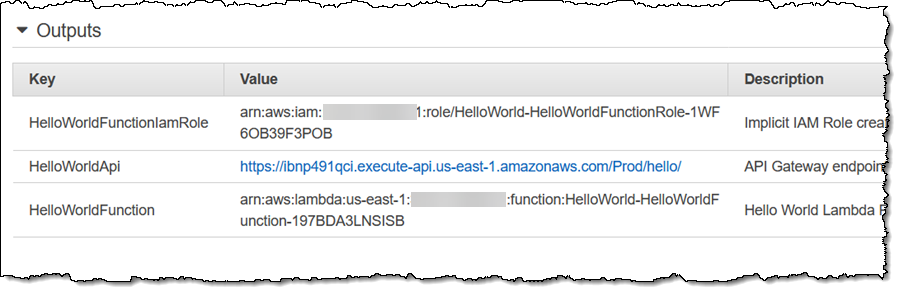
The remainder of the template describes the outputs from the template (the API Gateway endpoint, the function’s ARN, and the function’s IAM Role). These values do not affect local execution, but are crucial to a successful cloud deployment.
You can leave all of these as-is until you have a good understanding of what’s going on.
Debugging with SAM CLI and VS Code
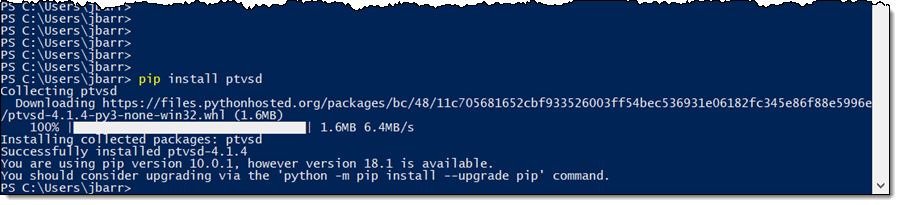
Ok, now let’s get set up to do some interactive debugging! This took me a while to figure out and I hope that you can benefit from my experience. The first step is to install the ptvsd package:
Then I edit requirements.txt to indicate that my app requires ptvsd (I copied the version number from the package name above):
Next, I rerun pip to install this new requirement in my build directory:

Now I need to modify my code so that it can be debugged. I add this code after the existing imports:
The first statement tells the app that the debugger will attach to it on port 5858; the second pauses the code until the debugger is attached (you could make this conditional).
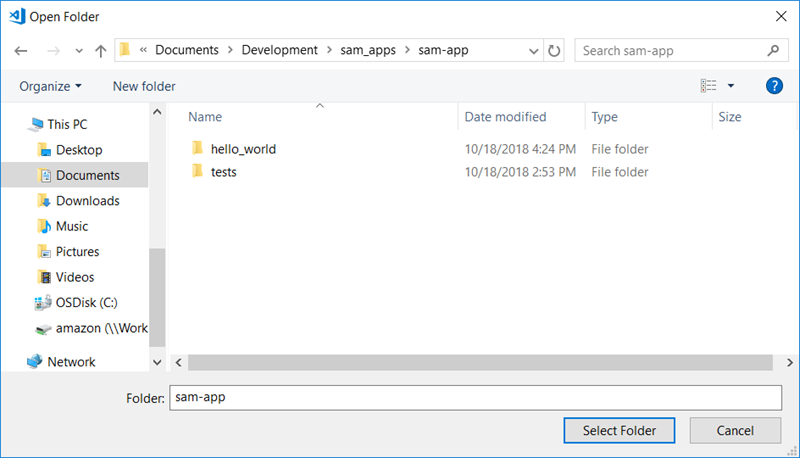
Next, I launch VS Code and select the root folder of my application:
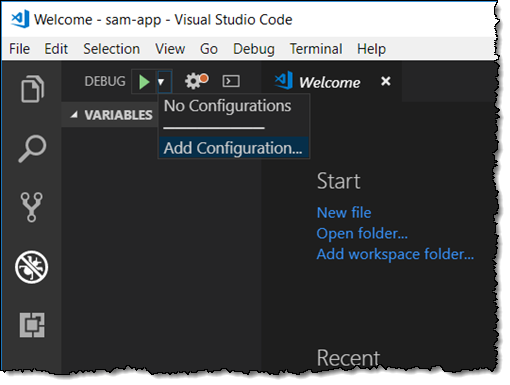
Now I need to configure VS Code for debugging. I select the debug icon, click the white triangle next to DEBUG, and select Add Configuration:
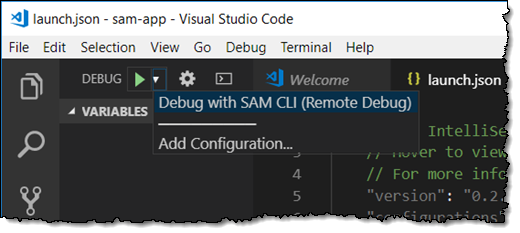
I select the Python configuration, replace the entire contents of the file (launch.json) with the following text, and save the file (File:Save).
Now I choose this debug configuration from the DEBUG menu:
Still with me? We’re almost there!
I start SAM Local again, and tell it to listen on the debug port:

I return to VS Code and set a breakpoint (good old F9) in my code:
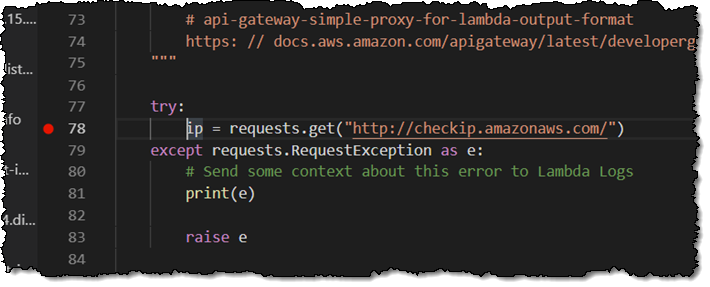
One thing to remember — be sure to open app.py in the build directory and set the breakpoint there.
Now I return to my web browser and visit the local address (http://127.0.0.1:3000/hello) again. The container starts up to handle the request and it runs app.py. The code runs until it hits the call to wait_for_attach, and now I hit F5 in VS Code to start debugging.
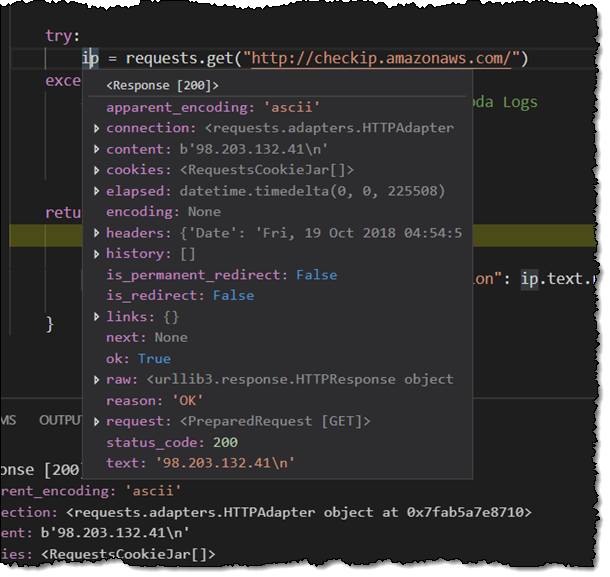
The breakpoint is hit, I single-step across the requests.get call, and inspect the ip variable:
Then I hit F5 to continue, and the web request completes. As you can see, I can use the full power of the VS Code debugger to build and debug my Lambda functions. I’ve barely scratched the surface here, and encourage you to follow along and pick up where I left off. To learn more, read Test Your Serverless Applications Locally Using SAM CLI.
Cloud Deployment
The SAM CLI also helps me to package my finished code, upload it to S3, and run it. I start with an S3 bucket (jbarr-sam) and run sam package. This creates a deployment package and uploads it to S3:

This takes a few seconds. Then I run sam deploy to create a CloudFormation stack:

If the stack already exists, SAM CLI will create a Change Set and use it to update the stack. My stack is ready in a minute or two, and includes the Lambda function, an API Gateway, and all of the supporting resources:

I can locate the API Gateway endpoint in the stack outputs:
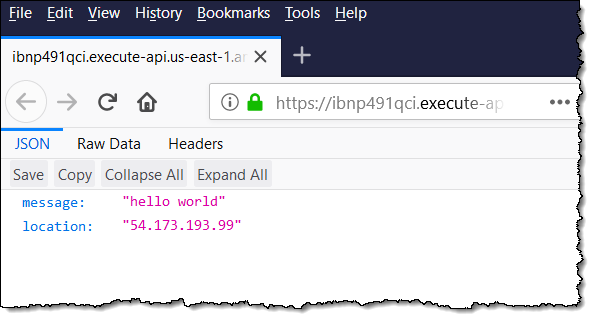
And access it with my browser, just like I did when the code was running locally:
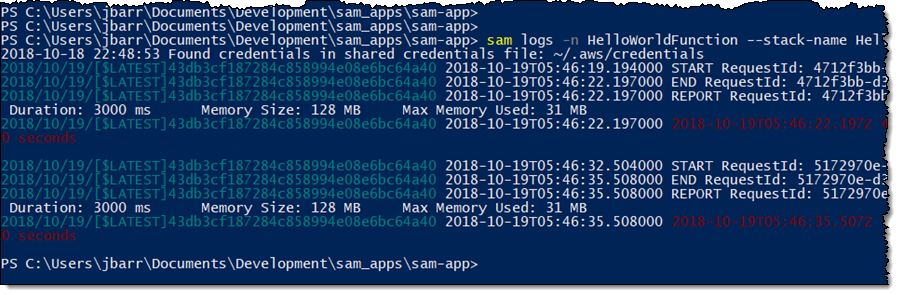
I can also access the CloudWatch logs for my stack and function using sam logs:
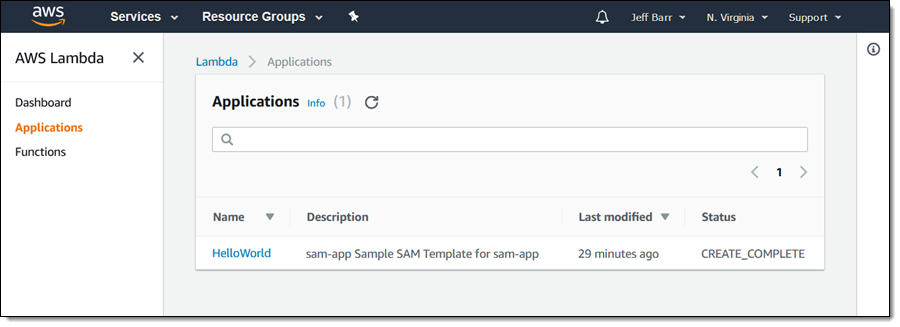
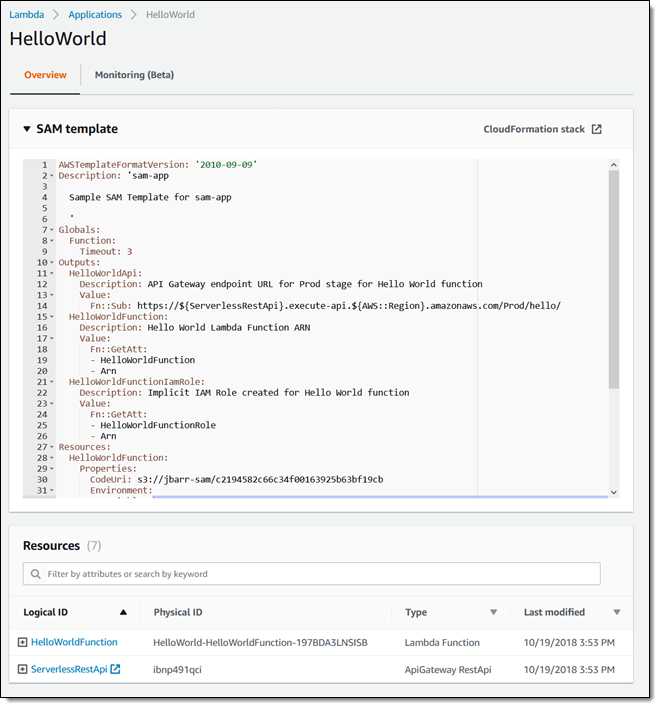
My SAM apps are now visible in the Lambda Console (this is a relatively new feature):
I can see the template and the app’s resources at a glance:
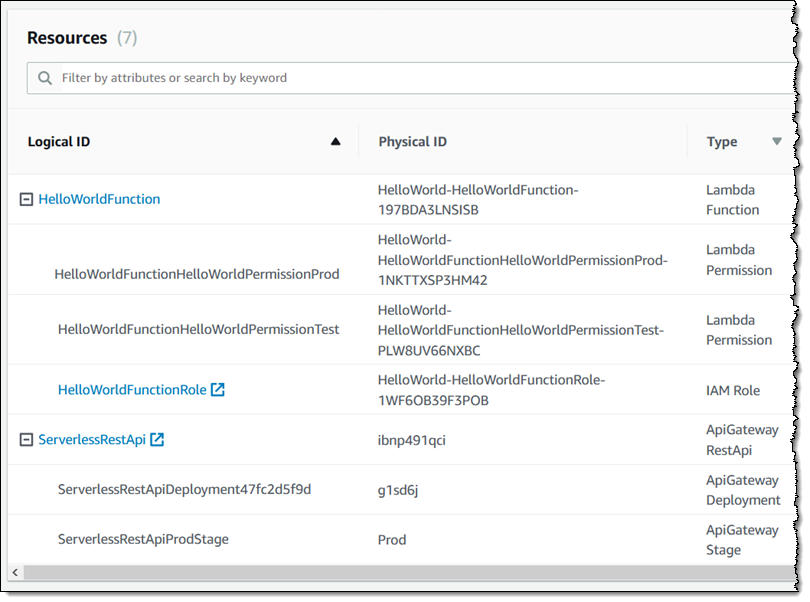
And I can see the relationship between resources:
There’s also a monitoring dashboard:
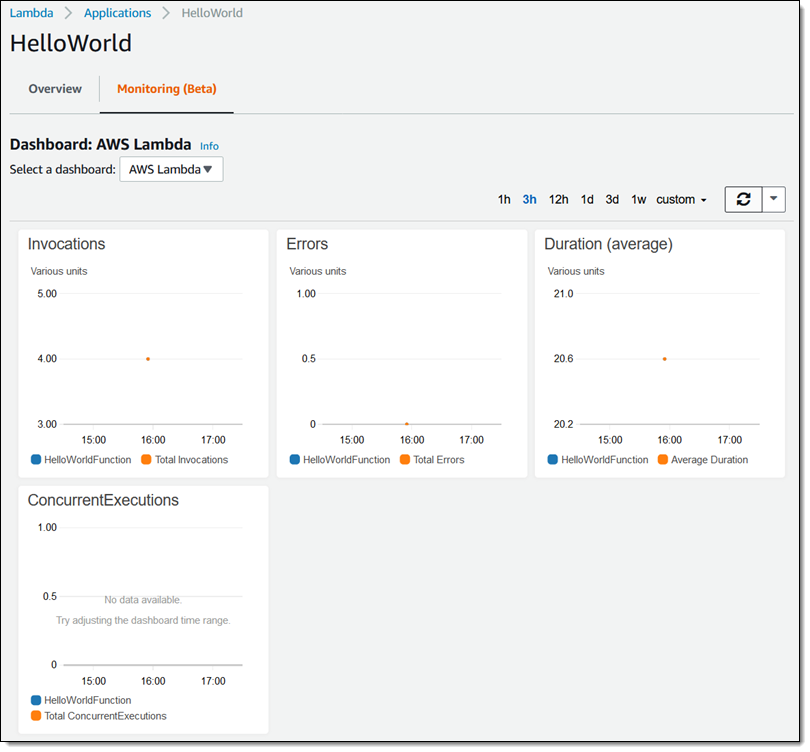
I can customize the dashboard by adding an Amazon CloudWatch dashboard to my template (read Managing Applications in the AWS Lambda Console to learn more).
That’s Not All
Believe it or not, I have given you just a taste of what you can do with SAM, SAM CLI, and the sam local command. Here are a couple of other cool things that you should know about:
Local Function Invocation – I can directly invoke Lambda functions:

Sample Event Source Generation – If I am writing Lambda functions that respond to triggers from other AWS services (S3 PUTs and so forth), I can generate sample events and use them to invoke my functions:
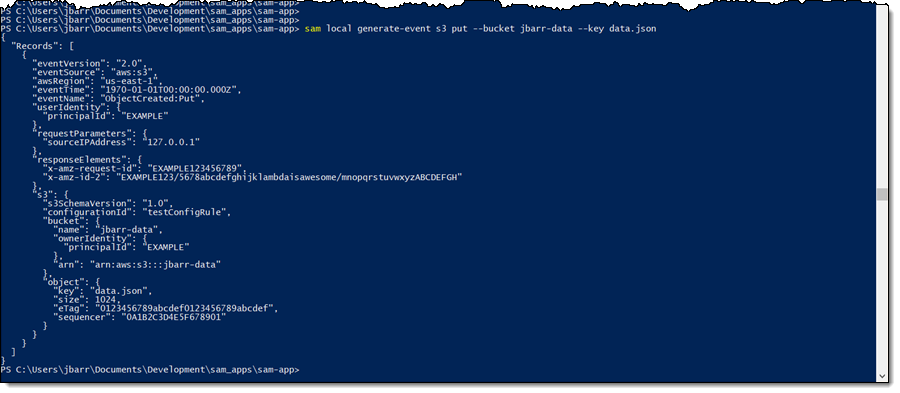
In a real-world situation I would redirect the output to a file, make some additional customization if necessary, and then use it to invoke my function.
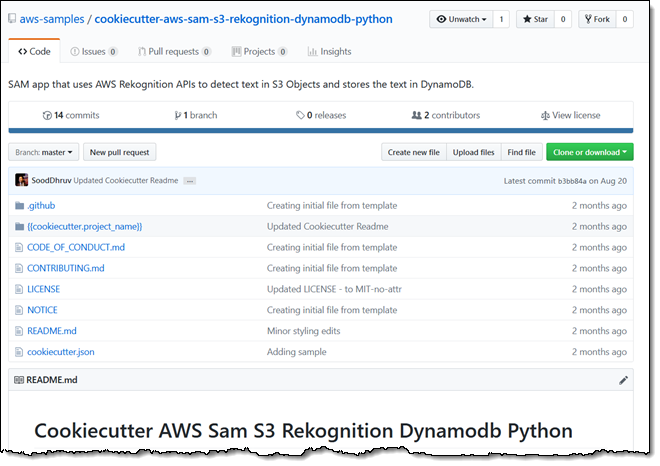
Cookiecutter Templates – The SAM CLI can use Cookiecutter templates to create projects and we have created several examples to get you started. Take a look at Cookiecutter AWS Sam S3 Rekognition Dynamodb Python and Cookiecutter for AWS SAM and .NET to learn more.
 CloudFormation Extensions – AWS SAM extends CloudFormation and lets you benefit from the power of infrastructure as code. You get reliable and repeatable deployments and the power to use the full suite of CloudFormation resource types, intrinsic functions, and other template features.
Built-In Best Practices – In addition to the benefits that come with an infrastructure as code model, you can easily take advantage of other best practices including code reviews, safe deployments through AWS CodePipeline, and tracing using AWS X-Ray.
Deep Integration with Development Tools – You can use AWS SAM with a suite of AWS tools for building serverless applications. You can discover new applications in the AWS Serverless Application Repository. For authoring, testing, and debugging SAM-based serverless applications, you can use the AWS Cloud9 IDE. To build a deployment pipeline for your serverless applications, you can use AWS CodeBuild, AWS CodeDeploy, and AWS CodePipeline. You can also use AWS CodeStar to get started with a project structure, code repository, and a CI/CD pipeline that’s automatically configured for you. To deploy your serverless application you can use the AWS SAM Jenkins plugin, and you can use Stackery.io’s toolkit to build production-ready applications.
Check it Out
I hope that you have enjoyed this tour, and that you can make good use of SAM in your next serverless project!
— Jeff;