AWS DevOps & Developer Productivity Blog
Using New Relic to monitor applications on AWS OpsWorks
A good practice for maintaining highly available applications is to monitor the metrics that impact performance and service levels. AWS OpsWorks includes built-in integration with 14 Amazon CloudWatch metrics, including load, CPU and memory, but you may also want to monitor other metrics such as disk space utilization or application-level metrics such as error rates.
That’s where a monitoring solution such as New Relic can help. In addition to server-level metrics, New Relic offers application metrics that give deeper visibility into how your application is running.
This blog post explains how to use community Chef cookbooks to enable New Relic monitoring on your application’s instances using the OpsWorks PHP walk-through as an example.
1. Create a cookbook repository
Before starting the walk-through, first create a repository that references the community cookbook using a Berksfile, for example on GitHub:
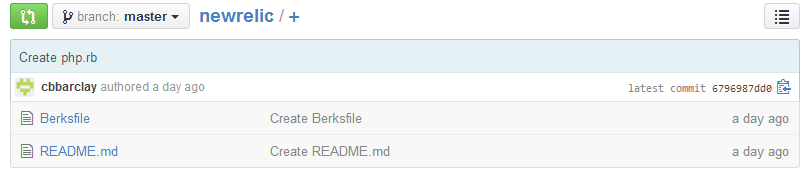
The Berksfile needs two lines to reference the community cookbook:
|
source “https://api.berkshelf.com”
cookbook “newrelic”, git: ‘git://github.com/escapestudios-cookbooks/newrelic.git’, tag: ‘1.0.6’
|
And that’s it; no other files are necessary in the cookbook repository.
You might be curious about the recipes we are going to use from the New Relic cookbook. This blog uses two recipes:
-
newrelic::default installs the New Relic agent that performs the server monitoring
-
newrelic::php-agent configures the agent to monitor the PHP application
2. Create a stack
Now you’re ready to create an OpsWorks stack using the OpsWorks console:
- Select Add a Stack to create an OpsWorks stack.
- Give it a name and select Advanced.
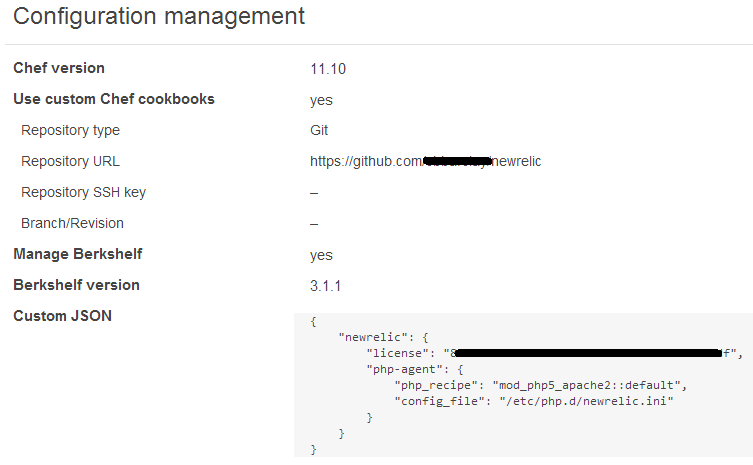
- Set Use custom Chef Cookbooks to Yes.
- Set Repository type to Git.
- Set the Repository URL to the repository created in the previous step
- Set Manage Berkshelf to Yes.
- In the Custom JSON box, add your New Relic license code and some options that override the default values in the community recipe. You can get a free trial license when you sign up for New Relic.
{“newrelic”: {“license”: “—ADD-YOUR-NEWRELIC-LICENSE-HERE—“,“php-agent”: {“php_recipe”: “mod_php5_apache2::default”,“config_file”: “/etc/php.d/newrelic.ini”}}}
- Click the Add Stack button at the bottom of the page to create the stack.
3. Create and configure a Layer
Now that the stack is set up, you need to create a layer. For this example we will use the PHP layer.
- Select Add Layer.
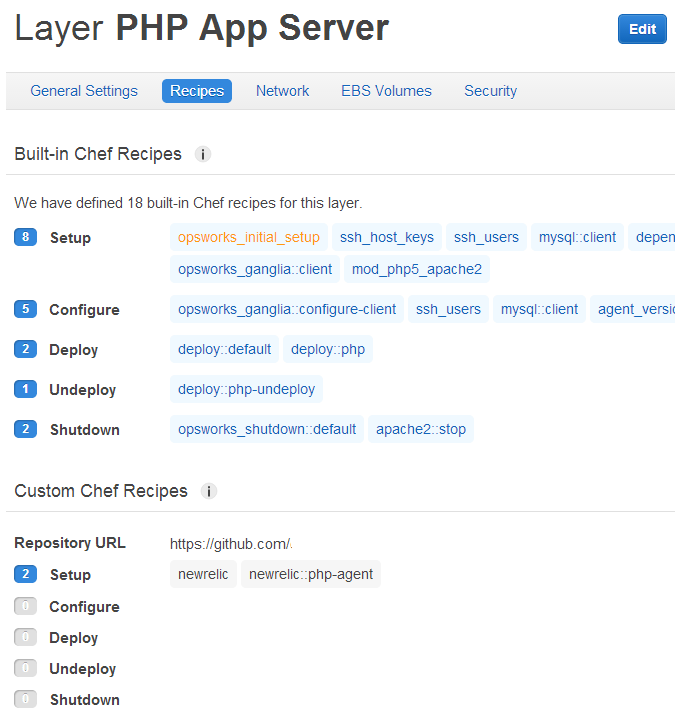
- Choose the PHP App Server layer. Click Add Layer.
- Click the layer’s edit Recipes action and scroll to the Custom Chef recipes section. You will notice there are several headings—Setup, Configure, Deploy, Undeploy, and Shutdown—that correspond to OpsWorks lifecycle events. OpsWorks triggers these events at these key points in the instance’s lifecycle, which runs the associated recipes.
- Enter newrelic::default, newrelic::php-agent next to Setup, click + to add it to the list and click the Save button at the bottom to save the updated configuration. OpsWorks will then run the recipes whenever you initially boot an instance in this layer.
4. Launch Instances
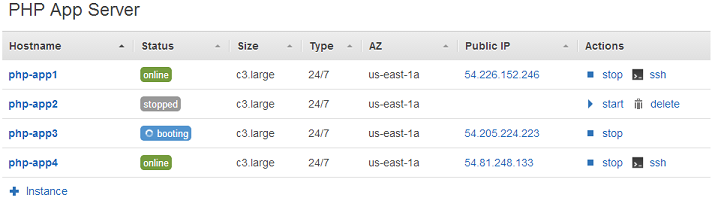
After you’ve saved your layer, add some instances and start them.
5. Create and deploy an app.
Once you’ve started your instances:
- In the navigation pane, click Apps and on the Apps page, click Add an app.
- On the App page, give it a Name.
- Enter the app’s repository type. The example app is stored in a Git repository.
- Enter the app’s repository URL. The example app’s repository URL is: git://github.com/amazonwebservices/opsworks-demo-php-simple-app.git
- Enter the app’s branch or version. This part of the walkthrough uses the version1 branch.
- Keep the default values for the remaining settings and click Add App.
- To install the code on the server, you must deploy the app. It will take some time for your instances to boot up completely. Once they show up as “online” in the Instances view, navigate to Apps and click deploy in the Actions column.
- Once the deployment is complete, you can see your app by selecting the public IP address of the server.
6. Check NewRelic
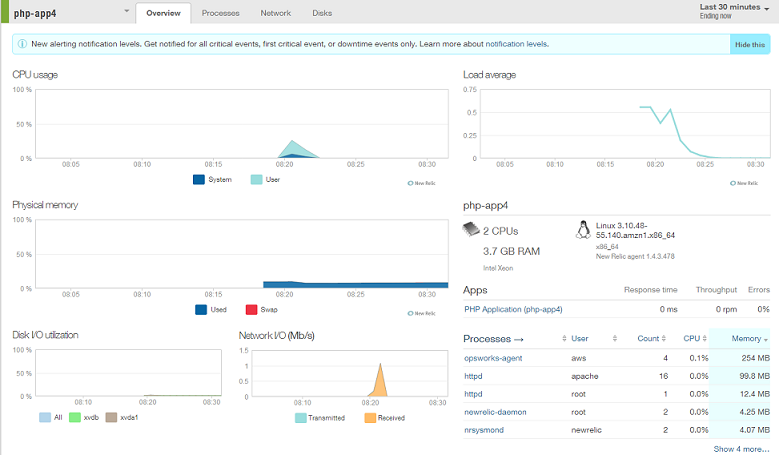
Your servers should now be ready to view in the NewRelic Servers view.
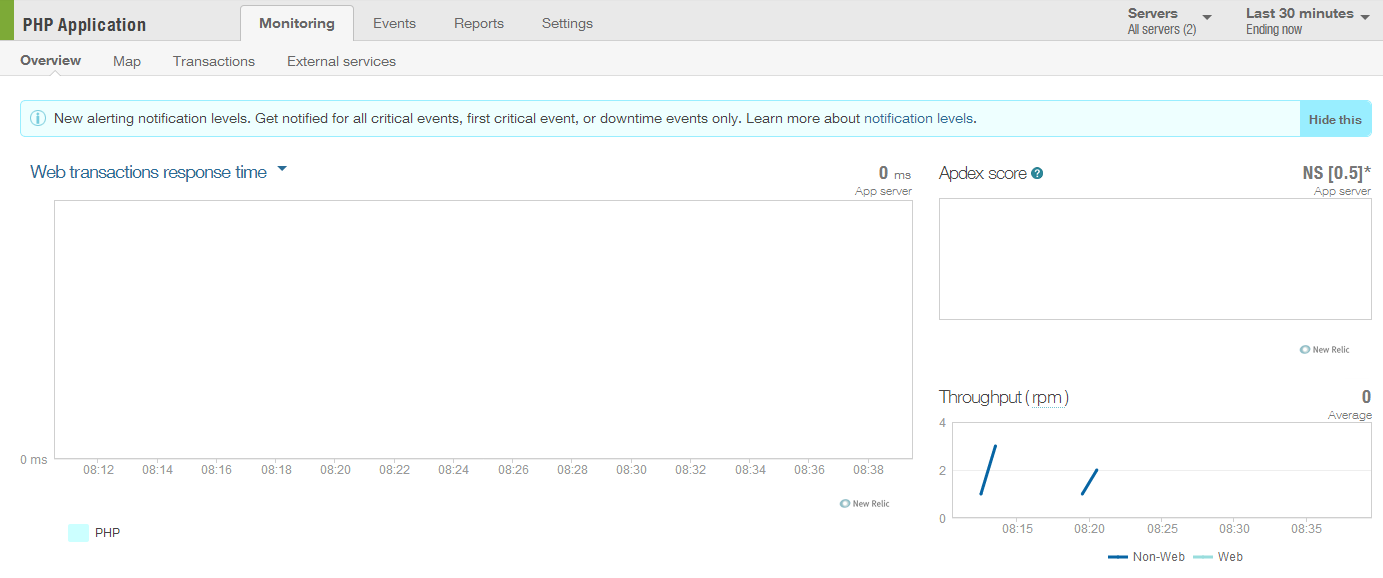
When you navigate to the New Relic Applications view, you can see the application metrics for the running app servers.
Conclusion:
This example demonstrates the combined power of OpsWorks, Berkshelf, community cookbooks, and New Relic. OpsWorks custom JSON allows you to provide your license code without having to put it in the recipe and exposing your license key in a repository.
Finally, note that this example specifes a version in the Berksfile. Before using something like this on production servers, you may want to include a specific version or tag (e.g. 1.0.6). That way, if the New Relic cookbook is updated, and a newer version is not compatible, your servers will still use the one that worked before. You can read more about versions and Berkshelf in general at http://berkshelf.com/.