AWS Partner Network (APN) Blog
AWS IoT on Mongoose OS – Part 1
Editor’s note: This is the first of a popular two-part series by Tim Mattison. Read Part 2 >>
By Tim Mattison, Partner Solutions Architect at AWS focused on IoT
 Welcome to the first in a series of blog posts about AWS IoT connectivity on microcontrollers. This series will show how our firmware and hardware Partners are working together to make it possible to iterate on and develop Internet of Things (IoT) projects rapidly without sacrificing security.
Background
AWS IoT sets a high bar for security. Today it requires Transport Layer Security (TLS) version 1.2 with mutual authentication. In the past, the computational requirements meant that certain devices might not have had enough RAM or CPU to connect directly. These devices would normally connect to AWS IoT through a gateway device or proxy that would handle the security and authentication on their behalf. One very popular device, Espressif ESP8266, had this limitation for a long time. Until now.
The first step in our IoT journey is to move from the “security by proxy” model and shift the mutual authentication and encryption into our microcontroller. In this post, we’re going to show you how to take your own ESP8266 (or ESP32) and connect it directly to AWS IoT using Mongoose OS. Mongoose OS is an open source operating system for microcontrollers that emphasizes cloud connectivity. It was developed by Cesanta, a Dublin-based embedded software company and Advanced APN Technology Partner.
Goals
When you complete the steps in this post, you’ll have:
- Certificates for your ESP8266 that will be registered with AWS IoT and stored on your local computer
- A firmware image for the ESP8266 that can connect to AWS IoT directly and can be configured with your AWS IoT endpoint, Wi-Fi SSID, and Wi-Fi password without reflashing it
- A build environment that you can use to develop new firmware
Prerequisites
For this tutorial, you’ll need:
- The AWS CLI configured with valid credentials in the AWS account that you intend to use
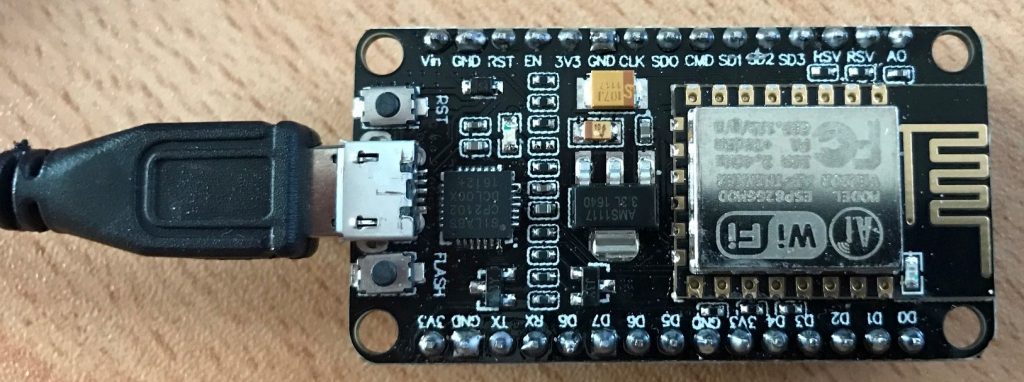
- An ESP8266-based NodeMCU board (you can also use an ESP32; see the “ESP32 support” section)
- A USB cable to connect the NodeMCU board to your computer
- mos – The Mongoose OS flashing tool
- A git clone of the Mongoose OS repository from GitHub, which you can obtain with the
git clone https://github.com/cesanta/mongoose-oscommand
Some Notes Before You Start
You must run all the commands in these instructions in the same command-line shell.
We assume that the mos application is in your path. If it isn’t, you’ll need to reference it directly or add it to your path.
The mos application will create an AWS IoT policy in your account called mos-default. This is an open policy for development purposes only. Do not use this policy in a production deployment or in an account that handles production data. If you’d prefer to create your own policy, see Example Policies in the AWS IoT documentation to learn more.
If the mos application doesn’t detect your serial port, read the “Troubleshooting – Installing Serial Drivers” section after the tutorial.
Step 1 – Build and Flash Mongoose OS
1. Navigate to the git repository in your shell.
2. Navigate to the c_mqtt firmware example directory:
3. Build the firmware:
4. Flash the firmware:
5. Configure Wi-Fi by replacing YOUR_WIFI_SSID and YOUR_WIFI_PASSWORD with the appropriate values for your environment:
6. Generate certificates, upload them to the NodeMCU board, and set up the MQTT parameters by replacing REGION with the name of the region that you want to use with AWS IoT:
7. Open a serial console to monitor the device:
Step 2 – Interact with the Device
1. Log in to the AWS IoT console, and then choose Test to get to the MQTT client.
2. In the Publish section, set the topic to /request.
3. In the text area below the topic, type:
4. Choose the Publish to Topic button.

At this point, the built-in blue LED on the NodeMCU board will turn on.
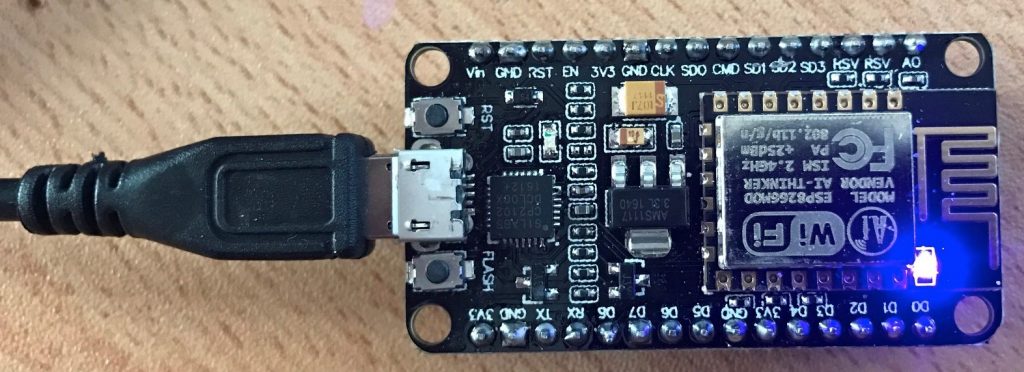
The blue LED is on GPIO2, which is inverted, so setting it to state 0 turns the blue LED on.
5. In the text area below the topic type:
6. Choose Publish to topic again. The LED will turn off.
ESP32 Support
Mongoose OS supports several architectures. Everything we’ve described –so far will work on Espressif ESP32 boards as well. The only thing that you’ll need to change is the –arch flag and the name of the serial device:
For ESP32 build the firmware with this command:
Troubleshooting – Installing Serial Drivers
If your serial port wasn’t detected automatically, you might need to install a serial port driver. Look at your NodeMCU board and identify its serial chip. The two most common chips are the CP2102 and the CH340. The CP2102 looks like this:
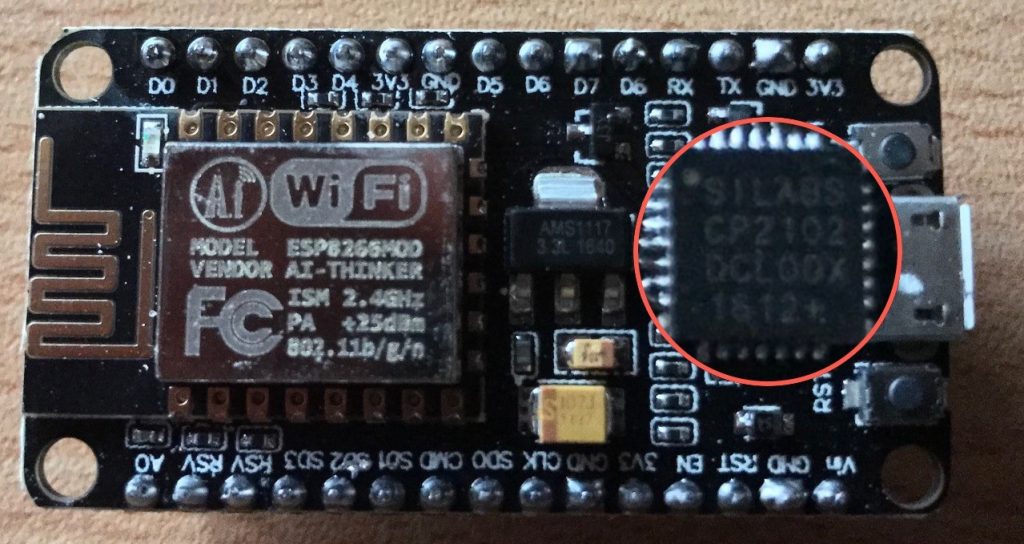
If you have the CP2102, you need to download the Silicon Labs serial drivers.
If you have the CH340, download the driver appropriate for your operating system. Windows drivers and MacOS drivers are currently provided for this component.
Coming Up
In the next article in this series, we’ll show you how to protect your TLS credentials with Microchip’s ATECC508A chip. This combination of an ESP8266 and ATECC508A is inexpensive and can help provide a framework for a secure IoT solution.