AWS Cloud Operations Blog
Using Amazon CloudWatch dashboards custom widgets
Many of our customers use Amazon CloudWatch dashboards but have additional use cases that would benefit from the ability to include custom datasets in their existing dashboards. Custom widgets let you create your own visualizations or datasets, share them with other teams, provide input or parameters to your widget, and adjust the time scoped on your dashboard.
Last year we launched custom widgets for Amazon CloudWatch dashboards, a new feature for CloudWatch dashboards that makes it easy to build custom data views and visualizations for your CloudWatch dashboards.
Custom widgets are a part of your CloudWatch dashboard that call AWS Lambda functions containing your custom widget code. The Lambda function accepts custom parameters, generates your dataset or visualization, and then returns HTML to the CloudWatch dashboard. The CloudWatch dashboard will display this HTML as a widget. For example, you can create a custom widget that retrieves data from an object in Amazon Simple Storage Service (S3) and display the content of that object.
Custom widgets pass widgetContext to the underlying Lambda function, which provides the Lambda function with important information like dashboard settings, widget information, and custom parameters that let the widget accept input and update datasets. In addition, custom widgets support interactivity through a special HTML tag called <cwdb-action> that can trigger the display of information in popups, ask for confirmation on a click event, or even call another Lambda function on the click event.
Creating a CloudWatch dashboard custom widget
Let’s see an example and connect to the Amazon CloudWatch console to get started.
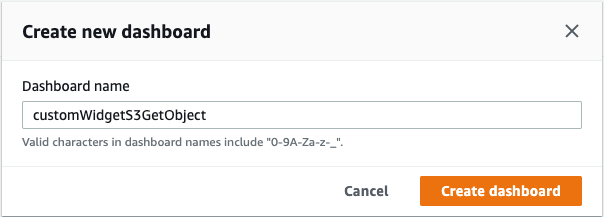
For this walkthrough, we will create a new CloudWatch dashboard by choosing Dashboards from the left pane. You must be opted-in to the new dashboard view to add a Custom widget. Choose “Try out the new interface” in the banner at the top of the page to opt in. Choose Create dashboard and enter your dashboard name of customWidgetS3GetObject.
A context menu for adding widgets to the dashboard appears.
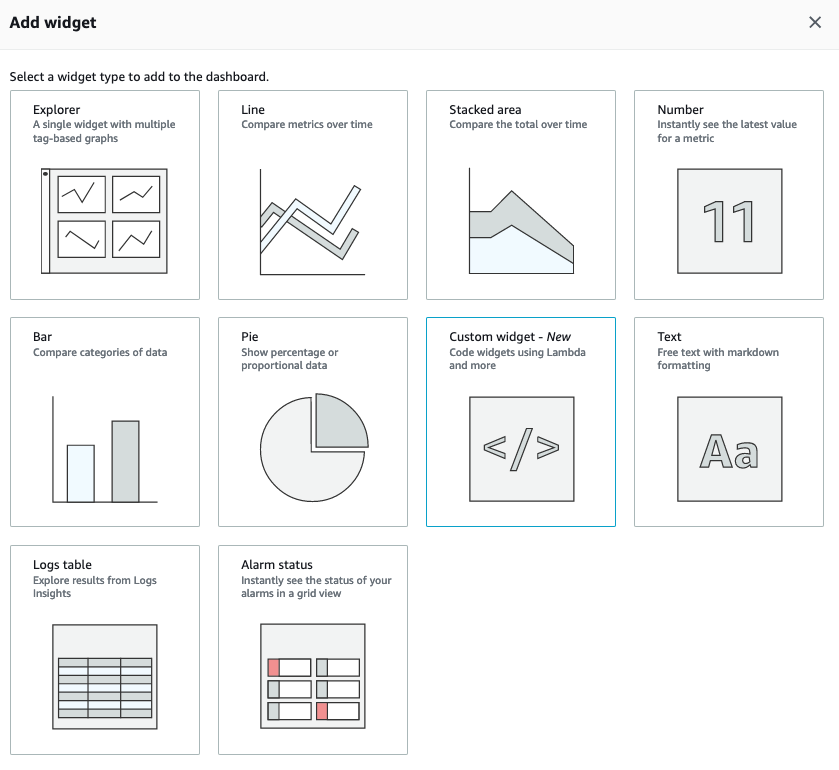
Choose Custom widget, and the create a custom widget menu appears. For this walkthrough you’ll be using a provided sample, and under Python choose S3 get object.

This will open the AWS CloudFormation console. Navigate to Quick create stack in a new tab, which will deploy the resources needed for the custom widget. Accept the defaults, check the IAM acknowledgement box, and choose Create stack.

Note the stack name that was created, which is customWidgetS3GetObject-py and you will use this in the next step. When the stack reaches CREATE_COMPLETE, close the CloudFormation tab.
![The AWS CloudFormation Stacks page is shown. The stack customWidgetS3GetObject-py is selected and showing a Status of CREATE_COMPLETE.]](https://d2908q01vomqb2.cloudfront.net/972a67c48192728a34979d9a35164c1295401b71/2022/06/21/devops_1335_5.png)
On the CloudWatch console’s Create a custom widget tab, choose Next.
Now that the resources are created, you can begin configuring the widget to be used on the CloudWatch dashboard. In the Lambda function drop-down list, choose the Lambda function you created with AWS CloudFormation called customWidgetS3GetObject-py.
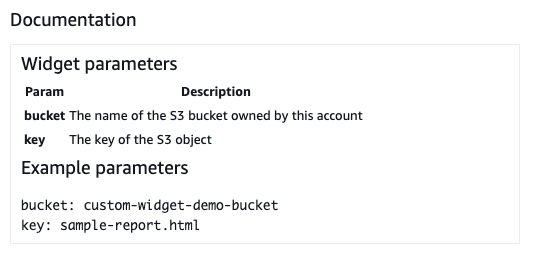
Custom widgets support parameter input that is passed to the Lambda function. Choose Get Documentation to show more information about what can be passed to this function for this particular sample.

The Lambda function expects a value for a bucket parameter, as well as a key parameter.
For this demo we have created a CSV file with sample data and placed it in a public S3 bucket.
In the live environments of most customers, there will be an additional step to grant read access to their S3 bucket for the IAM role of the Lambda function. The best practice is for each custom widget to use a role that has the least permissions required for it, and to permit that role to read only the data it requires. We use a public S3 bucket here for simplicity. The management of Identity and Access Management (IAM) roles and can be found here.
Enter the S3 bucket name, custom-widget-demo-bucket, and your S3 key, costs-datalake.csv, as the values on the Create a custom widget screen in the Parameters section using YAML key-value pairs.
bucket: custom-widget-demo-bucket
key: costs-datalake.csv
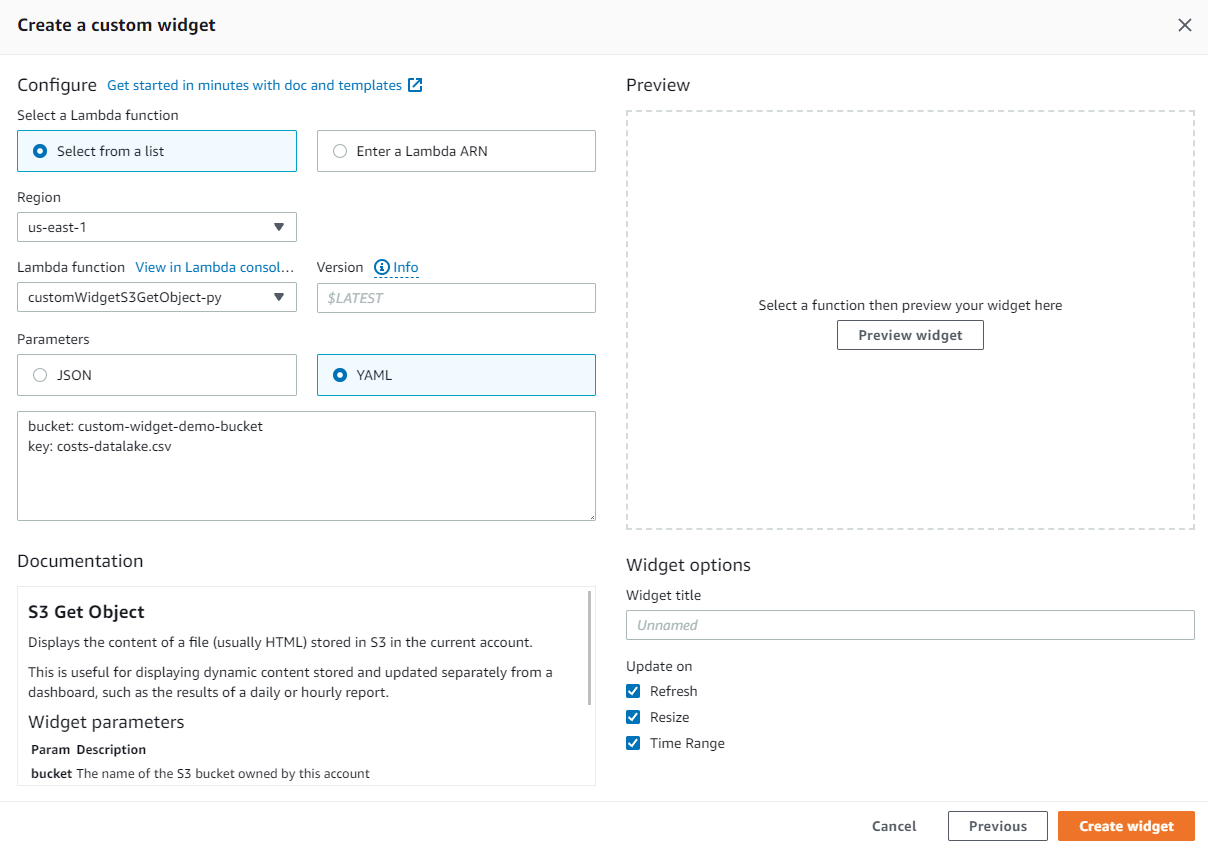
Now that you have configured the custom widget, choose Preview widget in the preview section of the window to see a preview of what your widget will look like on your CloudWatch Dashboard.
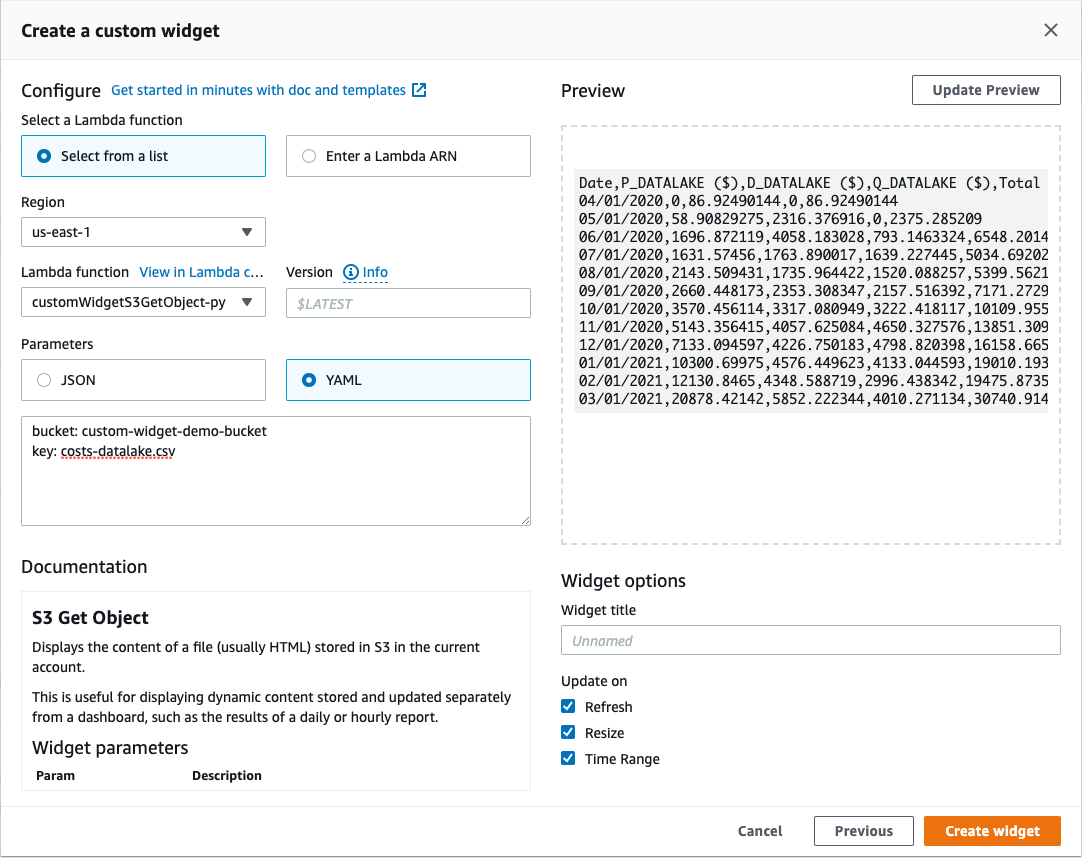
The Lambda function has retrieved our CSV file from Amazon S3, but as we can see the CSV data could be formatted in a more useful way.
From the Create a Custom Widget screen, choose View in Lambda console above the Lambda function. As you can see in the Lambda code, your function currently retrieves the S3 object, reads and decodes the object, and passes it back as an HTML string to our CloudWatch dashboard.
result = s3.get_object(Bucket=event['bucket'], Key=event['key'])

 return result['Body'].read().decode('utf-8')
Let’s format the CSV output as an HTML table and return the formatted table to the dashboard to make this more readable on our dashboard.
Replace line 32 of your Lambda function with the following code snippet:
Select the Deploy button to deploy your changes to the Lambda function. Next, navigate back to the CloudWatch Dashboard custom widget screen, and then choose Update preview. You can see that your CSV file is now formatted in a readable manner for easier use in dashboards.
![The Create a custom widget screen is shown. The preview pane now shows a formatted HTML table for the CSV file from Amazon S3.]](https://d2908q01vomqb2.cloudfront.net/972a67c48192728a34979d9a35164c1295401b71/2022/06/21/devops_1335_10.png)
Click Create widget, and our widget is now added to our Amazon CloudWatch Dashboard.
Conclusion
In this blog post, we have provided you a walkthrough of creating a CloudWatch dashboard custom widget. The custom widget passes context to an underlying Lambda function to provide the function with information such as dashboard settings, widget information and custom parameters that let the widget accept input and update datasets. We have also demonstrated how you can create a custom widget that retrieves data from an object in Amazon S3 and displays the content of that object.
You can learn more about using custom widgets on our documentation, and be sure to check out our GitHub samples library, which contains several examples of how you can use custom widgets.
Authors: