AWS Partner Network (APN) Blog
Using Amazon CloudFront with Multi-Region Amazon S3 Origins
By Ben Bridts, APN Ambassador at Cloudar
 By leveraging services like Amazon Simple Storage Service (Amazon S3) to host content, our team at Cloudar has a cost effective way to build websites that are highly available.
Cloudar is an AWS Partner Network (APN) Advanced Consulting Partner with AWS Competencies in both DevOps and Government.
If we store content in a single Amazon S3 bucket, all of our content is stored in a single Amazon Web Services (AWS) region. To meet regulatory compliance, we can replicate objects for regionally distributed computing, minimize latency for users in different geographic locations, or maintain copies of objects under different ownership.
To serve content from these other regions, we need to route requests to the different Amazon S3 buckets we’re using. In this post, we explore how to accomplished this by using Amazon CloudFront as a content delivery network and Lambda@Edge as a router. We will also take a quick look at how this impacts latency and cost.
The Problem
In some cases, AWS Customers may want to migrate their compute and storage from one region to another. When using Amazon S3 to host static websites, a good way to serve data from regions is to use Cross-Region Replication. However, when you add other requirements like HTTPS and caching, this proves to be a little harder.
Usually, when creating a static website you would use CloudFront with an Amazon S3 origin. Amazon S3 is a perfect fit to store your files, and CloudFront adds features like HTTPS on your own domain name, redirecting clients from HTTP to HTTPS, IPv6, HTTP/2, and caching.
If you’re used to working with CloudFront in front of a custom origin like an Application Load Balancer, you are probably familiar with using your own DNS record to point to your origin and changing that if you need to switch origins. We will also explain in this post how to achieve something similar when using an Amazon S3 origin.
Other Solutions
There are other ways to accomplish migration across buckets, but each have disadvantages that make them a bad fit for our use case.
For example, you could edit the CloudFront configuration to use a different origin when you want to move your origin from one region to another. However, with CloudFront updates taking between 15 minutes and an hour to roll out globally, this isn’t a great option if you want to switch fast or switch back and forth a lot.
Our Solution: Lambda@Edge
In our solution, we configure CloudFront to use Lambda@Edge on each request to the origin. This Lambda function resolves a DNS record containing the origin that should be used. You can switch origins by editing this record or using Amazon Route 53 features like health checks and weighted routing.
Features of Lambda@Edge include:
- Quick to switch between origins (determined by DNS time to live)
- Can be automated in Route 53
- Support for sending only part of the traffic to another bucket
- No need to edit CloudFront configuration
- The same Lambda function can be used by multiple CloudFront distributions
How it Works
We configure CloudFront to use our Lambda@Edge function on the origin request, so we can do something on each request that will go to Amazon S3. The origin request Lambda is triggered before CloudFront forwards the request to the origin.

We then add a Origin Custom Header to the origin configuration in CloudFront. The value of this X-DNS-ORIGIN header will be used by our Lambda to know which record to resolve.
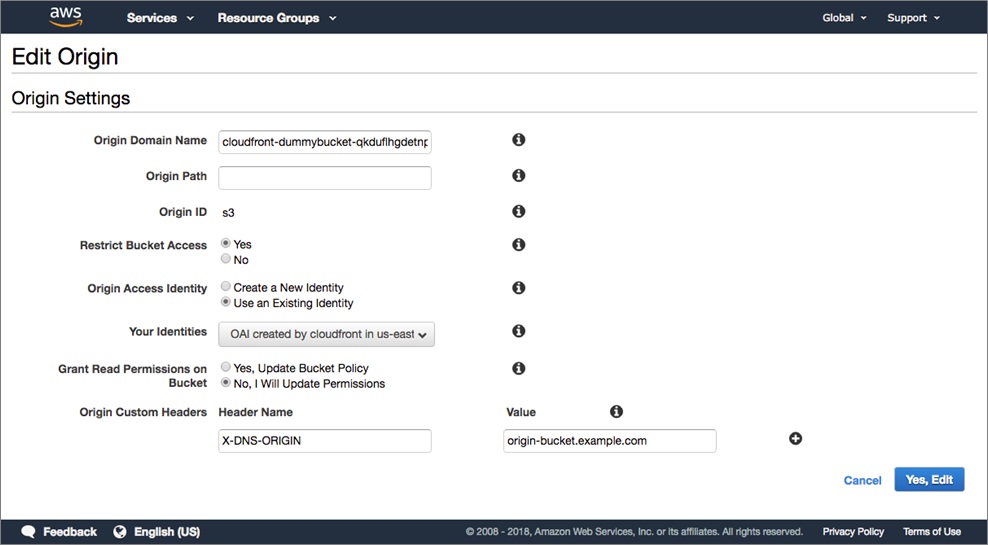
When CloudFront gets a request from a client, and the requested object isn’t in the cache, it will trigger our Lambda function.
The Lambda reads the value of the X-DNS-ORIGIN header that is part of this request and uses a DNS request to resolve the TXT record with the same name as the value of this header.
After doing some validation of the TXT record (it should be in the format $bucketname.s3.$region.amazonaws.com), it will edit the request to point to the bucket in the TXT record. CloudFront gets the object from this bucket and returns it to the client.
Code
This is the Lambda code we will use to route the requests:
Other Considerations
Latency
We’re adding an extra component and network request each time CloudFront gets an object from the origin. It’s important to look at how this impacts the speed of delivery.
Lambda@Edge, CloudFront, and Route 53 all run in the AWS Edge Locations, so we can expect latency to be low.
When doing a limited test (refreshing the webpage multiple times), we saw the total duration of the Lambda function to be between 2 ms and 31 ms, with an average around 10 ms. This was with the TTL of the DNS record set to 0. Increasing the TTL may decrease the run-time even more.
Cost
There are two components that will increase cost when using this solution:
- Our Lambda function
- The requests to Amazon Route 53
AWS Lambda
In our test, the duration didn’t go over 50 ms and the memory usage was a steady 21MB.
For 1 million requests to our origin, this will cost $0.91 (request + compute costs). Keep in mind you don’t pay for requests that are served from cache. Since static sites typically cache well, we would expect to pay this for less than 10 percent of all requests.
Amazon Route 53
If the TTL of the DNS record is set to 0 seconds, every Lambda invocation will trigger a single DNS lookup that will be served by Route 53. For 1 million requests, this adds a cost of $0.40. Increasing the TTL should decrease this cost because resolvers may cache the response.
Total
We can predict a maximum cost of $1.31 per 1 million requests. Increasing cache hits, both in CloudFront and DNS, can lower this even more (by orders of magnitude).
Deploying
Deploying this solution can be done with AWS CloudFormation. Here are two sample templates:
- [cloudfront.yaml] sets up CloudFront and Lambda@Edge
- [origin-bucket.yaml] contains the Amazon S3 and Amazon Route 53 resources
Prerequisites
You will need a public resolvable hosted zone in your account. This hosted zone will be used to store the TXT records that point to the different origins
Step 1: CloudFront and Lambda@Edge
This step must be done in the us-east-1 region or the template will fail. The reasoning behind this is that a Lambda function for Lambda@Edge needs to be created in this region.
Start by deploying the cloudfront.yaml template, filling in the OriginDns parameter to a domain in your hosted zone. You should use the FQDN—if your hosted zone is example.com, use something like s3-origin-switcher.example.com. This record will hold the different origin domains.
You must wait for this stack to finish deploying because you need to use the value of the OaiS3CanonicalUserId output in Step 2. The CloudFrontDomain output of this stack will be the domain name you can use to reach your distribution.
Step 2: Amazon S3 Buckets
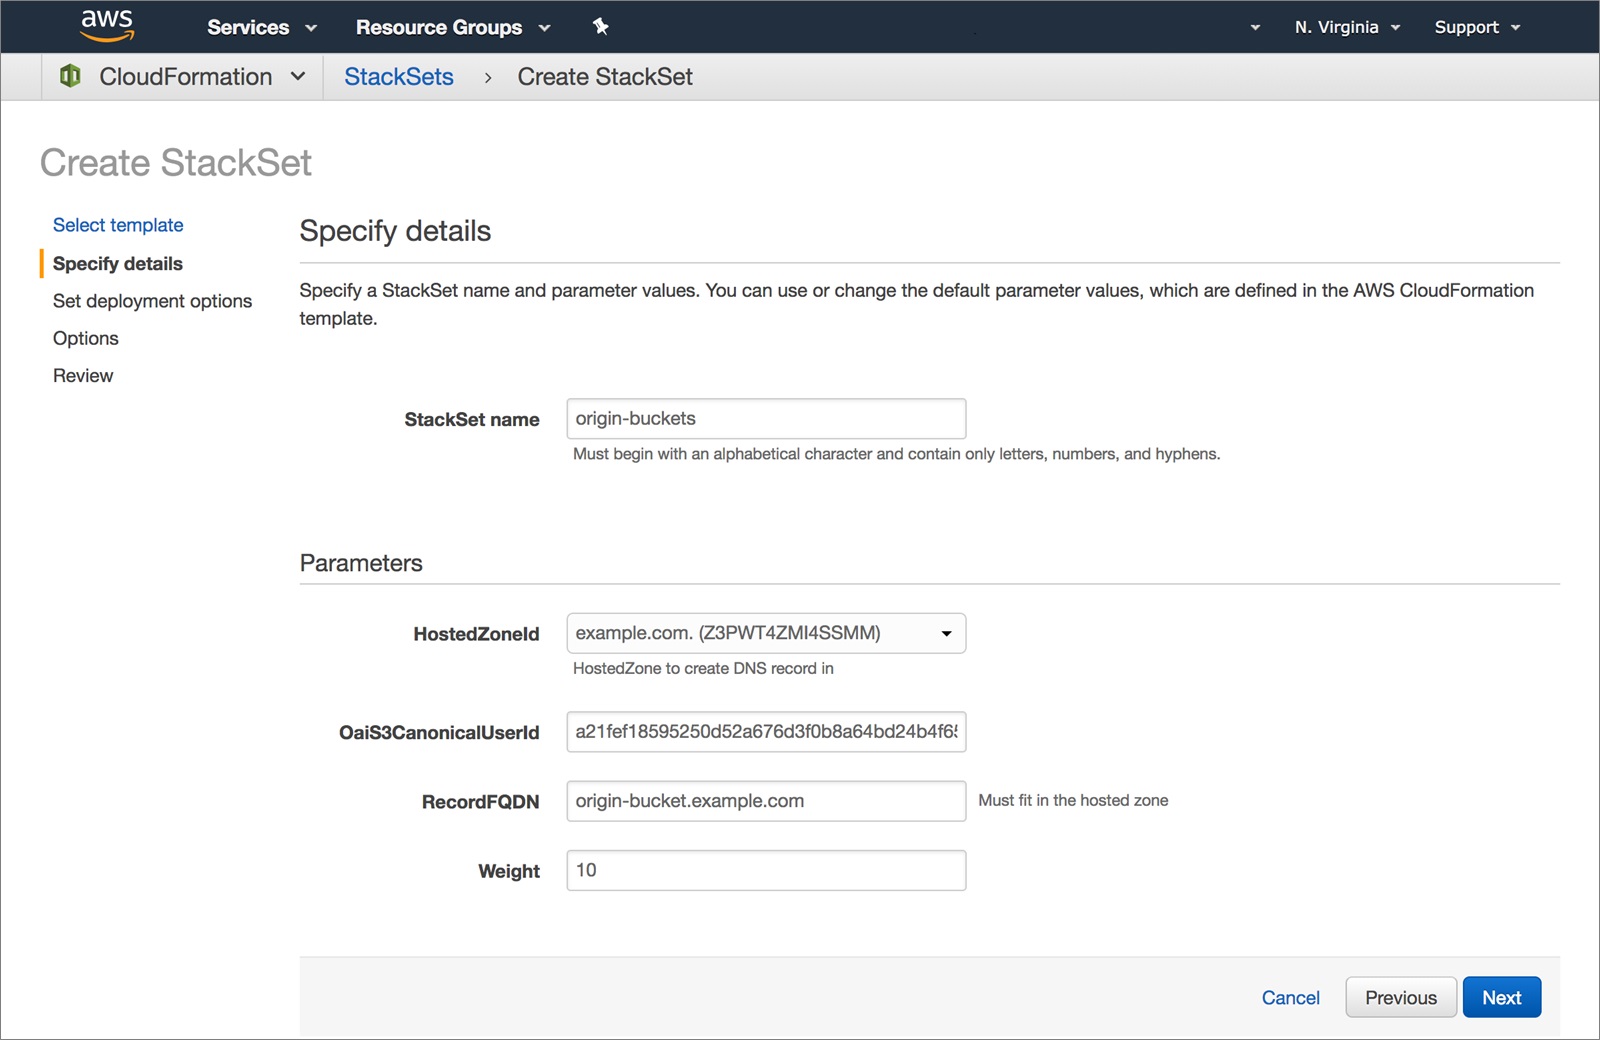
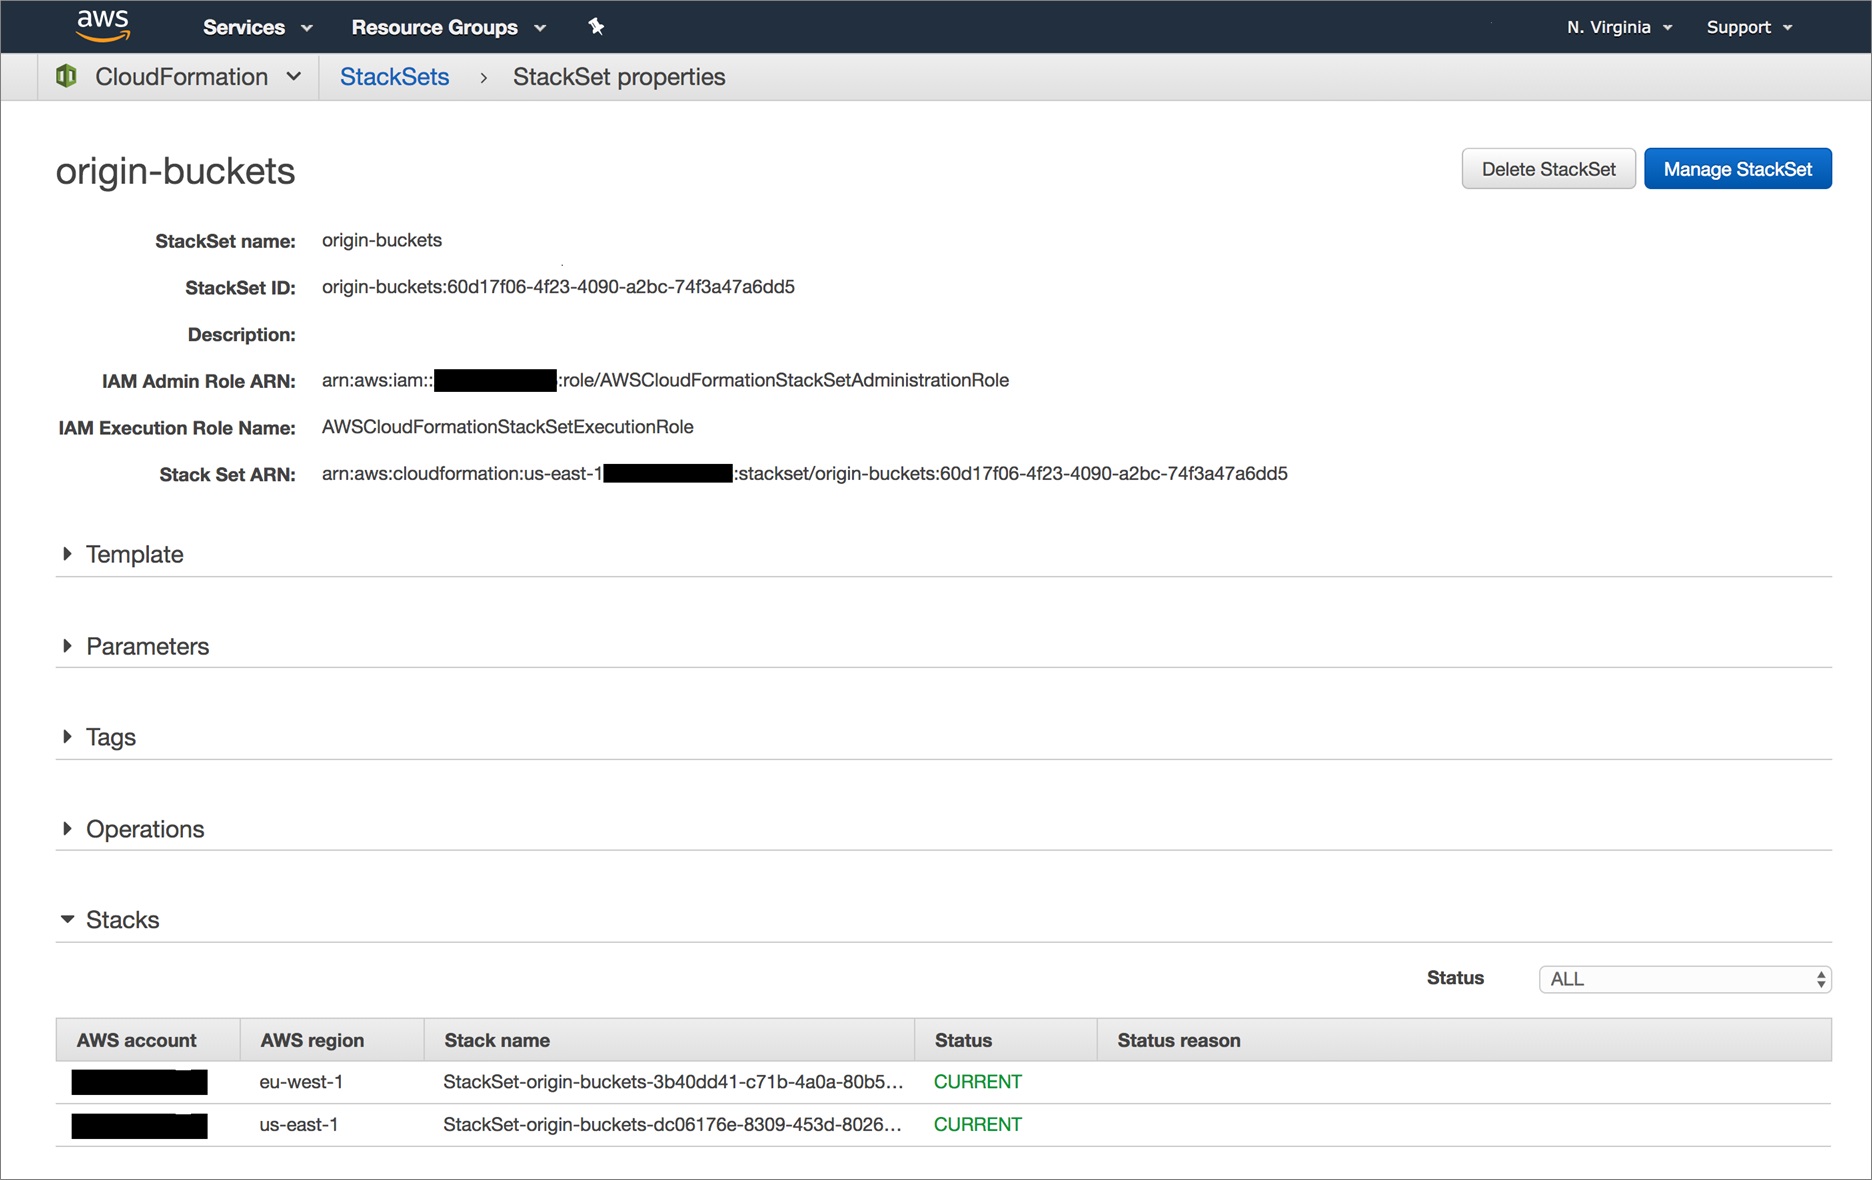
You can create the buckets by switching to every region you want to use and deploying the origin-bucket.yaml template. You can also use CloudFormation StackSets to manage it from a central location. In both cases, these are the parameters you can fill:
- HostedZoneId: This must be the zone that contains the FQDN you used as OriginDns in Step 1
- OaiS3CanonicalUserId: The value of the output with the same name in the stack you created in Step 1
- RecordFQDN: Exactly the same as
OriginDns - Weight: The relative weight of this origin, if every origin has the same weight, requests will be equally distributed between them. If you set this to 0, that bucket will not get any requests until you increase it.
You will need the BucketName output(s) to upload files to it.
Method A: Switching to Every Region
This is the way you’re likely familiar with. Go to the CloudFormation console in the region you want to use and create a new stack from the origin-bucket.yaml template. You could also do this with the Command Line Interface (CLI).
Method B: StackSets
There are some prerequisites for using StackSets, and you can find them in the documentation. In this case, the admin account and target account can be the same. To create the stacks, follow these steps:
- Go to the CloudFormation console
- Go to the StackSets page by clicking on CloudFormation at the top of the page and selecting StackSets
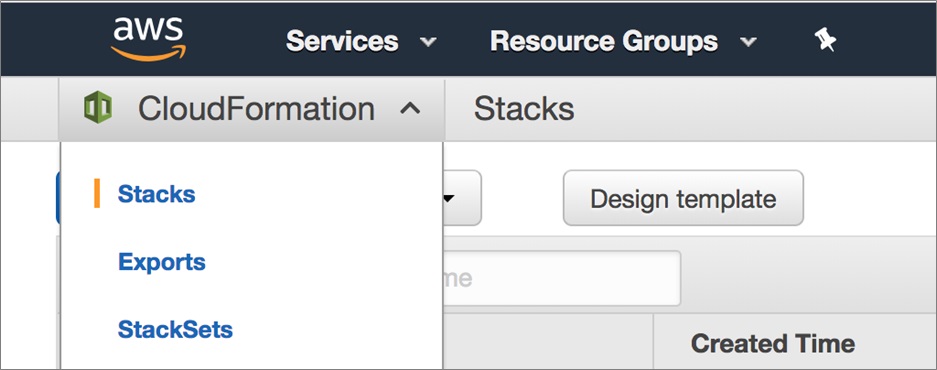
- Create a StackSet from the
origin-bucket.yamltemplate and tweak the parameters according to the description above. You can override parameters after the initial create. For example, if you want to have a different weight in one region.
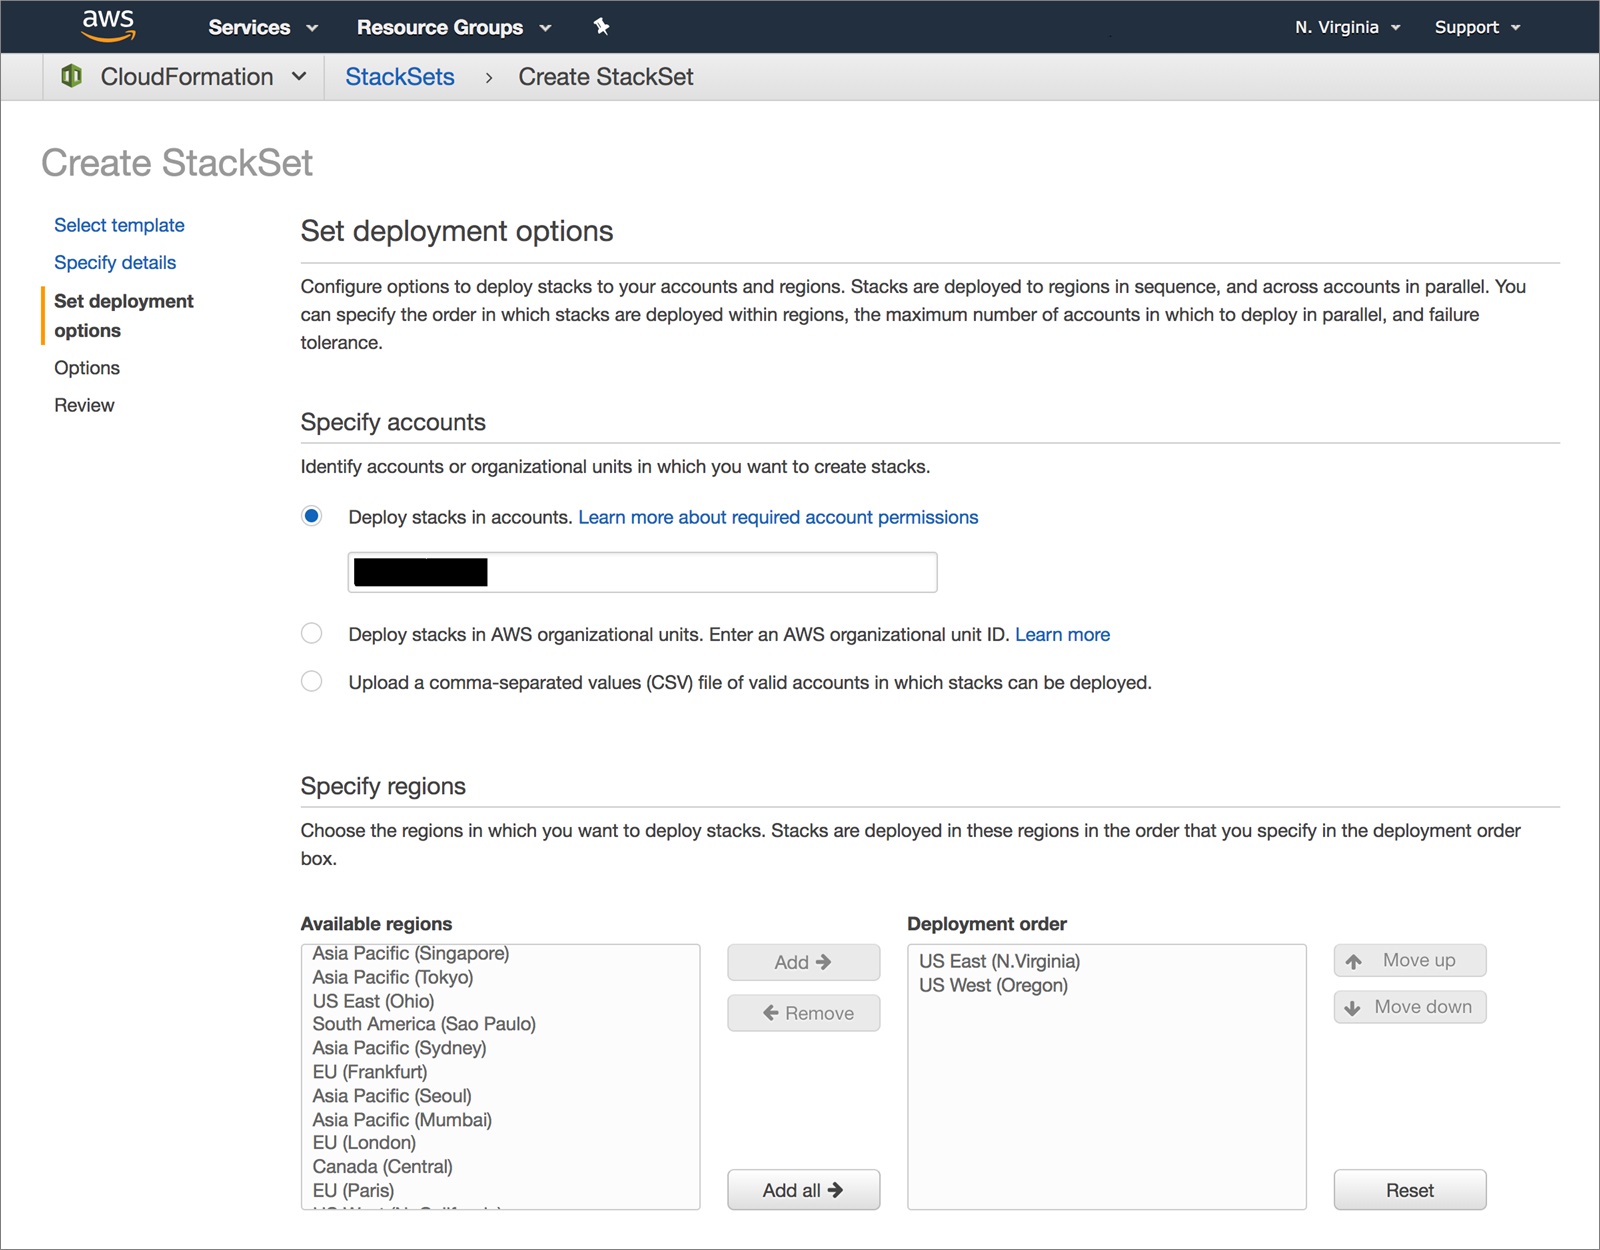
- Specify your account number and the regions you want to deploy to.
- Follow the rest of the prompts and deploy your stacks.
- You can get the output(s) by going to the CloudFormation console in each region and looking for the stack that was created for your StackSet.
Testing
You should now have one CloudFrontDomain output and one or more BucketName outputs. To test if everything is working, upload a index.html file to every bucket. If you put the region name in the body of the html, it should be easy to see where CloudFront is getting the file from.
Surf to the CloudFrontDomain to see the file that CloudFront is getting. Refresh the page to get a new version from the origin. You can also edit the weights to have a bigger chance of getting a file from a certain region.
Possible Improvements
If you expect to use this method with multiple CloudFront distributions, it’s a good idea to put the Lambda@Edge function and the CloudFront distribution into two separate templates.
If you want to switch between regions without manual intervention, you can use Route 53 health checks in combination with an object that can be reached without going through CloudFront.
We uploaded our files to all buckets ourselves, but you could also use one bucket for your uploads and configure cross-region replication to get the objects everywhere.
Summary
In this post, we described a way to setup Amazon CloudFront with multiple Amazon S3 origins and talked about how this could affect your website’s latency and cost. We also showed the Lambda@Edge code that makes this possible and how to deploy the solution with AWS CloudFormation and CloudFormation StackSets.
The content and opinions in this blog are those of the third party author and AWS is not responsible for the content or accuracy of this post.
.
 |
Cloudar – APN Partner Spotlight
Cloudar is an AWS Competency Partner. They have a proven track record of successful DevOps projects, infrastructure migration projects, managed services projects, and AWS Professional Services spans more than a hundred customer engagements.
Contact Cloudar | Practice Overview | Customer Success
*Already worked with Cloudar? Rate this Partner
*To review an APN Partner, you must be an AWS customer that has worked with them directly on a project.