AWS for M&E Blog
AWS Artist Series – Rigging the bridge for “Spanner”
This is the 4th post in our AWS Artist series, find the other three below:
AWS Artist Series: Compositing Spanner
AWS Artist Series: Creating characters with dynamic wrinkles
AWS Artist Series: Animating Noa
Project introduction
Spanner is a short film about two bridge makers: Ulysse is an overly confident worker whose insecurities become very evident when he encounters Noa, a bridge building expert. Spanner was created by FuzzyPixel, an internal AWS team that tests the tools and services that AWS is developing for animation and visual effects studios. Our team ensures that these tools and services stand up to the rigors of real-world production. To do so, we create animated content using industry standard tools, and we aim to meet the level of complexity of the productions that our customers work on.
The finished short film can be viewed here: Animated Short Film: Spanner.
Still image of the bridge
The task
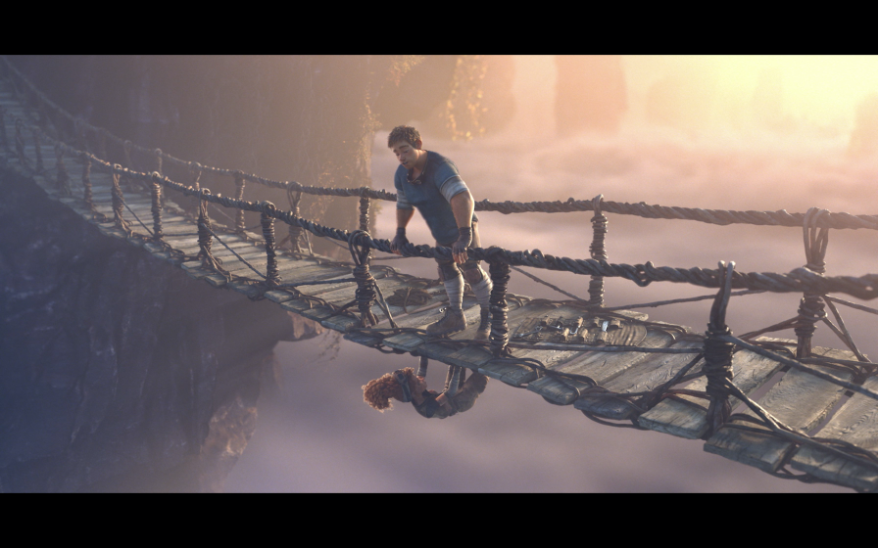
The entire short film takes place on a bridge–with Ulysse jumping onto it from the airship, Noa hanging off of it, and both characters pulling and pushing the railings and shifting weights on the planks. To accommodate all of the action, we created a rig that was versatile and provided animators with enough control to easily achieve the desired movements. This allowed us to have a fast workflow while posing and animating the bridge.
Two shots of the bridge from the short film.
Using new nodes in Maya 2020
The project was rigged and animated in Autodesk Maya 2020. This allowed us to leverage some of the newest additions put into this version, such as Offset Parent Matrix attributes, the uvPin node, and some of the new matrix nodes.
Offset Parent Matrix attributes were added to all transform nodes in Maya 2020. In addition, new matrix nodes such as Aim Matrix and Blend Matrix were added. This allows for transformation information to be passed between nodes directly with just one connection, instead of having to use intermediate Decompose Matrix nodes and connecting the individual translate, rotate, and scale channels separately. With fewer connections and fewer nodes to calculate, Maya can evaluate rigs faster, which results in better performance.
The uvPin node can receive an array of UV values and produces an array of matrices that matches each of those UV values. Multiple matrices can be pinned to a single mesh or NURBS surface with a single node instead of having to use individual nodes for each pin (as it is the case for the follicle or pointOnSurfaceInfo nodes). In addition, the uvPin node produces matrices instead of position and rotation information, or rotational vector information (like we see with the pointOnSurfaceInfo node). This results in fewer connections and fewer overall node counts–which again, leads to faster calculation and performance.
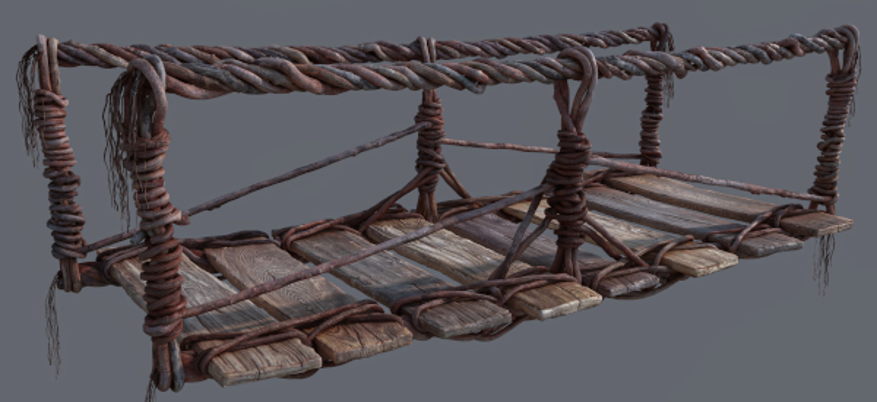
A render of a section of the bridge
The general approach
To give the bridge the natural and handcrafted look that the story line required, it was assembled out of planks and vines. The initial idea was to use geometry instancing where only one plank and one vine would be modeled and then replicated along a curve with, for example, MASH or Bifrost. With instancing, each new instanced copy of the object can have its own position, rotation, and scale in space, without the need to duplicate the actual geometry. This helps keep the overall poly count for the asset down, and therefore increases calculation speed.
In our case, the geometry for each of these pieces held a lot of detail that was modeled in, and since we wanted it to look like it’s based on reality and organic, each plank and vine was modeled slightly differently without any repetition. This ruled out the instancing idea. That meant that with the model being on the more complex side, the approach for the rig was to do a very simple base that would then drive the final bridge geometry.
Getting started on the rig
The first step was to generate low resolution NURBS curves as a representation for the horizontal ropes. The number and positioning of control vertices of those curves would later coincide with the number and positions of the controls for those ropes. Low resolution NURBS curves were created for the vertical and diagonal ropes as well, but since those curves did not need to be as flexible and bend as much, two control vertices at root and start were sufficient as a representation.

The next step was to loft the 4 horizontal curves to generate NURBS surfaces for the sides and bottom of the bridge. The construction history on those lofts was kept on, so that deforming the NURBS curves would also result in the deformation of those surfaces.
Lofted NURBS surfaces between the 4 horizontal curves
After that, the box controls were created based on the positions of the control vertices of the horizontal NURBS curves, and connected to drive those CV positions. Yellow circle controls were created to group and control each section of box controls via simple parenting.

The result of this setup so far was a low resolution representation of the bridge, which could be controlled and deformed by animators using the control objects.

Connecting the geometry to the rig
Now the bridge geometry needed to get connected to this low resolution bridge rig. To achieve this, the uvPin node that Autodesk added in Maya 2020 came into play. For the planks, the pivot position for each plank was used to query the closest point on the bottom NURBS surface.
Video showing the matrices of the uvPin node that the plank geo follows.
The resulting UV positions were then used as inputs for the uvPin node that produces matrices that stick to those UV positions on the surface as the surface gets deformed. Initially we connected those matrices directly to the Offset Parent Matrix attribute of each plank geometry. While this worked inside Maya, it did not work properly when we tried to export the bridge geometry as Alembic cache from animation into lighting. This is because the alembic caching did not support Offset Parent Matrix attributes at the time of this project. The workaround was to create intermediate joints for each plank that would get the uvPin node matrix outputs as inputs and then use parent constraints to connect the plank geometry to those joints. This allowed the Alembic cache for the bridge to be exported and passed to downstream departments properly.
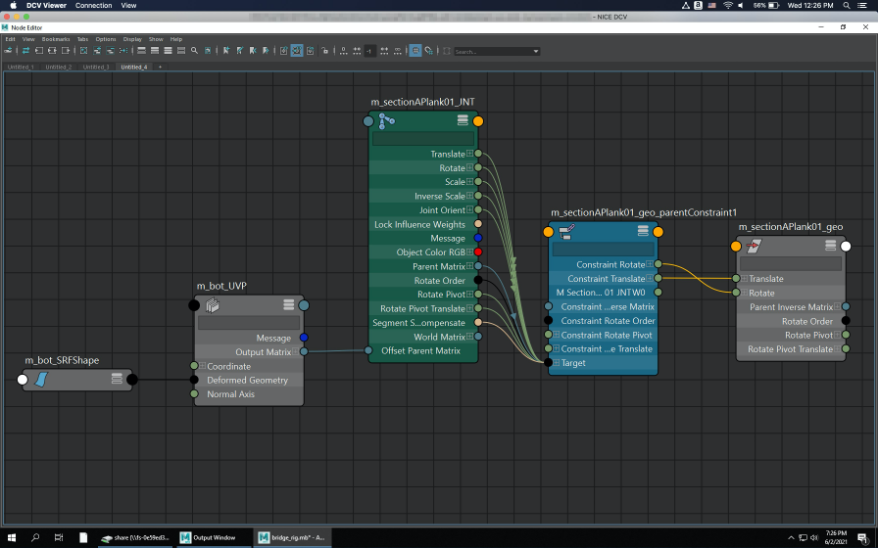
Node Editor showing the node connections
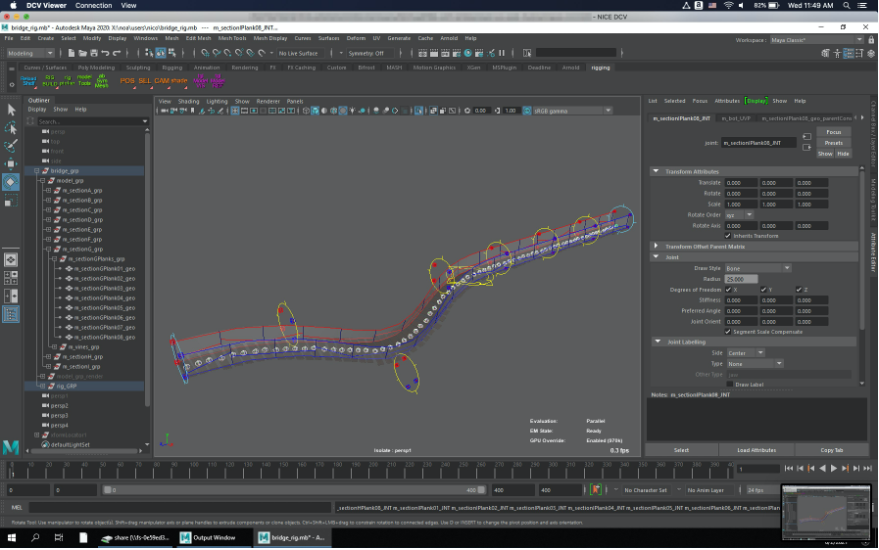
The plank geometries follow the NURBS surface of the rig
Connecting the vines
For the vines that function as the bridge rails and also hold the planks together, the same approach was used. Based on the start and end CV positions of the vertical and diagonal NURBS curves, it was possible to query the closest point on the NURBS surfaces on the sides of the bridge at those positions. This revealed the UV values that were then used for uvPin nodes and joints that would stick to and move with those surfaces. The vines were then skinned to those joints.
The vertical vines driven by the rig
The horizontal vines driven by the rig
Project summary
In summary, we were able to leverage several of the new rigging features that Autodesk added in Maya 2020 to create a fast and easy-to-use rig for animators to pose and animate with. What slowed down the rig the most was the dense topology and number of individual pieces of geometry, which contributed to a high vert count for this asset. By keeping the rig light-weight and simple, it was still manageable, and for shots where both Noa and Ulysse were constrained to the bridge, we also added a low resolution proxy model that animators could switch to for added performance.
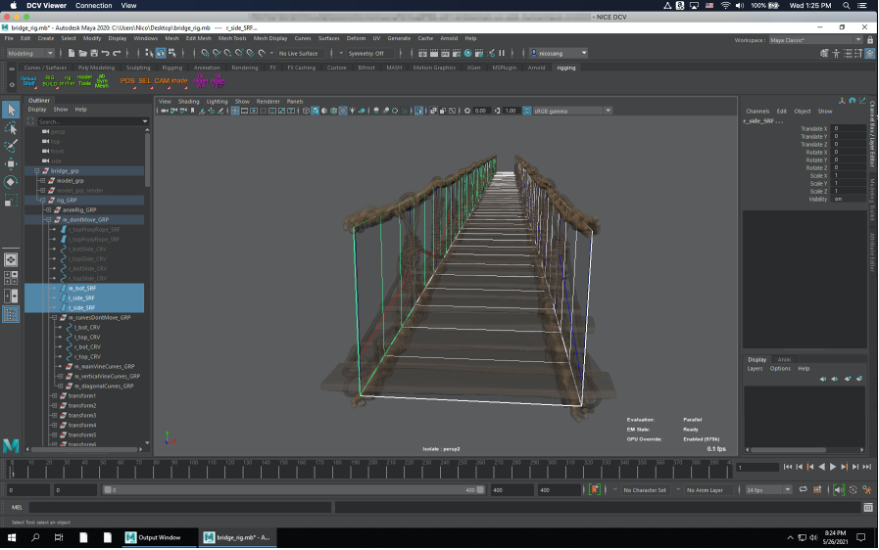
The final result of the rig
If you would like to try out the bridge rig for yourself, it is available for download as part of aws-sample/nimblestudio-demo-assets on GitHub:
https://github.com/aws-samples/nimblestudio-demo-assets
There you will find it under spanner/assets/prop/bridge/rig/bridge_rig.mb
Have a question for one of our artists, authors, or compositors on this series? Let us know in the comments or on social media. Once the series is complete we will be posting a roundup of Q&A