AWS Startups Blog
The Startup’s Guide to Building Machine Learning on AWS

by Allie K. Miller, Head of ML Growth, Startups and Venture Capital & Emily Webber, Machine Learning Specialist Solutions Architect, AWS. Have machine learning questions or want to speak to someone for technical support? Contact us!
Ever wonder how data scientists at digital freight marketplace Convoy are able to find the most cost-efficient trucking routes or how healthcare startup SyntheticGestalt is taking the drug discovery process from 4 years down to 9 hours to accelerate scientific research?
We’ll fill in you on their little trick. They were early adopters of Amazon SageMaker, Amazon’s machine learning service that lets you quickly build, train, and deploy ML models.
First launched just over two years ago, SageMaker automatically manages the infrastructure for every step of a customer’s machine learning lifecycle. That is: it gives you decoupled environments for analyzing data and writing your algorithm, running a training job, and deploying your model onto both a RESTful API and batch inference jobs. You get a managed EC2 instance for running Jupyter, another one that’s training your model, and yet another that’s hosting it. Each of these environments can have its own dependencies, versions, code, and compute configurations.
That means you can start your notebook instance at the lowest possible cost, start developing your project, and automatically turn your instances off to make sure you’re not paying when you don’t need to. After that, you can scale up the instance hosting your notebook when you need more disk space or more RAM to knock out your feature engineering. You can also launch a training job with all your data scaled over 10s of nodes, close your laptop, and go home. Once you have a trained model, shoot it out onto a GPU cluster to crunch through some serious data for inferencing.
So why does this matter for startups?
(1) You can be more agile. Regardless of which project you are working on or which feature of your product you’re developing, you can leverage a consistent architectural pattern for every model, dataset, and project you touch—no matter who is working on it. That means you can quickly build new features for your customers because you don’t have to write as much code – there’s more taken care of for you.
(2) It’s cost-effective. Because SageMaker decouples your environments, you can scale these separately and avoid the classic data center traps of over- and under- utilization. It’s a pure cost-optimization tactic. You can also write Lambda functions to delete any endpoints you created during the day or lifecycle configurations to monitor your notebooks’ CPU utilization and shut them down after a period of time.
(3) You get faster teamwork and collaboration. We offer 250+ example notebooks to demonstrate how to use SageMaker for a variety of applications. The tens of thousands of developers in the SageMaker user base come from a huge variety of backgrounds, ranging from PhDs at huge corporations to high school students without advanced mathematical backgrounds. You can quickly become proficient in training and deploying machine learning models on SageMaker with minimal training.
(4) You can bring your own models. There are zero restrictions around using the 17 built-in SageMaker algorithms. While many customers do leverage them for production workloads, we actually have five ways to train models on SageMaker: built-in algorithms, Docker container, script mode, Marketplace, and directly on the notebook instances. You can bring your own PyTorch, TensorFlow, or MXNet model and leverage our distributed training nodes and web servers, no problem.
Now, let’s see it in action.
To create a SageMaker notebook instance
1. To get started, you need to have an AWS account. AWS account creation can take a few minutes because we’re uniquely assigning resources for you.
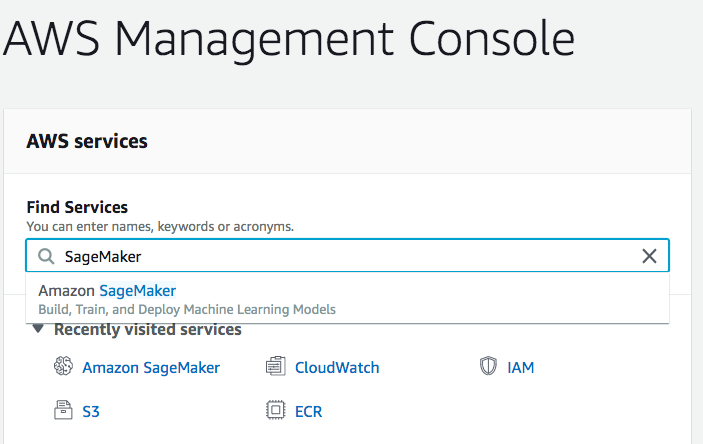
2. After that, log into your account and navigate to SageMaker in the search bar.
3. Next, choose Notebook instances in the Notebook tab.

4. Next, choose Create Notebook Instance.

5. Now you can get your notebook instance launched. Give it a name, and make sure to pick the smallest EC2 instance you can to start with. Select ‘ml.t2.medium’ for starters. Pro tip: you can upgrade this later when you need more RAM or disk for feature engineering.

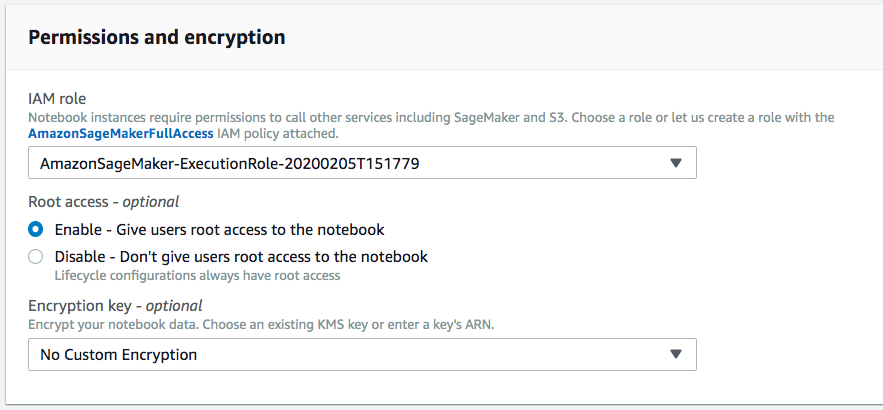
6. Configure the execution role. If you already have a SageMakerExecutionRole created in this account, it should pre-populate, and you can just select it. Otherwise, you’ll want to choose “Create New Role” in the first dropdown bar (IAM role).
7. Then you’re done! Choose Create notebook instance. If you get some errors, don’t worry. Just keep reading these instructions and the details in the launch wizard on the AWS Console, and you can get it launched.
Explore Jupyter on SageMaker
It takes about 3 minutes to launch a notebook instance, because we’re turning on an EC2 instance for you! When your notebook is ready, it’ll show status: In Service.
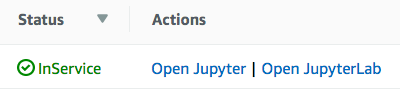
After you see the green light, select Open Jupyter. If you are familiar with JupyterLab, you may also opt to choose Open JupyterLab. Or we suggest exploring SageMaker Studio as a single web-based interface for your machine learning. If you chose Jupyter, you’ll see this.

For fun, choose New→Terminal in the Files tab.

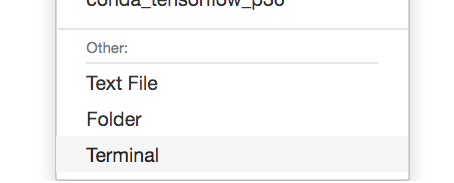
And this is the terminal for your very own instance!
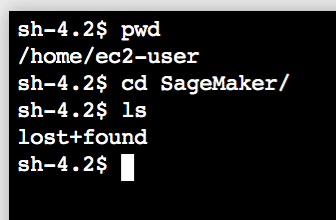
Make sure you `cd SageMaker` for any repositories you want to clone, notebooks you want to upload, or data to copy over from S3. That is the start of your persistent data store, EBS.
Step through example code
To pick an example notebook to follow
1. Navigate to SageMaker Examples in the main navigation bar.

2. Pick your example of choice! Emily’s personal go-to is text classification with Blazing Text. Although newer models are always being released (e.g., BERT and other Sesame Street characters), you will still get a validation accuracy of 97% with this example on a balanced dataset. This is under Introduction to Amazon Algorithms, then look for blazing_text_classification_dbpedia.ipynb. Then, choose Use, then Create a Copy.

3. Now, just run through each cell in this notebook, and you’re home free! If you’re exceptionally short on time, feel free to choose Cell → Run All. This will execute every cell in this notebook, which should operate flawlessly for you. The empty spaces next to the cells should change to an * when the cell is in process, and it will switch to a number representing the order in which that cell was executed. You’ll also see an orange hourglass in the tab for this notebook when the notebook is running, along with a notebook when it’s closed.

And that’s it!
Step through the code to learn:
- How it’s using the SageMaker and/or AWS SDK for Python to execute functionality
- How you’re writing to Amazon S3 via code
- How you’re launching training jobs with model.fit(), and how you’re automatically creating a RESTful API with model.deploy()
- How you’re hitting that API with predictor.predict()
Cruise back over to the AWS Console for SageMaker to monitor your resources. You’ll find a new tab under Training Jobs.

You’ll also find your endpoint coming online.
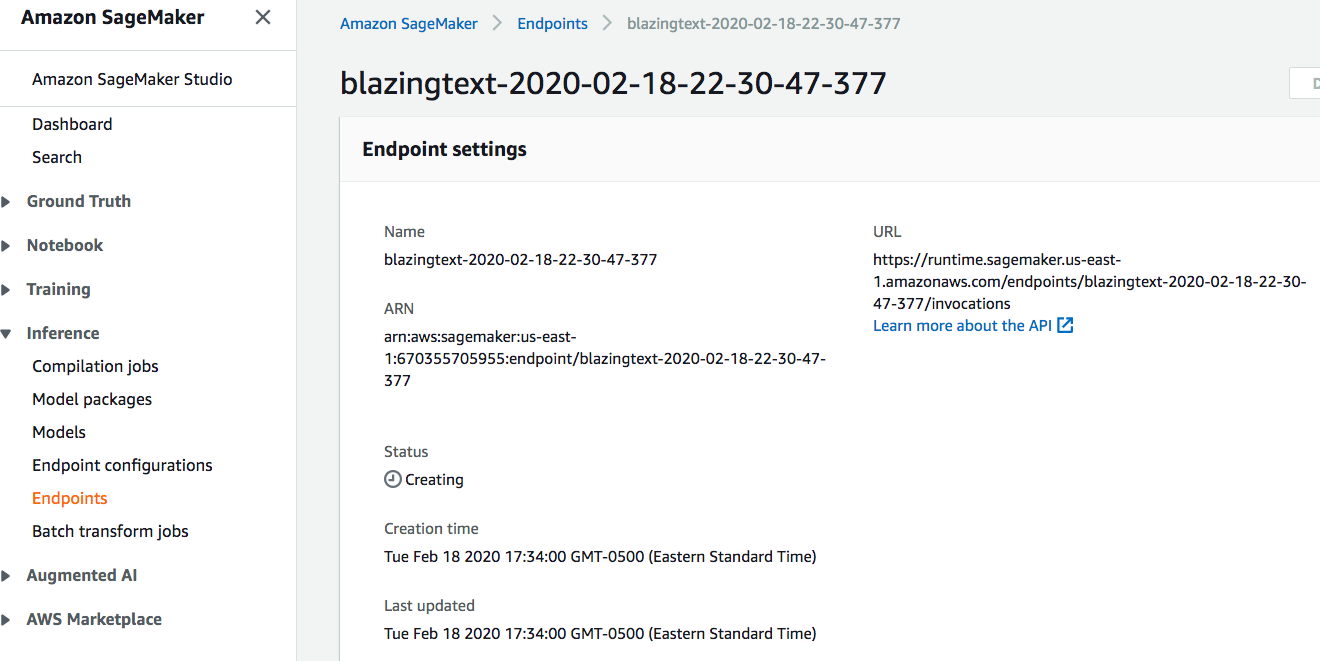
And there you have it! You’ve just launched a notebook instance, trained a model, and deployed it onto your own API.
Be Sure to Shut Down Your Instance
When you’re done, close the notebook tab, and remember to click stop! If you do not click stop, you will keep getting charged until you choose the stop button. Make sure to also turn off your endpoints. If you love efficiency and just want a script to do this for you, check out our repository with some Python code to turn off your resources. You’ll need to string this up in a Lambda function, and connect that Lambda function to a Cloudwatch Event based on some trigger – a helpful trigger is the time of day. The code is right here.
Don’t Forget: Machine Learning is Fun!
Just remember: machine learning is meant to be interesting, fun, engaging, and fulfilling. With SageMaker, you won’t need to fight your package dependencies, your hardware, or the basic steps to get your models trained and tracked. Tens of thousands of customers use SageMaker classic on a regular basis, and at re:Invent 2019, we launched almost twice as many features for SageMaker of the future: Studio, Experiments, Model Monitoring, Multi-Model Endpoints, Autopilot, and so much more. If you want more help filling in the blanks on how to use SageMaker, check out our technical deep dive video series!
(Have fun, and don’t forget to shut down your instance!)
If you have questions or want to speak to someone for technical support, our team is ready to help. Contact us for further inquiry regarding Machine Learning for Startups. To learn about Startup Machine Learning, click here.