AWS Compute Blog
Building a GPU workstation for visual effects with AWS
Contributed by Mike Owen, Solutions Architect, AWS Thinkbox
The elasticity, scalability, and cost effectiveness of the cloud value proposition is attractive to media customers. One of the key design patterns in media and entertainment (M&E) workloads is using the cloud as a content lake and bringing the underlying processes closer without having to synchronize data. In this high-end graphics visualization business, a pixel-perfect, color-accurate, fully interactive native desktop experience is required for both Windows and Linux platforms. Visual effects (VFX) artists also require input peripherals such as latest-generation Wacom 8K pressure-sensitive tablets and Wacom Cintiq monitors to work as seamlessly as they do on-premises.
AWS offers Amazon EC2 G3 instances backed by NVIDIA Tesla M60 GPUs with powerful graphics capabilities: OpenGL 4.6, DirectX 12, CUDA 9.2, GRID 6.1. You can combine these instances with the Teradici streaming protocol via their Cloud Access Software (CAS) agent to enable a high-end desktop experience on either Windows or Linux with an on-demand pricing model to fit your business needs. Teradici PCoIP is a popular protocol in the M&E industry, where Teradici have delivered a custom silicon accelerated zero-client hardware device to deliver secure pixel streaming to on-premises monitors. AWS also enables customers to create managed virtual desktop environments with Amazon WorkSpaces Graphics bundles (Windows) or Amazon AppStream 2.0 (Windows). Both solutions offer a managed environment with GPU-backed instances. This blog describes how you can set up an unmanaged VFX desktop using Amazon EC2 G3 instances combined with high-performance storage and scalable compute options such as Amazon EC2 Spot Instances.
Configuration
The following diagram describes a typical Windows and Linux configuration. In this setup, you use a Teradici PCoIP Zero Client over a dedicated network connection from your on-premises location via your chosen network provider to their nearest AWS Region containing an Amazon EC2 G3 instance. AWS Direct Connect provides a low-latency, high-bandwidth dedicated connection that doesn’t traverse the public internet. With the Windows instance, you might use a creative pen display such as a Wacom Cintiq monitor or, on a Linux instance, the latest generation of Wacom 8K pressure-sensitive tablets. You can connect both types of environments to dual 2K monitors and be ready for film VFX work.

Once built, the g3.4xl instance runs your custom Amazon Machine Image (AMI) with encrypted volume(s) in Amazon Elastic Block Storage (EBS) containing all your software, pulling floating licenses from your on-premises license servers where necessary. For Linux, you have the option of centrally installing your software via a fast NVMe SSD–based i3 instance type and building a minimal-sized boot AMI. In both cases, you can add encrypted Amazon EBS SSD volumes for increased local storage. The Teradici CAS agent runs on each individual G3 instance and can be provisioned, brokered, and managed by the optional Teradici Cloud Access Manager (CAM) solution. Finally, Amazon WorkSpaces Graphics bundles are compatible with a Teradici zero client, providing easy access to a fully managed Windows desktop. This might be useful for Linux-based studios that require ad hoc Windows usage such as Adobe Creative Cloud.
In this configuration, a Teradici zero client interacts with the provisioned desktop (served on a G3 instance) in the cloud. The Teradici CAS agent captures the frame buffer and sends it in real time to the zero client over the network via UDP using the PCoIP protocol. A smooth, reliable experience depends on a low-latency and high-bandwidth connection to the Amazon EC2 instance hosting the desktop. Bandwidth requirements depend on the number of monitors used, resolution, frame rate, and lossless quality of the desktop experience. For Wacom tablet support, Teradici CAS 2.12 requires the latency level to be less than 25 ms. You can use ping.psa.fun or cloudping.info to check the latency time of public pings between your location and your closest AWS Region. Ideally, you will provision an AWS Direct Connect connection for private (doesn’t traverse the public internet) and fast (low-latency) connectivity to the AWS Region from your location. You can also use a public internet connection for initial testing. In both cases, you can route traffic over a VPN for added security.
Shortcut
Instead of doing a manual build, you can visit the AWS Marketplace and subscribe to a Teradici-provided pre-built AMI. It already has the NVIDIA GRID driver and Teradici CAS software installed, configured, and licensed as part of the overall usage cost. See the following offerings on AWS Marketplace:
- Linux: Teradici Cloud Access Software for CentOS 7
- Windows: Teradici Cloud Access Software for Windows 2016
Prerequisites
Make sure that everything in the following list is in place before deploying to either platform:
- Create an AWS account.
- Ensure that your AWS account has an EC2 key-pair associated with it by going to the AWS Management Console and checking Key Pairs under Network and Security in the applicable AWS Region.
- Set up an AWS account <ACCESS KEY> and <SECRET ACCESS KEY> to access the NVIDIA GRID driver from an Amazon S3 bucket. The deployment instructions explain how to install and set up the AWS Command-Line Interface (AWS CLI).
- Minimum version: CentOS 7.2 or Windows 2016.
- Recommended Teradici PCoIP Zero Client firmware version: 6.0. Contact Teradici to download.
- Contact Teradici who will provide a 60-day trial license: <TERADICI LICENSE CODE> for Cloud Access Software. You should receive your license within 1 business day. If you don’t receive your license, please contact sales@teradici.com.
- You must have superuser (root) or Administrator privileges to the AMI.
- The Amazon EC2 security group provides a stateful firewall on each instance via a set of rules. The following inbound ports must be available on the Amazon EC2 instance from a specific client’s source IP address (restrictive access).
| Type | Protocol | Port Range | Source | Description | Platform |
|---|---|---|---|---|---|
| Custom TCP Rule | TCP | 443 | <YOUR SOURCE IP> | HTTPS | Both |
| SSH | TCP | 22 | <YOUR SOURCE IP> | SSH | Linux only |
| Custom TCP Rule | TCP | 4172 | <YOUR SOURCE IP> | PCoIP | Both |
| Custom UDP Rule | UDP | 4172 | <YOUR SOURCE IP> | PCoIP | Both |
| Custom TCP Rule | TCP | 60443 | <YOUR SOURCE IP> | PCoIP | Both |
| RDP | TCP | 3389 | <YOUR SOURCE IP> | RDP | Windows only |
Deploying the desktop on Linux
For our Linux deployment, we use the latest CentOS 7.5 AMI from AWS Marketplace and install the NVIDIA/Xorg/KDE/Wacom stack to create a fully functioning VFX Linux desktop environment. This stack contains the following components:
- CentOS 7.5.1804_2 AMI
- NVIDIA Grid 6.1 (390.57 May 2018) driver
- Teradici CAS 2.12
- Wacom 0.40 driver
Feel free to use your own CentOS 7.2+ AMI and modify the step by step instructions accordingly.
Setting up the desktop on Linux
To launch a g3.4xl instance in the closest AWS Region in your AWS account using the created key-pair and security group, use an AMI ID from the ones in the following table. For reference, search for the AMI using the keywords CentOS Linux 7 x86_64 HVM EBS 1804_2.
| AWS Region | AWS Region ID | AMI ID |
|---|---|---|
| US East (N. Virginia) | us-east-1 | ami-d5bf2caa |
| US East (Ohio) | us-east-2 | ami-77724e12 |
| US West (N. California) | us-west-1 | ami-3b89905b |
| US West (Oregon) | us-west-2 | ami-5490ed2c |
| EU (Frankfurt) | eu-central-1 | ami-9a183671 |
| EU (Ireland) | eu-west-1 | ami-4c457735 |
| Asia Pacific (Tokyo) | ap-northeast-1 | ami-3185744e |
| Asia Pacific (Singapore) | ap-southeast-1 | ami-da6151a6 |
| Asia Pacific (Sydney) | ap-southeast-2 | ami-0d13c26f |
Once the g3.4xl instance has passed its EC2 instance 2/2 status checks, we can build in true AWS style.
First, log in to the instance and set up the environment.
Next, install and register the Teradici CAS 2.12 software.
Then install the NVIDIA GRID graphics driver and apply performance optimization to its configuration.
Install CUDA if required by any of your VFX software such as Autodesk Maya or SideFX Houdini:
Finally, install Wacom drivers.
Deploying the desktop on Windows
We use the latest AWS-provided Windows 2016 AMI for our deployment and install the NVIDIA/Teradici/Wacom stack to create a fully functioning VFX Windows desktop environment. This stack contains the following components:
- Windows Server 2016 Base 2018.04.11
- NVIDIA Grid 6.1 (391.58 May 2018) driver
- Teradici CAS 2.12
- Latest Wacom driver
Feel free to use your own Windows 2016 AMI and modify the step by step instructions accordingly.
Windows Instructions
To launch a g3.4xl instance in the closest AWS Region in your AWS account using the created key-pair and security group, use an AMI ID from the ones in the following table. For reference, the AMI name is Microsoft Windows Server 2016 Base 2018.04.11.
| AWS Region | AWS Region ID | AMI ID |
|---|---|---|
| US East (N. Virginia) | us-east-1 | ami-3633b149 |
| US East (Ohio) | us-east-2 | ami-5984b43c |
| US West (N. California) | us-west-1 | ami-3dd1c25d |
| US West (Oregon) | us-west-2 | ami-f3dcbc8b |
| EU (Frankfurt) | eu-central-1 | ami-b5530b5e |
| EU (Ireland) | eu-west-1 | ami-4cc09a35 |
| Asia Pacific (Tokyo) | ap-northeast-1 | ami-0e809272 |
| Asia Pacific (Singapore) | ap-southeast-1 | ami-00a2847c |
| Asia Pacific (Sydney) | ap-southeast-2 | ami-7279b010 |
Once the g3.4xl instance has passed its Amazon EC2 instance 2/2 status checks, let’s go build:
Validating the desktop
Finally, take your new Linux or Windows VFX workstation for a spin. Using a zero client:
Teradici provides a software client for Windows and macOS that you can use to validate the setup of your Windows or Linux desktop. It’s also handy for system administrators who need to access a graphics workstation for artist technical support.
Testing the desktop
For testing, let’s run Autodesk 3ds Max on Windows and Autodesk Maya on Linux.

In 3ds Max, we have a 35-million-poly scene from the GPU-accelerated renderer Redshift, fully interactive and able to use the NVIDIA card to perform CUDA-based GPU final rendering.
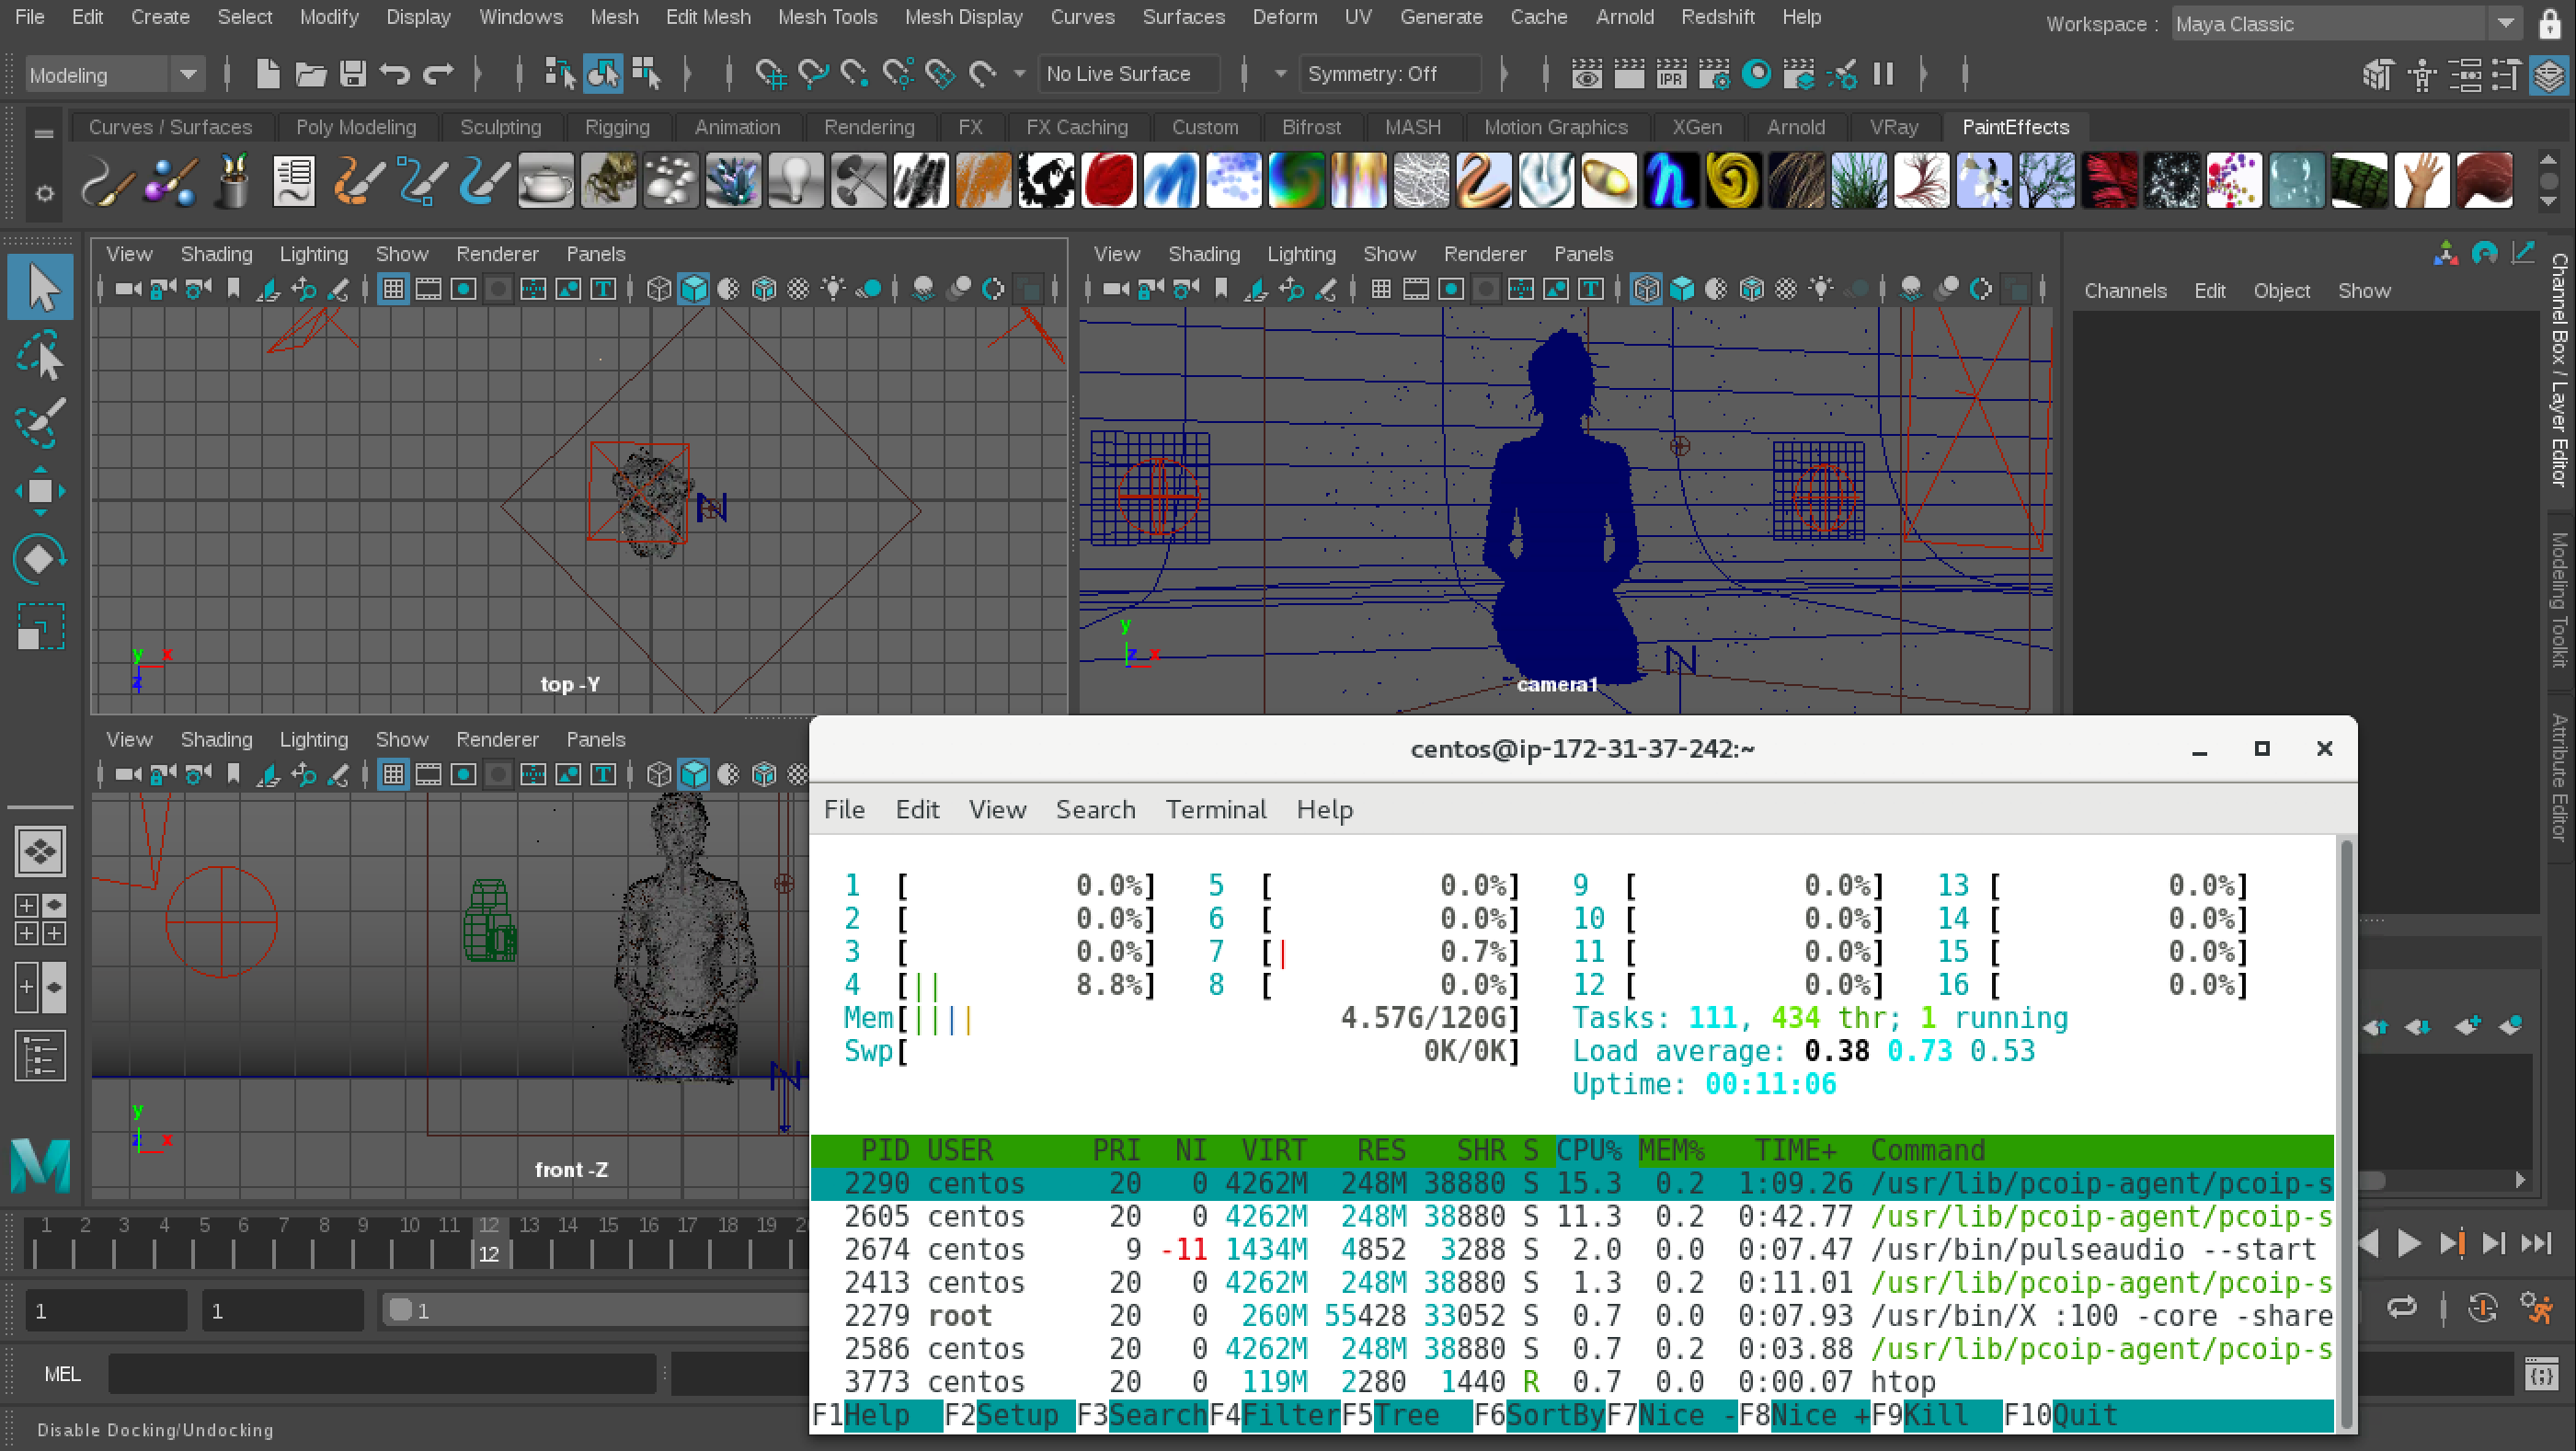
In Maya, we show the 16 vCPUs and 120 GB of RAM available to this 3D scene file. The file takes 10 minutes to final render at HD resolution on a g3.4xl instance or, if you decide to offload the CUDA rendering to the Amazon EC2 P3.16xl instance type, just 19 seconds!
Conclusion
The Amazon EC2 G3 instance type is purpose-built to provide a high-end professional graphics infrastructure for visual computing applications. With remote protocols like Teradici PCoIP, G3 instances are the next-generation VFX cloud desktops that can deliver outstanding performance. With many studios already taking advantage of elastic cloud scaling for rendering, now is a great time to deploy cloud desktops for your business.