- AWS Builder Center
- builders.flash
Amazon Location Service と AWS Amplify でさまざまなマップライブラリを利用する
2023-01-05 | Author : 桐本 靖規 (MIERUNE Inc. / AWS DevTools Hero)

はじめに
こんにちは。AWS DevTools Hero の桐本です。
先日、"DevTools Heroes" カテゴリの一部として、"Front-End Web & Mobile" が正式にヒーローカテゴリに追加されました ! 今まで、フロントエンド技術のヒーローカテゴリは無かったので、個人的にもとても嬉しいアナウンスでした。"Front-End Web & Mobile" カテゴリ好きな方がいましたら、ぜひ一緒に盛り上げていきましょう !
本日は、私の専門分野でもある位置情報技術や "Front-End Web & Mobile" カテゴリーについての記事を書いてみました。AWS の環境下で位置情報アプリケーションを構築可能な、Amazon Location Service と AWS Amplify を利用し、さまざまなマップライブラリを組み合わせる内容です。
マップライブラリは、オープンソースのMapLibre GL JS、OpenLayers、Leaflet の 3 種類を利用し、比較しながら位置情報アプリケーションを構築します。
-
MapLibre GL JS : WebGL を利用したマップライブラリで、中級者の方にオススメです。
-
OpenLayers : 柔軟にカスタマイズ可能なマップライブラリで、上級者の方にオススメです。
-
Leaflet : 手軽に位置情報アプリケーションを構築できるマップライブラリで、初心者の方にオススメです。
Amazon Location Service 利用時には、MapLibre GL JS がオススメですがお好きなマップライブラリを選んで頂ければと思います!各マップライブラリのメリット・デメリットについてはまたの機会に紹介できればと思います。
builders.flash メールメンバー登録
事前準備
Amplify Documentation を参考に Amplify CLI をインストールします。
執筆時の検証バージョン
- node v18.1.0
- npm v8.19.2
- Amplify CLI v10.3.2
Amplify CLI のインストール
Amplify CLI をインストールします。
npm install -g @aws-amplify/cli@10.3.2Amplify CLI のバージョン確認
Amplify CLI のバージョンを確認します。
amplify -vAmplify CLI の初期設定
Amplify CLI の初期設定をおこないます。
amplify configure利用するスターター
今回は既存のスターターを拡張し、Amazon Location Service の環境を構築します。このスターターは、マップライブラリをシンプルに利用できる構成になっています。まずは、ご自身の環境に fork またはダウンロードし動作確認をしてみてください。


スターター利用方法
パッケージをインストール
パッケージをインストールします。
npm installローカルサーバーを起動
ローカルサーバーを起動します。
npm run devこのようなマップが表示されます。

ライブラリを追加
次に、スターターに必要なライブラリを追加でインストールします。各スターターには、共通で AWS Amplify と MapLibre GL JS のラッパーライブラリをインストールします。
AWS Amplify とラッパーライブラリを利用することで、手軽に Amazon Location Service の環境構築が可能になります。また、OpenLayers と Leaflet については他にもライブラリをインストールします。Leaflet では "MapLibre GL Leaflet" ライブラリを利用するため、現状では一部のライブラリバージョンを指定する必要があります。
MapLibre GL JS
追加でライブラリをインストールします。
npm install aws-amplify
npm install maplibre-gl-js-amplify
package.json
package.json は以下のような内容です。
{
  "name": "maplibregljs-starter",
  "version": "2.4.0",
  "description": "",
  "scripts": {
    "dev": "vite",
    "build": "tsc && vite build",
    "preview": "vite preview"
  },
  "keywords": [],
  "author": "Yasunori Kirimoto",
  "license": "ISC",
  "devDependencies": {
    "typescript": "^4.8.4",
    "vite": "^3.2.1"
  },
  "dependencies": {
    "aws-amplify": "^4.3.42",
    "maplibre-gl": "^2.4.0",
    "maplibre-gl-js-amplify": "^2.1.0"
  }
}
OpenLayers
追加でライブラリをインストールします。
npm install aws-amplify
npm install maplibre-gl-js-amplify
npm install @geoblocks/ol-maplibre-layer
package.json
package.json は以下のような内容です。
{
  "name": "openlayers-starter",
  "version": "7.1.0",
  "description": "",
  "scripts": {
    "dev": "vite",
    "build": "tsc && vite build",
    "preview": "vite preview"
  },
  "keywords": [],
  "author": "Yasunori Kirimoto",
  "license": "ISC",
  "devDependencies": {
    "typescript": "^4.8.4",
    "vite": "^3.2.1"
  },
  "dependencies": {
    "@geoblocks/ol-maplibre-layer": "^0.0.4",
    "aws-amplify": "^4.3.42",
    "maplibre-gl-js-amplify": "^2.1.0",
    "ol": "^7.1.0"
  }
}
package.json
package.json は以下のような内容です。
{
  "name": "leaflet-starter",
  "version": "1.9.2",
  "description": "",
  "scripts": {
    "dev": "vite",
    "build": "tsc && vite build",
    "preview": "vite preview"
  },
  "keywords": [],
  "author": "Yasunori Kirimoto",
  "license": "ISC",
  "devDependencies": {
    "typescript": "^4.8.4",
    "vite": "^3.2.1"
  },
  "dependencies": {
    "@maplibre/maplibre-gl-leaflet": "^0.0.17",
    "@types/leaflet": "^1.8.0",
    "aws-amplify": "^4.3.42",
    "leaflet": "^1.9.2",
    "maplibre-gl": "^1.15.3",
    "maplibre-gl-js-amplify": "^1.6.0"
  }
}
AWS Amplify の設定
次に、AWS Amplify の設定をします。各スターター共通の方法で設定が可能です。今回は Amazon Location Service を、より手軽に構築可能な Amplify Geo で設定をします。Amazon Location Service と Amplify Geo の比較については こちらの記事 を参考にしてください。
AWS Amplify の初期設定
AWS Amplify の初期設定をします。
amplify init


? Enter a name for the project xxxxx
The following configuration will be applied:

Project information
| Name: xxxxx
| Environment: dev
| Default editor: xxxxx
| App type: javascript
| Javascript framework: none
| Source Directory Path: src
| Distribution Directory Path: dist
| Build Command: npm run-script build
| Start Command: npm run-script start

? Initialize the project with the above configuration? Yes
Using default provider  awscloudformation
? Select the authentication method you want to use: AWS profile

For more information on AWS Profiles, see:
https://docs.aws.amazon.com/cli/latest/userguide/cli-configure-profiles.html

? Please choose the profile you want to use xxxxx
Adding backend environment dev to AWS Amplify app: xxxxx

Deployment completed.
Deployed root stack maplibregljsstarter [ ======================================== ] 4/4
 amplify-maplibregljsstarter-d… AWS::CloudFormation::Stack     CREATE_COMPLETE
 AuthRole                       AWS::IAM::Role                 CREATE_COMPLETE
 UnauthRole                     AWS::IAM::Role                 CREATE_COMPLETE
 DeploymentBucket               AWS::S3::Bucket                CREATE_COMPLETE

✔ Help improve Amplify CLI by sharing non sensitive configurations on failures (y/N) · yes
Deployment bucket fetched.
✔ Initialized provider successfully.
✅ Initialized your environment successfully.

Your project has been successfully initialized and connected to the cloud!

Some next steps:
"amplify status" will show you what you've added already and if it's locally configured or deployed
"amplify add <category>" will allow you to add features like user login or a backend API
"amplify push" will build all your local backend resources and provision it in the cloud
"amplify console" to open the Amplify Console and view your project status
"amplify publish" will build all your local backend and frontend resources (if you have hosting category added) and provision it in the cloud

Pro tip:
Try "amplify add api" to create a backend API and then "amplify push" to deploy everything
認証機能の設定
認証機能の設定をします。今回はデフォルトで設定をします。
amplify add auth


Using service: Cognito, provided by: awscloudformation

 The current configured provider is Amazon Cognito.

 Do you want to use the default authentication and security configuration? Default configuration
 Warning: you will not be able to edit these selections.
 How do you want users to be able to sign in? Username
 Do you want to configure advanced settings? No, I am done.
✅ Successfully added auth resource xxxxx locally

✅ Some next steps:
"amplify push" will build all your local backend resources and provision it in the cloud
"amplify publish" will build all your local backend and frontend resources (if you have hosting category added) and provision it in the cloud
マップ機能の設定
マップ機能の設定をします。今回は日本語化対応スタイルの「HERE Explore」を選択します。
amplify add geo


? Select which capability you want to add: Map (visualize the geospatial data)
✔ Provide a name for the Map: · xxxxx
✔ Who can access this Map? · Authorized and Guest users
Available advanced settings:
- Map style & Map data provider (default: Streets provided by Esri)

✔ Do you want to configure advanced settings? (y/N) · yes
✔ Specify the map style. Refer https://docs.aws.amazon.com/location-maps/latest/APIReference/API_MapConfiguration.html · Explore (data provided by HERE)

⚠️ Auth configuration is required to allow unauthenticated users, but it is not configured properly.
✅ Successfully updated auth resource locally.
✅ Successfully added resource xxxxx locally.

✅ Next steps:
"amplify push" builds all of your local backend resources and provisions them in the cloud
"amplify publish" builds all of your local backend and front-end resources (if you added hosting category) and provisions them in the cloud
環境をデプロイ
設定完了後、環境をデプロイします。
amplify push
⠋ Fetching updates to backend environment: dev from the cloud.⠋ Building resource auth/xxxxx
✔ Successfully pulled backend environment dev from the cloud.
Current Environment: dev
┌──────────┬─────────────────────────────┬───────────┬───────────────────┐
│ Category │ Resource name │ Operation │ Provider plugin │
├──────────┼─────────────────────────────┼───────────┼───────────────────┤
│ Auth │ xxxxx │ Create │ awscloudformation │
├──────────┼─────────────────────────────┼───────────┼───────────────────┤
│ Geo │ xxxxx │ Create │ awscloudformation │
└──────────┴─────────────────────────────┴───────────┴───────────────────┘
? Are you sure you want to continue? Yes
Deployment completed.
Deployed root stack xxxxx [ ======================================== ] 3/3
amplify-xxxxx AWS::CloudFormation::Stack UPDATE_COMPLETE
authxxxxx AWS::CloudFormation::Stack CREATE_COMPLETE
geomapxxxxx AWS::CloudFormation::Stack CREATE_COMPLETE
Deployed auth xxxxxx [ ======================================== ] 10/
UserPool AWS::Cognito::UserPool CREATE_COMPLETE
UserPoolClientWeb AWS::Cognito::UserPoolClient CREATE_COMPLETE
UserPoolClient AWS::Cognito::UserPoolClient CREATE_COMPLETE
UserPoolClientRole AWS::IAM::Role CREATE_COMPLETE
UserPoolClientLambda AWS::Lambda::Function CREATE_COMPLETE
UserPoolClientLambdaPolicy AWS::IAM::Policy CREATE_COMPLETE
UserPoolClientLogPolicy AWS::IAM::Policy CREATE_COMPLETE
UserPoolClientInputs Custom::LambdaCallout CREATE_COMPLETE
IdentityPool AWS::Cognito::IdentityPool CREATE_COMPLETE
IdentityPoolRoleMap AWS::Cognito::IdentityPoolRol… CREATE_COMPLETE
Deployed geo mapxxxxx [ ======================================== ] 5/5
CustomMapLambdaServiceRolexxx AWS::IAM::Role CREATE_COMPLETE
CustomMapLambdaServiceRolexxx AWS::IAM::Policy CREATE_COMPLETE
CustomMapLambdaxxx AWS::Lambda::Function CREATE_COMPLETE
CustomMap Custom::LambdaCallout CREATE_COMPLETE
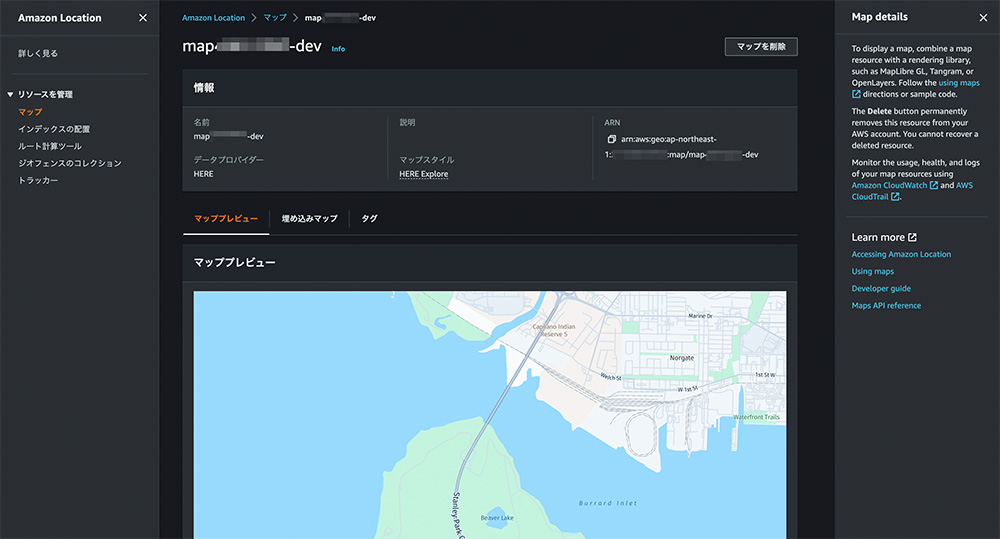
MapPolicy AWS::IAM::Policy CREATE_COMPLETEマップ登録確認
マネジメントコンソールにアクセスすると、マップが登録されているのを確認できます。
アプリケーションの構築
最後に、実際に Amazon Location Service のマップを表示する方法を紹介します。各スターターの "main.ts" と "vite.config.ts" を更新します。また、OpenLayersのみ "@geoblocks/ol-maplibre-layer.d.ts" を新規作成します。
MapLibre GL JS
ファイル構成は以下の通りです。
.├── LICENSE├── README.md├── amplify├── dist│ ├── assets│ └── index.html├── docs├── img├── index.html├── package-lock.json├── package.json├── src│ ├── aws-exports.js│ ├── main.ts│ ├── style.css│ └── vite-env.d.ts├── tsconfig.json└── vite.config.tsmain.ts を編集
main.ts を編集します。
import './style.css'
import 'maplibre-gl/dist/maplibre-gl.css';
import maplibregl from 'maplibre-gl';
import { createMap } from "maplibre-gl-js-amplify";
import { Amplify } from 'aws-amplify';
import awsconfig from './aws-exports';
Amplify.configure(awsconfig);

async function mapCreate() {
    const map = await createMap({
        container: 'map',
        center: [139.767, 35.681],
        zoom: 11,
    });
    map.addControl(
        new maplibregl.NavigationControl({
            visualizePitch: true,
        })
    );
}
mapCreate();
vite.config.ts を編集
vite.config.ts を編集します。
import { defineConfig } from 'vite'

export default defineConfig({
  resolve: {
    alias: {
      './runtimeConfig': './runtimeConfig.browser',
    },
  },
  define: {
    'window.global': {}
  },
})
ローカルサーバーを起動
ローカルサーバーを起動します。
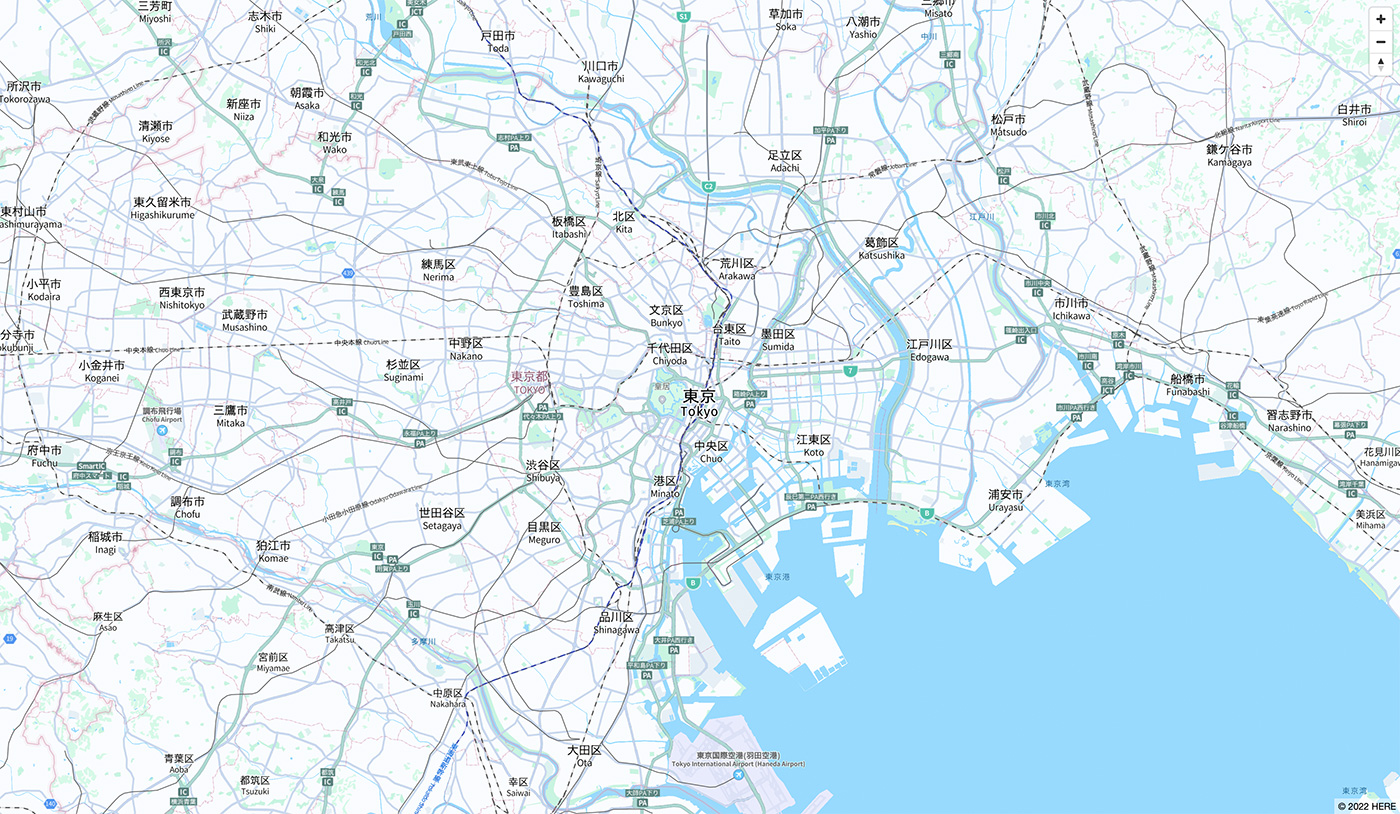
npm run dev日本語スタイルのマップ表示
このような日本語スタイルのマップが表示されます。
OpenLayers
ファイル構成は以下の通りです。
.├── LICENSE├── README.md├── amplify├── dist│ ├── assets│ └── index.html├── docs├── img├── index.html├── package-lock.json├── package.json├── src│ ├── @geoblocks:ol-maplibre-layer.d.ts│ ├── aws-exports.js│ ├── main.ts│ ├── style.css│ └── vite-env.d.ts├── tsconfig.json└── vite.config.tsmain.ts を編集
main.ts を編集します。
import './style.css'
import 'ol/ol.css';
import Map from 'ol/Map';
import View from 'ol/View';
import Source from 'ol/source/Source';
import { fromLonLat } from 'ol/proj';
import { ScaleLine } from 'ol/control';
import MapLibreLayer from '@geoblocks/ol-maplibre-layer';
import { Amplify } from 'aws-amplify';
import { Auth } from 'aws-amplify';
import { Geo, AmazonLocationServiceMapStyle } from '@aws-amplify/geo';
import awsconfig from './aws-exports';
import { AmplifyMapLibreRequest } from 'maplibre-gl-js-amplify';

Amplify.configure(awsconfig);
const credentials = await Auth.currentCredentials();
const defaultMap = Geo.getDefaultMap() as AmazonLocationServiceMapStyle;
const { transformRequest } = new AmplifyMapLibreRequest(
    credentials,
    defaultMap.region
);

const map = new Map({
    target: 'map',
    layers: [
        new MapLibreLayer({
            maplibreOptions: {
                style: Geo.getDefaultMap().mapName,
                transformRequest: transformRequest,
            },
            source: new Source({
                attributions: [
                    '© 2022 HERE',
                ],
                attributionsCollapsible: false,
            }),
        }),
    ],
    view: new View({
        center: fromLonLat([139.767, 35.681]),
        zoom: 11,
    }),
});

map.addControl(new ScaleLine({
    units: 'metric'
}));
vite.config.ts を編集
vite.config.ts を編集します。
import { defineConfig } from 'vite'

export default defineConfig({
  resolve: {
    alias: {
      './runtimeConfig': './runtimeConfig.browser',
    },
  },
  define: {
    'window.global': {}
  },
  build: {
    target: 'esnext'
  },
})
@geoblocks/ol-maplibre-layer.d.ts を新規作成
@geoblocks/ol-maplibre-layer.d.ts を新規作成します。
declare module '@geoblocks/ol-maplibre-layer';ローカルサーバーを起動
ローカルサーバーを起動します。
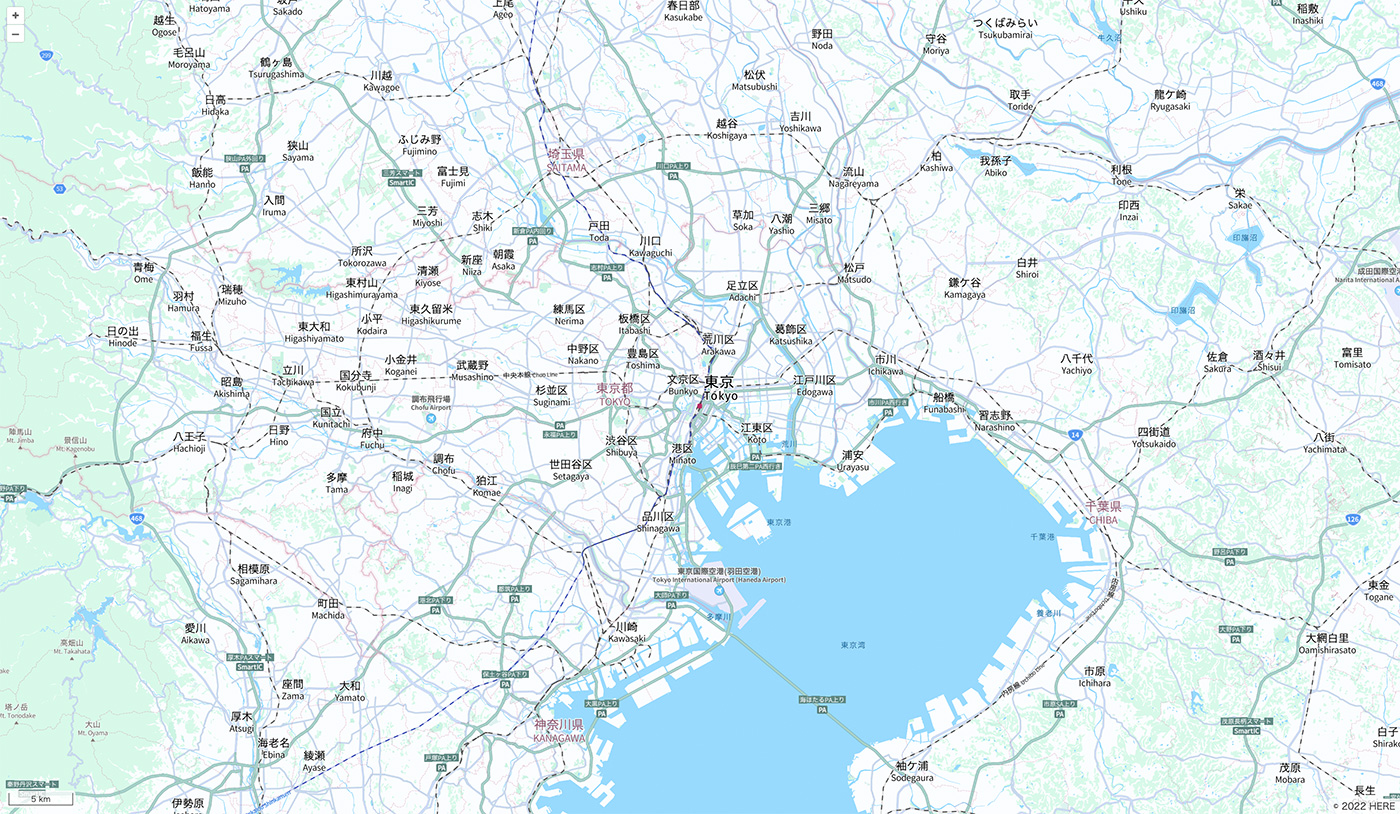
npm run dev日本語スタイルのマップ
このような日本語スタイルのマップが表示されます。
Leaflet
ファイル構成は以下の通りです。
.├── LICENSE├── README.md├── amplify├── dist│ ├── assets│ ├── img│ └── index.html├── docs├── img├── index.html├── package-lock.json├── package.json├── public├── src│ ├── aws-exports.js│ ├── main.ts│ ├── style.css│ └── vite-env.d.ts├── tsconfig.json└── vite.config.tsmian.ts を編集
mian.ts を編集します。
import './style.css';
import 'leaflet/dist/leaflet.css';
import L from 'leaflet';
import '@maplibre/maplibre-gl-leaflet';
import { Amplify } from '@aws-amplify/core';
import { Auth } from '@aws-amplify/auth';
import { Geo, AmazonLocationServiceMapStyle } from '@aws-amplify/geo';
import awsconfig from './aws-exports';
import { AmplifyMapLibreRequest } from 'maplibre-gl-js-amplify';
L.Icon.Default.imagePath = 'img/icon/';

Amplify.configure(awsconfig);
const credentials = await Auth.currentCredentials();
const defaultMap = Geo.getDefaultMap() as AmazonLocationServiceMapStyle;
const { transformRequest } = new AmplifyMapLibreRequest(
    credentials,
    defaultMap.region
);

const map = L.map('map', {
    center: [35.681, 139.767],
    zoom: 11,
    layers: [
        L.maplibreGL({
            style: Geo.getDefaultMap().mapName,
            transformRequest: transformRequest,
        })
    ],
});
map.attributionControl.addAttribution(
    '© 2022 HERE'
);
vite.config.ts を編
vite.config.ts を編集します。
import './style.css';
import 'leaflet/dist/leaflet.css';
import L from 'leaflet';
import '@maplibre/maplibre-gl-leaflet';
import { Amplify } from '@aws-amplify/core';
import { Auth } from '@aws-amplify/auth';
import { Geo, AmazonLocationServiceMapStyle } from '@aws-amplify/geo';
import awsconfig from './aws-exports';
import { AmplifyMapLibreRequest } from 'maplibre-gl-js-amplify';
L.Icon.Default.imagePath = 'img/icon/';

Amplify.configure(awsconfig);
const credentials = await Auth.currentCredentials();
const defaultMap = Geo.getDefaultMap() as AmazonLocationServiceMapStyle;
const { transformRequest } = new AmplifyMapLibreRequest(
    credentials,
    defaultMap.region
);

const map = L.map('map', {
    center: [35.681, 139.767],
    zoom: 11,
    layers: [
        L.maplibreGL({
            style: Geo.getDefaultMap().mapName,
            transformRequest: transformRequest,
        })
    ],
});
map.attributionControl.addAttribution(
    '© 2022 HERE'
);
ローカルサーバーを起動g.ts を編
ローカルサーバーを起動します。
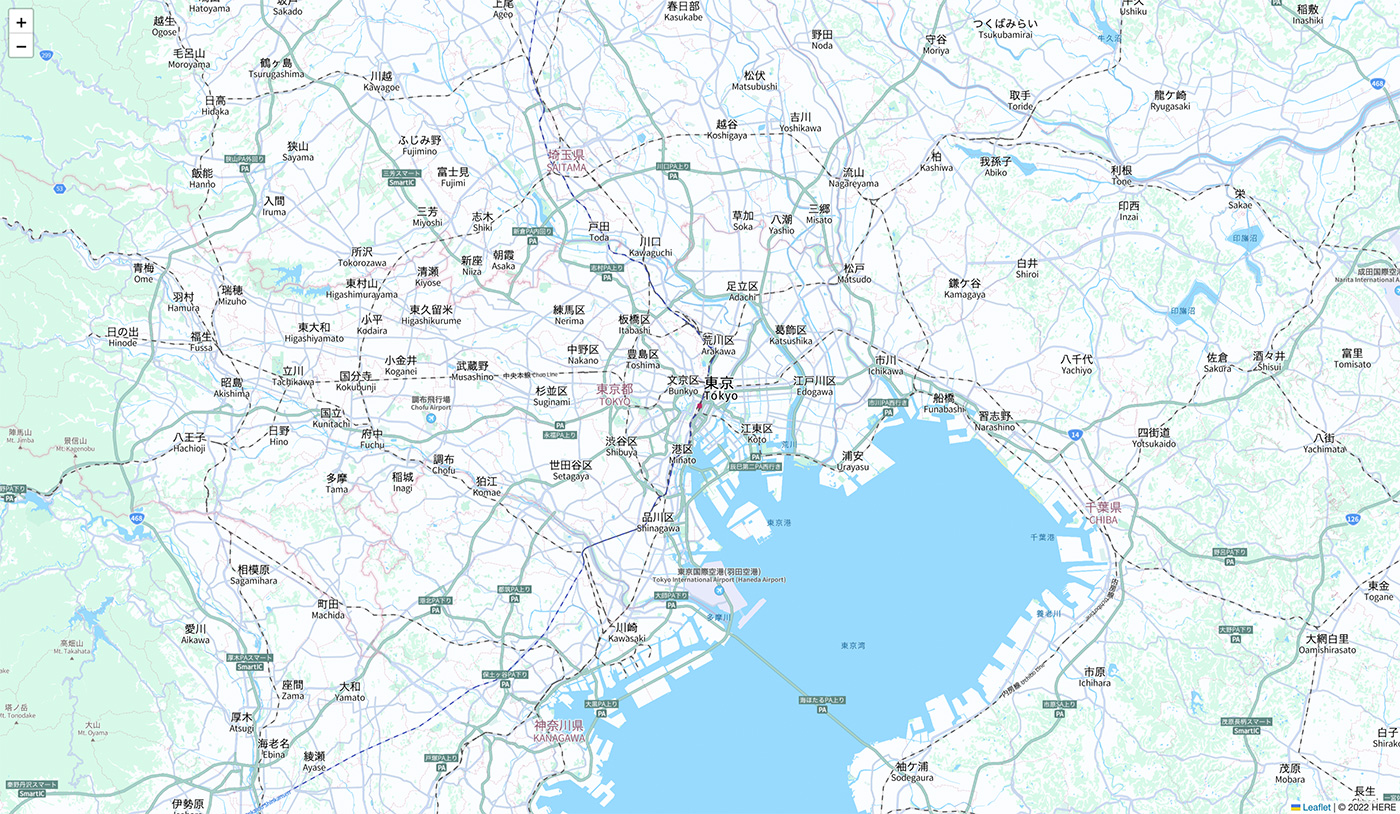
npm run dev日本語スタイルのマップ
このような日本語スタイルのマップが表示されます。
まとめ
Amazon Location Service と AWS Amplify で、さまざまなマップライブラリを利用した位置情報アプリケーションの構築が可能です。マップライブラリの選択肢が増えることで、既存アプリケーションへの Amazon Location Service の導入や、新規アプリケーション構築時の技術選定の幅も広がります。今回の例が、AWS で位置情報アプリケーションを構築する方の参考になれば嬉しいです !
紹介した構築済のサンプルを、AWS 公式のリポジトリ等で公開していますので、ぜひ参考にしてみてください。
- MapLibre GL JS & Amazon Location Service & AWS Amplify : amazon-location-service-starter
- OpenLayers & Amazon Location Service & AWS Amplify : openlayers-amplify
- Leaflet & Amazon Location Service & AWS Amplify : leaflet-amplify
また、非公式ではありますが、Amazon Location Service のアップデート情報を毎月配信していますので、よろしければご覧ください。
筆者プロフィール
桐本 靖規
Co-founder and CTO of MIERUNE Inc.
AWS DevTools Hero | MapLibre Voting Member | Owner of dayjournal
2004 年から位置情報分野に携わり、2016年に MIERUNE を共同創業。独自のカルチャーを持つプロフェッショナルなチーム作りや、プロダクト成功のための組織マネジメントに注力し日々模索中。個人活動では、オープンソースへの貢献や、コミュニティの運営メンバーとしてカンファレンスやワークショップを開催。専門は GIS (Geographic Information System) と FOSS4G (Free and OpenSource Software for Geospatial)。AWS と位置情報技術の組み合わせを日々模索中。
好きな AWS サービス: Amazon Location Service / AWS Amplify
Twitter: @dayjournal_nori / GitHub: @dayjournal / LinkedIn: @YasunoriKirimoto

Did you find what you were looking for today?
Let us know so we can improve the quality of the content on our pages