Task 5: Add Interactivity to Your Web App
In this task, you will create an app frontend and connect it to the cloud backend you have already built.
Introduction
Implementation
Install the Amplify libraries
You will need two Amplify libraries for your project. The main aws-amplify library contains all of the client-side APIs for connecting your app's frontend to your backend, and the @aws-amplify/ui-react library contains framework-specific UI components.
1. Install the libraries
In a new terminal window, in your projects root folder ( profilesapp ), run the following command to install the libraries.
npm install aws-amplify @aws-amplify/ui-react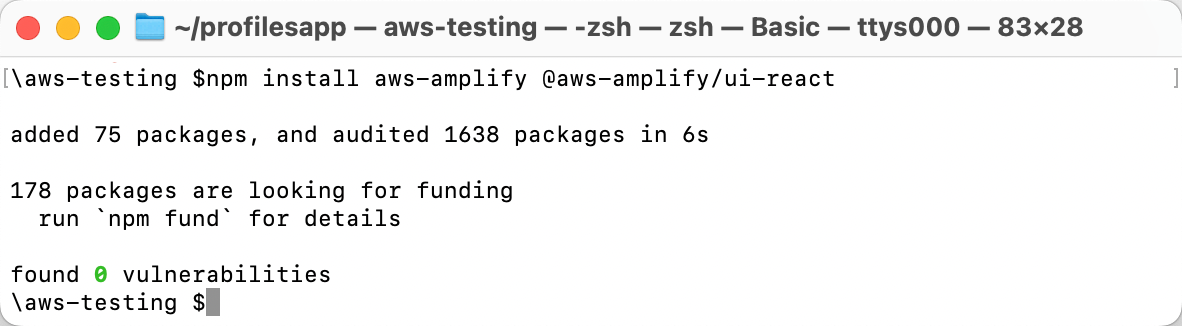
Style the App UI
You will need two Amplify libraries for your project. The main aws-amplify library contains all of the client-side APIs for connecting your app's frontend to your backend, and the @aws-amplify/ui-react library contains framework-specific UI components.
1. Modify the CSS
On your local machine, navigate to the profilesapp/src/index.css file and update it with the following code. Then, save the file.
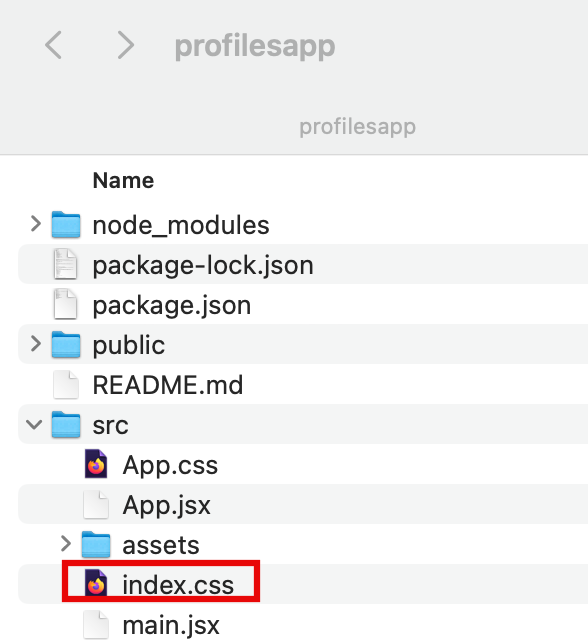
Index.css
Replace your CSS with this CSS
:root {
  font-family: Inter, system-ui, Avenir, Helvetica, Arial, sans-serif;
  line-height: 1.5;
  font-weight: 400;

  color: rgba(255, 255, 255, 0.87);

  font-synthesis: none;
  text-rendering: optimizeLegibility;
  -webkit-font-smoothing: antialiased;
  -moz-osx-font-smoothing: grayscale;

  max-width: 1280px;
  margin: 0 auto;
  padding: 2rem;

}

.card {
  padding: 2em;
}

.read-the-docs {
  color: #888;
}

.box:nth-child(3n + 1) {
  grid-column: 1;
}
.box:nth-child(3n + 2) {
  grid-column: 2;
}
.box:nth-child(3n + 3) {
  grid-column: 3;
}
Implement the UI
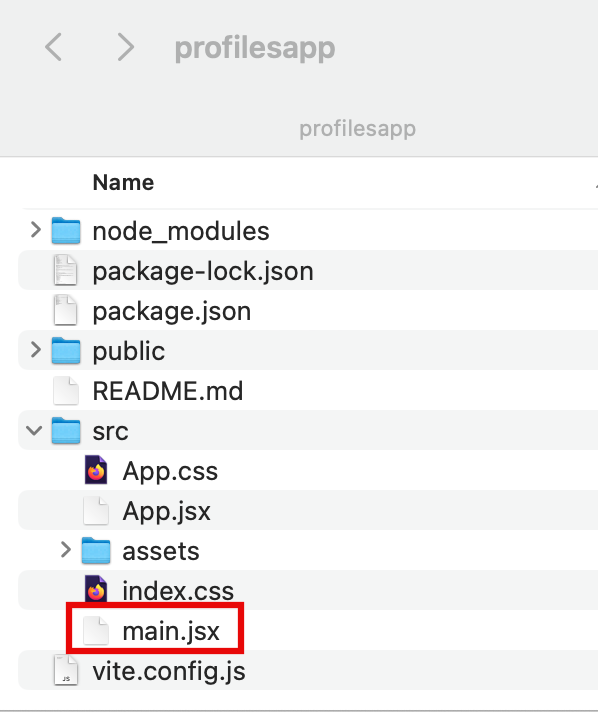
1. Modify the main.jsx file
On your local machine, navigate to the profilesapp/src/main.jsx file and update it with this code. Then, save the file.
The code will use the Amplify Authenticator component to scaffold out an entire user authentication flow allowing users to sign up, sign in, reset their password, and confirm sign-in for multifactor authentication (MFA).
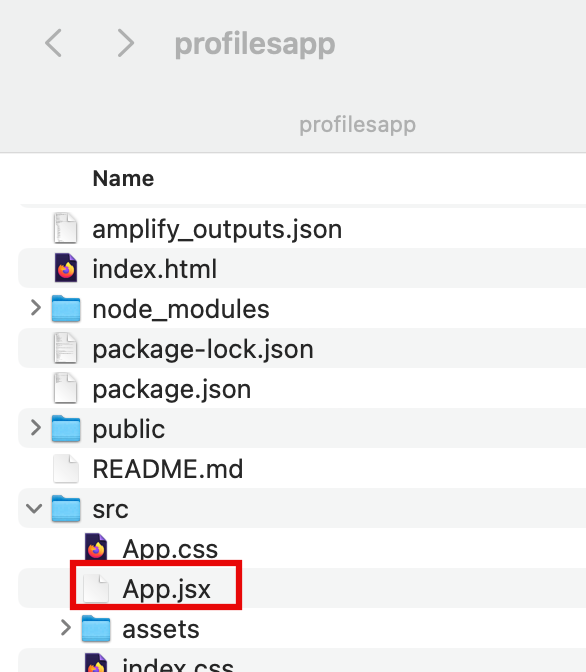
2. Modify the app.jsx file
Open the profilesapp/src/App.jsx file, and update it with this code. Then, save the file.
The code starts by configuring the Amplify library with the client configuration file ( amplify_outputs.json) . It then generates a data client using the generateClient() function. The app will use the data client to get the user’s profile data.
5. Create a new user
Choose the Create Account tab, and use the authentication flow to create a new user by entering your email address and a password.
Then, choose Create Account.
You will get a verification code sent to your email. Enter the verification code to log in to the app.
When signed in, the app will display your email address.
6. Push the changes
In the open terminal window, run the following command to push the changes to GitHub:
git add .git commit -m 'displaying user profile'git push origin main
7. Verify the deployment instance updates
Sign in to the AWS Management console in a new browser window, and open the AWS Amplify console at https://console.aws.amazon.com/amplify/apps .
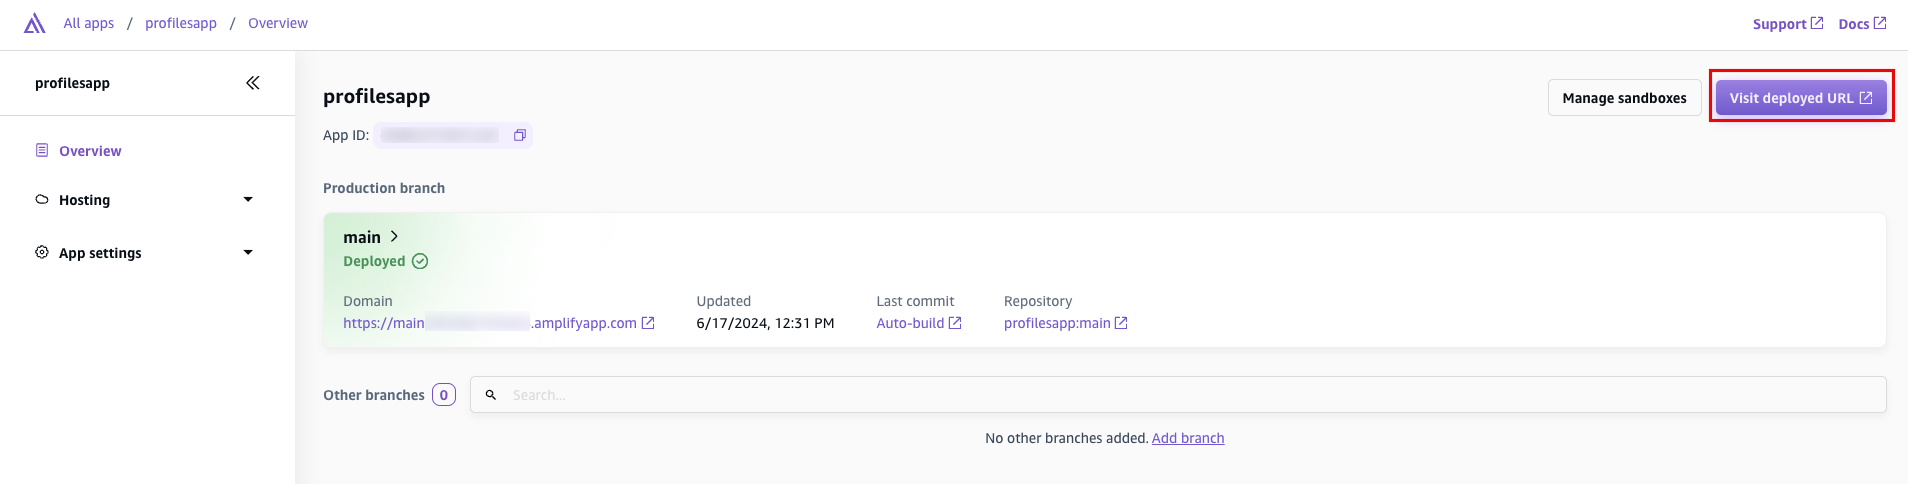
AWS Amplify automatically builds your source code and deployed your app at https://...amplifyapp.com , and on every git push your deployment instance will update. Select the Visit deployed URL button to see your web app up and running live.
Clean Up Resources
Did you find what you were looking for today?
Let us know so we can improve the quality of the content on our pages