AWS Public Sector Blog
Building a network traffic analysis system: Deploying Malcolm on Amazon EC2
Cybersecurity organizations face significant pressure to maintain comprehensive network visibility while managing costs effectively. Malcolm, an open source network traffic analysis suite developed by Idaho National Laboratory and the U.S. Department of Homeland Security’s Cybersecurity and Infrastructure Security Agency (CISA), has emerged as a powerful solution for organizations seeking enterprise-grade security monitoring capabilities without the burden of expensive commercial licenses.
In this post, we provide step-by-step guidance for deploying Malcolm natively on Amazon Elastic Compute Cloud (Amazon EC2), using the on-demand compute, elasticity, and scalability of Amazon Web Services (AWS) to eliminate traditional infrastructure overhead. This approach is particularly beneficial for cost-conscious public sector (federal, state, and local), utility, and industrial customers who require network and security monitoring to deliver on their missions.
Solution overview
Malcolm is deployed on a single EC2 instance within an Amazon Virtual Private Cloud (Amazon VPC) endpoint. The instance resides in a public subnet for direct internet access. An internet gateway enables communication between the VPC and the internet. This architecture can be scaled by increasing the EC2 instance size or the Amazon Elastic Block Store (Amazon EBS).
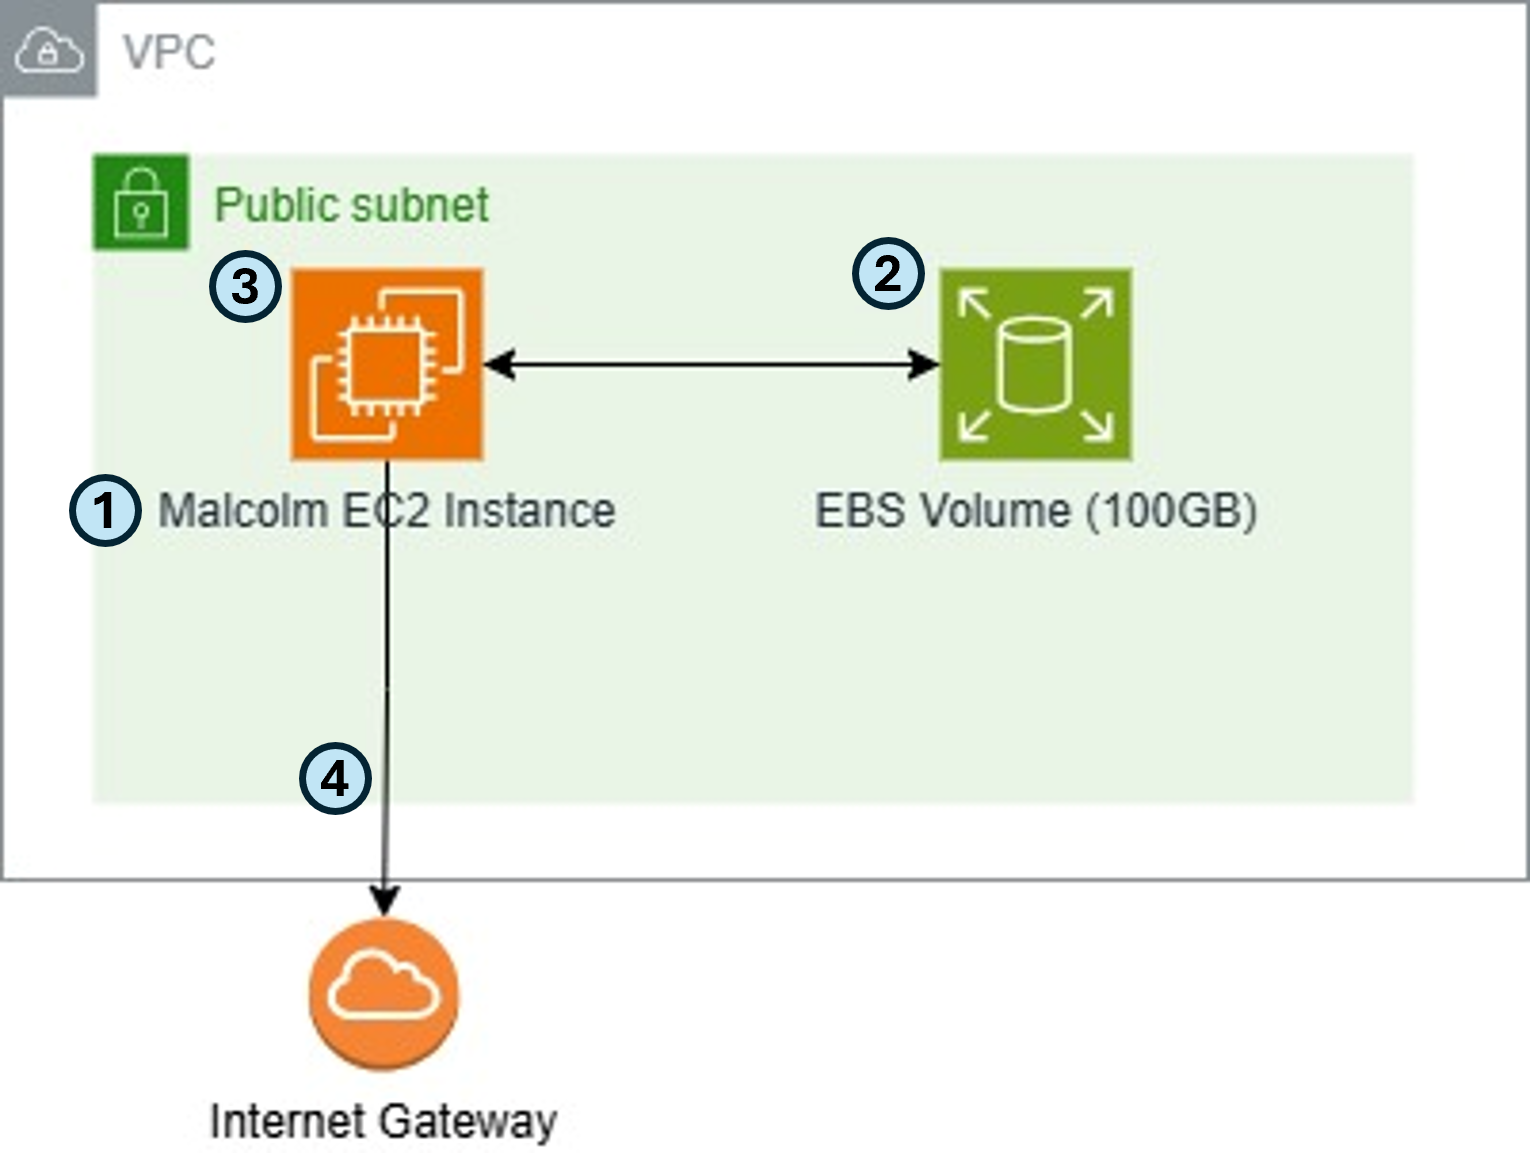
Figure 1: Malcolm deployed on Amazon EC2 architecture
- EC2 instance – The Malcolm platform runs on Ubuntu 24.04 LTS and has minimum specifications of 30 GB of memory and 8 vCPUs. The Ubuntu operating system (OS) hosts multiple Docker containers running Malcolm’s components.
- For this blog we use an arm64 c8g.8xlarge. We recommend using the latest generation instance from either the Compute Optimized or General Purpose family.
- EBS storage – An EBS volume with a minimum of 100 GB of storage on a gp3 (general-purpose) SSD volume provides persistent storage for Malcolm’s data and logs.
- Malcolm components – All the Malcolm components are run as Docker containers on our Malcolm EC2 instance. The key Malcolm services include: Zeek, Suricata, OpenSearch, Logstash, Arkime, and NGINX.
- Security and accessibility – A security group restricts inbound traffic to HTTPS (443 from specified IP addresses. Outbound internet access is enabled through the internet gateway for updates and package installation.
Prerequisites
To perform the solution, you need to have the following prerequisites:
- An AWS account
- AWS Command Line Interface (AWS CLI) installed
- Familiarity with command line environment
Now that we have an understanding of the architecture, let’s build it! First, we will create our EC2 instance, then we will set up Malcolm within the instance using docker containers, and finally we will deploy Malcolm.
Amazon EC2 instance creation
You need to perform these steps in a command line environment such as AWS CloudShell, Linux, Windows, or macOS system with the AWS CLI installed.
- Create an IAM role for your EC2 instances by running the following sets of commands. The commands create a trust policy, an IAM role, attaches the AWS managed policy we will be using and then creates an instance profile and attaches the role.
- Create a security group for the EC2 instance:

- Set the inbound security group (SG) rules. Replace
YOUR_PUBLIC_IPwith your public IP address in the following commands so you can access Malcolm on the EC2 instance from your workstation using HTTPS (port 443): - Run the following command and replace
ARCHwith the desired architecture (amd64 or arm64). For this post we will use arm64. Copy the AMI ID for the next step.
- Run the following command. Replace
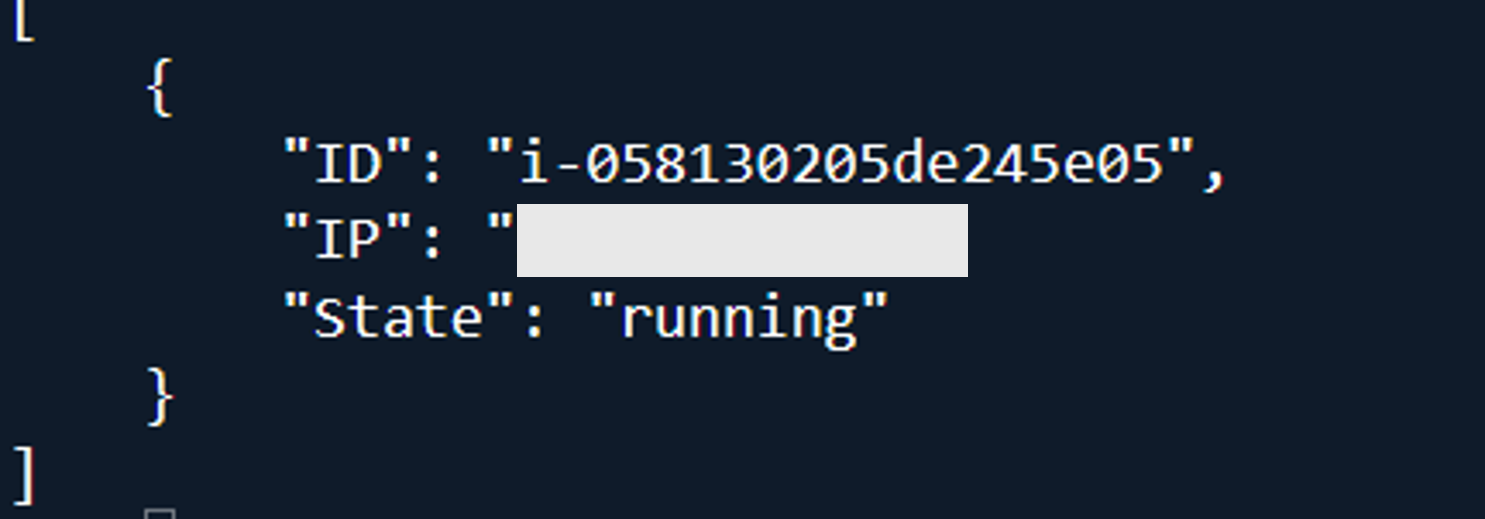
AMI_IDwith the AMI ID from the previous step. ReplaceINSTANCE_TYPEwith the desired instance type (we will use 8xlarge). The size of the storage volume will vary depending on the amount of data you plan to process and retain in Malcolm. The example here uses 100 GB; adjust as needed for your use case. - Get the instance details and check the status:

Malcolm setup
You need to perform the following steps as the Ubuntu user inside the EC2 instance. Connect via AWS Systems Manager Session Manager.
- Switch from the ssm-user to the ubuntu user.
- Install curl, unzip, and Python dependencies:
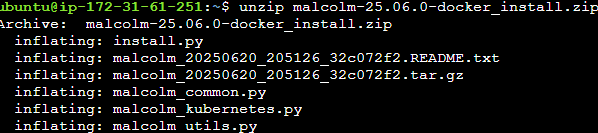
- Run the following command to download the latest Malcolm release .zip file. We use Malcolm version 25.06.0. When you run it, make sure to navigate to the Malcolm releases page and use the version number of the latest Malcolm release.
- Extract the Malcolm release .zip file:
- Now let’s install and configure Malcolm. Run the command below. When prompted to extract the Malcolm runtime files from the .tar.gz archive, select Yes and accept the default installation path.
The Malcolm installation script sets up necessary dependencies and configures Malcolm. It can be run non-interactively, which is what we chose.
( If you want to customize Malcolm’s configuration instead, run ./install.py and answer the installation and configuration questions one-by-one to suit your use case).
- Reboot the instance and reconnect. Rebooting EC2 instance allows for the new system configuration to take effect. Then, reconnect through Session Manager.
Set up authentication in Malcolm
Now let’s set up authentication.
- First, switch back into the Ubuntu user:
- Configure the authentication setup with the following command:
- Set up the administrator credentials by running the auth_setup script again (without any parameters).
-
- Use arrow keys to navigate to “Store administrator username/password for basic HTTP authentication“
- Press Space to select it and Enter to confirm
- Enter your desired administrator username and password when prompted
You can reference the Malcolm documentation for more information on the auth_setup prompts.
-
Running Malcolm
You need to perform the following steps as the Ubuntu user inside the EC2 instance.
- Start Malcolm using the
startscript in the Malcolm installation directory:
Malcolm takes a few minutes to start. During this time, you might see text scroll past from the containers’ logs that look like error messages. This is normal while Malcolm’s services synchronize among themselves.When Malcolm is running, the start script will outputStarted Malcolm, and you’ll be returned to the command prompt:
- Use the
statusscript in the Malcolm installation directory to show the status of Malcolm’s services: - Connect to Malcolm’s web interface. From your workstation in a browser, navigate to the public IP address of the instance. The IP address was captured in Amazon EC2 instance creation step Log in with the credentials specified when setting up authentication in the preceding step.
Conclusion
Malcolm is an open source, seamlessly deployable network traffic analysis suite created by INL and CISA. In this post, we demonstrated how to install and run Malcolm natively on Amazon EC2. Using this approach, you can benefit from the flexibility and cost-efficiency of cloud-based infrastructure, affording enterprise-grade network monitoring capabilities without the constraints of conventional on-premises deployments. Happy building!