使用 AWS Amplify 构建 Flutter 移动应用程序 - 第 2 部分
使用嵌套数据和 Amplify 函数为 iOS 和 Android 创建行程规划器应用程序


模块 1:克隆 Flutter 应用程序
概述
在本模块中,我们首先将从 GitHub 克隆之前在本系列的第一个入门教程中构建的 Flutter 应用程序。最后,为应用程序添加额外的依赖项,并使用 Amplify CLI 为应用程序预配云后端最后,我们将重构应用程序的部分代码,提高其可读性和可维护性。
要完成的目标
在本模块中,您将:
- 克隆 Flutter 应用程序
- 为应用程序添加额外的依赖项
- 为应用程序创建 Amplify 后端
完成所需最短时间
30 分钟
操作步骤
克隆 amplify_trips_planner 应用程序
步骤 1:在终端运行以下命令,克隆 Flutter 应用程序。
git clone https://github.com/aws-samples/amplify-trips-planner.git步骤 2:使用 VSCode 打开刚刚克隆的 Flutter 应用程序。可以通过在终端运行以下命令来完成此操作。
cd amplify_trips_planner
code . -r
添加应用程序依赖项
步骤 1:应用程序将使用更多的依赖项来实现新的功能,如上传文件、展示文件和创建活动时间线。更新应用程序根目录中的文件 pubspec.yaml,在依赖项中添加以下包。
  file_picker: ^5.0.0
  timelines: ^0.1.0
url_launcher: ^6.1.5文件 pubspec.yaml 应如下所示:
name: amplify_trips_planner
description: A new Flutter project.
version: 1.0.0+1

environment:
  sdk: ">=3.0.2 <4.0.0"

dependencies:
  amplify_api: ^1.0.0
  amplify_auth_cognito: ^1.0.0
  amplify_authenticator: ^1.0.0
  amplify_flutter: ^1.0.0
  amplify_storage_s3: ^1.0.0
  cached_network_image: ^3.2.3
  cupertino_icons: ^1.0.5
  flutter:
    sdk: flutter
  flutter_riverpod: ^2.1.3
  go_router: ^7.0.0
  image_picker: ^0.8.0
  intl: ^0.18.0
  path: ^1.8.3
  riverpod_annotation: ^2.0.1
  uuid: ^3.0.7
  file_picker: ^5.0.0
  timelines: ^0.1.0
  url_launcher: ^6.1.5


dev_dependencies:
  amplify_lints: ^3.0.0
  build_runner:
  custom_lint:
  flutter_test:
    sdk: flutter
  riverpod_generator: ^2.1.3
  riverpod_lint: ^1.1.5

flutter:
  uses-material-design: true
  assets:
- images/amplify.png步骤 2:在终端运行以下命令,安装添加到 pubspec.yaml 文件中的依赖项。
flutter pub get为应用程序创建 Amplify 后端
步骤 1:前往应用程序的根文件夹,然后在终端运行以下命令,为应用程序预配 Amplify 后端。
amplify init步骤 2:接受自动生成的环境名称选项,并选择默认的编辑器。在本指南中,我们使用 VSCode。接着选择 AWS 验证方法;这里我们将使用 AWS 配置文件。最后,选择您想使用的配置文件。
Note: It is recommended to run this command from the root of your app directory
? Enter a name for the environment dev
? Choose your default editor: Visual Studio Code
Using default provider  awscloudformation
? Select the authentication method you want to use: AWS profile

For more information on AWS Profiles, see:
https://docs.aws.amazon.com/cli/latest/userguide/cli-configure-profiles.html

? Please choose the profile you want to use default按下 Enter(回车)键 Amplify CLI 将初始化后端并将项目连接到云。完成后,您将收到一条确认信息,如图所示。
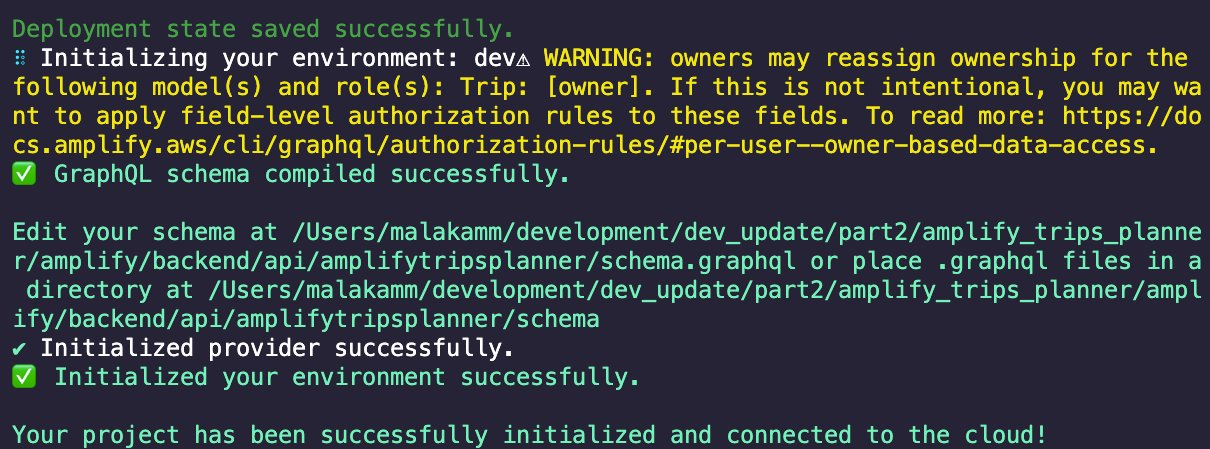
Amplify CLI 会把一个新文件 team-provider-info.json 添加到 amplify 文件夹中,该文件包含 Amplify 后端详细信息。此外,还将在 lib/ 文件夹中添加一个新的 dart 文件 (amplifyconfiguration.dart)。应用程序将使用此文件了解如何在运行时访问所预配的后端资源。

步骤 3:在上一个操作指南中,您将下列类别添加到了应用程序中:
- Amplify Auth:允许用户注册、登录和管理账户
- Amplify API:允许用户创建、读取、更新和删除行程
- Amplify Storage:允许用户在应用程序中上传和查看图片
运行 amplify push 命令,在云中创建上述分类的资源。
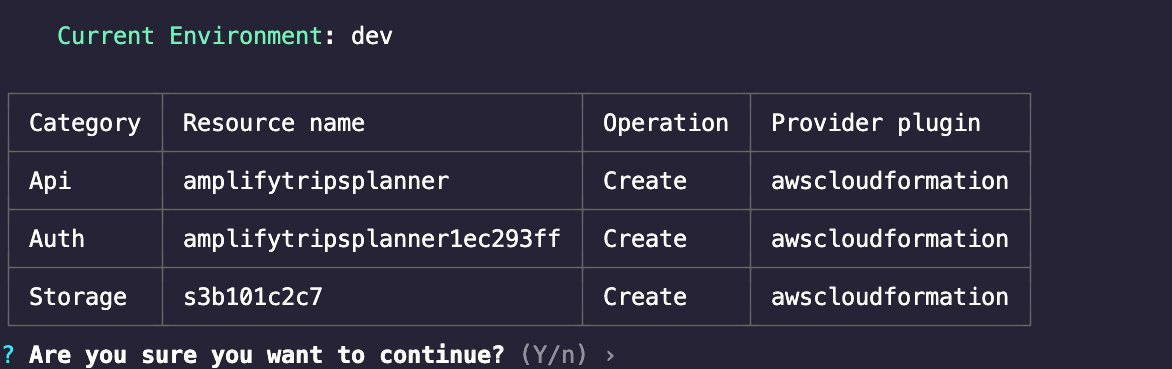
步骤 4:按下 Enter(回车)键。Amplify CLI 将部署资源并显示确认消息,如屏幕截图中所示。

步骤 5:在模拟器或仿真器中运行应用程序,尝试以下操作:
- 创建新账户
- 创建新行程
- 编辑新创建的行程
- 为行程上传照片
- 删除行程
下面是一个使用 iPhone 模拟器的示例。
