Build a Basic Web Application
Link a Serverless Function to a Web App
Introduction
Implementation
Set up Amplify Auth
By default, your auth resource is configured allowing the user to sign up using email, but you need to update the resource to invoke the previously created postConfirmation function.
1. Update the resource file
On your local machine, navigate to the amplify/auth/resource.ts file and update it with the following code. Then, save the file.
import { defineAuth } from '@aws-amplify/backend';import { postConfirmation } from './post-confirmation/resource';export const auth = defineAuth({ loginWith: { email: true, }, triggers: { postConfirmation }});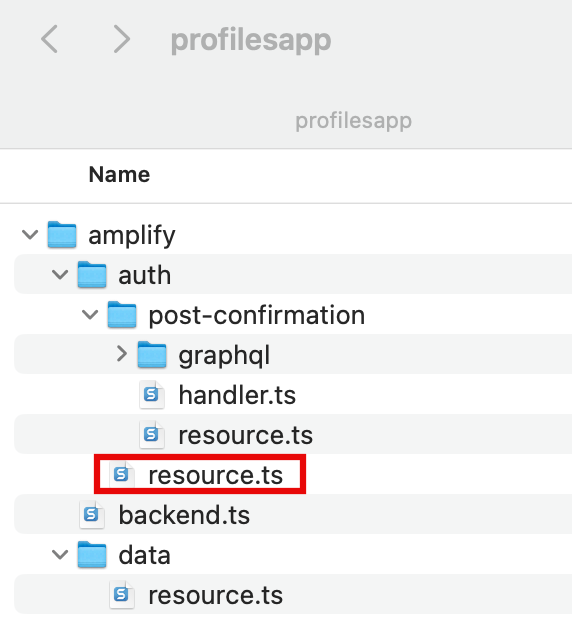
2. Start the sandbox, if necessary
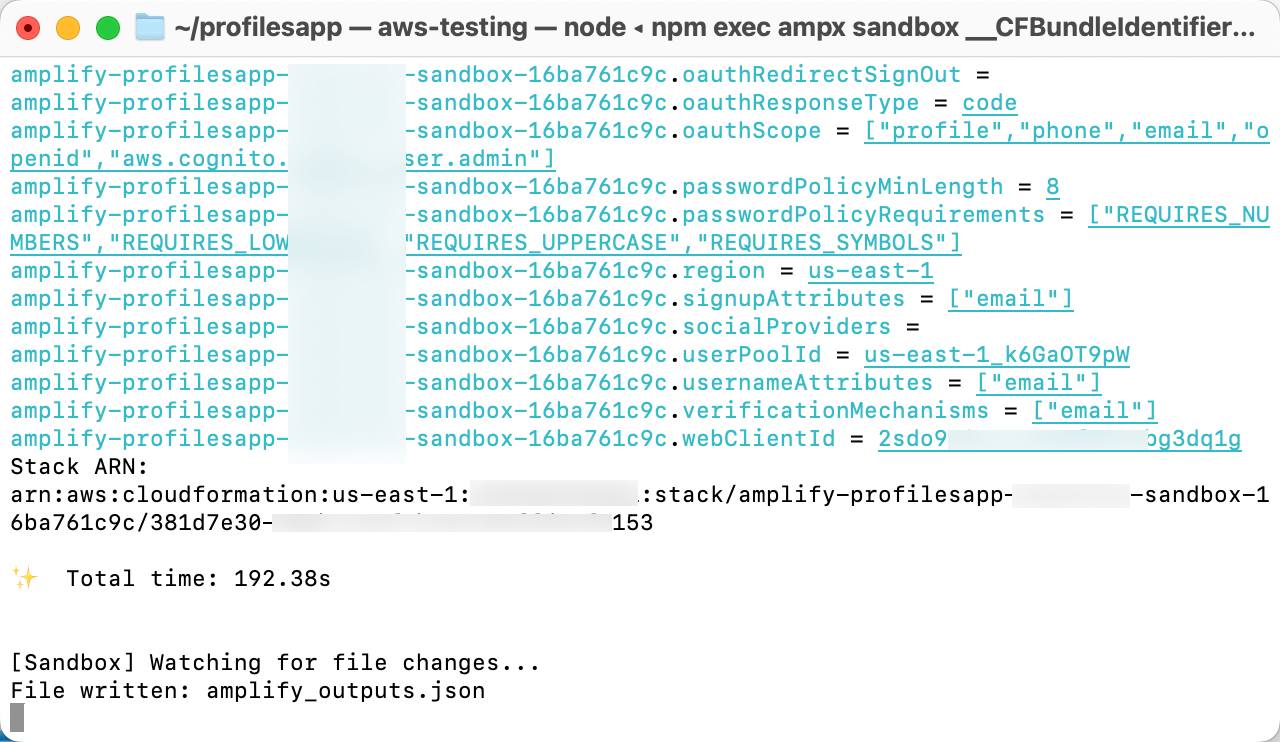
The sandbox will automatically get updated and redeployed once the file is updated. If the sandbox is not running, you can run the following command in a new terminal window to start it.
npx ampx sandbox3. View the confirmation message
Once the cloud sandbox has been fully deployed, your terminal will display a confirmation message.
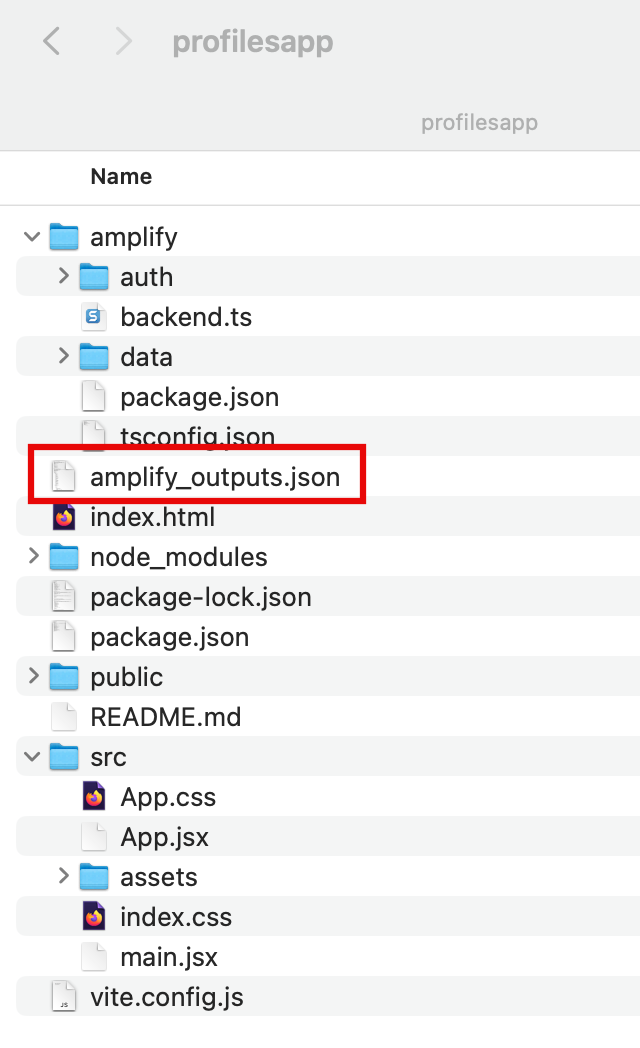
4. View the file
The amplify_outputs.json file will be generated/updated and added to your profilesapp project.
Conclusion
You used Amplify to configure auth and configured the Lambda function to be invoked when the user signs in to the app.
Add Interactivity to Web App
Start Task FiveWas this page helpful?
Let us know so we can improve the quality of our content.