Artificial Intelligence
Interactively fine-tune Falcon-40B and other LLMs on Amazon SageMaker Studio notebooks using QLoRA
Fine-tuning large language models (LLMs) allows you to adjust open-source foundational models to achieve improved performance on your domain-specific tasks. In this post, we discuss the advantages of using Amazon SageMaker notebooks to fine-tune state-of-the-art open-source models. We utilize Hugging Face’s parameter-efficient fine-tuning (PEFT) library and quantization techniques through bitsandbytes to support interactive fine-tuning of extremely large models using a single notebook instance. Specifically, we show how to fine-tune Falcon-40B using a single ml.g5.12xlarge instance (4 A10G GPUs), but the same strategy works to tune even larger models on p4d/p4de notebook instances.
Typically, the full precision representations of these very large models don’t fit into memory on a single or even several GPUs. To support an interactive notebook environment to fine-tune and run inference on models of this size, we use a new technique known as Quantized LLMs with Low-Rank Adapters (QLoRA). QLoRA is an efficient fine-tuning approach that reduces memory usage of LLMs while maintaining solid performance. Hugging Face and the authors of the paper mentioned have published a detailed blog post that covers the fundamentals and integrations with the Transformers and PEFT libraries.
Using notebooks to fine-tune LLMs
SageMaker comes with two options to spin up fully managed notebooks for exploring data and building machine learning (ML) models. The first option is fast start, collaborative notebooks accessible within Amazon SageMaker Studio, a fully integrated development environment (IDE) for ML. You can quickly launch notebooks in SageMaker Studio, dial up or down the underlying compute resources without interrupting your work, and even co-edit and collaborate on your notebooks in real time. In addition to creating notebooks, you can perform all the ML development steps to build, train, debug, track, deploy, and monitor your models in a single pane of glass in SageMaker Studio. The second option is a SageMaker notebook instance, a single, fully managed ML compute instance running notebooks in the cloud, which offers you more control over your notebook configurations.
For the remainder of this post, we use SageMaker Studio notebooks because we want to utilize SageMaker Studio’s managed TensorBoard experiment tracking with Hugging Face Transformer’s support for TensorBoard. However, the same concepts shown throughout the example code will work on notebook instances using the conda_pytorch_p310 kernel. It’s worth noting that SageMaker Studio’s Amazon Elastic File System (Amazon EFS) volume means you don’t need to provision a preordained Amazon Elastic Block Store (Amazon EBS) volume size, which is useful given the large size of model weights in LLMs.
Using notebooks backed by large GPU instances enables rapid prototyping and debugging without cold start container launches. However, it also means that you need to shut down your notebook instances when you’re done using them to avoid extra costs. Other options such as Amazon SageMaker JumpStart and SageMaker Hugging Face containers can be used for fine-tuning, and we recommend you refer to the following posts on the aforementioned methods to choose the best option for you and your team:
- Domain-adaptation Fine-tuning of Foundation Models in Amazon SageMaker JumpStart on Financial data
- Train a Large Language Model on a single Amazon SageMaker GPU with Hugging Face and LoRA
Prerequisites
If this is your first time working with SageMaker Studio, you first need to create a SageMaker domain. We also use a managed TensorBoard instance for experiment tracking, though that is optional for this tutorial.
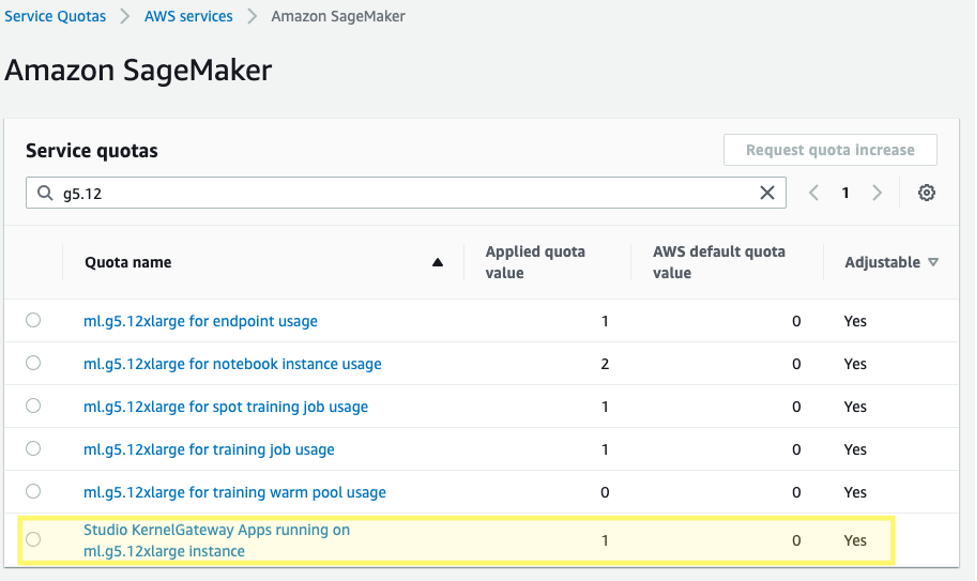
Additionally, you may need to request a service quota increase for the corresponding SageMaker Studio KernelGateway apps. For fine-tuning Falcon-40B, we use a ml.g5.12xlarge instance.
To request a service quota increase, on the AWS Service Quotas console, navigate to AWS services, Amazon SageMaker, and select Studio KernelGateway Apps running on ml.g5.12xlarge instances. 
Get started
The code sample for this post can be found in the following GitHub repository. To begin, we choose the Data Science 3.0 image and Python 3 kernel from SageMaker Studio so that we have a recent Python 3.10 environment to install our packages.

We install PyTorch and the required Hugging Face and bitsandbytes libraries:
Next, we set the CUDA environment path using the installed CUDA that was a dependency of PyTorch installation. This is a required step for the bitsandbytes library to correctly find and load the correct CUDA shared object binary.
Load the pre-trained foundational model
We use bitsandbytes to quantize the Falcon-40B model into 4-bit precision so that we can load the model into memory on 4 A10G GPUs using Hugging Face Accelerate’s naive pipeline parallelism. As described in the previously mentioned Hugging Face post, QLoRA tuning is shown to match 16-bit fine-tuning methods in a wide range of experiments because model weights are stored as 4-bit NormalFloat, but are dequantized to the computation bfloat16 on forward and backward passes as needed.
When loading the pretrained weights, we specify device_map=”auto" so that Hugging Face Accelerate will automatically determine which GPU to put each layer of the model on. This process is known as model parallelism.
With Hugging Face’s PEFT library, you can freeze most of the original model weights and replace or extend model layers by training an additional, much smaller, set of parameters. This makes training much less expensive in terms of required compute. We set the Falcon modules that we want to fine-tune as target_modules in the LoRA configuration:
Notice that we’re only fine-tuning 0.26% of the model’s parameters, which makes this feasible in a reasonable amount of time.
Load a dataset
We use the samsum dataset for our fine-tuning. Samsum is a collection of 16,000 messenger-like conversations with labeled summaries. The following is an example of the dataset:
In practice, you’ll want to use a dataset that has specific knowledge to the task you are hoping to tune your model on. The process of building such a dataset can be accelerated by using Amazon SageMaker Ground Truth Plus, as described in High-quality human feedback for your generative AI applications from Amazon SageMaker Ground Truth Plus.
Fine-tune the model
Prior to fine-tuning, we define the hyperparameters we want to use and train the model. We can also log our metrics to TensorBoard by defining the parameter logging_dir and requesting the Hugging Face transformer to report_to="tensorboard":
Monitor the fine-tuning
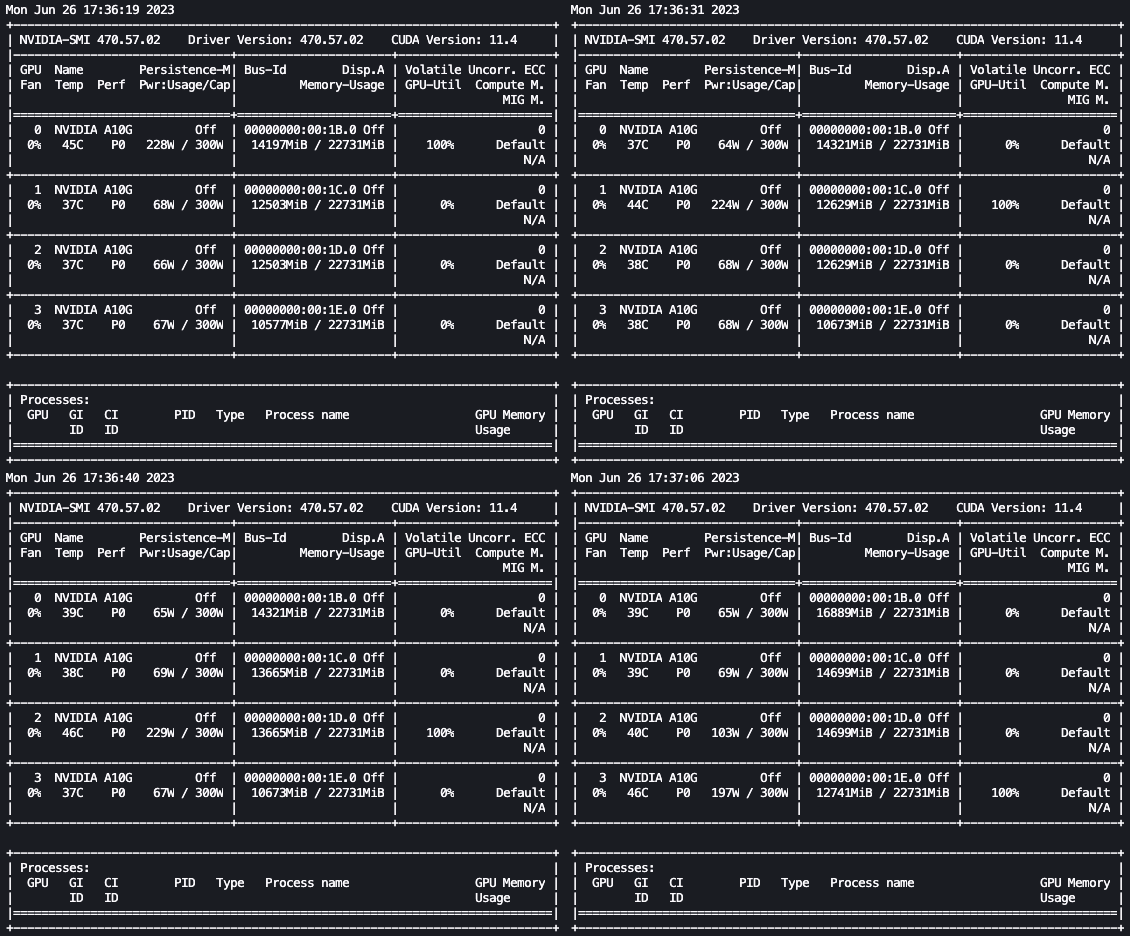
With the preceding setup, we can monitor our fine-tuning in real time. To monitor GPU usage in real time, we can run nvidia-smi directly from the kernel’s container. To launch a terminal running on the image container, simply choose the terminal icon at the top of your notebook.

From here, we can use the Linux watch command to repeatedly run nvidia-smi every half second:

In the preceding animation, we can see that the model weights are distributed across the 4 GPUs and computation is being distributed across them as layers are processed serially.
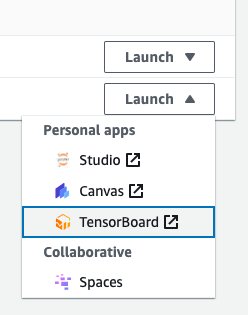
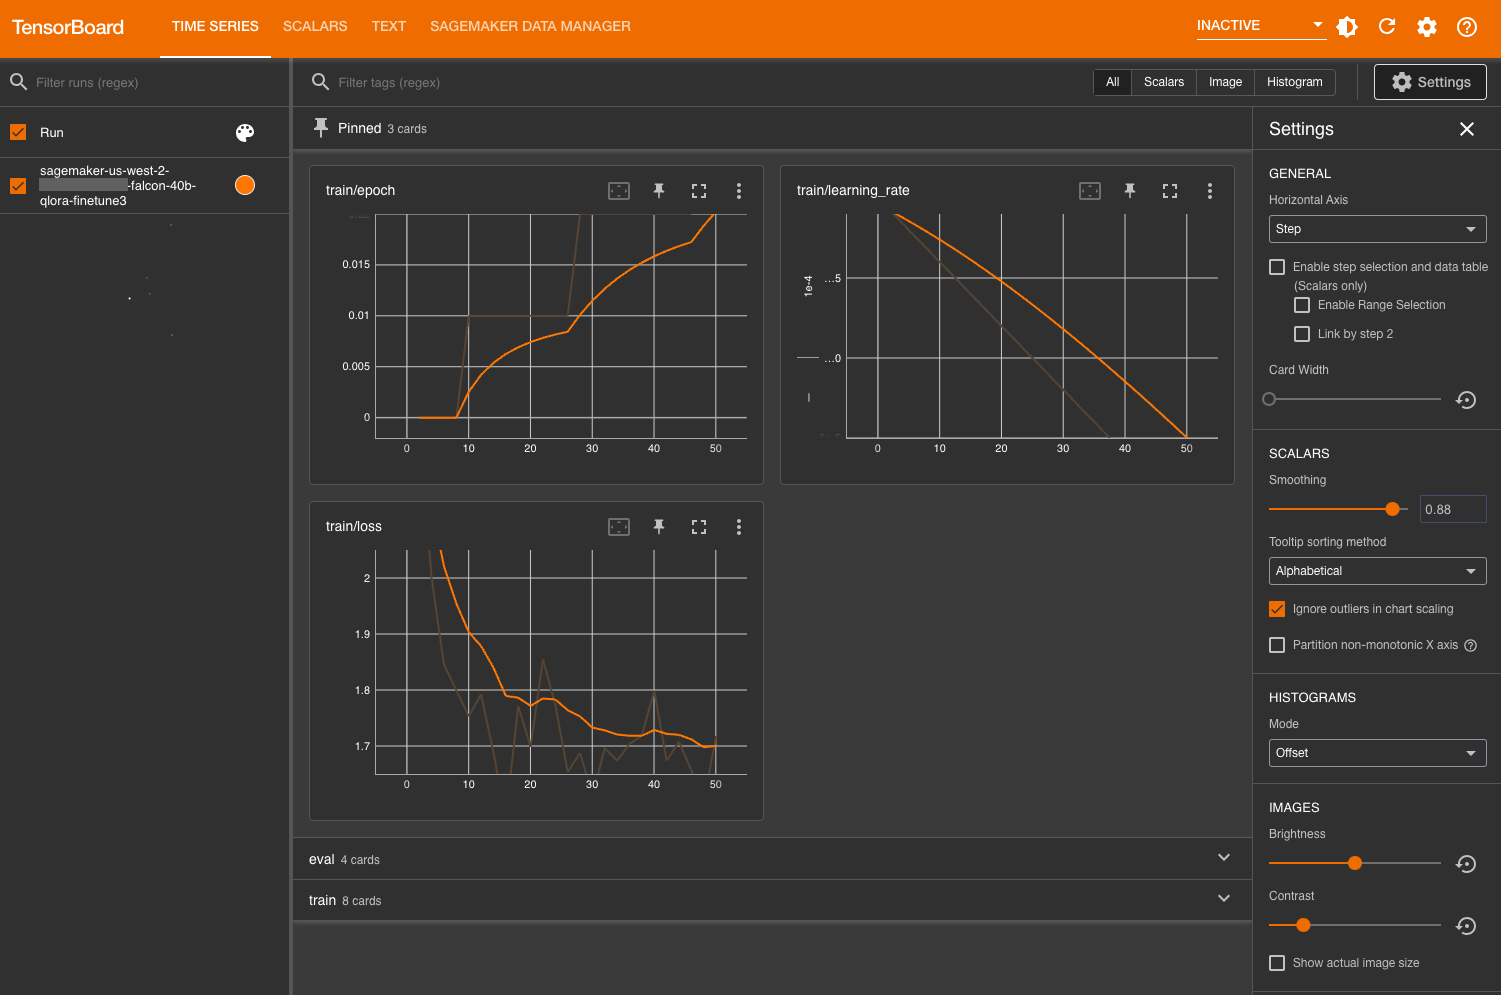
To monitor the training metrics, we utilize the TensorBoard logs that we write to the specified Amazon Simple Storage Service (Amazon S3) bucket. We can launch our SageMaker Studio domain user’s TensorBoard from the AWS SageMaker console:

After loading, you can specify the S3 bucket that you instructed the Hugging Face transformer to log to in order to view training and evaluation metrics.


Evaluate the model
After our model is finished training, we can run systematic evaluations or simply generate responses:
After you are satisfied with the model’s performance, you can save the model:
You can also choose to host it in a dedicated SageMaker endpoint.
Clean up
Complete the following steps to clean up your resources:
- Shut down the SageMaker Studio instances to avoid incurring additional costs.
- Shut down your TensorBoard application.
- Clean up your EFS directory by clearing the Hugging Face cache directory:
Conclusion
SageMaker notebooks allow you to fine-tune LLMs in a quick and efficient manner in an interactive environment. In this post, we showed how you can use Hugging Face PEFT with bitsandbtyes to fine-tune Falcon-40B models using QLoRA on SageMaker Studio notebooks. Try it out, and let us know your thoughts in the comments section!
We also encourage you to learn more about Amazon generative AI capabilities by exploring SageMaker JumpStart, Amazon Titan models, and Amazon Bedrock.
About the Authors
 Sean Morgan is a Senior ML Solutions Architect at AWS. He has experience in the semiconductor and academic research fields, and uses his experience to help customers reach their goals on AWS. In his free time, Sean is an active open-source contributor and maintainer, and is the special interest group lead for TensorFlow Addons.
 Lauren Mullennex is a Senior AI/ML Specialist Solutions Architect at AWS. She has a decade of experience in DevOps, infrastructure, and ML. She is also the author of a book on computer vision. Her other areas of focus include MLOps and generative AI.
 Philipp Schmid is a Technical Lead at Hugging Face with the mission to democratize good machine learning through open source and open science. Philipp is passionate about productionizing cutting-edge and generative AI machine learning models. He loves to share his knowledge on AI and NLP at various meetups such as Data Science on AWS, and on his technical blog.