AWS News Blog
New for AWS DataSync – Move Data Between AWS and Other Public Locations

|
Update 05/29/25
On May 29, 2025, AWS DataSync launched Enhanced mode support for cross-cloud transfers. Enhanced mode simplifies data transfers between AWS and other clouds by removing the need for a DataSync agent. It also provides higher performance and scalability when compared to Basic mode. For more details, see the What’s New announcement or review the documentation for guidance on implementing the approach in this blog without an agent.
Moving data to and from AWS Storage services can be automated and accelerated with AWS DataSync. For example, you can use DataSync to migrate data to AWS, replicate data for business continuity, and move data for analysis and processing in the cloud. You can use DataSync to transfer data to and from AWS Storage services, including Amazon Simple Storage Service (Amazon S3), Amazon Elastic File System (Amazon EFS), and Amazon FSx. DataSync also integrates with Amazon CloudWatch and AWS CloudTrail for logging, monitoring, and alerting.
Today, we added to DataSync the capability to migrate data between AWS Storage services and either Google Cloud Storage or Microsoft Azure Files. In this way, you can simplify your data processing or storage consolidation tasks. This also helps if you need to import, share, and exchange data with customers, vendors, or partners who use Google Cloud Storage or Microsoft Azure Files. DataSync provides end-to-end security, including encryption and integrity validation, to ensure your data arrives securely, intact, and ready to use.
Let’s see how this works in practice.
Preparing the DataSync Agent
First, I need a DataSync agent to read from, or write to, storage located in Google Cloud Storage or Azure Files. I deploy the agent on an Amazon Elastic Compute Cloud (Amazon EC2) instance. The latest DataSync Amazon Machine Image (AMI) ID is stored in the Parameter Store, a capability of AWS Systems Manager. I use the AWS Command Line Interface (AWS CLI) to get the value of the /aws/service/datasync/ami parameter:
{
    "Parameter": {
        "Name": "/aws/service/datasync/ami",
        "Type": "String",
        "Value": "ami-0e244fe801cf5a510",
        "Version": 54,
        "LastModifiedDate": "2022-05-11T14:08:09.319000+01:00",
        "ARN": "arn:aws:ssm:us-east-1::parameter/aws/service/datasync/ami",
        "DataType": "text"
    }
}
Using the EC2 console, I start an EC2 instance using the AMI ID specified in the Value property of the parameter. For networking, I use a public subnet and the option to auto-assign a public IP address. The EC2 instance needs network access to both the source and the destination of a data moving task. Another requirement for the instance is to be able to receive HTTP traffic from DataSync to activate the agent.
When using AWS DataSync in a virtual private cloud (VPC) based on the Amazon VPC service, it is a best practice to use VPC endpoints to connect the agent with the DataSync service. In the VPC console, I choose Endpoints on the navigation pane and then Create endpoint. I enter a name for the endpoint and select the AWS services category.
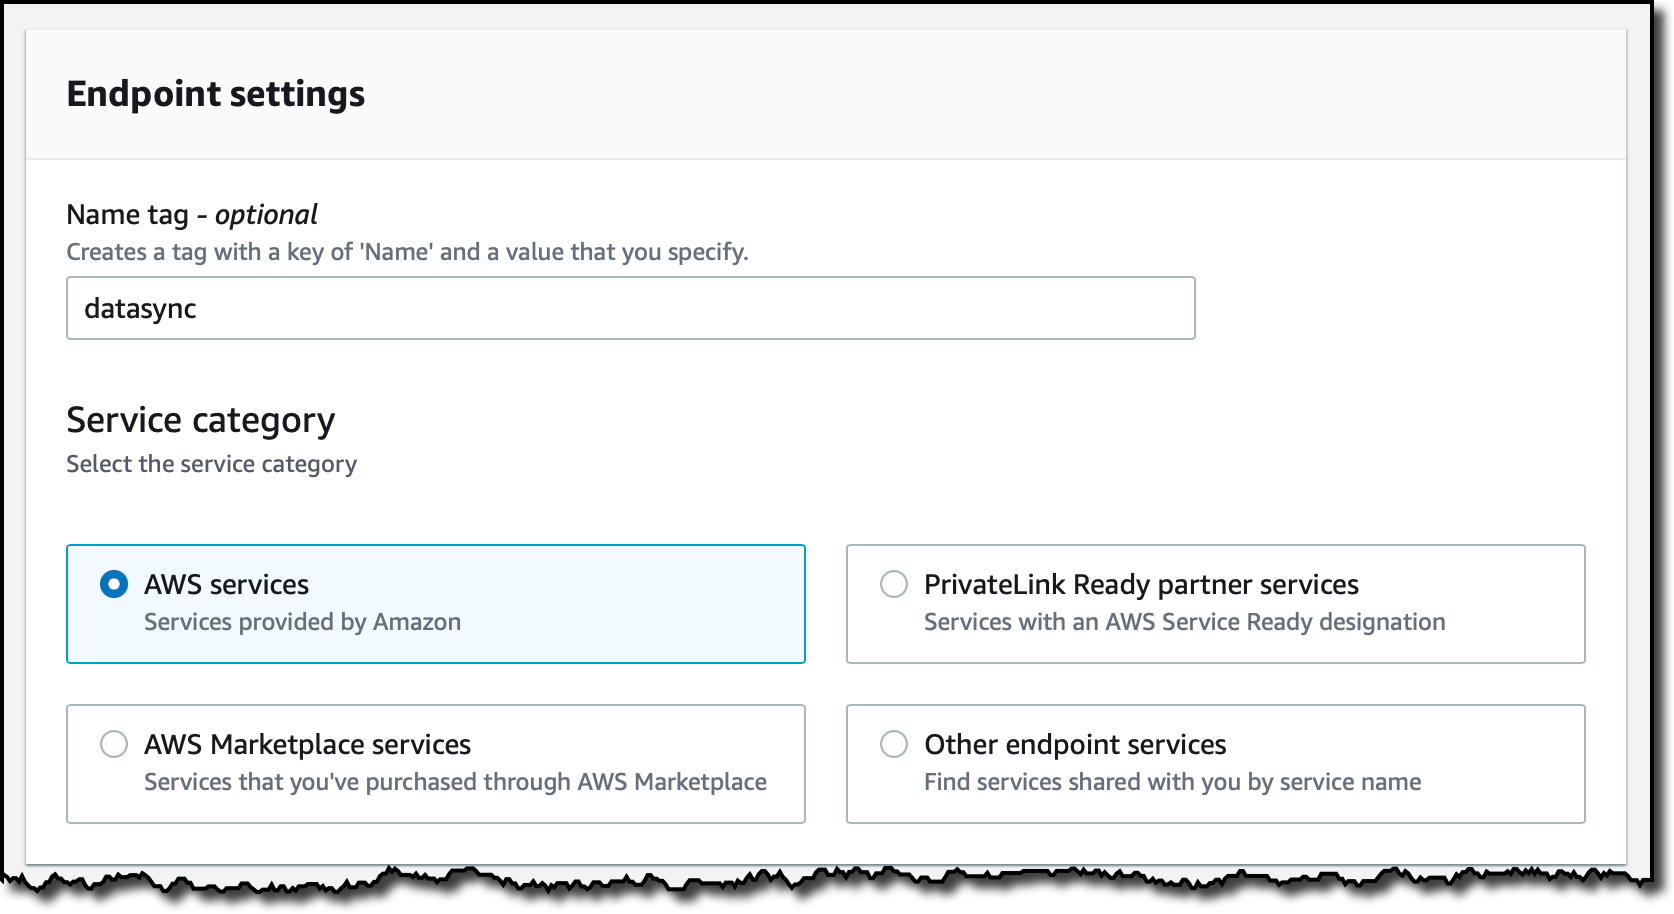
In the Services section, I look for DataSync.

Then, I select the same VPC where I started the EC2 instance.

To reduce cross-AZ traffic, I choose the same subnet used for the EC2 instance.

The DataSync agent running on the EC2 instance needs network access to the VPC endpoint. For simplicity, I use the default security group of the VPC for both. I create the VPC endpoint and, after a few minutes, it’s ready to be used.

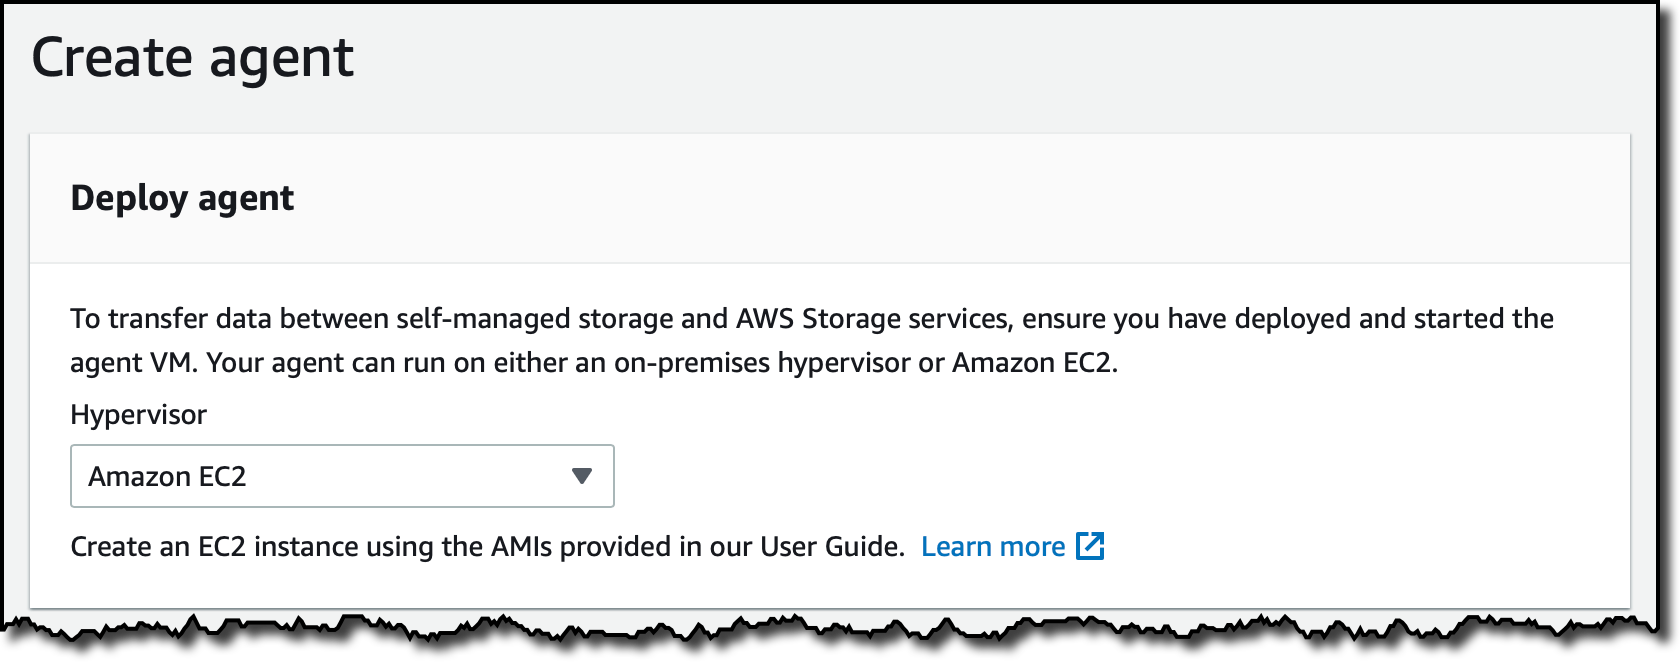
In the AWS DataSync console, I choose Agents from the navigation pane and then Create agent. I select Amazon EC2 for the Hypervisor.
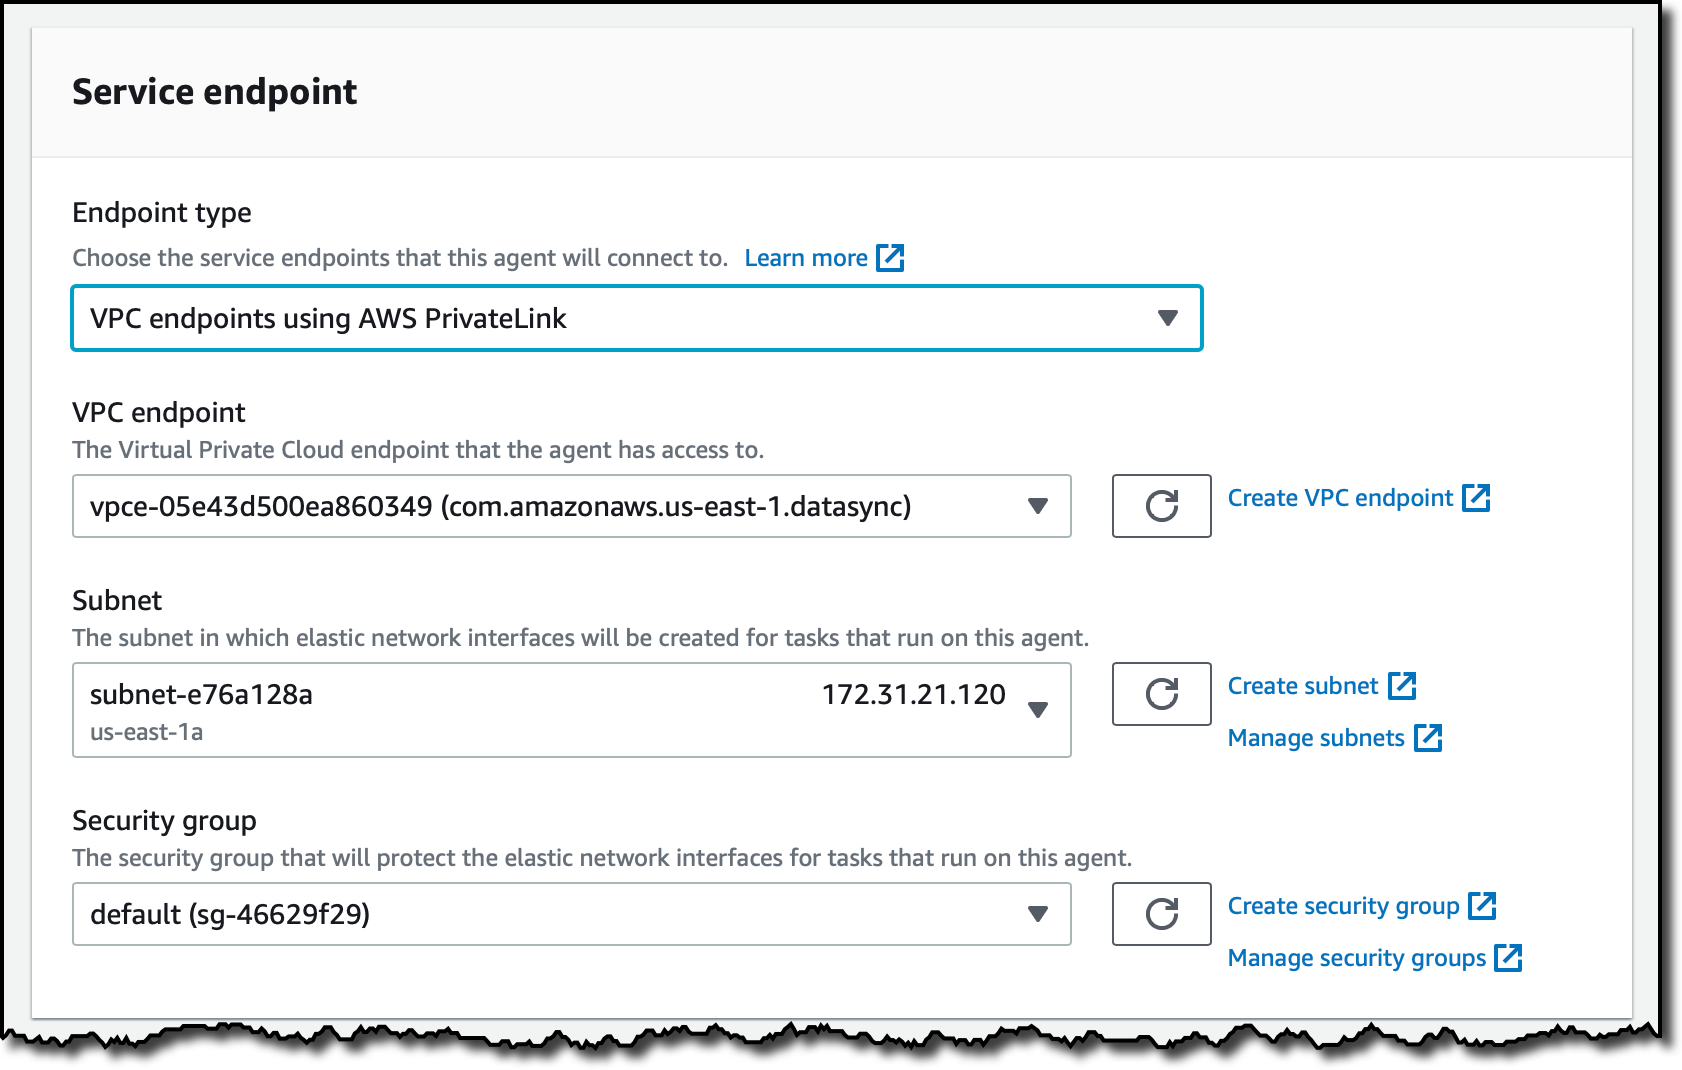
I choose VPC endpoints using AWS PrivateLink for the Endpoint type. I select the VPC endpoint I created before and the same Subnet and Security group I used for the VPC endpoint.
I choose the option to Automatically get the activation key and type the public IP of the EC2 instance. Then, I choose Get key.

After the DataSync agent has been activated, I don’t need HTTP access anymore, and I remove that from the security groups of the EC2 instance. Now that the DataSync agent is active, I can configure tasks and locations to move my data.
Moving Data from Google Cloud Storage to Amazon S3
I have a few images in a Google Cloud Storage bucket, and I want to synchronize those files with an S3 bucket. In the Google Cloud console, I open the settings of the bucket. There, I create a service account with Storage Object Viewer permissions and write down the credentials (access key and secret) to access the bucket programmatically.
Back in the AWS DataSync console, I choose Tasks and then Create task.
To configure the source of the task, I create a location. I select Object storage for the Location type and choose the agent I just created. For the Server, I use storage.googleapis.com. Then, I enter the name of the Google Cloud bucket and the folder where my images are stored.

For authentication, I enter the access key and the secret I retrieved when I created the service account. I choose Next.

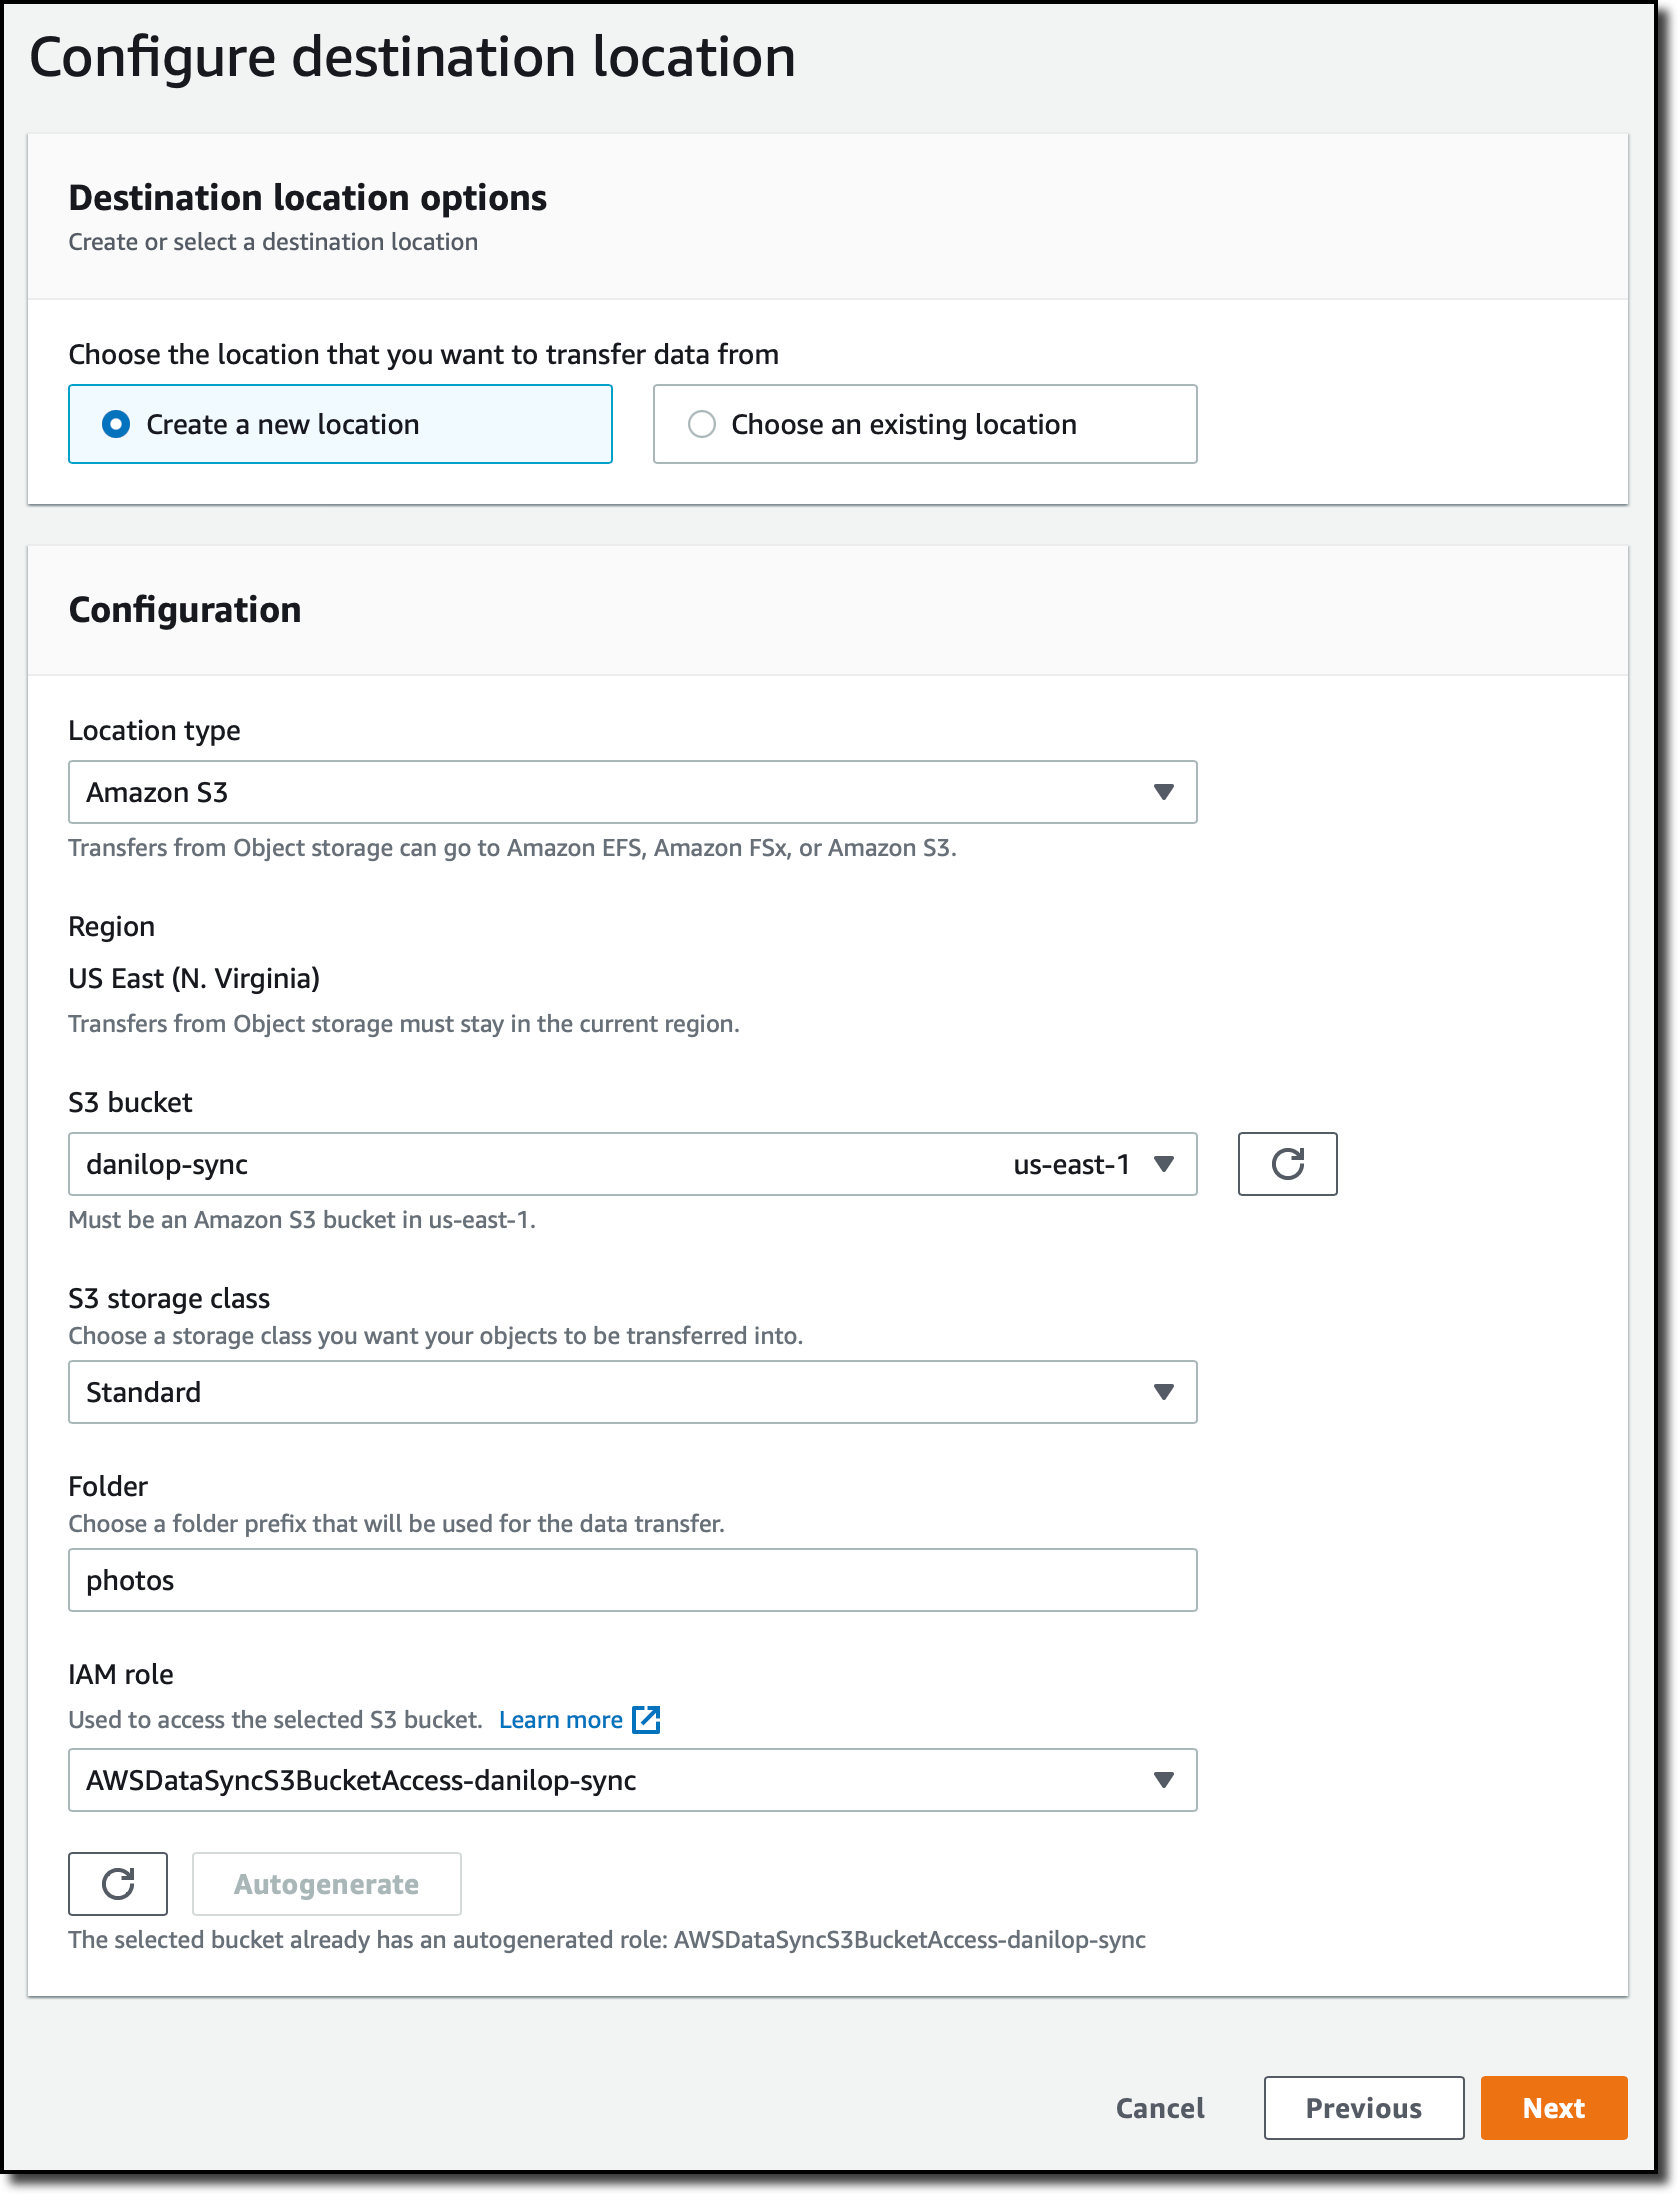
To configure the destination of the task, I create another location. This time, I select Amazon S3 for the Location Type. I choose the destination S3 bucket and enter a folder that will be used as a prefix for the files transferred to the bucket. I use the Autogenerate button to create the IAM role that will give DataSync permissions to access the S3 bucket.
In the next step, I configure the task settings. I enter a name for the task. Optionally, I can fine-tune how DataSync verifies the integrity of the transferred data or allocate a bandwidth for the task.
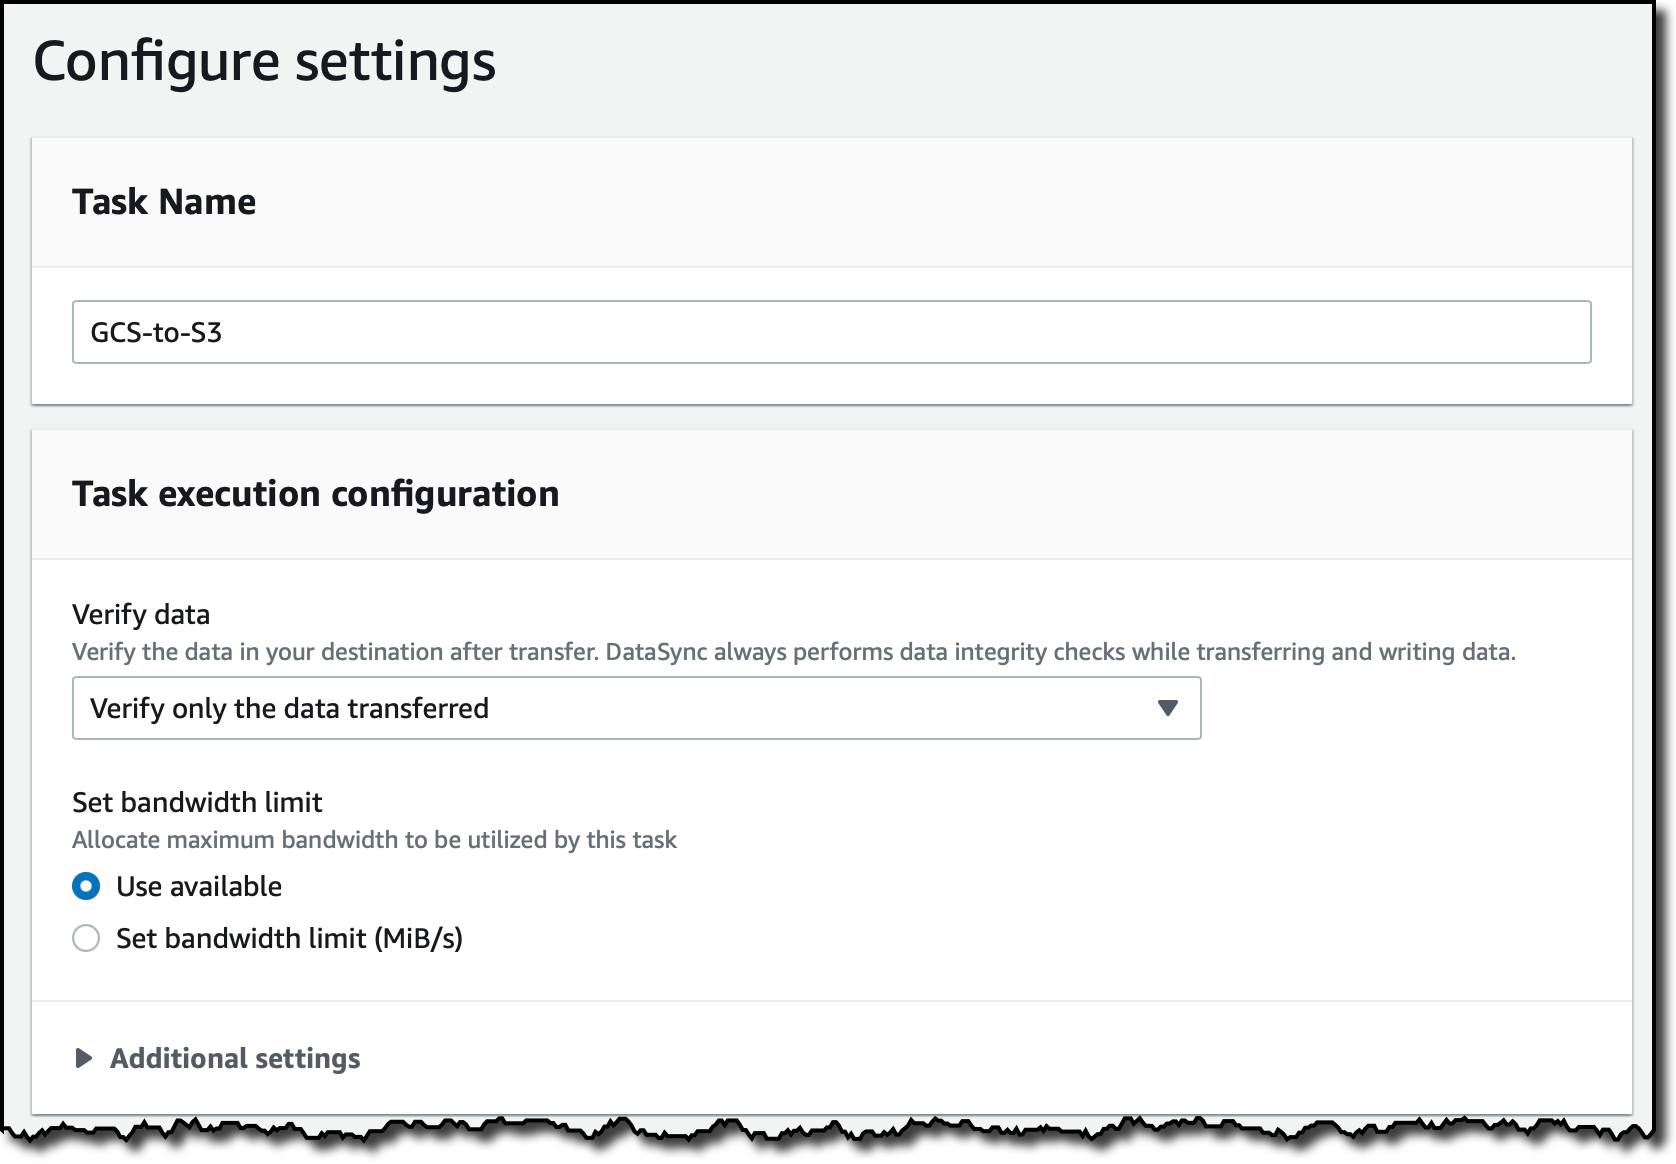
I can also choose what data to scan and what to transfer. By default, all source data is scanned, and only data that has changed is transferred. In the Additional settings, I disable Copy object tags because tags are currently not supported with Google Cloud Storage.

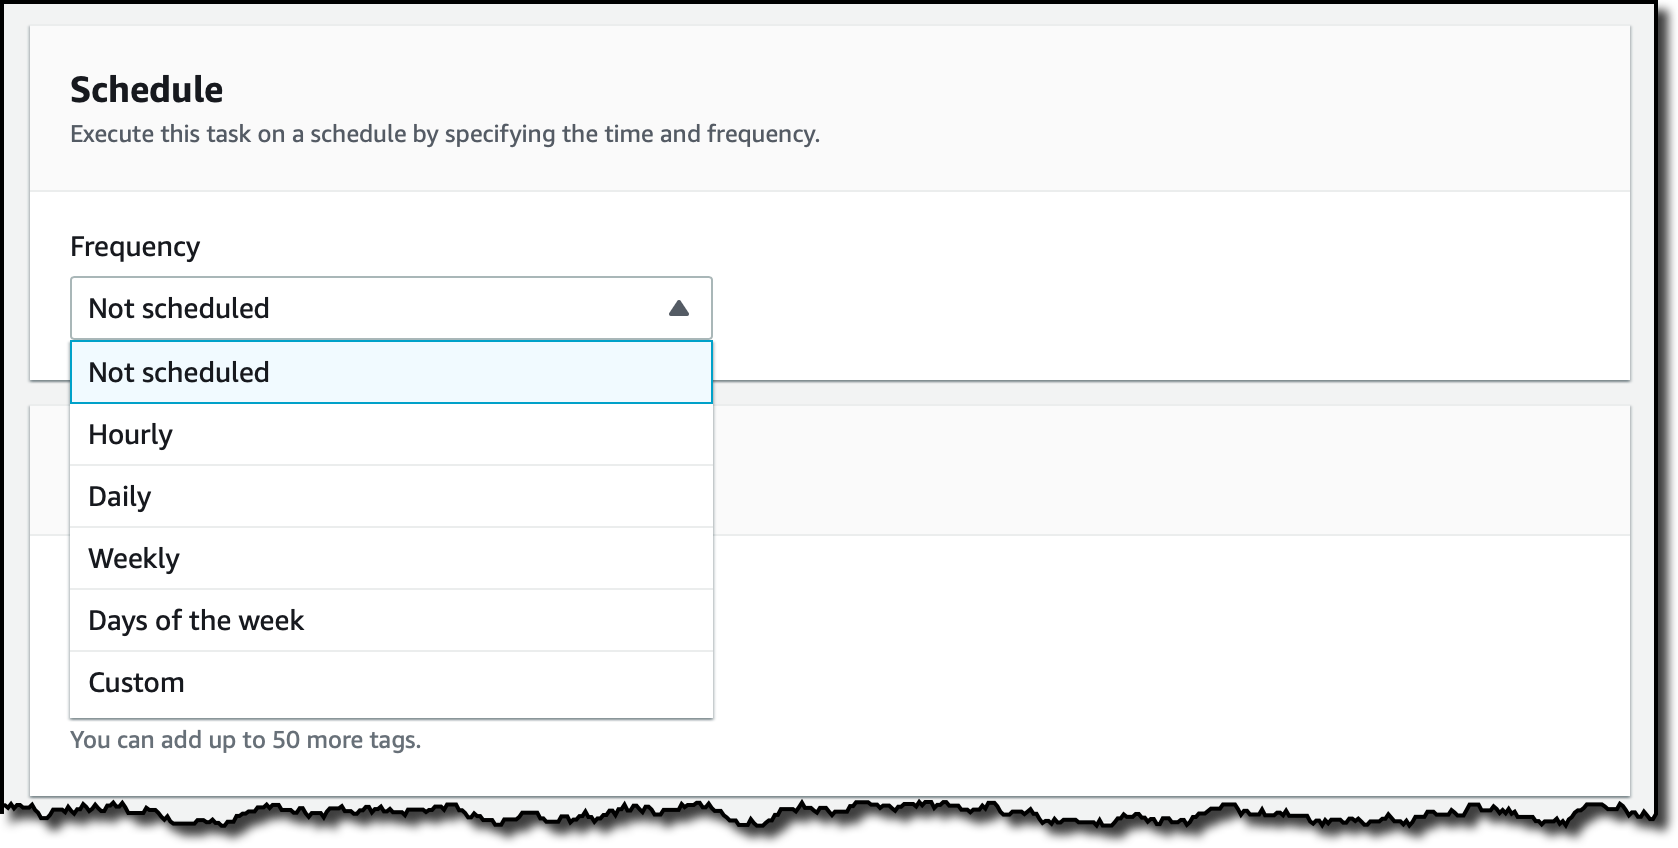
I can select the schedule used to run this task. For now, I leave it Not scheduled, and I will start it manually.
For logging, I use the Autogenerate button to create a log group for DataSync. I choose Next.

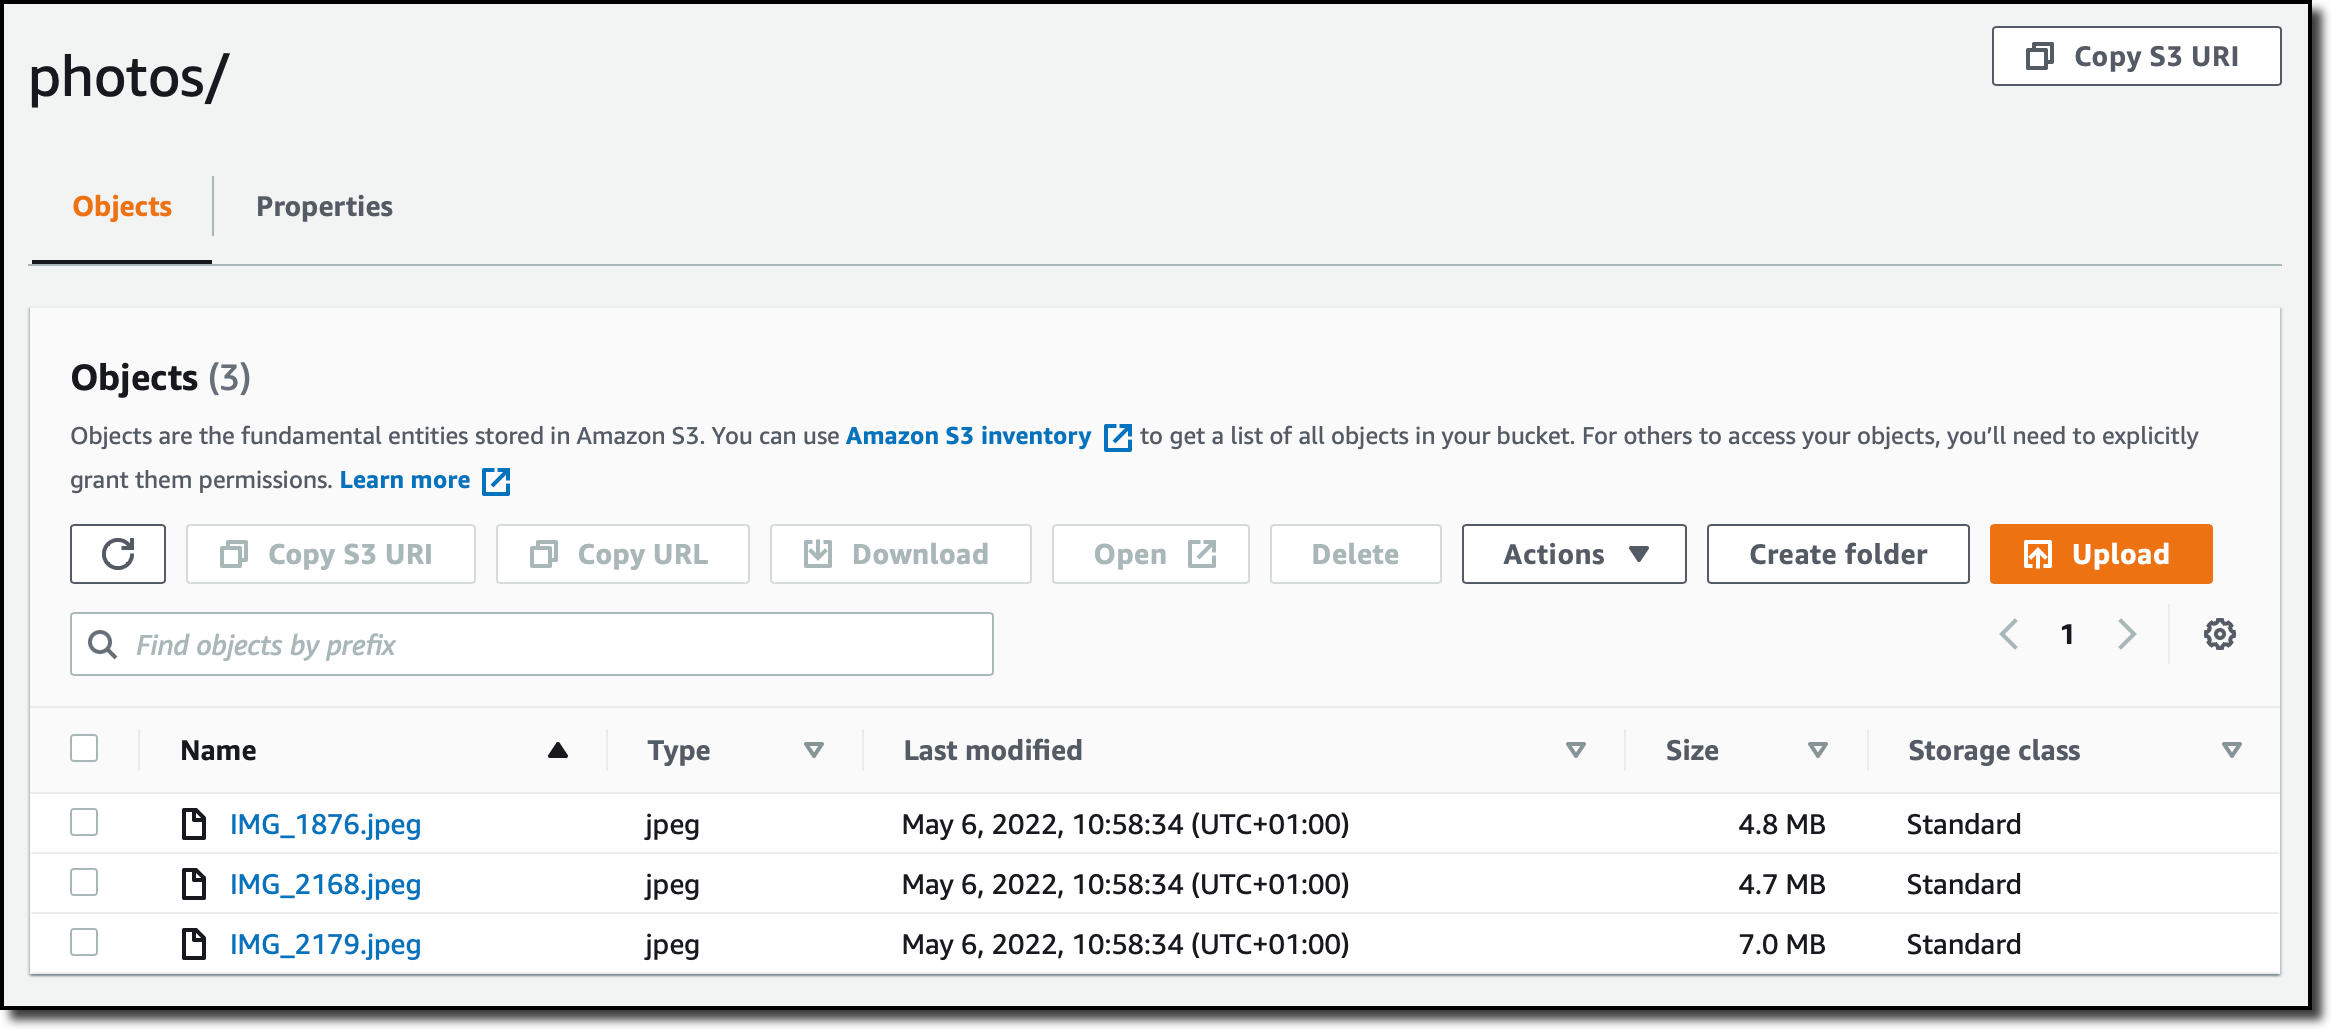
I review the configurations and create the task. Now, I start the data moving task from the console. After a few minutes, the files are synced with my S3 bucket and I can access them from the S3 console.
Moving Data from Azure Files to Amazon FSx for Windows File Server
I take a lot of pictures, and I also have a few images in an Azure file share. I want to synchronize those files with an Amazon FSx for Windows file system. In the Azure console, I select the file share and choose the Connect button to generate a PowerShell script that checks if this storage account is accessible over the network.
From this script, I grab the information I need to configure the DataSync location:
- SMB Server
- Share Name
- User
- Password
Back in the AWS DataSync console, I choose Tasks and then Create task.
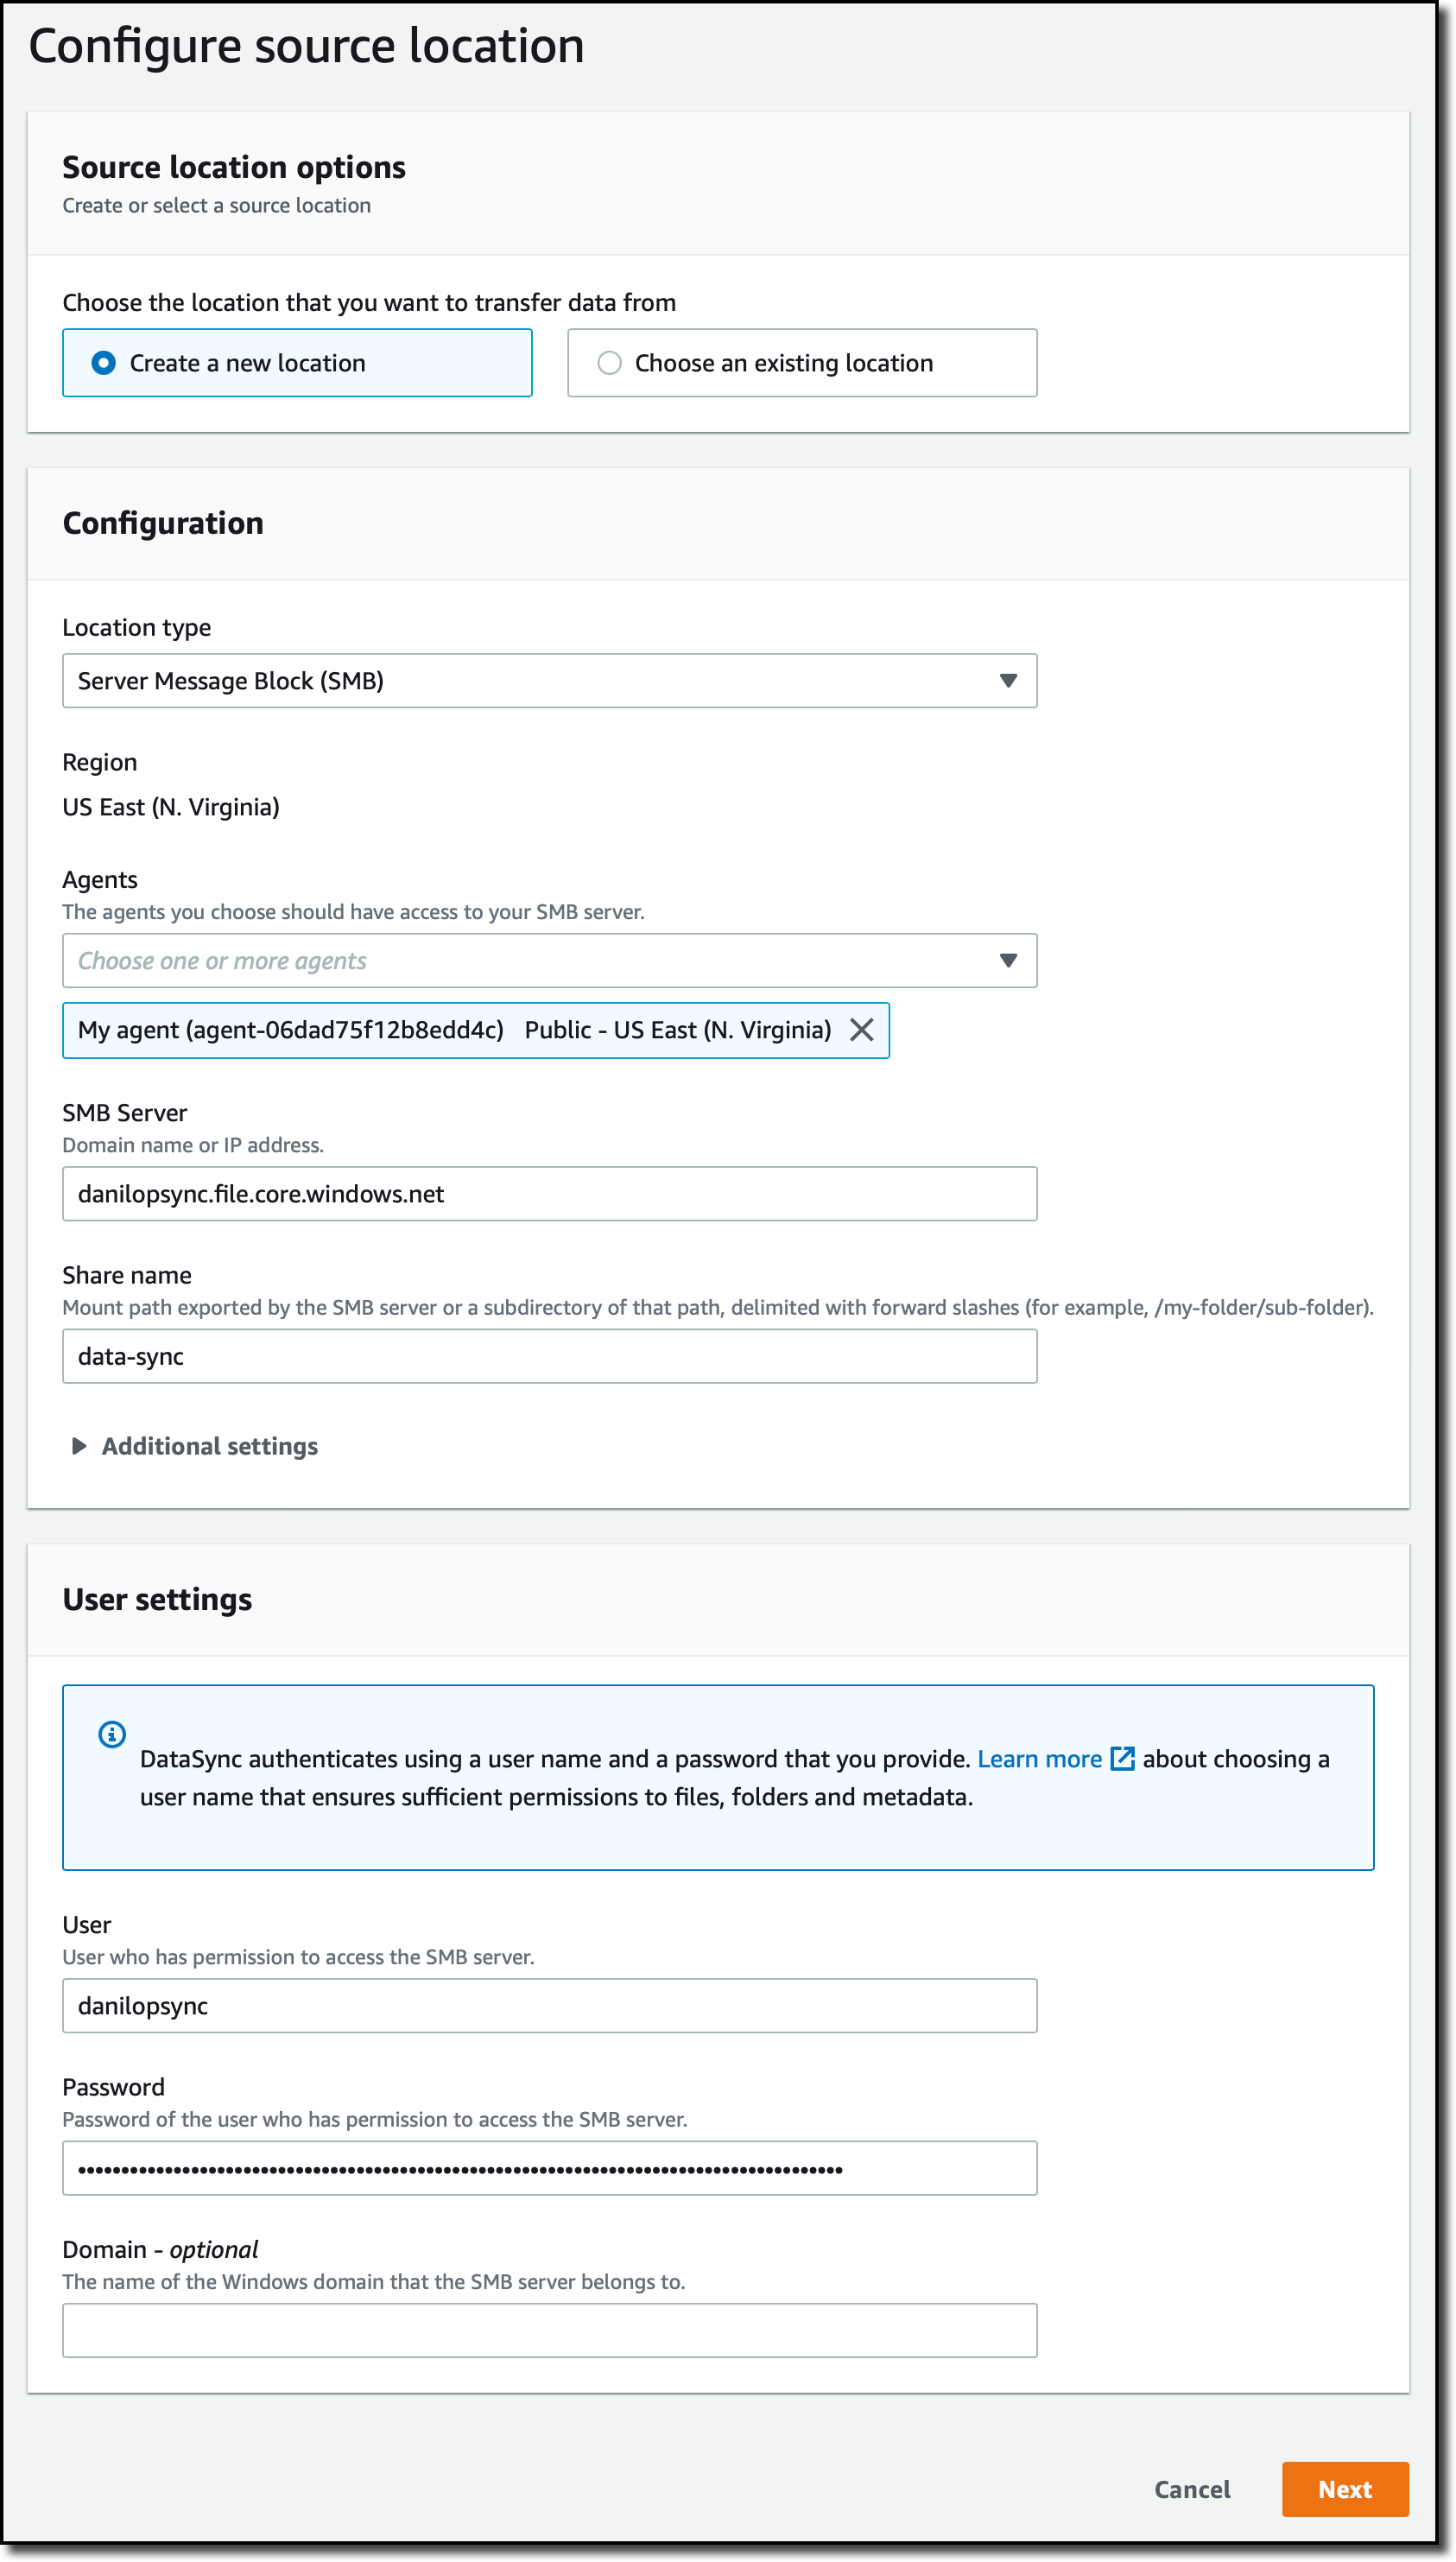
To configure the source of the task, I create a location. I select Server Message Block (SMB) for the Location Type and the agent I created before. Then, I use the information I found in the script to enter the SMB Server address, the Share name, and the User/Password to use for authentication.
To configure the destination of the task, I again create a location. This time, I choose Amazon FSx for the Location type. I select an FSx for Windows file system that I created before and use the default share name. I use the default security group to connect to the file system. Because I am using AWS Directory Service for Microsoft Active Directory with FSx for Windows File Server, I use the credentials of a user member of the AWS Delegated FSx Administrators and Domain Admins groups. For more information, see Creating a location for FSx for Windows File Server in the documentation.

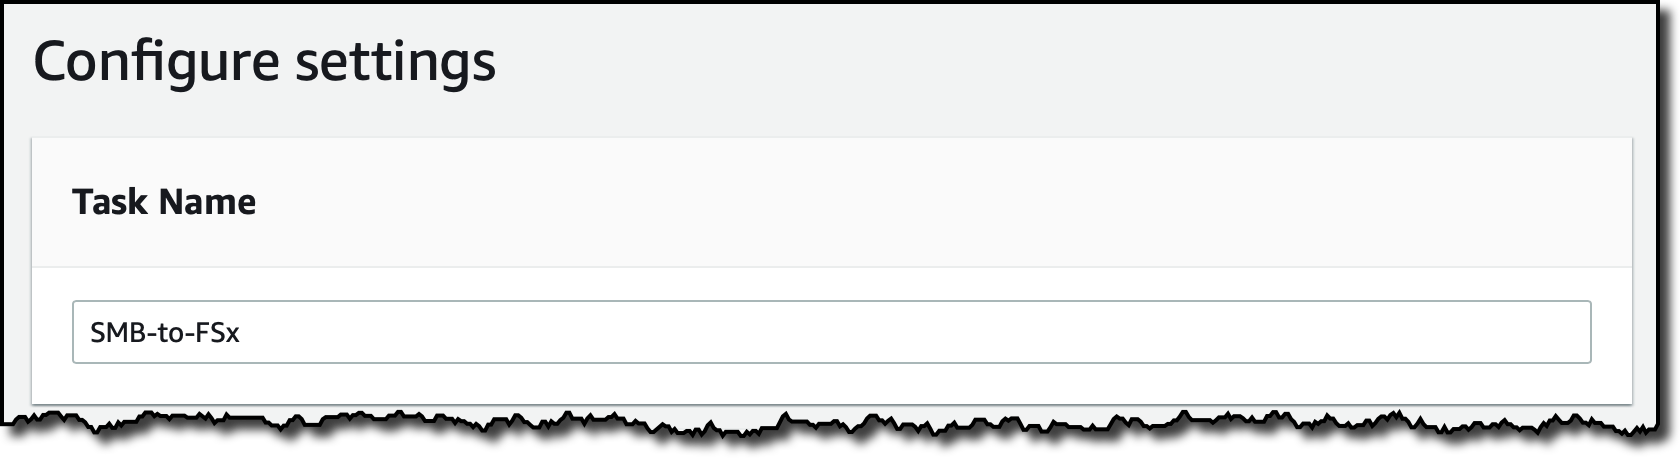
In the next step, I enter a name for the task and leave all other options to their default values in the same way I did for the previous task.
I review the configurations and create the task. Now, I start the data moving task from the console. After a few minutes, the files are synched with my FSx for Windows file system share. I mount the file system share with a Windows EC2 instance and see that my images are there.

When creating a task, I can reuse existing locations. For example, if I want to synchronize files from Azure Files to my S3 bucket, I can quickly select the two corresponding locations I created for this post.
Availability and Pricing
You can move your data using the AWS DataSync console, AWS Command Line Interface (AWS CLI), or AWS SDKs to create tasks that move data between AWS storage and Google Cloud Storage buckets or Azure Files file systems. As your tasks run, you can monitor progress from the DataSync console or by using CloudWatch.
There are no changes to DataSync pricing with these new capabilities. Moving data to and from Google Cloud or Microsoft Azure is charged at the same rate as all other data sources supported by DataSync today.
You may be subject to data transfer out fees by Google Cloud or Microsoft Azure. Because DataSync compresses data in flight when copying between the agent and AWS, you may be able to reduce egress fees by deploying the DataSync agent in a Google Cloud or Microsoft Azure environment.
When using DataSync to move data from AWS to Google Cloud or Microsoft Azure, you are charged for data transfer out from EC2 to the internet. See Amazon EC2 pricing for more information.
Automate and accelerate the way you move data with AWS DataSync.
— Danilo