在 AWS Amplify 上部署 Web 应用程序
入门指南


模块 1:新建 Amplify 项目
在本模块中,您将新建一个 Web 应用程序并配置 Amplify
简介
在本模块中,您将使用 React(一个用于构建用户界面的 JavaScript 库)新建一个 Web 应用程序,并学习如何为您的第一个项目配置 AWS Amplify。
学习内容
- 新建 Web 应用程序
- 为您的项目配置 Amplify
完成时间
5 分钟
模块先决条件
- 具有管理员级访问权限的 AWS 账户**
- 推荐的浏览器:最新版 Chrome 或 Firefox
[**] 过去 24 小时内创建的账户可能尚不具有访问此教程所需服务的权限。
操作步骤
检查环境
通过在终端/控制台窗口中运行 node -v 和 npm -v,确认您运行的至少是 Node.js 12.x 版本和 npm 6.x 或更高版本。如果不是,请访问 nodejs 和 npm 网站,了解更多信息。
node -v

# Your output may differ based on the version installed.
12.1.1

npm -v

# Your output may differ based on the version installed.
6.14.6Amplify 命令行界面 (CLI) 是一个统一的工具链,用于为您的应用程序创建 AWS 云服务。让我们继续安装 Amplify CLI。
npm install -g @aws-amplify/cli注意:由于我们要全局安装 Amplify CLI,因此您可能需要根据系统策略使用 sudo 运行上述命令。
安装完成后,通过运行以下命令配置 Amplify:
amplify configureamplify configure 将打开浏览器并提示您登录 AWS 控制台。
登录后,Amplify CLI 会提示您创建 IAM 用户。
Specify the AWS Region
? region:  # Your preferred region
Specify the username of the new IAM user:
? user name:  # User name for Amplify IAM user
Complete the user creation using the AWS console为您的账户创建一个具有 AdministratorAccess(管理员)权限的用户,以便为您配置 AWS 资源,如 AppSync、Cognito 等。
创建用户后,Amplify CLI 将提示您输入 accessKeyId 和 secretAccessKey,以便将 Amplify CLI 与新创建的 IAM 用户连接起来。
Enter the access key of the newly created user:
? accessKeyId:  # YOUR_ACCESS_KEY_ID
? secretAccessKey:  # YOUR_SECRET_ACCESS_KEY
This would update/create the AWS Profile in your local machine
? Profile Name:  # (default)

Successfully set up the new user.创建 React 应用程序
要新建 React 应用程序,您将使用 create-react-app,它是一个无需配置即可帮助您上手的工具链。
创建一个名为 amplify-app 的应用程序,然后使用 amplify init -y 对其进行初始化:
# note npx is installed with npm
npx create-react-app amplify-app
cd amplify-app
amplify init -y运行 amplify init -y 时,它会检测您的应用程序的配置,并使用 React 的默认设置初始化一个新的 Amplify 应用程序。
Project information
| Name: newapp
| Environment: dev
| Default editor: Visual Studio Code
| App type: javascript
| Javascript framework: none
| Source Directory Path: src
| Distribution Directory Path: dist
| Build Command: npm run-script build
| Start Command: npm run-script start此时,它会创建所需的基础设施,输出结果应如下所示:
CREATE_IN_PROGRESS amplify-amplifyapp-dev-163654 AWS::CloudFormation::Stack Tue Jun 14 2022 16:36:56 GMT-0700 (Pacific Daylight Time) User Initiated
CREATE_IN_PROGRESS UnauthRole                    AWS::IAM::Role             Tue Jun 14 2022 16:37:00 GMT-0700 (Pacific Daylight Time)
CREATE_IN_PROGRESS DeploymentBucketBlockHTTP     AWS::S3::BucketPolicy      Tue Jun 14 2022 16:37:00 GMT-0700 (Pacific Daylight Time)
CREATE_IN_PROGRESS DeploymentBucket              AWS::S3::Bucket            Tue Jun 14 2022 16:37:01 GMT-0700 (Pacific Daylight Time)
CREATE_IN_PROGRESS AuthRole                      AWS::IAM::Role             Tue Jun 14 2022 16:37:01 GMT-0700 (Pacific Daylight Time)
CREATE_COMPLETE UnauthRole AWS::IAM::Role Tue Jun 14 2022 16:37:17 GMT-0700 (Pacific Daylight Time)
CREATE_COMPLETE AuthRole AWS::IAM::Role Tue Jun 14 2022 16:37:17 GMT-0700 (Pacific Daylight Time)
CREATE_COMPLETE DeploymentBucket AWS::S3::Bucket Tue Jun 14 2022 16:37:24 GMT-0700 (Pacific Daylight Time)
CREATE_COMPLETE amplify-amplifyapp-dev-163654 AWS::CloudFormation::Stack Tue Jun 14 2022 16:37:26 GMT-0700 (Pacific Daylight Time)
✔ Successfully created initial AWS cloud resources for deployments.
✔ Initialized provider successfully.
✅ Initialized your environment successfully.

Your project has been successfully initialized and connected to the cloud!

Some next steps:
"amplify status" will show you what you've added already and if it's locally configured or deployed
"amplify add <category>" will allow you to add features like user login or a backend API
"amplify push" will build all your local backend resources and provision it in the cloud
"amplify console" to open the Amplify Console and view your project status
"amplify publish" will build all your local backend and frontend resources (if you have hosting category added) and provision it in the cloud您刚刚创建了什么?
运行 amplify init 初始化新项目时,Amplify 将:
- 分析您的项目并确认上述项目设置,包括所使用的 AWS 配置文件,用于为您的应用程序配置所需云资源。
- 在项目目录中创建名为 amplify 的文件夹。该文件夹包含应用程序的后端配置。
- 在项目目录中创建一个名为 src/aws-exports.js 的文件。该文件包含 Amplify 在为应用程序添加更多功能时提供的服务配置。
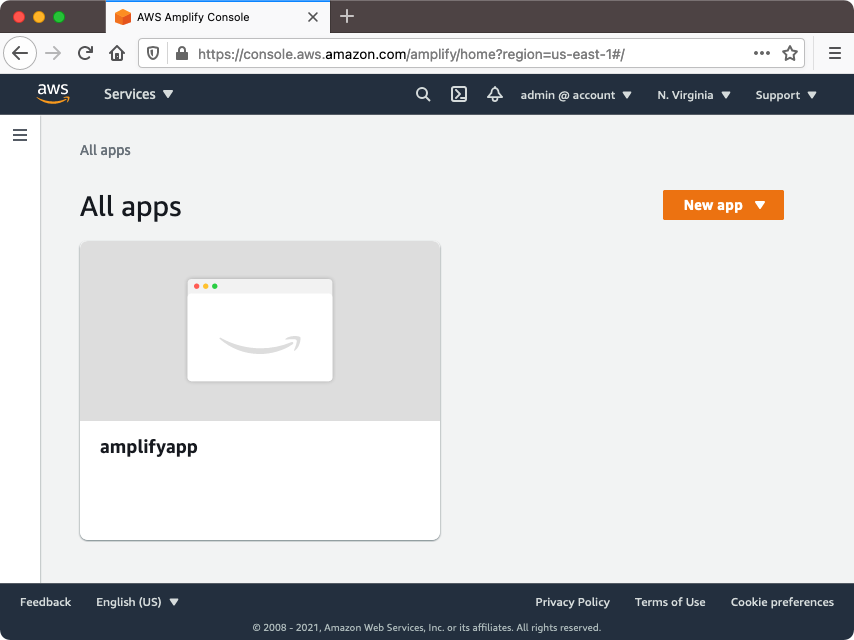
- 在 AWS Amplify 控制台 中为您的应用程序创建一个云项目,您可以在此查看和管理您的 Amplify 项目。
总结
在本模块中,您学习了如何创建 React 前端应用程序,并使用 Amplify 对其进行初始化,以准备将其部署到您的 AWS 账户。在下一个模块中,您将学习如何使用 GraphQL 为前端应用程序添加 API。
下一步:连接 API


