Getting Started with AWS
Create Continuous Delivery Pipeline
Set up a Git repo, deploy a sample web app, and create a continuous delivery pipeline

create build project
Module 3: Create Build Project
In this module, you will configure and execute the application build process using AWS CodeBuild
Overview
In this module, you will use AWS CodeBuild to build the source code previously stored in your GitHub repository. AWS CodeBuild is a fully managed continuous integration service that compiles source code, runs tests, and produces software packages that are ready to deploy.
What you will accomplish
- Create a build project with AWS CodeBuild
- Set up GitHub as the source provider for a build project
- Run a build on AWS CodeBuild
Key concepts
Build process—Process that converts source code files into an executable software artifact. It may include the following steps: compiling source code, running tests, and packaging software for deployment.
Continuous integration—Software development practice of regularly pushing changes to a hosted repository, after which automated builds and tests are run.
Build environment—Represents a combination of the operating system, programming language runtime, and tools that CodeBuild uses to run a build.
Buildspec—Collection of build commands and related settings, in YAML format, that CodeBuild uses to run a build.
Build Project—Includes information about how to run a build, including where to get the source code, which build environment to use, which build commands to run, and where to store the build output.
OAuth—Open protocol for secure authorization. OAuth enables you to connect your GitHub account to third-party applications, including AWS CodeBuild.
Time to complete
5 minutes
Services used
Implementation
-
Configure the AWS CodeBuild project
- In a new browser tab, open the AWS CodeBuild console.
- Choose the orange Create project button.
- In the Project name field, enter Build-DevOpsGettingStarted.
- Select GitHub from the Source provider dropdown menu.
- Confirm that the Connect using OAuth radio button is selected.
- Choose the white Connect to GitHub button. A new browser tab will open asking you to give AWS CodeBuild access to your GitHub repo.
- Choose the green Authorize aws-codesuite button.
- Enter your GitHub password.
- Choose the orange Confirm button.
- Select Repository in my GitHub account.
- Enter aws-elastic-beanstalk-express-js-sample in the search field.
- Select the repo you forked in Module 1. After selecting your repo, your screen should look like this:

13. Confirm that Managed Image is selected.
14. Select Amazon Linux 2 from the Operating system dropdown menu.
15. Select Standard from the Runtime(s) dropdown menu.
16. Select aws/codebuild/amazonlinux2-x86_64-standard:3.0 from the Image dropdown menu.
17. Confirm that Always use the latest image for this runtime version is selected for Image version.
18. Confirm that Linux is selected for Environment type.
19. Confirm that New service role is selected.
-
Create a Buildspec file for the project
- Select Insert build commands.
- Choose Switch to editor.
- Replace the Buildspec in the editor with the code below:
version: 0.2 phases: build: commands: - npm i --save artifacts: files: - '**/*'4. Choose the orange Create build project button. You should now see a dashboard for your project.
-
Test the CodeBuild project
- Choose the orange Start build button. This will load a page to configure the build process.
- Confirm that the loaded page references the correct GitHub repo.
- Choose the orange Start build button.
- Wait for the build to complete. As you are waiting you should see a green bar at the top of the page with the message Build started, the progress for your build under Build log, and, after a couple minutes, a green checkmark and a Succeeded message confirming the build worked.
Application architecture
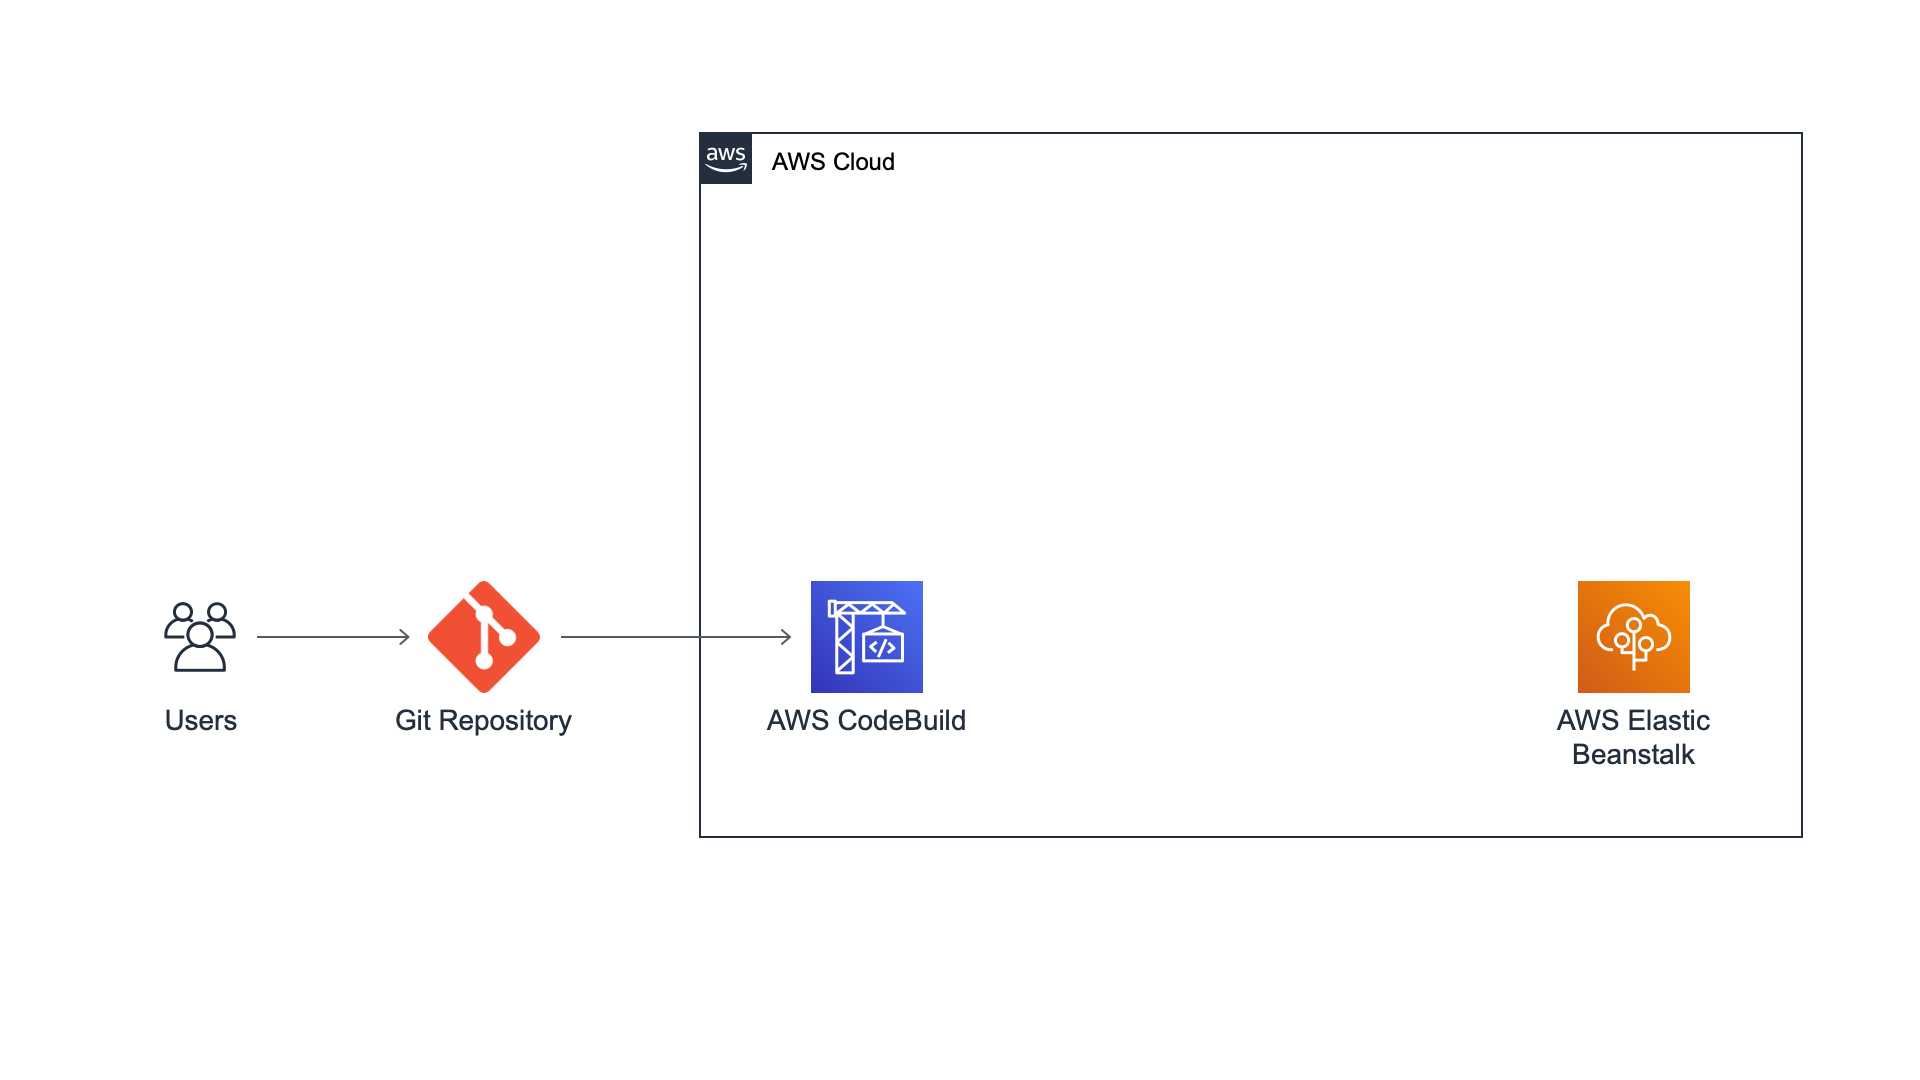
Here's what our architecture looks like now:

We have created a build project on AWS CodeBuild to run the build process of the Hello World! web app from our GitHub repository. We will be using this build project as the build step in our continuous delivery pipeline, which we will create in the next module.


