Build a Flutter Mobile App Using AWS Amplify - Part 2
Use nested data and Amplify functions to create a trip planner app for iOS and Android


Module 1: Clone the Flutter app
Overview
In this module, we will start by cloning the Flutter app we built in the first tutorial of this series from GitHub. Then we will add additional dependencies to the app and use the Amplify CLI to provision a cloud backend for the app. And finally, we will improve the readability and maintainability of the app by refactoring some of its code.
What you will accomplish
- Clone the Flutter app
- Add additional dependencies to the app
- Create an Amplify backend for the app
Minimum time to complete
30 minutes
Implementation
Clone the amplify_trips_planner app
Step 1: Clone the Flutter app by running the command below in your terminal.
git clone https://github.com/aws-samples/amplify-trips-planner.gitStep 2: Open the newly cloned Flutter app using VSCode. You can do that by running the commands below in your terminal.
cd amplify_trips_planner
code . -r
Add the app dependencies
Step 1: The app will use additional dependencies for its new functionalities, such as uploading and displaying files and creating a timeline for the activities. Update the pubspec.yaml file in the application root directory to add the following packages under dependencies.
  file_picker: ^5.0.0
  timelines: ^0.1.0
url_launcher: ^6.1.5The file pubspec.yaml should look like this:
name: amplify_trips_planner
description: A new Flutter project.
version: 1.0.0+1

environment:
  sdk: ">=3.0.2 <4.0.0"

dependencies:
  amplify_api: ^1.0.0
  amplify_auth_cognito: ^1.0.0
  amplify_authenticator: ^1.0.0
  amplify_flutter: ^1.0.0
  amplify_storage_s3: ^1.0.0
  cached_network_image: ^3.2.3
  cupertino_icons: ^1.0.5
  flutter:
    sdk: flutter
  flutter_riverpod: ^2.1.3
  go_router: ^7.0.0
  image_picker: ^0.8.0
  intl: ^0.18.0
  path: ^1.8.3
  riverpod_annotation: ^2.0.1
  uuid: ^3.0.7
  file_picker: ^5.0.0
  timelines: ^0.1.0
  url_launcher: ^6.1.5


dev_dependencies:
  amplify_lints: ^3.0.0
  build_runner:
  custom_lint:
  flutter_test:
    sdk: flutter
  riverpod_generator: ^2.1.3
  riverpod_lint: ^1.1.5

flutter:
  uses-material-design: true
  assets:
- images/amplify.pngStep 2: Run the following command in your terminal to install the dependencies you added to the pubspec.yaml file.
flutter pub getCreate an Amplify backend for the app
Step 1: Navigate to the app's root folder, and provision an Amplify backend for the app by running the following command in your terminal.
amplify initStep 2: Accept the auto-generated option for the environment name and choose the default editor. In this guide, we are using VSCode. Then select the AWS authentication method; we are using an AWS profile. Finally, choose the profile you want to use.
Note: It is recommended to run this command from the root of your app directory
? Enter a name for the environment dev
? Choose your default editor: Visual Studio Code
Using default provider  awscloudformation
? Select the authentication method you want to use: AWS profile

For more information on AWS Profiles, see:
https://docs.aws.amazon.com/cli/latest/userguide/cli-configure-profiles.html

? Please choose the profile you want to use defaultPress Enter. The Amplify CLI will initialize the backend and connect the project to the cloud. Once complete, you will get a confirmation, as shown in the screenshot.
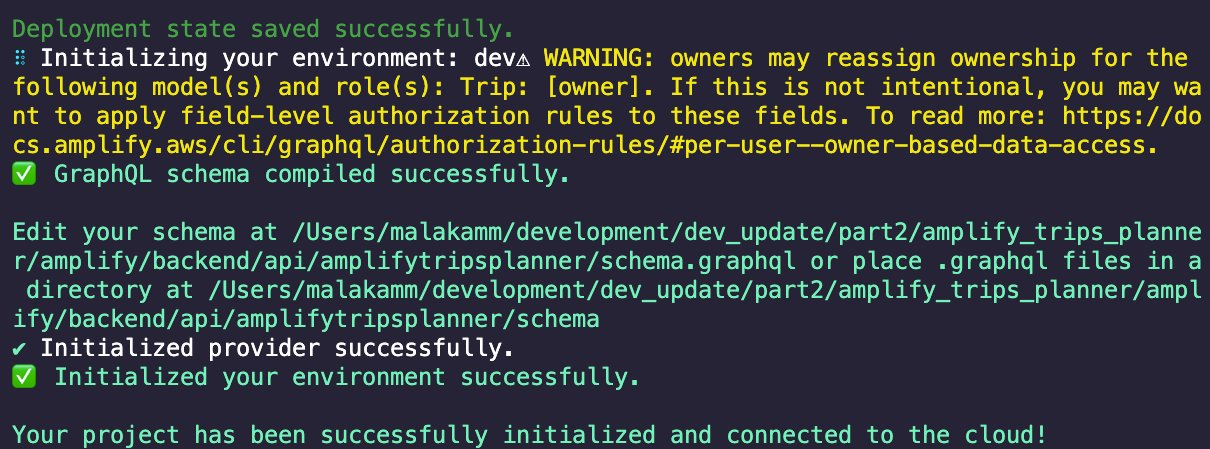
The Amplify CLI will add a new file team-provider-info.json to the amplify folder, which contains the Amplify backend details. It will also add a new dart file amplifyconfiguration.dart to the lib/ folder. The app will use this file to know how to reach your provisioned backend resources at runtime.

Step 3: In the previous how-to guide, you added the following categories to the app:
- Amplify Auth: allows users to sign up, sign in, and manage their account
- Amplify API: allows users to create, read, update, and delete trips
- Amplify Storage: allows users to upload and view images in their app
Run the command amplify push to create the resources of the above categories in the cloud.
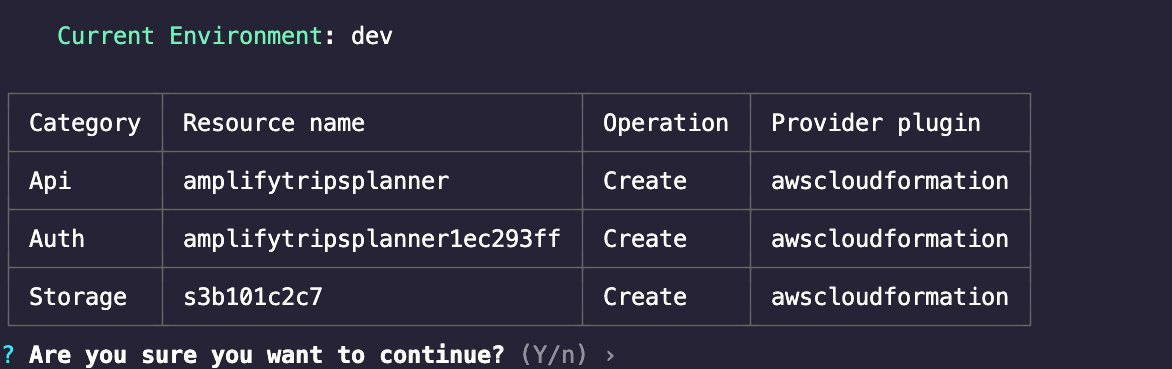
Step 4: Press Enter. The Amplify CLI will deploy the resources and display a confirmation, as shown in the screenshot.

- Create a new account
- Create a new trip
- Edit the newly created trip
- Upload an image for the trip
- Delete the trip

Conclusion
You learned how to clone a Flutter app from GitHub in this module. You also learned how to use the Amplify CLI to provision a cloud backend for the app.