


In this module, you download your dataset, preprocess the dataset, separate the dataset into training and validation, then stage the dataset in your Amazon S3 bucket.
Time to Complete Module: 20 Minutes
Your ML model will be trained on the 20newsgroups dataset that contains 20,000 newsgroup posts on 20 topics. The 20newsgroups dataset is curated by Carnegie Mellon University School of Computer Science and publically available from scikit-learn.
-
Step 1. Fetch the dataset
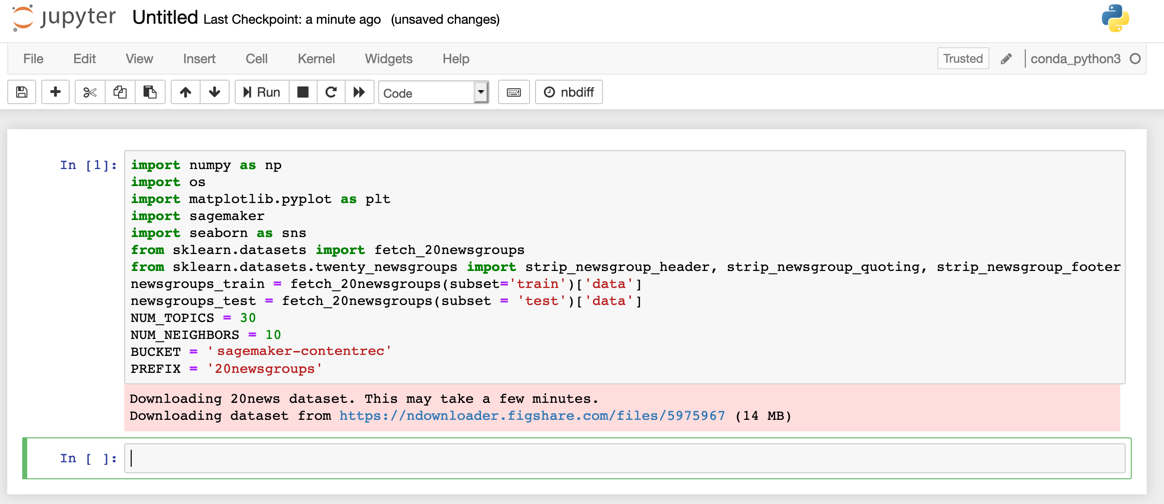
To prepare the data, train the ML model, and deploy it, you must first import some libraries and define a few environment variables in your Jupyter notebook environment. Copy and paste the following code into the code cell in your Jupyter notebook instance and choose Run.
Note: Make sure to replace the BUCKET name sagemaker-xx with the name of your S3 bucket.
!pip install sagemaker==1.9.0
import numpy as np
import os
import matplotlib.pyplot as plt
import sagemaker
import seaborn as sns
from sklearn.datasets import fetch_20newsgroups
import pandas as pd
from sklearn.datasets.twenty_newsgroups import strip_newsgroup_header, strip_newsgroup_quoting, strip_newsgroup_footer
newsgroups_train = fetch_20newsgroups(subset='train')['data']
newsgroups_test = fetch_20newsgroups(subset = 'test')['data']
NUM_TOPICS = 30
NUM_NEIGHBORS = 10
BUCKET = 'sagemaker-rjd'
PREFIX = '20newsgroups'
train_labels = fetch_20newsgroups(subset='train')['target']
categories = fetch_20newsgroups(subset='train')['target_names']
While the code runs, an * appears between the square brackets. After a few seconds, the code execution completes, the * is replaced with the number 1.
(Click to enlarge)
The scikit-learn dataset is naturally broken down into a training set and a test set. You complete some preprocessing on the test set, then set it aside for use only for testing. You split the training set into training and validation sets to test the model performance during training.
-
Step 2. Preprocess the data
In natural language processing, one of the first tasks before training any machine learning model is preprocessing the raw text data into machine readable numeric values. This process usually requires a sequence of steps.
First, you use the APIs provided by scikit-learn to strip any headers, footers and quotes from the dataset.
In your Jupyter notebook, copy and paste the following code into your code cell and choose Run.
for i in range(len(newsgroups_train)):
    newsgroups_train[i] = strip_newsgroup_header(newsgroups_train[i])
    newsgroups_train[i] = strip_newsgroup_quoting(newsgroups_train[i])
    newsgroups_train[i] = strip_newsgroup_footer(newsgroups_train[i])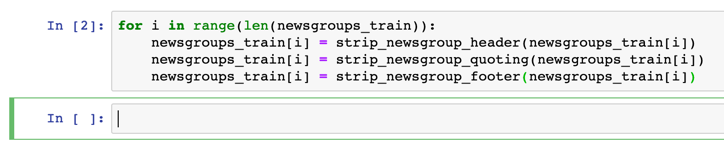
(Click to enlarge)
Now, take a look at one of the training examples. Copy and paste the following code into your Jupyter notebook.
newsgroups_train[1]
As you can see, the data is simply plain text paragraphs. In order for this to be machine readable, you need to "tokenize” this data to numeric format by assigning a “token” to each word in the sentence. You can limit the total number of tokens to 2000 by first counting the most frequent tokens and only retaining the top 2000. This limiting is in place because less frequent words will have a diminishing impact on the topic model and can be ignored. Then, for each of the documents you use a Bag of Words (BoW) model to convert the document into a vector which keeps track of the number of times each token appears in that training example.

(Click to enlarge)
In this example, you use WordNetLemmatizer, a lemmatizer from the nltk package, and use CountVectorizer in scikit-learn to perform the token counting. WordNetLemmatizer uses nouns as the parts of speech (POS) for lemmatizing words into lemmas. Lemmatization aims to return actual words whereas stemming, another preprocessing approach, can often return non-dictionary words or root stems which are often less useful in machine learning.
In the list comprehension, you implement a simple rule: only consider words that are longer than 2 characters, start with a letter and match the token_pattern.
In your Jupyter notebook, copy and paste the following code and choose Run.
!pip install nltk
import nltk
nltk.download('punkt')
nltk.download('wordnet')
from nltk import word_tokenize
from nltk.stem import WordNetLemmatizer
import re
token_pattern = re.compile(r"(?u)\b\w\w+\b")
class LemmaTokenizer(object):
    def __init__(self):
        self.wnl = WordNetLemmatizer()
    def __call__(self, doc):
        return [self.wnl.lemmatize(t) for t in word_tokenize(doc) if len(t) >= 2 and re.match("[a-z].*",t)
                and re.match(token_pattern, t)]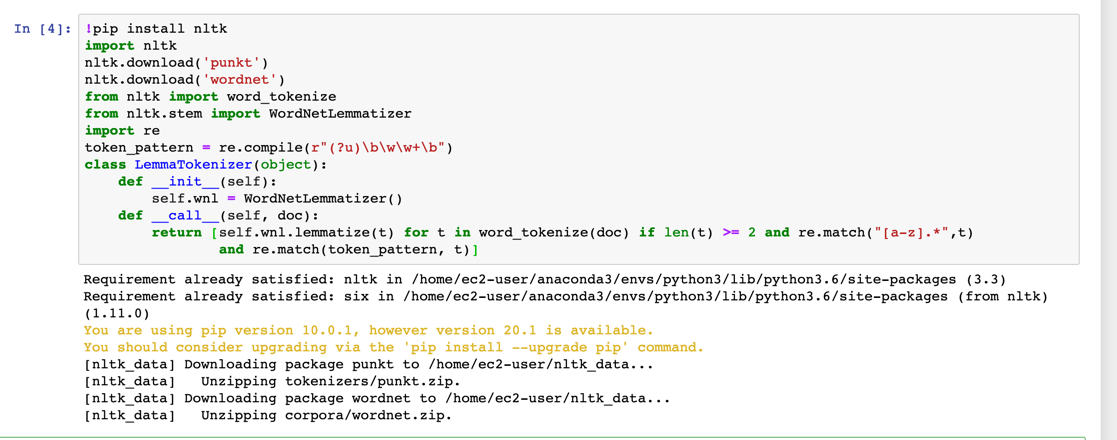
(Click to enlarge)
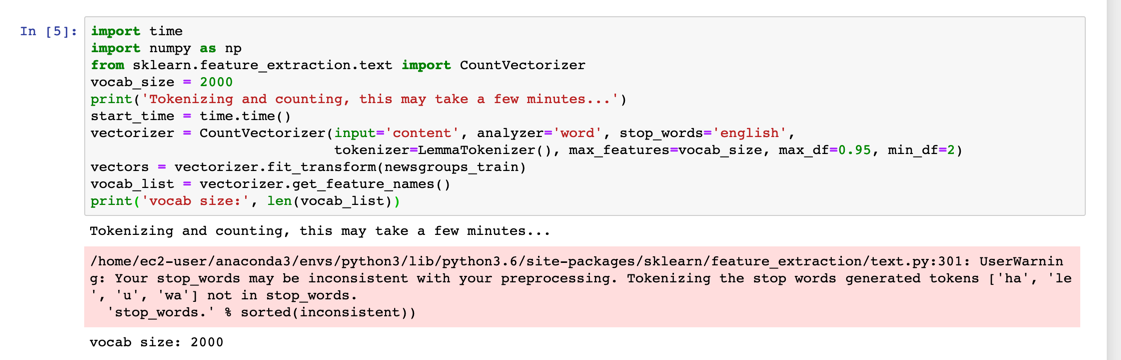
With the tokenizer defined, now you can perform token counting while limiting the vocab_size to 2000.
In your Jupyter notebook, copy and paste the following code and choose Run.
import time
import numpy as np
from sklearn.feature_extraction.text import CountVectorizer
vocab_size = 2000
print('Tokenizing and counting, this may take a few minutes...')
start_time = time.time()
vectorizer = CountVectorizer(input='content', analyzer='word', stop_words='english',
                             tokenizer=LemmaTokenizer(), max_features=vocab_size, max_df=0.95, min_df=2)
vectors = vectorizer.fit_transform(newsgroups_train)
vocab_list = vectorizer.get_feature_names()
print('vocab size:', len(vocab_list))

# random shuffle
idx = np.arange(vectors.shape[0])
newidx = np.random.permutation(idx) # this will be the labels fed into the KNN model for training
# Need to store these permutations:

vectors = vectors[newidx]

print('Done. Time elapsed: {:.2f}s'.format(time.time() - start_time))
Now, take a closer look at the code.
The CountVectorizer API uses three hyperparameters that can help with overfitting or underfitting while training a subsequent model.
The first hyperparameter is max_features which you set to be the vocabulary size. As noted, a very large vocabulary consisting of infrequent words can add unnecessary noise to the data, which will cause you to train a poor model.
The second and third hyperparameters are max_df and min_df. The min_df parameter ignores words that occur in less than min_df % documents and max_df ignores words that occur in more than max_df % of the documents. The parameter max_df ensures that extremely frequent words that are not captured by the stop words are removed. Generally, this approach is a good practice as the topic model is trying to identify topics by finding distinct groups of words that cluster together into topics. If a few words occur in all of the documents, these words will reduce the expressiveness of the model. Conversely, increasing the min_df parameter ensures that extremely rare words are not included, which reduces the tendency of the model to overfit.
To generate training and validation sets, you first shuffle the BOW vectors generated by the CountVectorizer API. While performing the shuffle, you keep track of the original index as well as the shuffled index. Later in this lab, when you use the KNN model to look for similar documents to an unseen document, you need to know the original index associated with the training data prior to shuffling.
(Click to enlarge)
-
Step 3. Stage the training and validation datasets in Amazon S3
With your preprocessing in place, you are now ready to create training and validation datasets and stage them in your S3 bucket.
First, convert the vectors to a sparse representation.
Copy and paste the following code into your Jupyter notebook and choose Run.
import scipy.sparse as sparse
vectors = sparse.csr_matrix(vectors, dtype=np.float32)
print(type(vectors), vectors.dtype)

(Click to enlarge)
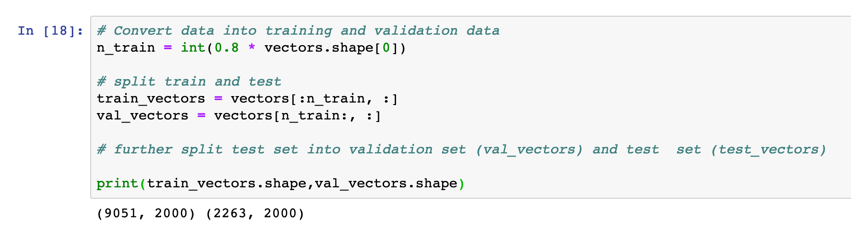
Now, split it into training data and test data.
- The training data (80%) is used during the model training loop. You use gradient-based optimization to iteratively refine the model parameters. Gradient-based optimization is a way to find model parameter values that minimize the model error, using the gradient of the model loss function.
- The test data (remaining 20% of customers) is used to evaluate the performance of the model, and measure how well the trained model generalizes to unseen data.
Note: The following approach for splitting the data only works if your entire dataset has been shuffled first. Optionally, you can use the sklearn.modelselection train_test_split API to perform the split and set the random_state seed to a numerical value to ensure repeatability.
Copy the following code into a new code cell and select Run to split the data:
# Convert data into training and validation data
n_train = int(0.8 * vectors.shape[0])

# split train and test
train_vectors = vectors[:n_train, :]
val_vectors = vectors[n_train:, :]

# further split test set into validation set (val_vectors) and test  set (test_vectors)

print(train_vectors.shape,val_vectors.shape)
(Click to enlarge)
Next, define the training and validation paths, as well as the output path where the NTM artifacts will be stored after model training.
Copy and paste the following code into a new code cell and choose Run.
from sagemaker import get_execution_role

role = get_execution_role()

bucket = BUCKET
prefix = PREFIX

train_prefix = os.path.join(prefix, 'train')
val_prefix = os.path.join(prefix, 'val')
output_prefix = os.path.join(prefix, 'output')

s3_train_data = os.path.join('s3://', bucket, train_prefix)
s3_val_data = os.path.join('s3://', bucket, val_prefix)
output_path = os.path.join('s3://', bucket, output_prefix)
print('Training set location', s3_train_data)
print('Validation set location', s3_val_data)
print('Trained model will be saved at', output_path)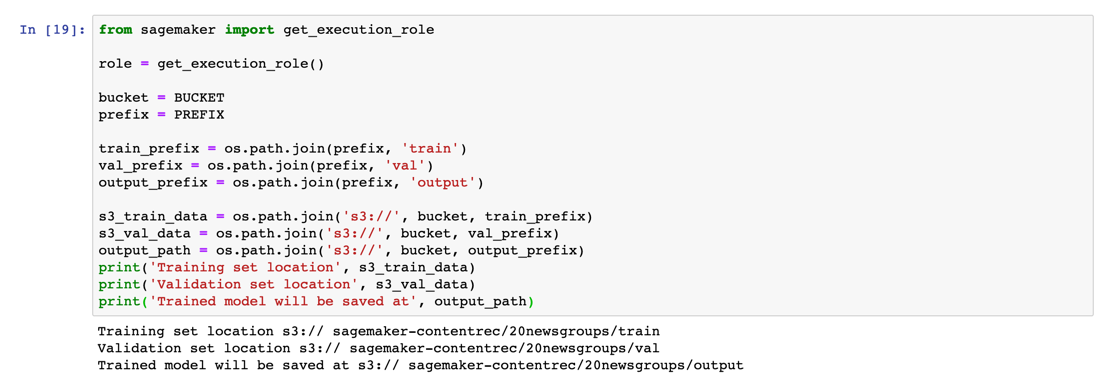
(Click to enlarge)
The NTM supports both CSV and RecordIO protobuf formats for data in the training, validation, and testing channel. The following helper function converts the raw vectors into RecordIO format, and using the n_parts parameter, optionally breaks the dataset into shards which can be used for distributed training.
To convert the vectors, copy and paste the following code into a new code cell and choose Run.
def split_convert_upload(sparray, bucket, prefix, fname_template='data_part{}.pbr', n_parts=2):
    import io
    import boto3
    import sagemaker.amazon.common as smac

    chunk_size = sparray.shape[0]// n_parts
    for i in range(n_parts):

        # Calculate start and end indices
        start = i*chunk_size
        end = (i+1)*chunk_size
        if i+1 == n_parts:
            end = sparray.shape[0]

        # Convert to record protobuf
        buf = io.BytesIO()
        smac.write_spmatrix_to_sparse_tensor(array=sparray[start:end], file=buf, labels=None)
        buf.seek(0)

        # Upload to s3 location specified by bucket and prefix
        fname = os.path.join(prefix, fname_template.format(i))
        boto3.resource('s3').Bucket(bucket).Object(fname).upload_fileobj(buf)
        print('Uploaded data to s3://{}'.format(os.path.join(bucket, fname)))
split_convert_upload(train_vectors, bucket=bucket, prefix=train_prefix, fname_template='train_part{}.pbr', n_parts=8)
split_convert_upload(val_vectors, bucket=bucket, prefix=val_prefix, fname_template='val_part{}.pbr', n_parts=1)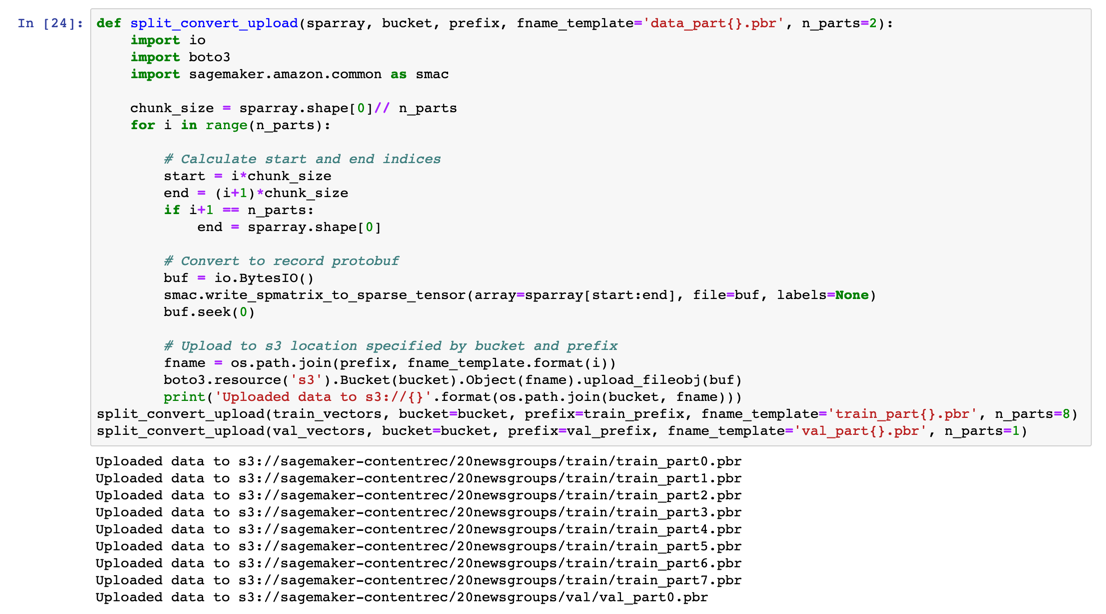
(Click to enlarge)
Success! You have prepared and staged your dataset!
In this module, you imported and fetched the dataset you use for your content recommendation system. Then, you prepared the dataset through preprocessing, lemmatization and tokenization. Finally, you split the dataset into training and validation sets, then staged them in your Amazon S3 bucket.
In the next module, you training your topic model with the Amazon SageMaker NTM Algorithm and deploy the model to Amazon SageMaker.