Unreal Engine/虚幻引擎(以下简称UE)是Epic Games公司的游戏引擎产品,Epic Games使用该引擎开发了 “堡垒之夜”, “战争机器”等多款游戏,该引擎也被众多游戏开发商、工作室采用,如 “最终幻想7重制版:Intergrade”, “荣誉勋章:超越巅峰”, “绝地求生”等游戏, 除了游戏以外UE引擎还被用于广泛用于影视、建筑、数字孪生领域。
本系列文章将会分为2个篇章来系统地介绍UE4像素流送在Amazon g4dn 实例上的容器化部署方案, 在第1章我们会从头讲解如何在g4dn实例上安装并编译UE4项目,构建docker 镜像, 并且通过docker-compose 实现多项目共享Nvidia Tesla T4 GPU 进行像素流推送。第2章我们会讲解如何在Amazon Elastic Kuberntes Service 上使用g4dn部署一套可弹性伸缩的UE4 像素推流平台。
本文分为如下几个部分:
- 安装UE 4.27, 创建像素流送演示项目
- 使用 g4dn实例Linux 环境编译UE4演示项目,构建演示项目的docker image
- 在g4dn实例上使用docker-compose 部署STUN/TURN服务器, Signaling Server, UE4演示项目
- 通过浏览器/移动终端访问UE4 演示项目
1. 安装UE 4.27, 创建像素流送演示项目
在开始之前,我们必须做好如下几件准备工作。
- 请准备Epic Games官方用户账号, Github账号, 下载UE4和UE4 container需要这些账号。
- 创建g4dn 类型创建Windows EC2实例, 安装UE4,并创建像素流送演示项目(可选)。
- 创建g4dn Linux EC2 实例,编译演示项目,构建docker image
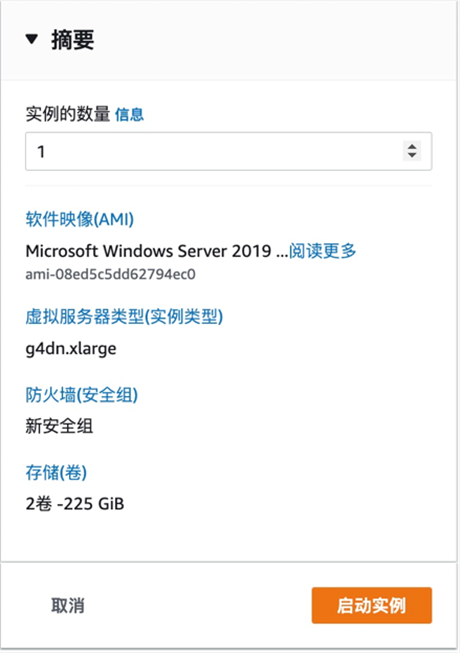
1.1 创建g4dn.xlarge windows 主机
- “应用程序和操作系统映像”选择Microsoft Windows Server 2019 Base/Microsoft Windows Server 2019 with NVIDIA GRID Driver
- “”实例类型””从默认micro修改为g4dn.xlarge
- 设置密钥对,不然无法获取Windows 管理员密码
- 网络设置为公有子网,分配公有IP
- 选择自动创建新安全组
- 存储设置为100GB
以上配置完了后,请核对摘要信息,并点击启动实例:
1.2 连接Windows主机,安装AWS CLI命令行工具, Nvidia Grid Driver
选择实例,点击连接,点击RDP客户端, 上传自己的私钥后就可以看见windows 连接密码

使用RDP客户端连接EC2实例,作者使用的是Microsoft Remote Desktop on Mac.
Windows server 自带的IE有很多限制,所以我们首先使用Powershell 安装chrome浏览器。
$Path = $env:TEMP; $Installer = "chrome_installer.exe"; Invoke-WebRequest "http://dl.google.com/chrome/install/375.126/chrome_installer.exe" -OutFile $Path\$Installer; Start-Process -FilePath $Path\$Installer -Args "/silent /install" -Verb RunAs -Wait; Remove-Item $Path\$Installer

安装完后桌面会出现chrome图标
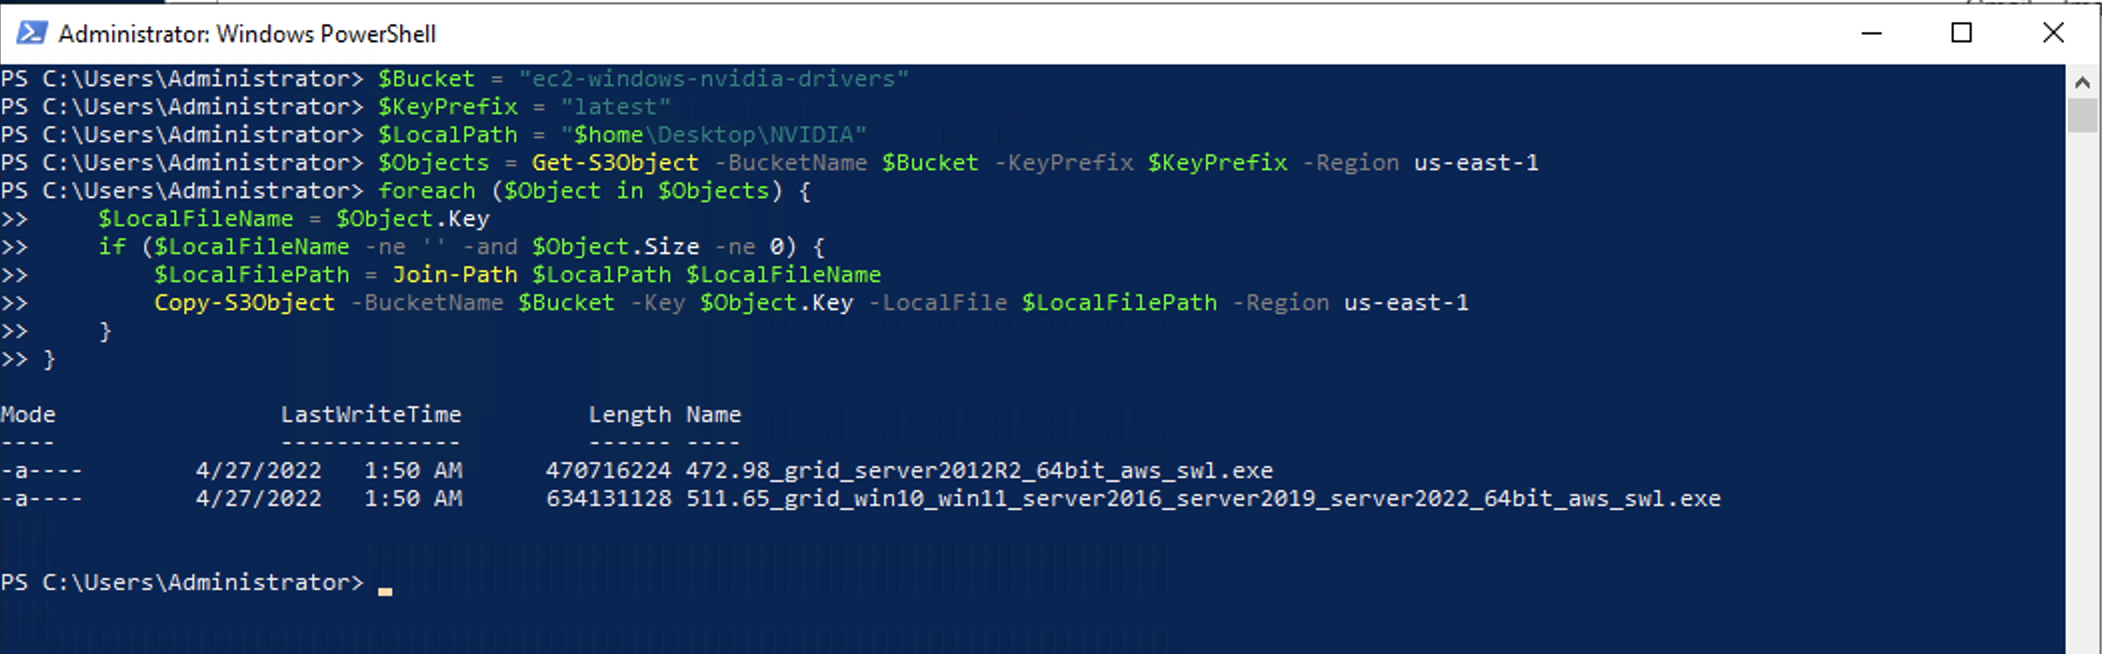
复制以下PowerShell代码下载Nvida Grid Driver
$Bucket = "ec2-windows-nvidia-drivers"
$KeyPrefix = "latest"
$LocalPath = "$home\Desktop\NVIDIA"
$Objects = Get-S3Object -BucketName $Bucket -KeyPrefix $KeyPrefix -Region us-east-1
foreach ($Object in $Objects) {
    $LocalFileName = $Object.Key
    if ($LocalFileName -ne '' -and $Object.Size -ne 0) {
        $LocalFilePath = Join-Path $LocalPath $LocalFileName
        Copy-S3Object -BucketName $Bucket -Key $Object.Key -LocalFile $LocalFilePath -Region us-east-1
    }
}
运行完成后会在桌面生成一个NVIDIA目录,里面有2个exe文件,我们选择运行511.65_grid_win10_win11_server2016_server2019_server2022_64bit_aws_swl.exe即可完成驱动安装
1.3 安装UE4, 创建演示项目
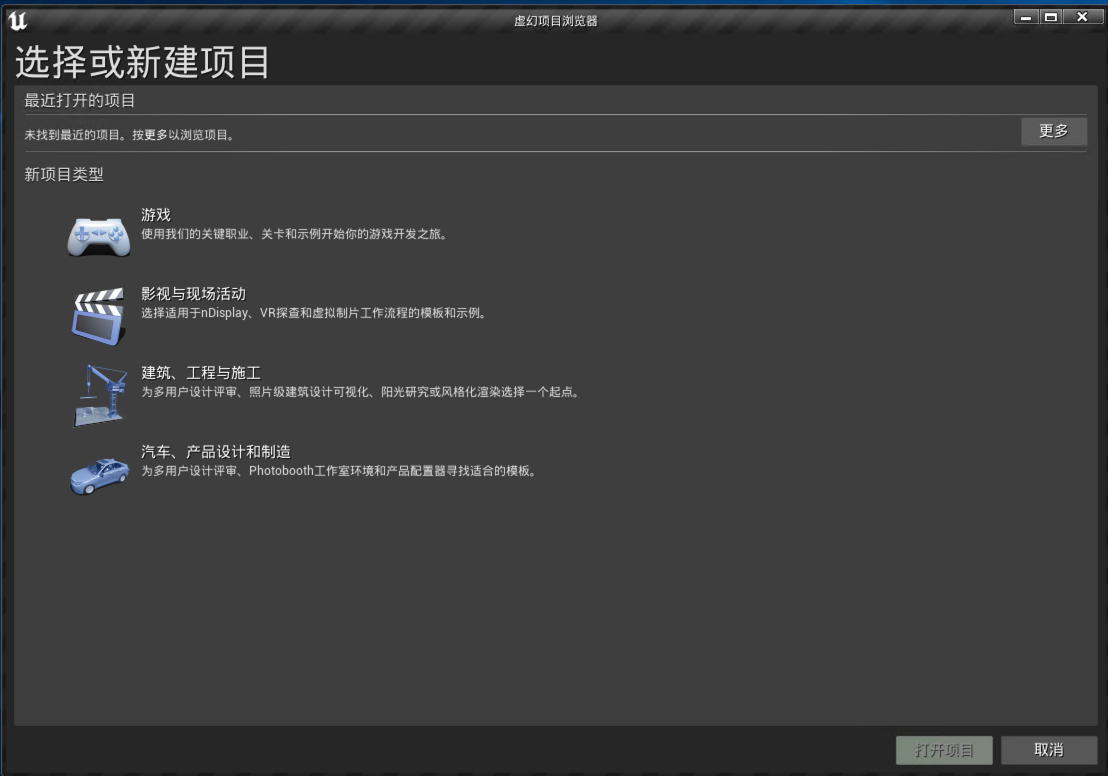
首先在Epic Game官网下载Epic Games Launche, 通过Launcher可以安装各个版本的Unreal Engine,我们这里安装的版本是4.27.2。
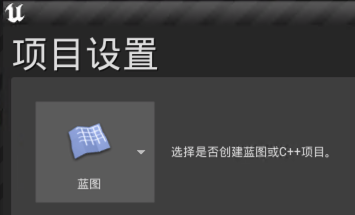
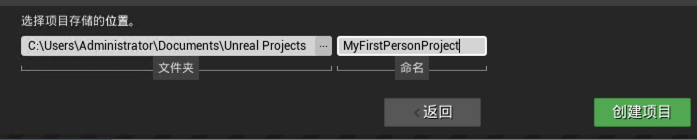
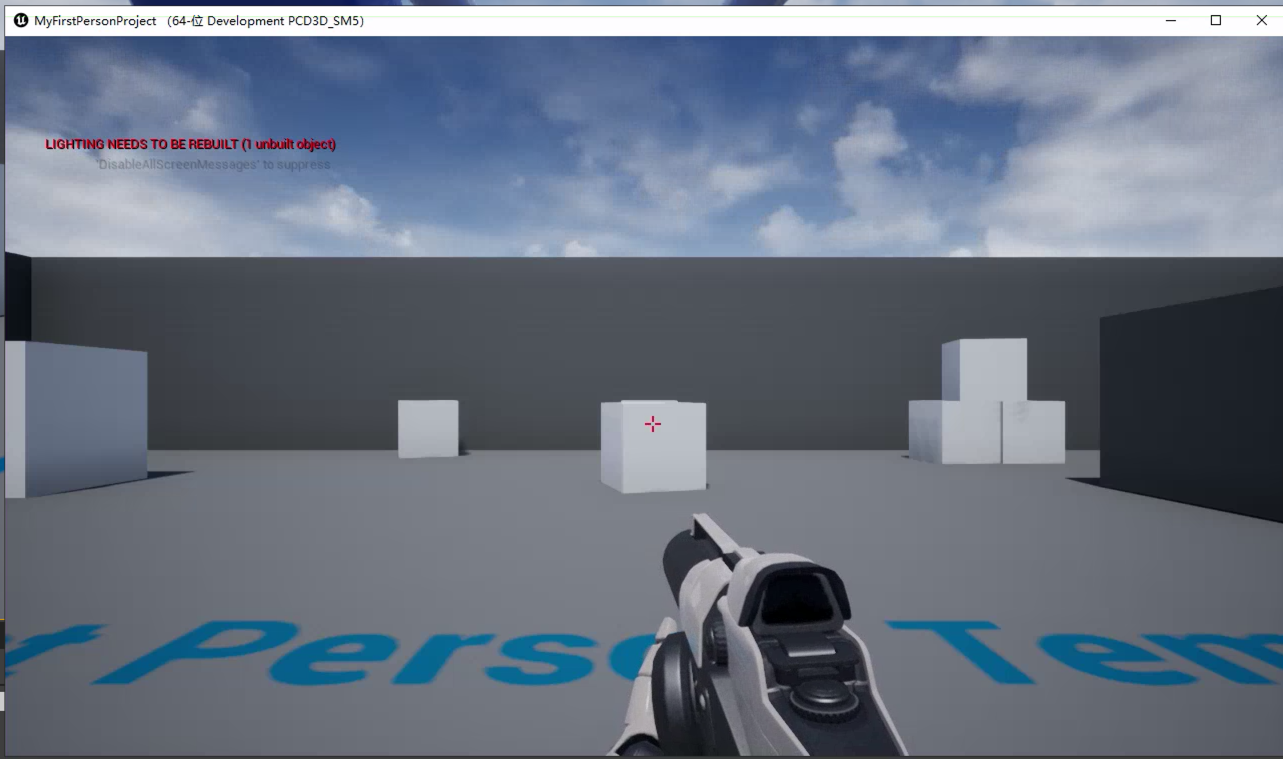
项目选择”游戏”, 模版选”“第一人称”, 取名为”MyFirstPersonProject” , 选择蓝图,创建该项目ws
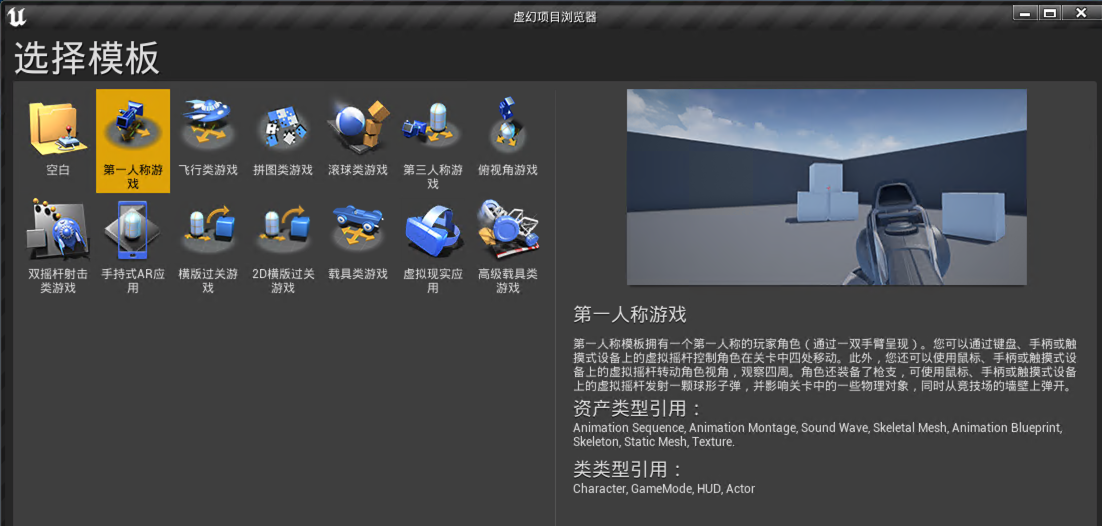
选择蓝图,取名为”MyFirstPersonProject” (请注意不要使用中文),创建项目即可
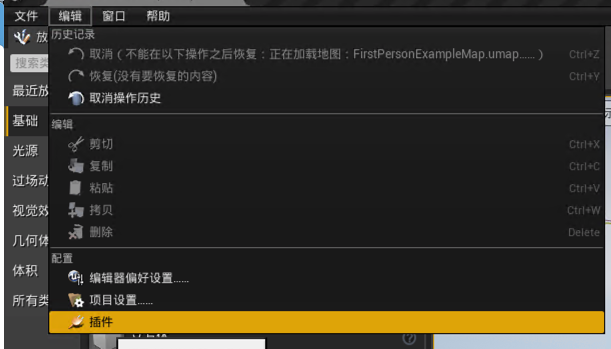
启用项目, 然后点击编辑>插件
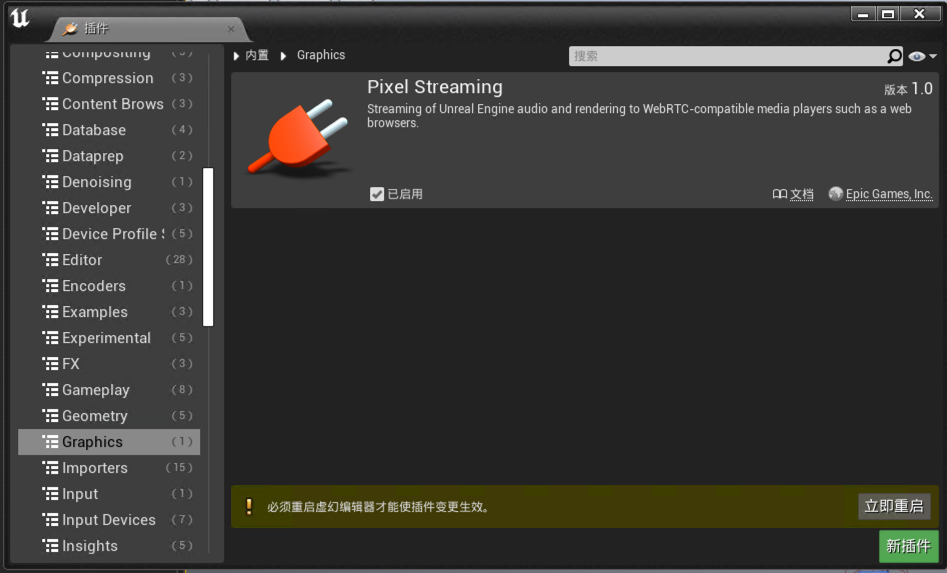
选择”Graphics” 启用Pixel Streaming 插件,并重启编辑器
测试
2. 在g4dn Linux EC2上编译演示项目并构建docker image
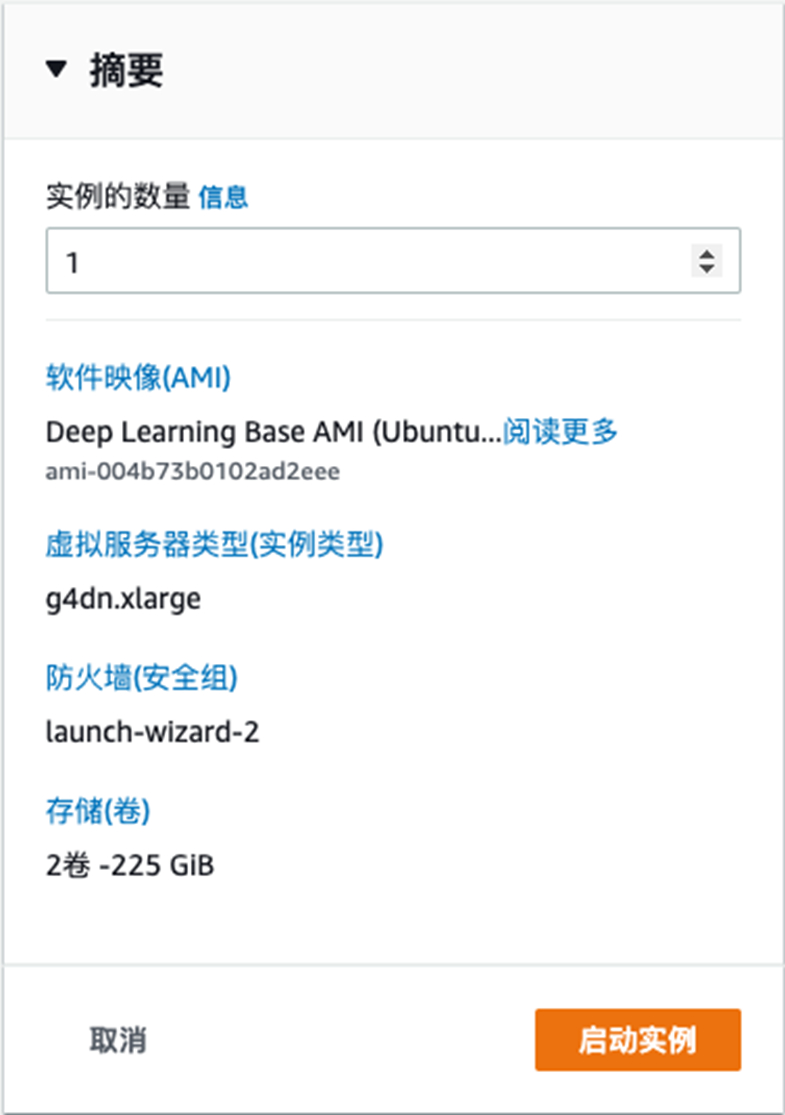
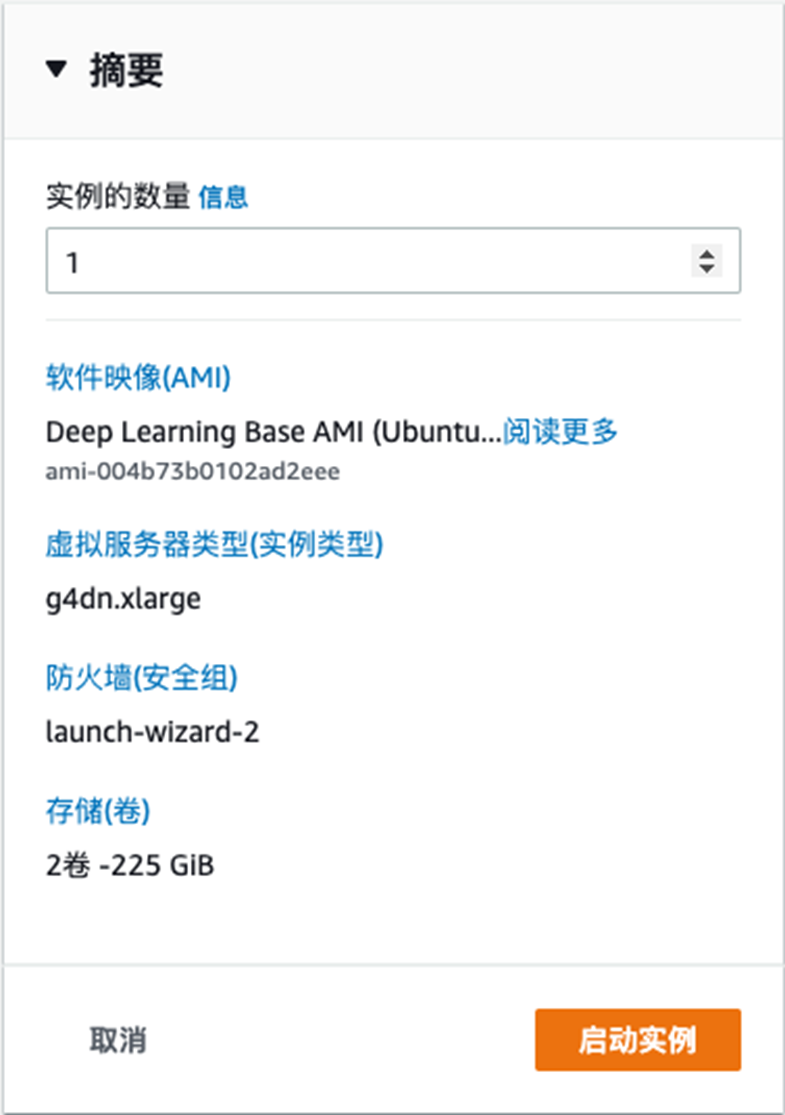
2.1 创建一台g4dn.xlarge Linux EC2实例
注意系统映像请选择Deep Learning Base AMI , 这样需要的Nvidia CUDA, Nvidia-Docker都已经自动安装好了

摘要如下:
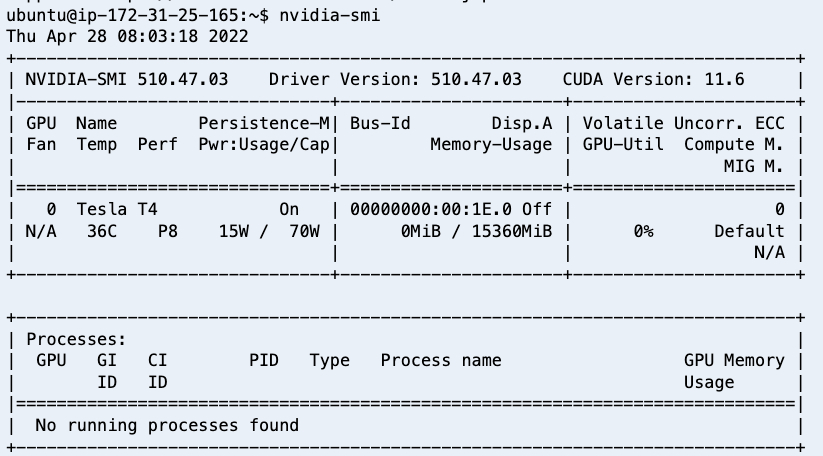
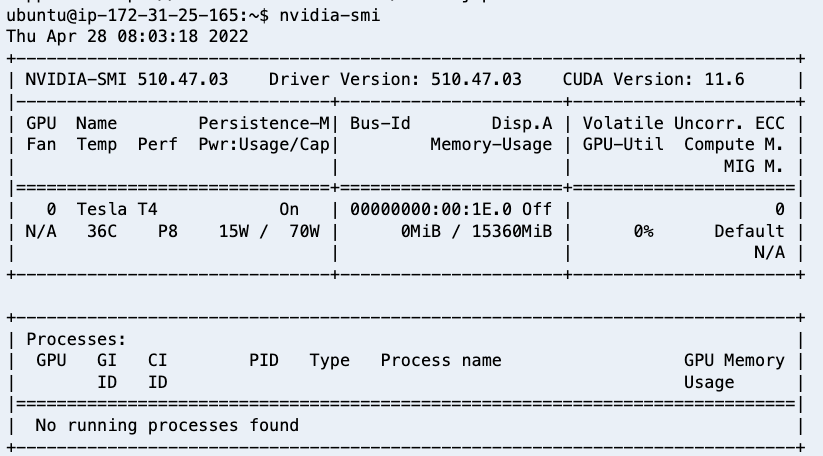
使用nivida-sim检查驱动
2.2 在Epic Games 网站上关联GitHub账号
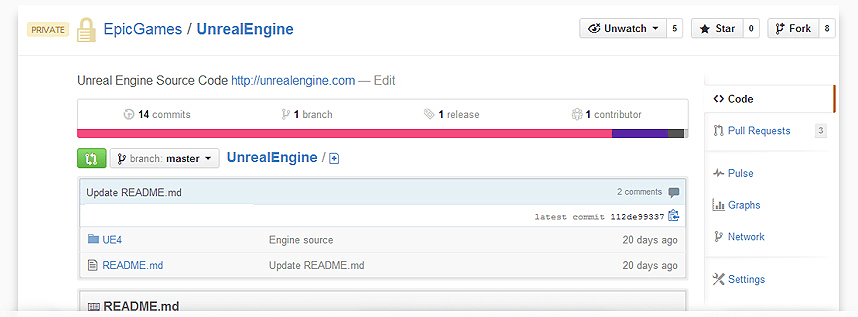
Epic Games 提供官方的基础镜像 ,但是需要使用者加入Epic Games github组织, 具体详细的操作方法请参考Epic Games 官方文档
登录到Epic Games 网站
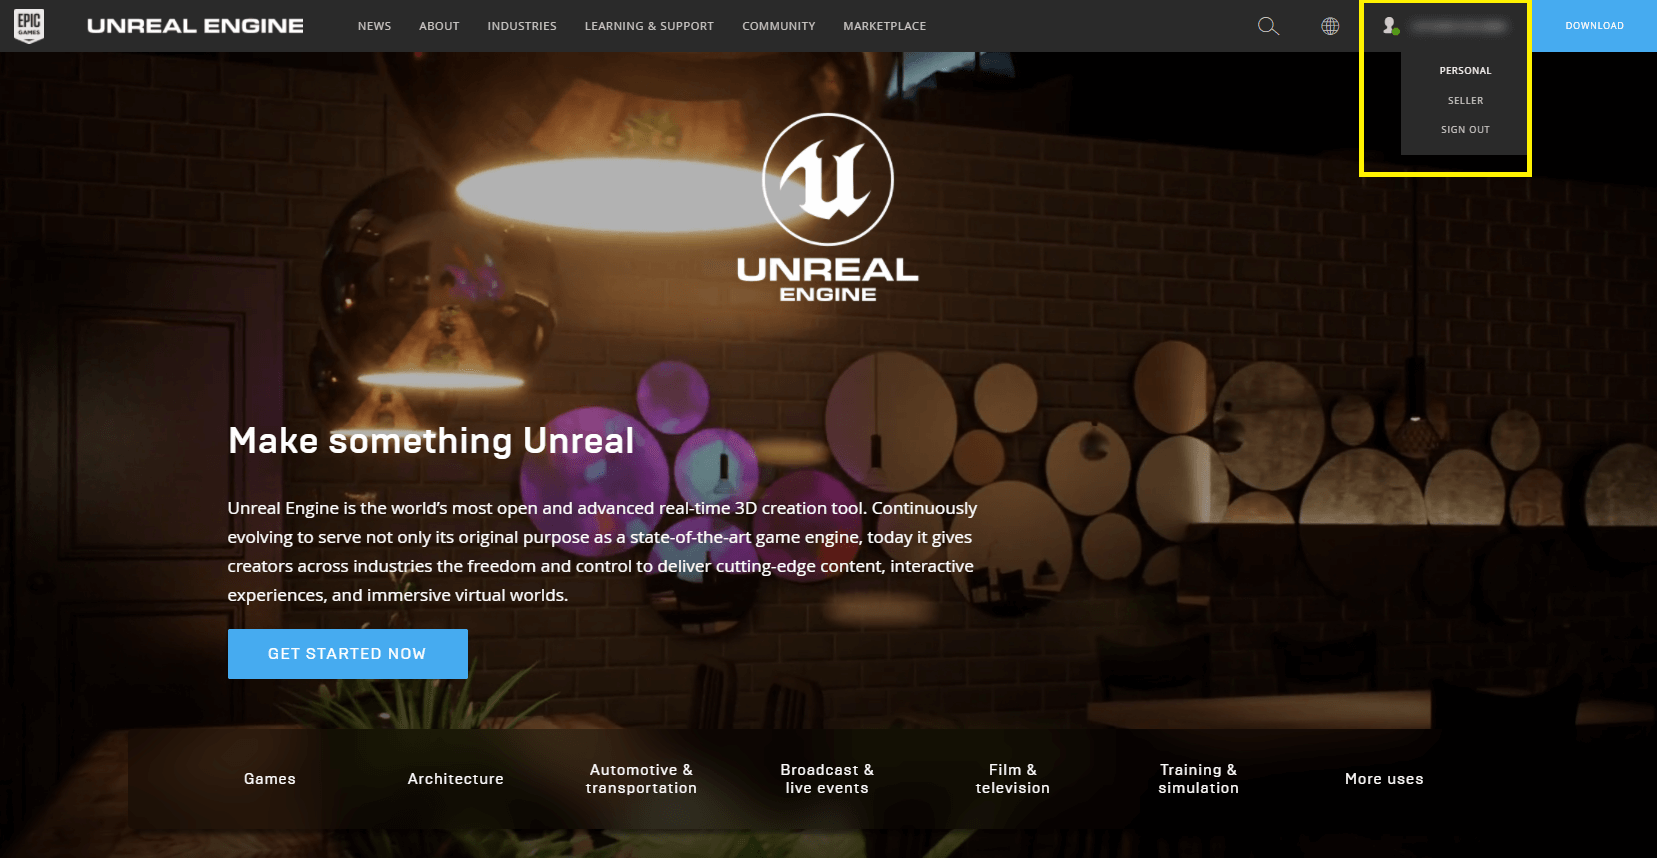
在Epic Games 网站关联你的github账号

成功后即可访问Epic Games 的私有仓库
2.3 编译演示项目、构建docker image
#使用github ACCESS_TOKEN登陆ghcr.io仓库
echo <github ACCESS_TOKEN> | docker login ghcr.io  -u <github 账号邮箱> --password-stdin

#测试是否可以正常访问Epic Games 基础container image
docker pull ghcr.io/epicgames/unreal-engine:dev-4.27
在g4dn EC2实例上克隆github 代码仓库,里面包含了Dockerfile, docker-compose.yml, tools.sh
git clone https://github.com/stevensu1977/UE4-PixelStreaming-Container.git
查看docker file
# ---------------------------------------------------------------------------
# Copyright (c) 2022 Su Wei/wsuam@amazon.com and/or its affiliates. All rights reserved.
# MIT License
# Permission is hereby granted, free of charge, to any person obtaining a copy
# of this software and associated documentation files (the "Software"), to deal
# in the Software without restriction, including without limitation the rights
# to use, copy, modify, merge, publish, distribute, sublicense, and/or sell
# copies of the Software, and to permit persons to whom the Software is
# furnished to do so, subject to the following conditions:
#
# The above copyright notice and this permission notice shall be included in all
# copies or substantial portions of the Software.
#
# THE SOFTWARE IS PROVIDED "AS IS", WITHOUT WARRANTY OF ANY KIND, EXPRESS OR
# IMPLIED, INCLUDING BUT NOT LIMITED TO THE WARRANTIES OF MERCHANTABILITY,
# FITNESS FOR A PARTICULAR PURPOSE AND NONINFRINGEMENT. IN NO EVENT SHALL THE
# AUTHORS OR COPYRIGHT HOLDERS BE LIABLE FOR ANY CLAIM, DAMAGES OR OTHER
# LIABILITY, WHETHER IN AN ACTION OF CONTRACT, TORT OR OTHERWISE, ARISING FROM,
# OUT OF OR IN CONNECTION WITH THE SOFTWARE OR THE USE OR OTHER DEALINGS IN THE
# SOFTWARE.
# ---------------------------------------------------------------------------

# Perform the build in an Unreal Engine container image that includes the Engine Tools and Pixel Streaming for Linux
FROM ghcr.io/epicgames/unreal-engine:dev-4.27 as builder

# Clone the source code for the example Unreal project
RUN mkdir /tmp/github
RUN git clone --progress --depth=1 'https://github.com/stevensu1977/UE4-PixelStreaming-demo.git' /tmp/github
RUN mv  /tmp/github/FirstPersonProject/*  /tmp/project


# Package the example Unreal project
RUN /home/ue4/UnrealEngine/Engine/Build/BatchFiles/RunUAT.sh BuildCookRun \
        -clientconfig=Development -serverconfig=Development \
        -project=/tmp/project/FirstPersonProject.uproject \
        -utf8output -nodebuginfo -allmaps -noP4 -cook -build -stage -prereqs -pak -archive \
        -archivedirectory=/tmp/project/dist \
        -platform=Linux

# Copy the packaged project into the Pixel Streaming runtime image
FROM ghcr.io/epicgames/unreal-engine:runtime-pixel-streaming
COPY --from=builder --chown=ue4:ue4 /tmp/project/dist/LinuxNoEditor /home/ue4/project


# Set the project as the container's entrypoint
ENTRYPOINT ["/home/ue4/project/FirstPersonProject.sh", "-RenderOffscreen", "-RenderOffscreen", "-AllowPixelStreamingCommands" ,"-PixelStreamingHideCursor" ,"-PixelStreamingWebRTCMaxFps=30", "-PixelStreamingWebRTCDisableReceiveAudio","-FullStdOutLogOutput", "-ForceRes", "-ResX=1920", "-ResY=1080"]
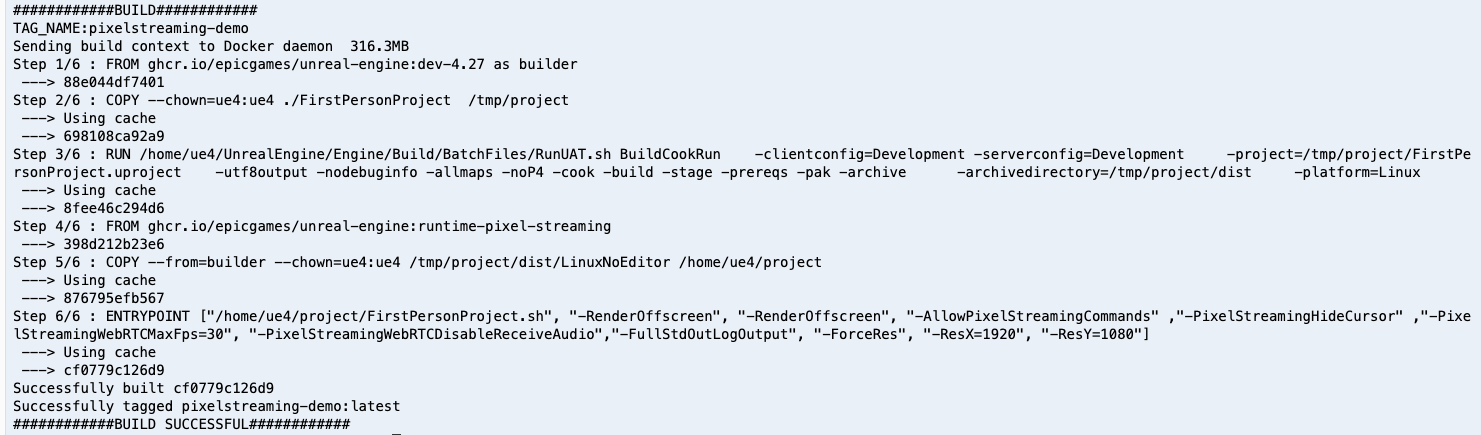
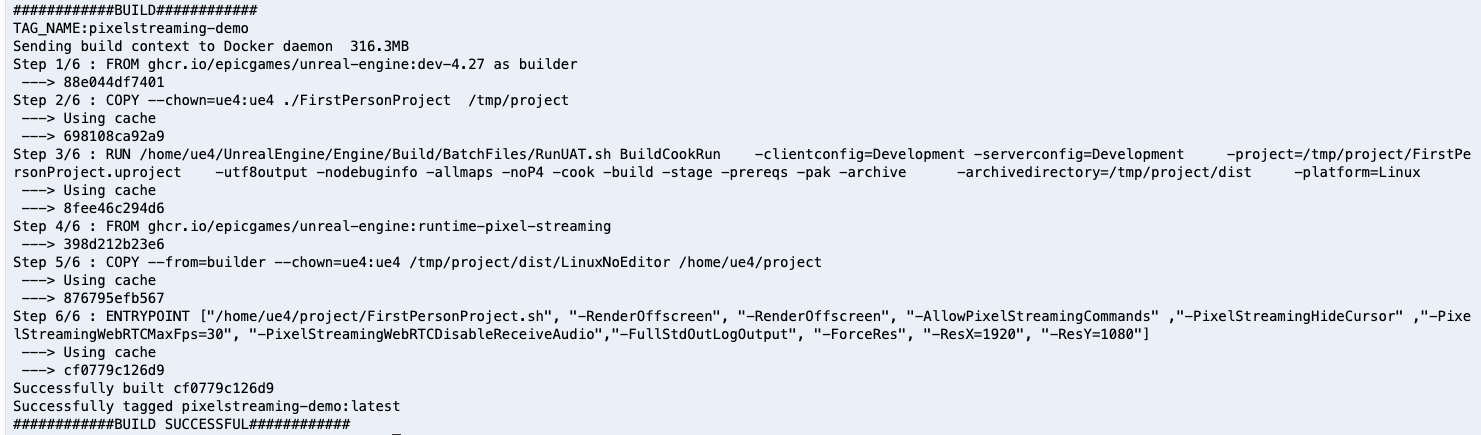
使用tools.sh 构建docker 镜像
#代码仓库提供了一个辅助工具tools.sh 也可以使用它来构建、启动、停止 docker-compose
#使用./tools build 脚本会生成一个”pixelstreaming-demo”的docker image.
./tools.sh build
3. 编写 docker-compose 文件
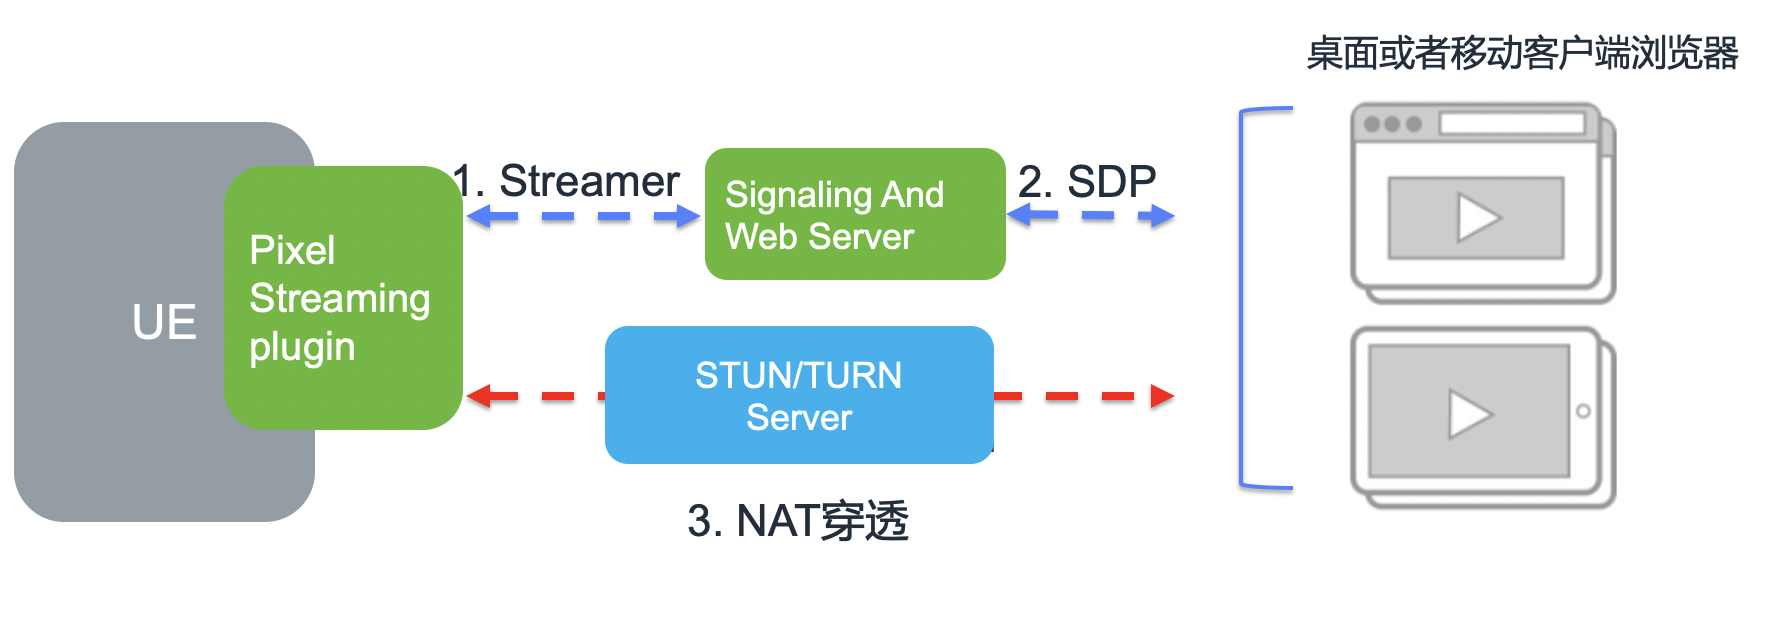
在步骤2我们成功的构建了演示项目的docker镜像 , 接下来我们会使用docker-compose 根据官方像素流送架构来编排TURN/STUN server, signalling server, 演示项目,实现一键启动。
Epic Games官方像素流送架构参考图:
3.1 docker-compose版本需要1.27以上才支持nvidia GPU ,首先安装docker-compose 1.29.2
sudo curl -L "https://github.com/docker/compose/releases/download/1.29.2/docker-compose-$(uname -s)-$(uname -m)" -o /usr/local/bin/docker-compose
查看代码仓库的docker-compose.yml
version: "3"
services:

  # The WebRTC TURN server (note that you will need TCP and UDP ports 3478 and 49152-65535 exposed for TURN relaying to function correctly)
  turnserver:
    image: "coturn/coturn:4.5.2"
    network_mode: "host"
    command: ["-a", "-v", "-n", "-u", "user:password", "-p", "${TURN_PORT}", "-r", "default-realm", "--no-dtls", "--no-tls"]

  # The Cirrus signalling server
  signalling:
    image: "ghcr.io/epicgames/pixel-streaming-signalling-server:4.27"
    network_mode: "host"
    command:
      - "--publicIp=${PUBLIC_IP}"
      - "--HttpPort=${HTTP_PORT}"
      - "--StreamerPort=${STREAMER_PORT}"
      - >-
        --peerConnectionOptions={
            "iceServers":[
              {
                "urls": ["turn:${PUBLIC_IP}:${TURN_PORT}"],
                "username": "user",
                "credential": "password"
              }
            ]
            ${EXTRA_PEERCONNECTION_OPTIONS}
          }
    depends_on:
      - turnserver

  # The Pixel Streaming demo project
  project:
    image: "pixelstreaming-demo"
    network_mode: "host"
    command:
      - "-PixelStreamingURL=ws://127.0.0.1:${STREAMER_PORT}"

    depends_on:
      - signalling

    deploy:
      resources:
        reservations:
          devices:
          - driver: nvidia
            capabilities: [gpu]
            count: 1
4. 测试
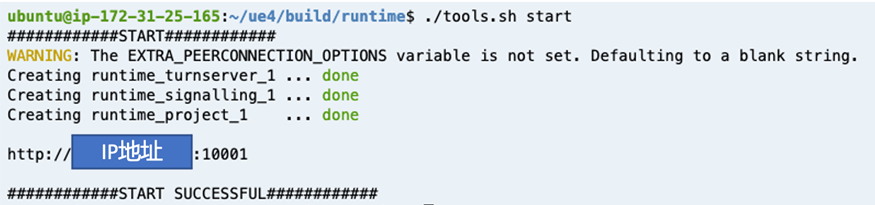
通过代码仓库的tools.sh 可以启动多个监听不同端口的演示项目
启动演示项目,命令会输出访问端口
./tools.sh start
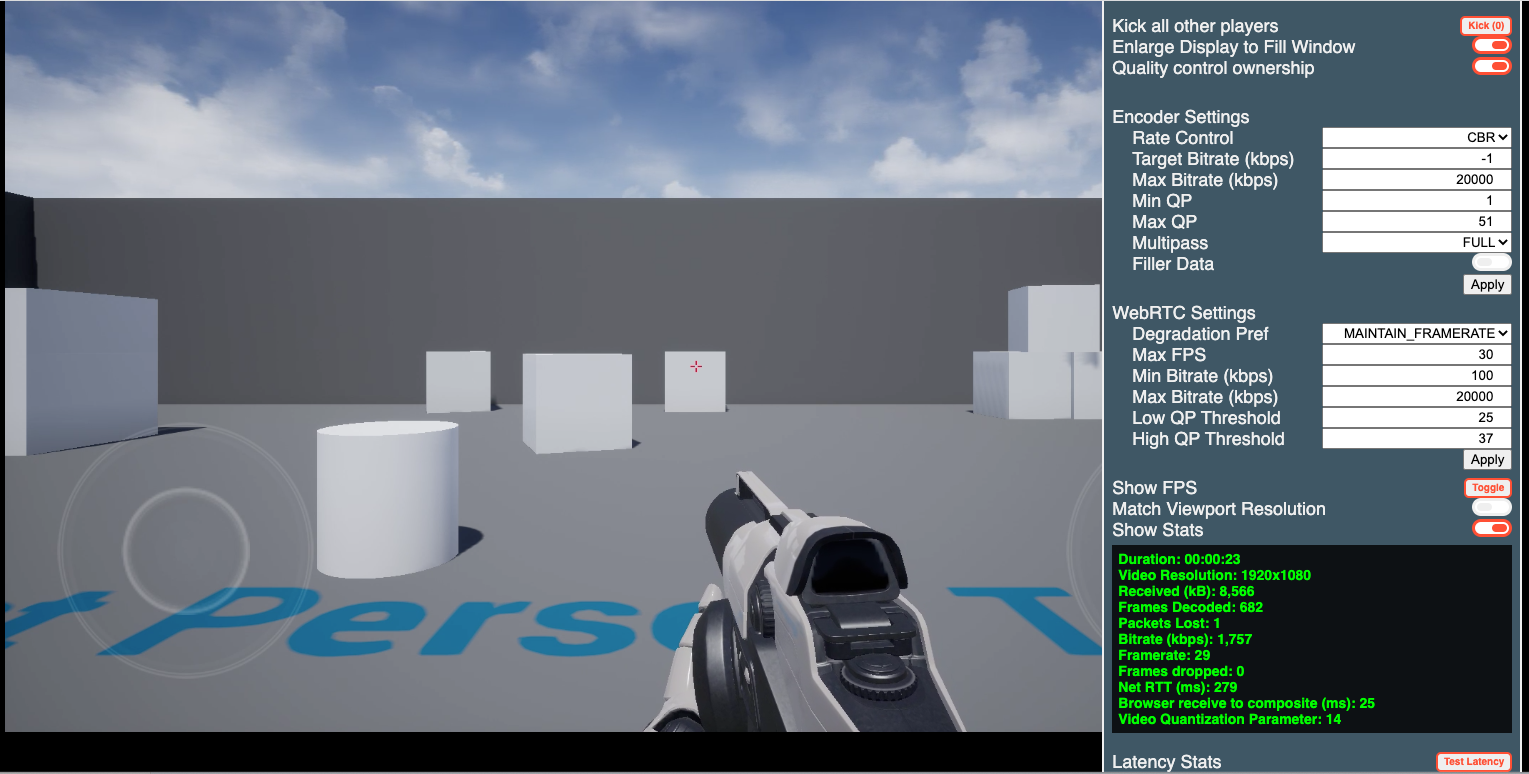
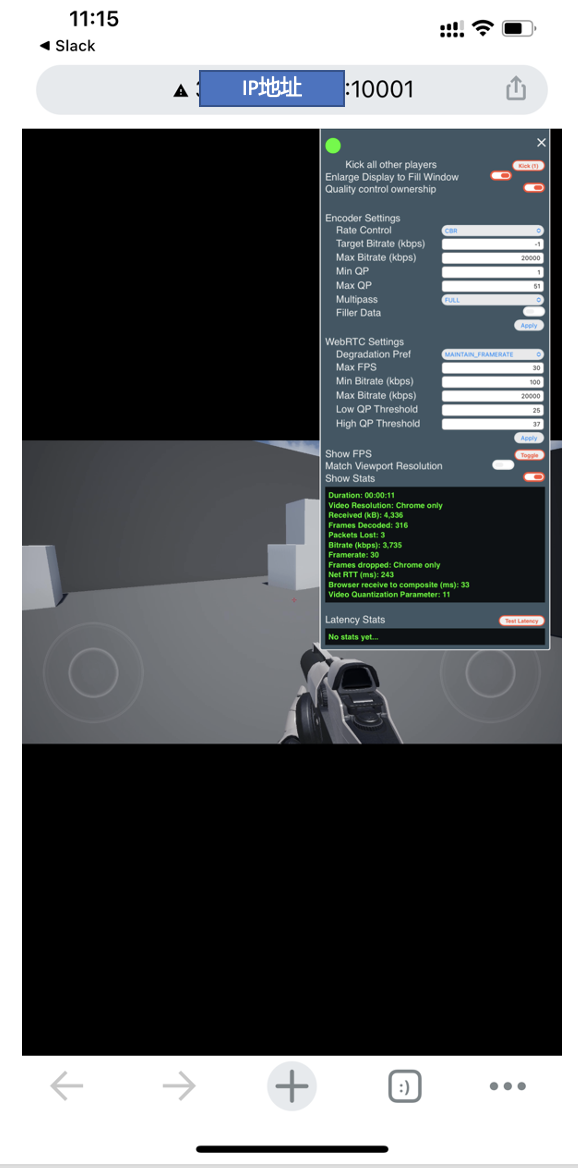
通过电脑浏览器和手机可以正常访问
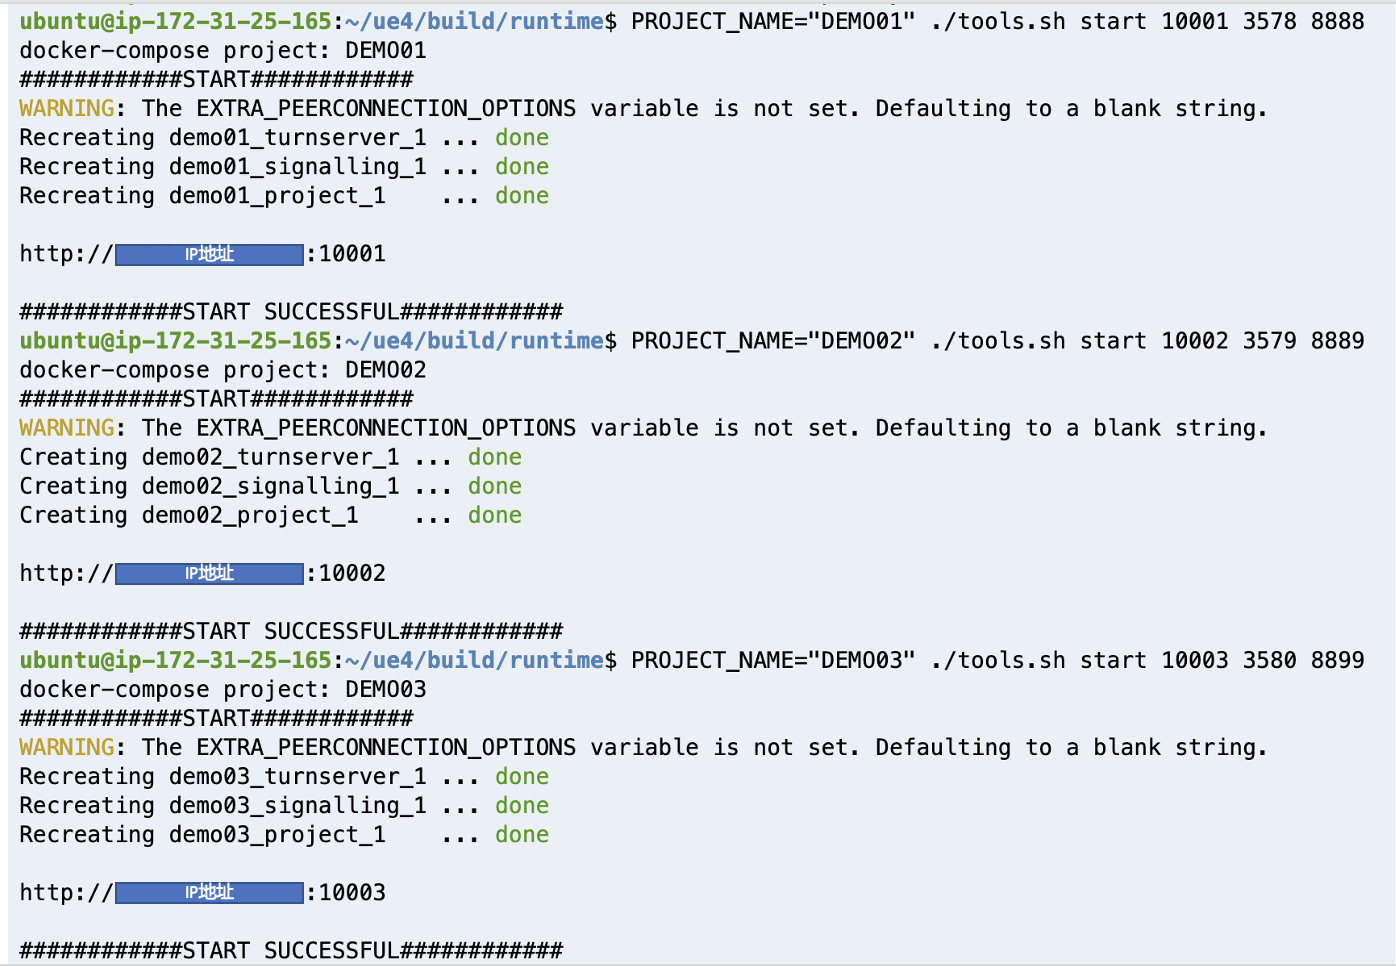
启动多个游戏
PROJECT_NAME="DEMO01" ./tools.sh start 10001 3578 8888
PROJECT_NAME="DEMO02" ./tools.sh start 10002 3579 8889
PROJECT_NAME="DEMO03" ./tools.sh start 10003 3580 8899
如果启动成功会出现以下信息,通过显示的地址/端口使用浏览器访问即可

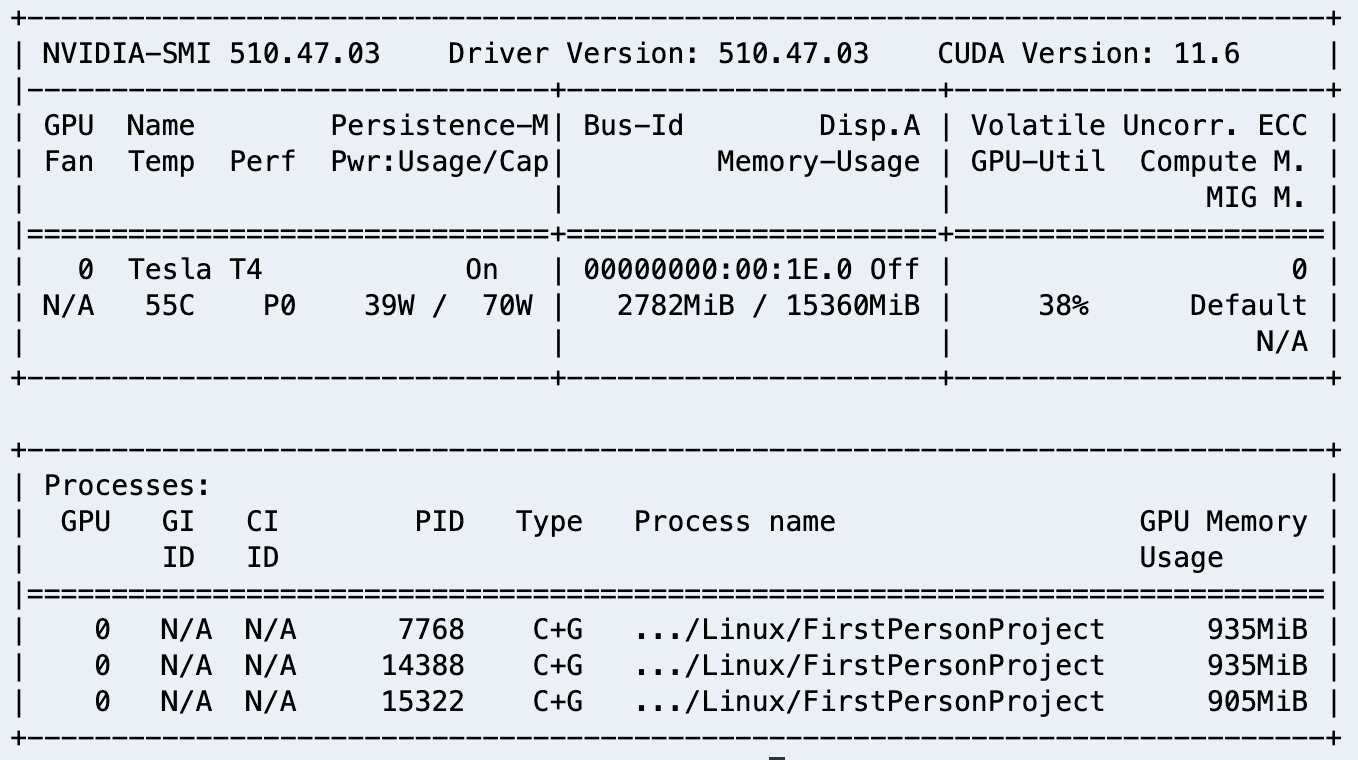
使用nvidia-smi查看GPU信息, 会显示3个进程已经共享GPU
停止游戏演示
#单游戏实例
./tools.sh stop

#多游戏实例
PROJECT_NAME="DEMO01" ./tools.sh stop
PROJECT_NAME="DEMO02" ./tools.sh stop
PROJECT_NAME="DEMO03" ./tools.sh stop
5.总结
本文详细地介绍了如何在亚马逊云上使用EC2 g4dn 实例实现UE4项目的编译,打包,并且通过docker-compose 进行本地化部署,在下一个章节我们将会介绍如何在Amazon Elastic Kubernetes Service(EKS)上部署UE4像素流推送平台。
参考文档、资源
本篇作者