Overview
In this step-by-step tutorial, you will learn how to use Amazon Transcribe to create a text transcript of a recorded audio file using the AWS Management Console. Amazon Transcribe is an automatic speech recognition (ASR) service that makes it easy for developers to add speech-to-text capability to their applications. Using the Amazon Transcribe API, you can analyze audio files stored in Amazon Simple Storage Service (Amazon S3) and have the service return a text file of the transcribed speech.
As a developer, creating transcriptions of customer service calls or generating subtitles on audio and video content are common challenges requiring speech-to-text capabilities. This challenge could be solved by building your own machine learning models from scratch. However, this option is time-intensive, expensive, and requires machine learning expertise. Instead of taking the difficult route, you can use Amazon Transcribe, a pre-trained and fully managed service, which provides fast and high-quality transcriptions.
In this tutorial you will download a sample audio file then upload it to an Amazon S3 bucket that you will create. Then you will use Amazon Transcribe to create a transcript from the sample audio clip using the AWS Management Console.
This tutorial is a demo of the functionality that is available when using the AWS CLI or the Amazon Transcribe API. For production or proof of concept implementations, we recommend using these programmatic interfaces rather than the Amazon Transcribe Console.
AWS experience
Beginner
Time to complete
10 minutes
Cost to complete
Free Tier eligible
Requires
- AWS Account
- Recommended browser: The latest version of Chrome or Firefox
[**]Accounts created within the past 24 hours might not yet have access to the services required for this tutorial.
Last updated
July 5, 2022
Tutorial
Step 1: Create an S3 bucket and upload sample audio file
In this step, you will download a sample audio file, create an S3 bucket, then upload the sample file to the S3 bucket. Amazon Transcribe accesses audio and video files for transcription exclusively from S3 buckets.
a. To download the sample audio file to transcribe later in the tutorial, choose transcribe-sample.mp3.
b. Select AWS Management Console to open the console in a new browser window, so you can keep this step-by-step guide open. When the screen loads, enter your user name and password to get started. Using the Region drop down, select a Region that has Amazon Transcribe.

c. Type S3 in the search bar and select S3 to open the console.

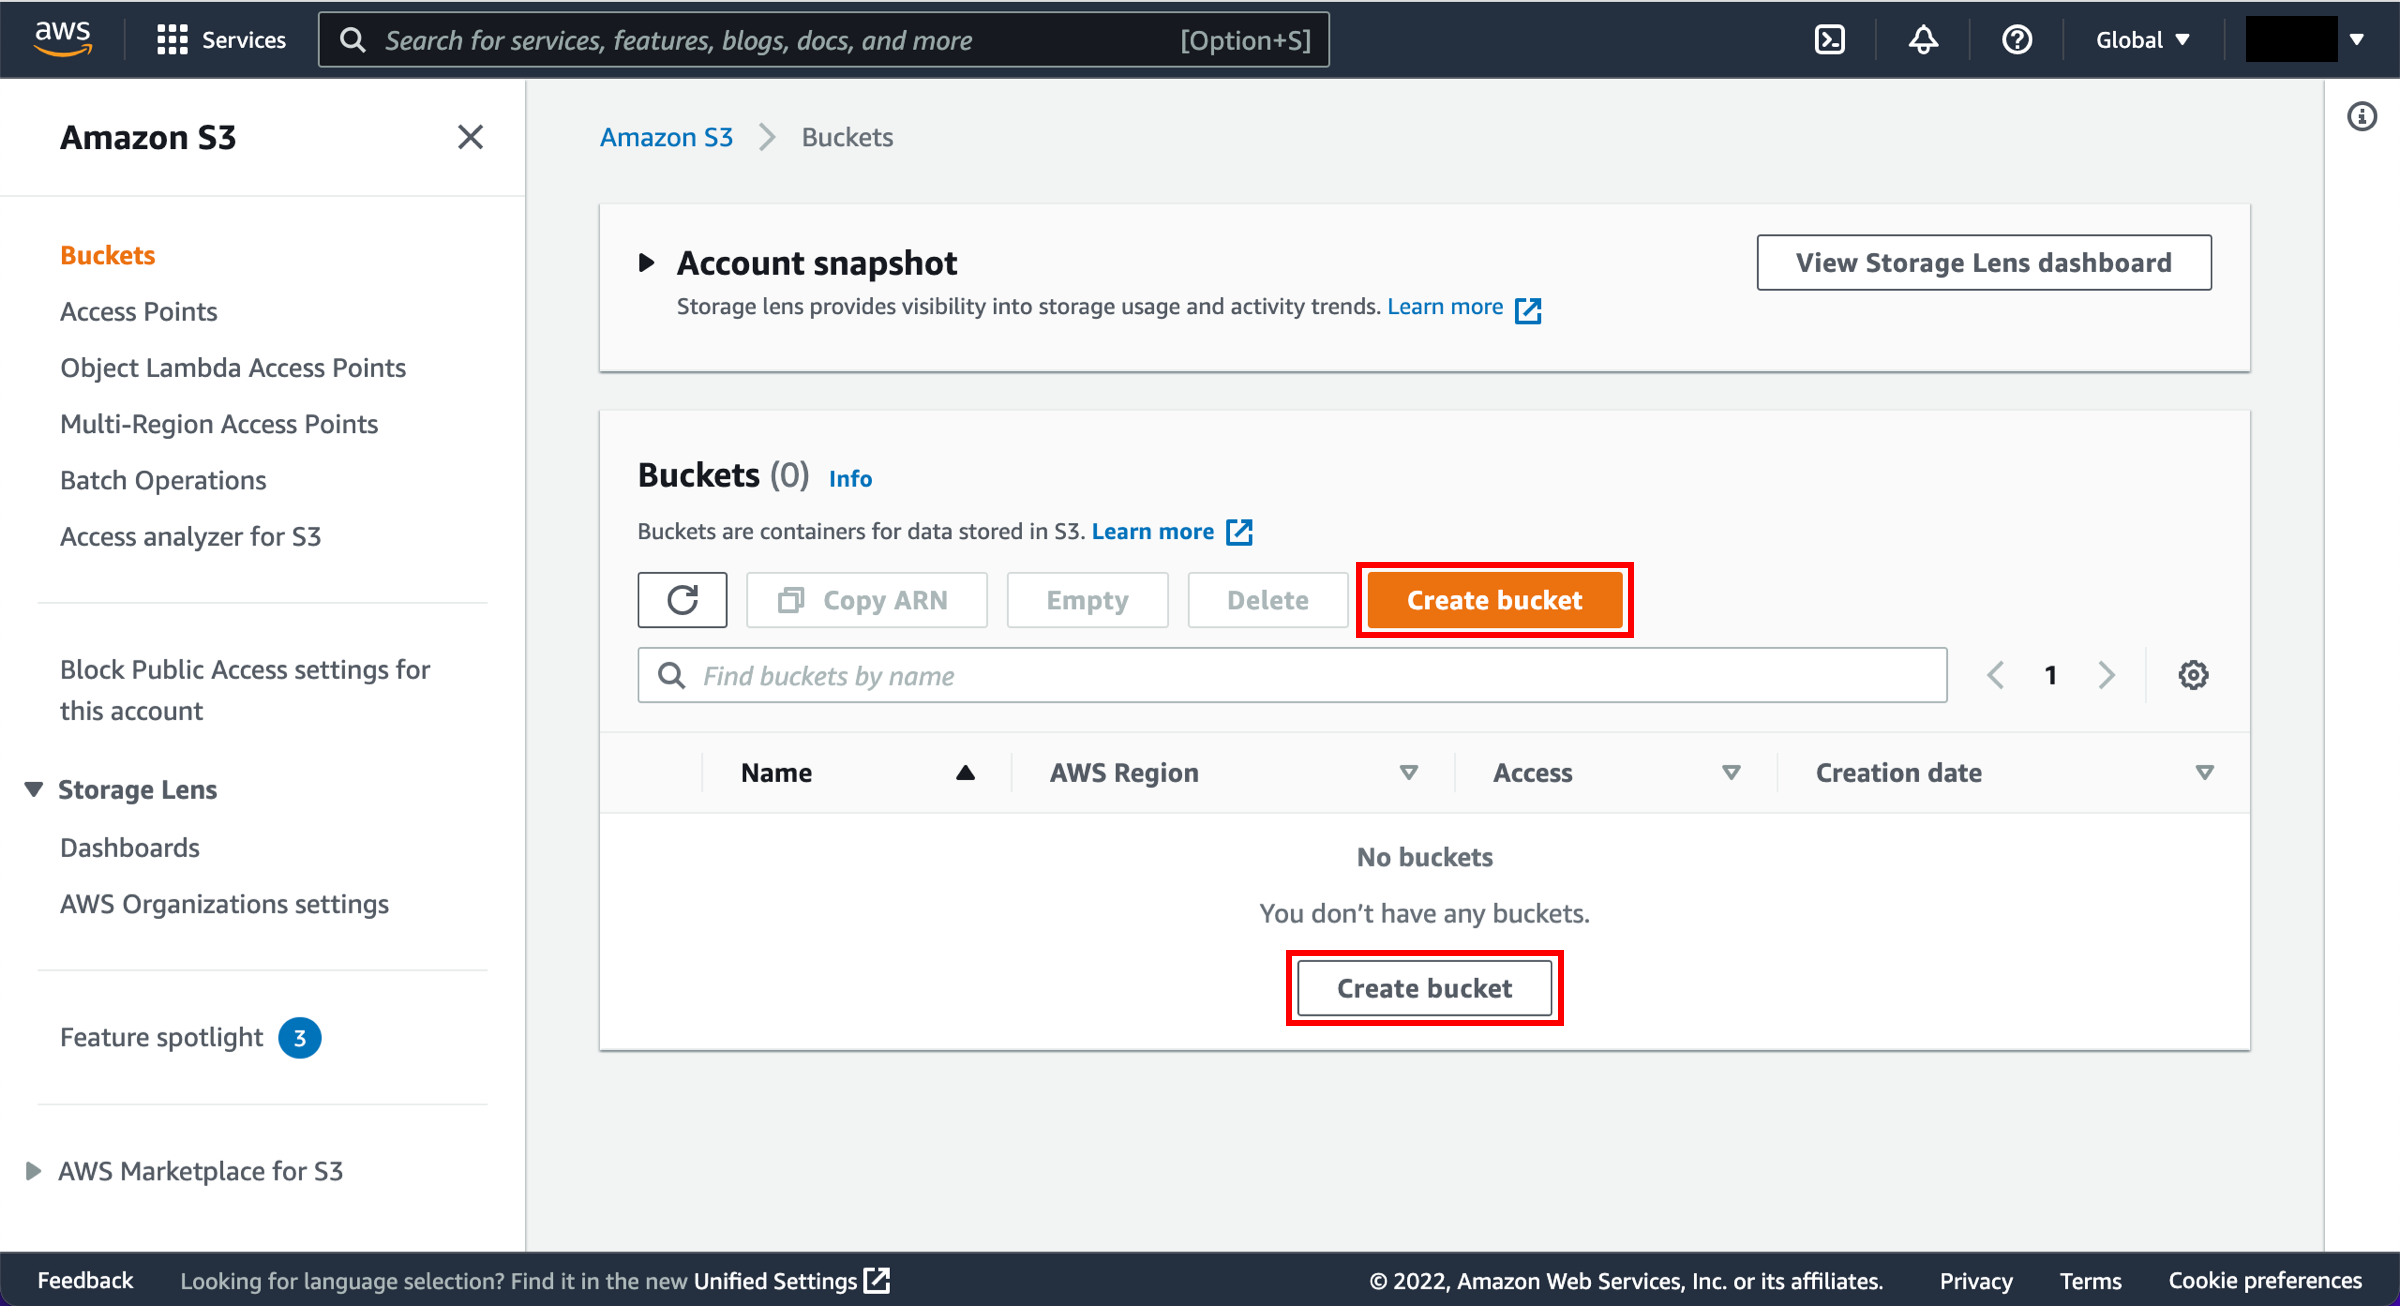
d. In the S3 dashboard choose Create bucket.
If this is the first time you have created a bucket, you will see a screen that looks like the image pictured here.
If you have already created S3 buckets, your S3 dashboard will list all the buckets you have created.
e. Enter a unique bucket name. Bucket names must be unique across all existing bucket names in Amazon S3. There are a number of other restrictions on S3 bucket names as well. Then select a Region to create your bucket in.

f. You have the ability to set up permissions for your S3 bucket. Leave the default values and scroll down.

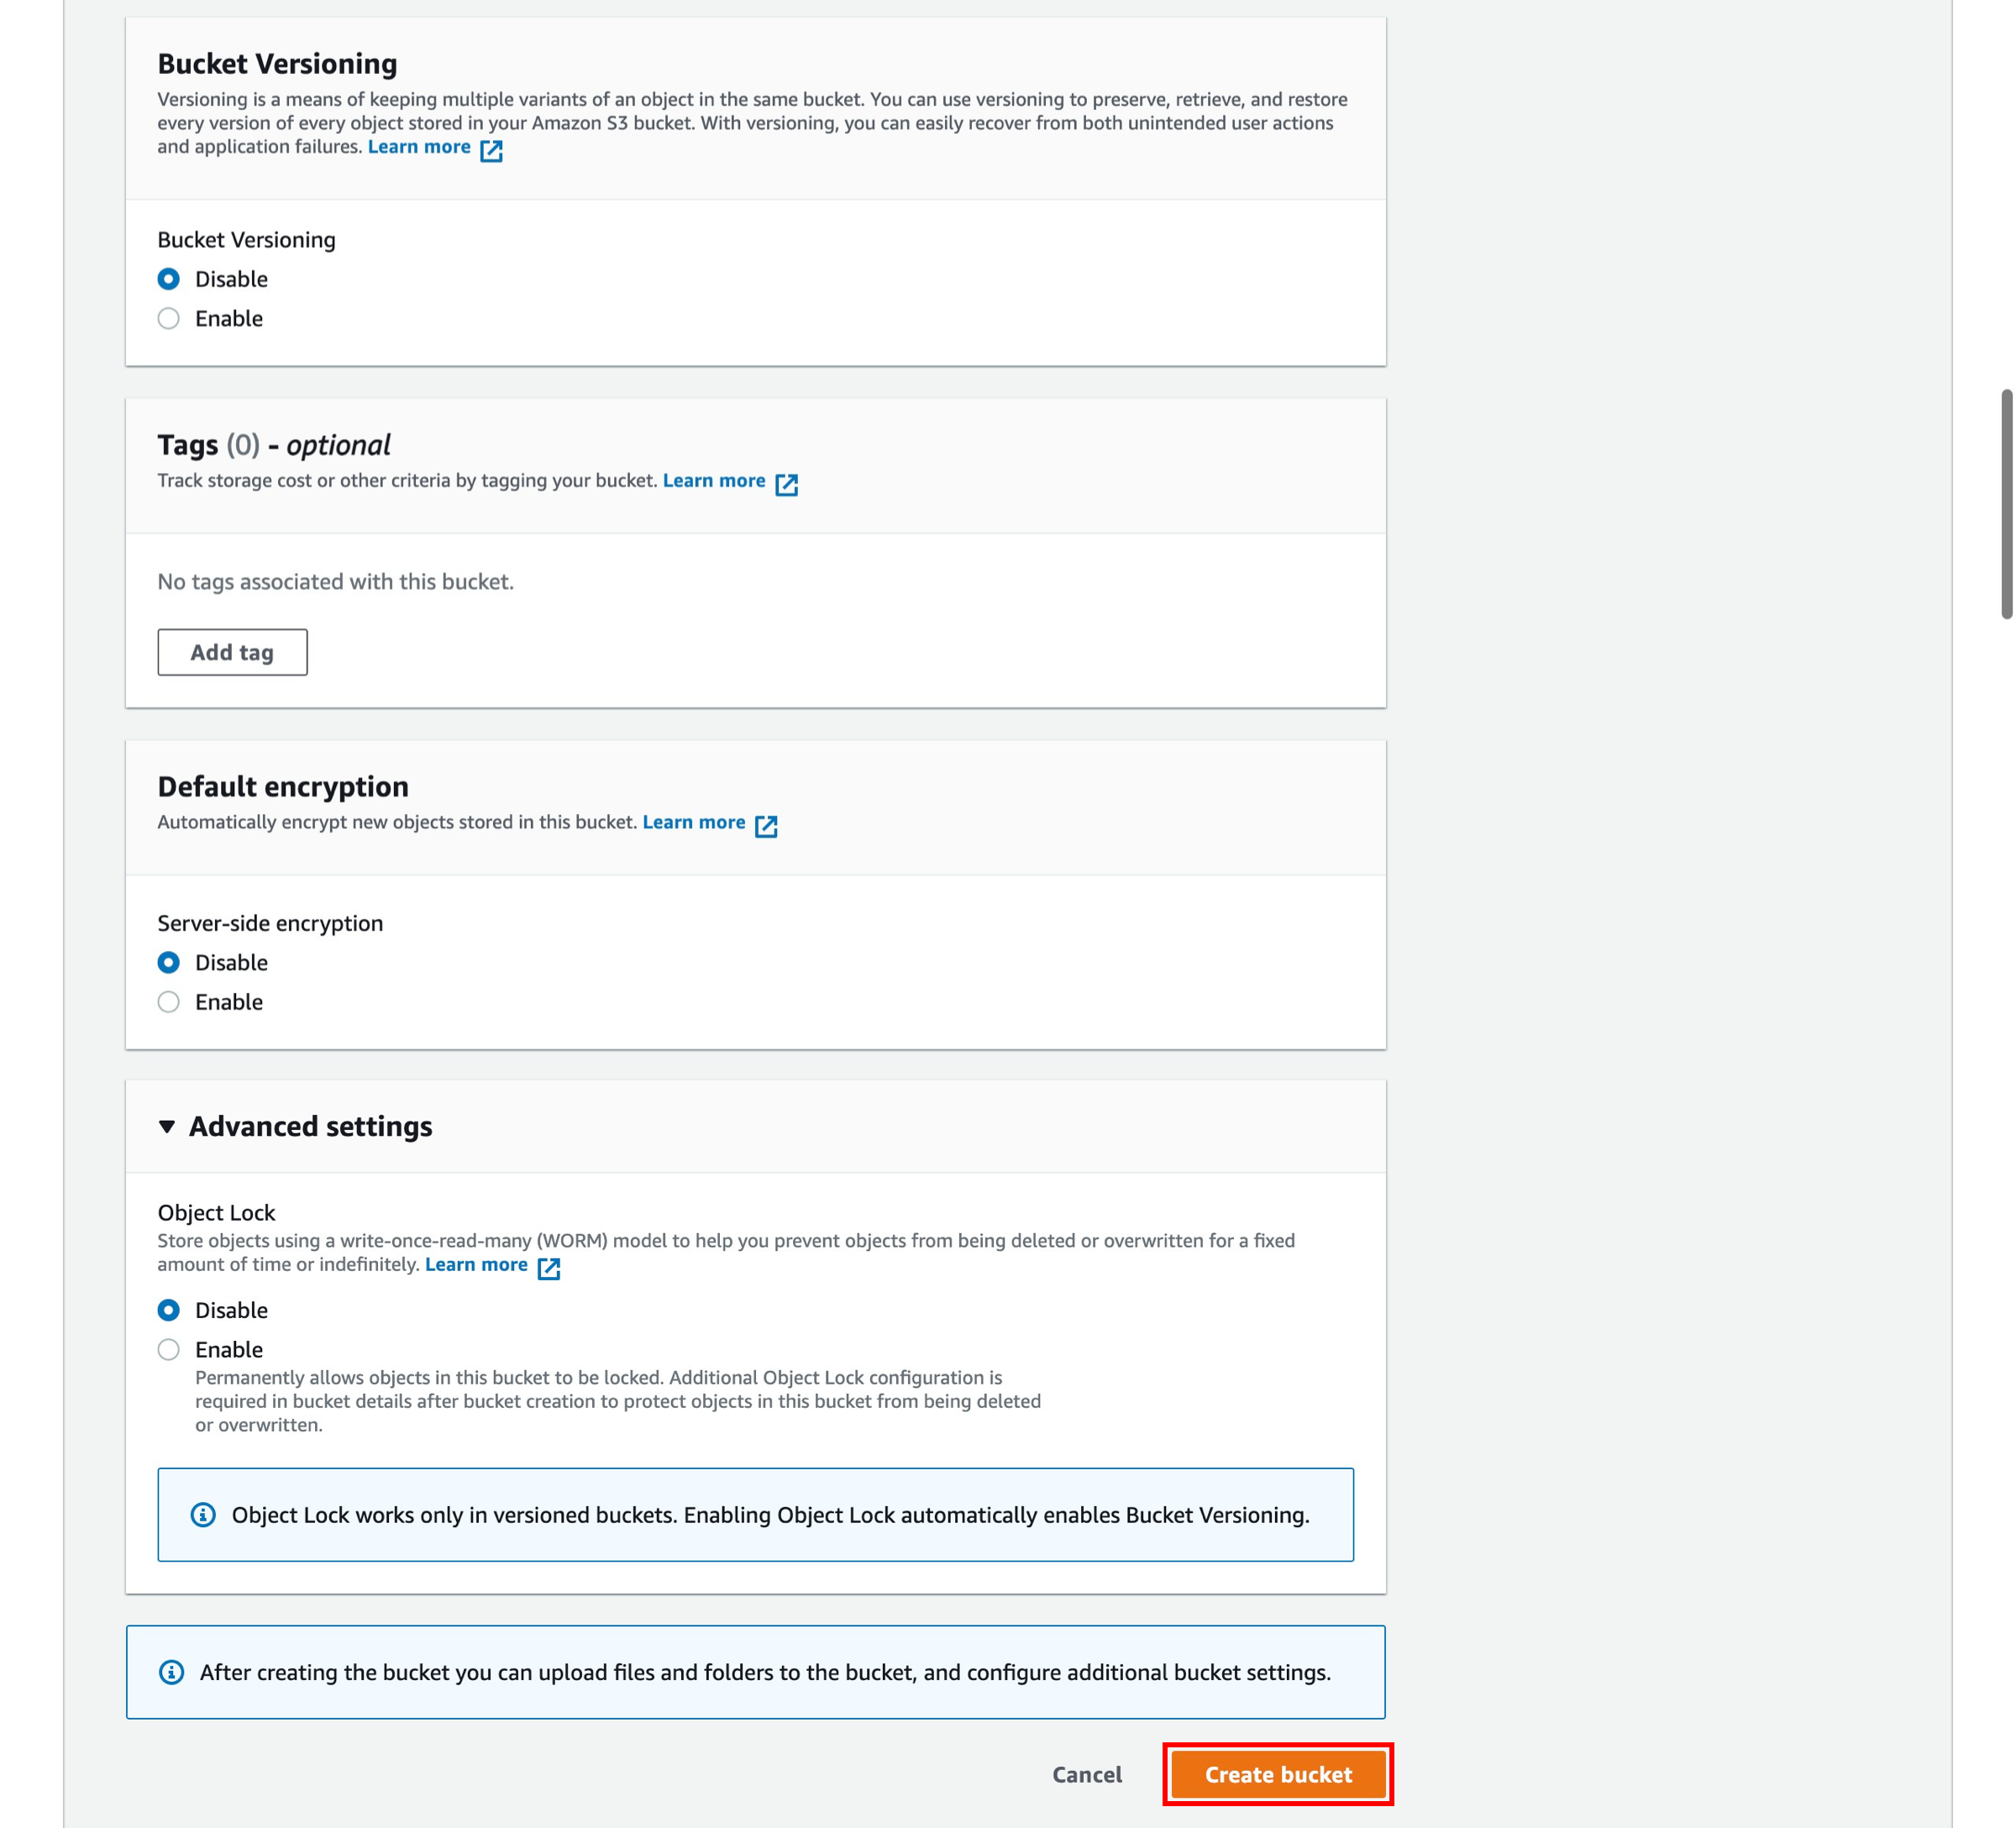
g. You have many useful options for your S3 bucket including Versioning, Server Access Logging, Tags, Object-level Logging, and Default Encryption. We won't enable these features for this tutorial.
Select Create bucket.
h. You will see your new bucket in the S3 console. Click on your bucket’s name to navigate to the bucket. Your bucket name will not be the same as pictured in the screenshot to the right.

i. You are in your bucket’s home page.
Select Upload.

j. Upload the transcribe-sample.mp3 file by selecting Add files and selecting the file or dragging the transcribe-sample.mp3 file to the upload box.
Select Upload.

k. On successful upload, select the transcribe-sample.mp3 file in your bucket. A file detail page will be displayed for the transcribe-sample.mp3 file. Copy the S3 URI link to the file and save it for use later in the tutorial.

Step 2: Create transcription job
In this step, you will create and run a transcription job using the Amazon Transcribe console.
a. From the top menu bar, select Services then begin typing Transcribe in the search bar and select Amazon Transcribe to open the service console.

b. On the Amazon Transcribe console main page, open the navigation pane and click Transcription jobs.

c. On the Transcription jobs page, click Create job.

d. On the Create transcription job page, in the Name field, type sample-transcription-job.
Leave the default Language as English.
Leave the default Model type as General model.
In the Input file location on S3 field, paste the link to the sample file in your S3 bucket. The link to your sample file will be different than the one shown in the screenshot to the right.
You can use the Custom vocabulary feature to help Amazon Translate recognize words and phrases that are specific to your application, such as a non-English name like Etienne. You won't use this feature in this tutorial.

e. Leave the default Output data location type as Service-managed S3 bucket.
Amazon Transcribe supports WebVTT (VTT) and SubRip (SRT) file types for subtitles. In the Subtitle file format field, you can choose either or both file types for output. If you select both types, you get two files that are exported to the same S3 bucket. Neither format is used in this tutorial.
Select Next.

f. You can configure additional audio, content, and custom vocabulary settings on the Configure job page.
For this tutorial, leave the default choices and select Create job.
.13df426a2f2338b329d55131e3805f9651202613.png)
Step 3: Review transcription results
In this step, you will learn how to check on the progress and review the results of your transcription job.
a. After you click the Create job button, you will be taken to the Transcription jobs screen. It will show the status of sample-transcription-job. The status can be In progress, Complete, or Failed.
When the status is Complete, click on the sample-transcription-job link in the Name column to view the transcription results.

b. Next you will see the sample-transcription-job details. Scroll down to the Transcription panel to view the transcription job output. In the JSON pane you can view the transcription results as it would be returned from the Transcribe API or AWS CLI.

Step 4: Clean up
In this step, you will delete the sample file from your S3 bucket to avoid unnecessary charges.
a. In this upper navigation menu, begin typing S3 in the search bar and select S3 to open the console.
b. Scroll through your S3 buckets and find the bucket that you created earlier in this tutorial. Click on this bucket name to view the contents of the bucket. Your bucket name will be different in the screenshot to the right.
.b6f09dc4ca513e4a2b614dbd799754fca8712bb0.png)
c. Select the transcribe-sample.mp3 file contained within your bucket and select Delete. Confirm the deletion.

Conclusion
As you have seen in this tutorial, Amazon Transcribe enables voice to text at scale. Use Amazon Transcribe for a wide range of audio or videos files, such as customer service calls, business meetings, broadcast TV, and on-demand videos.
Next Steps
Learn to Translate Text at Scale
Get Started with the Amazon Transcribe API and CLI
Explore Amazon Comprehend