概述
Amazon EKS 是一项托管的 Kubernetes 服务,且经过认证与 Kubernetes 一致,因此上游 Kubernetes 上运行的现有应用程序可与 Amazon EKS 兼容。出于其安全性、可靠性和可扩展性,在各个行业和领域,EKS 是运行 Kubernetes 的最佳平台。
我们看到在医药行业和自动驾驶领域利用 EKS + Spot 的组合方案去做海量的数据处理计算任务,他们的特点就是利用 EKS 集群 Spot 计算节点做任务处理,并且 EKS 的工作节点不需要常驻,每次调度的计算任务量级巨大。本文就是针对类似场景,提供通过预置任务容器 Image 到 EKS Node Custom AMI 中,利用预置容器 Image 的 AMI 在每次构建海量任务时创建工作节点,避免数千或数万任务调度时,相同的 Image 被重复拉取,尤其 Image 的 Size 很大的情况下会消耗额外的计算时长。
架构示意图
此方案基于Amazon EKS Custom AMI的开源项目,通过修改定制脚本,拉取保存在ECR镜像仓库中的Image,利用 Packer 工具构建 EKS Worker Nodes AMI,使用 eklctl 工具在EKS集群中创建预置了 Image 的 Node Groups。

环境搭建
部署 EKS Custom AMI 构建环境
首先需要准备一台 EC2 实例,具体流程可以参考 如何创建用于 Amazon EKS 的自定义 Amazon Linux AMI,以下会描述简要流程
# 安装 HashiCorp Packer 工具
sudo yum install -y yum-utils
sudo yum-config-manager --add-repo https://rpm.releases.hashicorp.com/AmazonLinux/hashicorp.repo
sudo yum -y install packer

packer --version
1.6.6
# 安装 Git、Docker、更新 AWS Cli 和安装 eksctl
sudo yum install git -y
sudo yum install docker -y
sudo systemctl start docker

curl "https://awscli.amazonaws.com/awscli-exe-linux-x86_64.zip" -o "awscliv2.zip"
unzip awscliv2.zip
sudo ./aws/install
. ~/.bash_profile

aws –version

curl --silent --location "https://github.com/weaveworks/eksctl/releases/latest/download/eksctl_$(uname -s)_amd64.tar.gz" | tar xz -C /tmp
sudo mv -v /tmp/eksctl /usr/local/bin
# Clone Amazon Custom AMI git
cd /home/ec2-user/
git clone https://github.com/awslabs/amazon-eks-ami
准备任务 Image
# 准备 Dockerfile,构建 Demo Image
$ touch Dockerfile
$ vim Dockerfile
添加如下内容:
FROM ubuntu:18.04

# Install dependencies
RUN apt-get update && \
 apt-get -y install apache2

# Install apache and write hello world message
RUN echo 'Hello World!' > /var/www/html/index.html

# Configure apache
RUN echo '. /etc/apache2/envvars' > /root/run_apache.sh && \
 echo 'mkdir -p /var/run/apache2' >> /root/run_apache.sh && \
 echo 'mkdir -p /var/lock/apache2' >> /root/run_apache.sh && \
 echo '/usr/sbin/apache2 -D FOREGROUND' >> /root/run_apache.sh && \
 chmod 755 /root/run_apache.sh

EXPOSE 80

CMD /root/run_apache.sh
# Build docker image
$ docker build -t hello-world .
Push 任务 Image 到 ECR
# 登陆 ECR,创建 ECR 存储库, Push 镜像
$ aws ecr get-login-password --region cn-northwest-1 | sudo docker login --username AWS --password-stdin account_id.dkr.ecr.cn-northwest-1.amazonaws.com.cn

$ aws ecr create-repository \
    --repository-name hello-world \
    --image-scanning-configuration scanOnPush=true \
--region cn-northwest-1

$ docker tag hello-world:latest account_id.dkr.ecr.cn-northwest-1.amazonaws.com/hello-world:latest
$ docker push account_id.dkr.ecr. cn-northwest-1.amazonaws.com.cn/hello-world:latest
修改 EKS Custom AMI 构建脚本
# 编辑构建脚本
$ cd amazon-eks-ami && vim scripts/install-worker.sh
在 install-worker.sh 脚本中搜索 ‘S3_PATH=’ 关键字定位到具体行,在行下方添加以下内容
export ACCOUNT_ID=$(aws sts get-caller-identity --output text --query Account)
export AWS_REGION=$(curl -s 169.254.169.254/latest/dynamic/instance-identity/document | jq -r '.region')

curl "https://awscli.amazonaws.com/awscli-exe-linux-x86_64.zip" -o "awscliv2.zip"
unzip awscliv2.zip
sudo ./aws/install

/usr/local/bin/aws --version
aws sts get-caller-identity

/usr/local/bin/aws configure set default.region ${AWS_REGION}
/usr/local/bin/aws configure get default.region

/usr/local/bin/aws ecr get-login-password --region cn-northwest-1 | sudo docker login --username AWS --password-stdin [account id].dkr.ecr.cn-northwest-1.amazonaws.com.cn
echo "start docker"
sudo systemctl start docker
echo "pull image"
sudo docker pull [account id].dkr.ecr.cn-northwest-1.amazonaws.com.cn/hello-world:latest
echo "docker stop"
sudo systemctl stop docker
导入环境变量
# 导入环境变量,Access Key 和 Secret Access Key
export AWS_ACCESS_KEY_ID=AKIA37FFOR2TESTTEST
export AWS_SECRET_ACCESS_KEY=lh+Yc+vfFOLIq1FTESTTEST TESTTEST TEST

export ACCOUNT_ID=$(aws sts get-caller-identity --output text --query Account)
export AWS_REGION=$(curl -s 169.254.169.254/latest/dynamic/instance-identity/document | jq -r '.region')
构建定制 AMI
$ cd /home/ec2-user/amazon-eks-ami
$ make 1.18

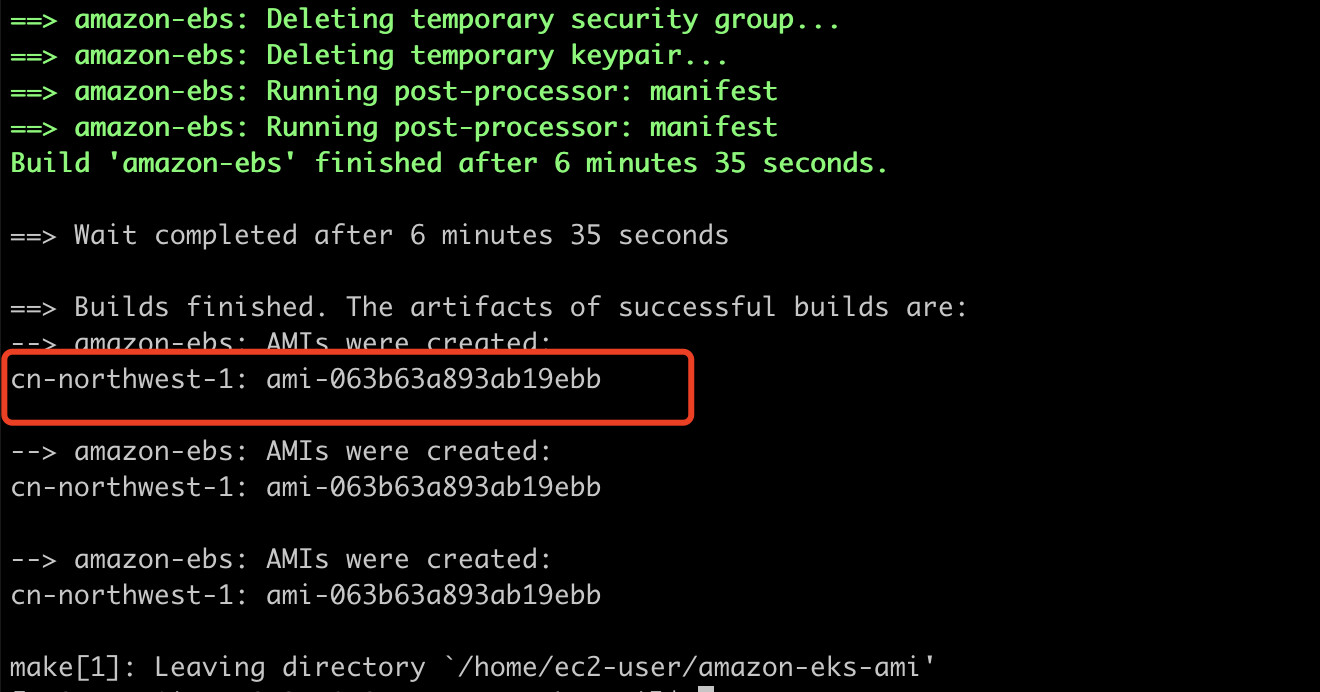
等待构建过程结束,记录 AMI ID

或者在 EC2 AMI 控制台界面,利用 AMI ID 搜索可以查看详情

创建 EKS 的 Node Group
生成 Node Group 的 yaml 文件
# cluster-nodegroup.yaml 文件
$ vim cluster-nodegroup.yaml
apiVersion: eksctl.io/v1alpha5
kind: ClusterConfig
metadata:
    name: eks-test
    region: cn-northwest-1
nodeGroups:
    - name: test-ng-1
      ami: ami-063b63a893ab19ebb # 自定义EKS AMI ID
      minSize: 1
      maxSize: 5
      desiredCapacity: 1
      instancesDistribution:
        instanceTypes: ["m5.large", "m5d.large", "m4.large"]
        onDemandBaseCapacity: 0
        onDemandPercentageAboveBaseCapacity: 0
        spotAllocationStrategy: capacity-optimized
      ssh:
        allow: true
        publicKeyName: ec2_key_pair
      labels:
        lifecycle: Ec2Spot
        intent: apps
        aws.amazon.com/spot: "true"
      taints:
        spotInstance: "true:PreferNoSchedule"
      tags:
        k8s.io/cluster-autoscaler/node-template/label/lifecycle: Ec2Spot
        k8s.io/cluster-autoscaler/node-template/label/intent: apps
        k8s.io/cluster-autoscaler/node-template/label/aws.amazon.com/spot: "true"
        k8s.io/cluster-autoscaler/node-template/taint/spotInstance: "true:PreferNoSchedule"
      iam:
        withAddonPolicies:
          autoScaler: true
          cloudWatch: true
          albIngress: true
使用 eksctl 创建 Node Group
$ eksctl create nodegroup -f cluster-nodegroup.yaml
登陆 Worker Node 检查 Image
我们可以通过ssh登陆到 Worker Node 上,检查预置的 Image 已经存在。

总结
利用 EKS Custom AMI 的能力,您可以通过预置自定义 Image 到 EKS 的 Worker Node,实现在部署海量计算任务 Pod 的场景中,不需要重复并行的去 ECR 上拉取任务 Image,达到快速启动 Pod 的目的。参考本文,您也可以按照自己的使用场景,通过定制 install-worker.sh,实现各种各样的自定义能力,方便您更好的使用 EKS 服务去支持多样的工作负载。
参考资料
本篇作者