Streamlining Cloud Migration
The landscape of applications supported by the average organization today is one that is growing in complexity. IT organizations build, deploy, and operate applications using many different technologies, and run in diverse environments, from on-premises environments to colocation and hosting facilities and into the cloud.
As more of these applications are targeted for modernization and cloud migration, a common pain arises: data!
Data is constantly changing, voluminous, and indispensable for applications to run in the first place. As monolithic applications are split into services, and those services deployed in the cloud, a common challenge is moving data around and keeping data in sync with little to no disruption to users.
The complexity of this common challenge can be dramatically simplified by building a data transport and transformation layer early in the migration and modernization process, which will allow for flexible, continuous delivery of the right data for the right service once the new workloads are ready to be deployed in a new cloud environment.
In this implementation guide, you will learn how Confluent Cloud’s data streaming platform can dramatically simplify this process by leveraging its elastic, resilient, and performant event streaming capabilities and a variety of fully managed connectors to send streaming data to Amazon Web Services (AWS) continuously.
Before getting started
Make sure you have access to an AWS account with enough permissions to create all the different resources that will be provisioned in this implementation guide.
You must have an active Confluent Cloud account. You can try Confluent Cloud free in AWS Marketplace and sign up using your AWS account.
Architecture
Let’s look at the sample architecture that will be implemented by this guide.

On the left-hand side, you can see a traditional LAMP application using open-source MySQL to store its data. This is a monolithic web application, that eventually will be strangled into multiple individual services, each service owning a specific subset of all data currently stored in the RDBMS.
Note that in a real-world scenario, you will likely have many such applications, running in different locations. The architecture that is being shown here can be applied to most of those data sources!
On the right-hand side you have the new AWS Cloud environment. In this environment you want to be able to see all that is happening to the data, process it, transform it, and store it wherever it is most suitable, aligned to the next generation architecture of your cloud-native deployment.
And in the middle Confluent Cloud is helping us capture all changes to data in real time and sending those changes for processing to our cloud services of choice. In this case you can see two targets consuming the same data source, an Amazon DynamoDB database as well as an AWS Lambda, which together enable astounding flexibility in the range of activities that can be performed against that data.
Let’s build this!
A look at our data source
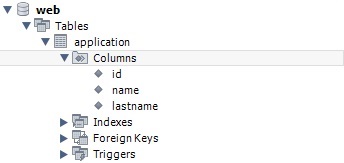
For this guide, a sample database has been created using MySQL Community Edition v8.0.40. Note that you may get errors if using MySQL versions 9 and above. For practical purposes we’re calling this database “web” and it has a single table called “application.”
Connecting to the data source: Using Confluent Cloud managed connectors
Managed connectors are an incredibly powerful capability of Confluent Cloud, fully abstracting away the complexity of configuring and running complex change data capture processes. Since we need to turn all our MySQL data into a stream that we can process, we’ll choose the Debezium-powered “MySQL CDC Source V2” connector.
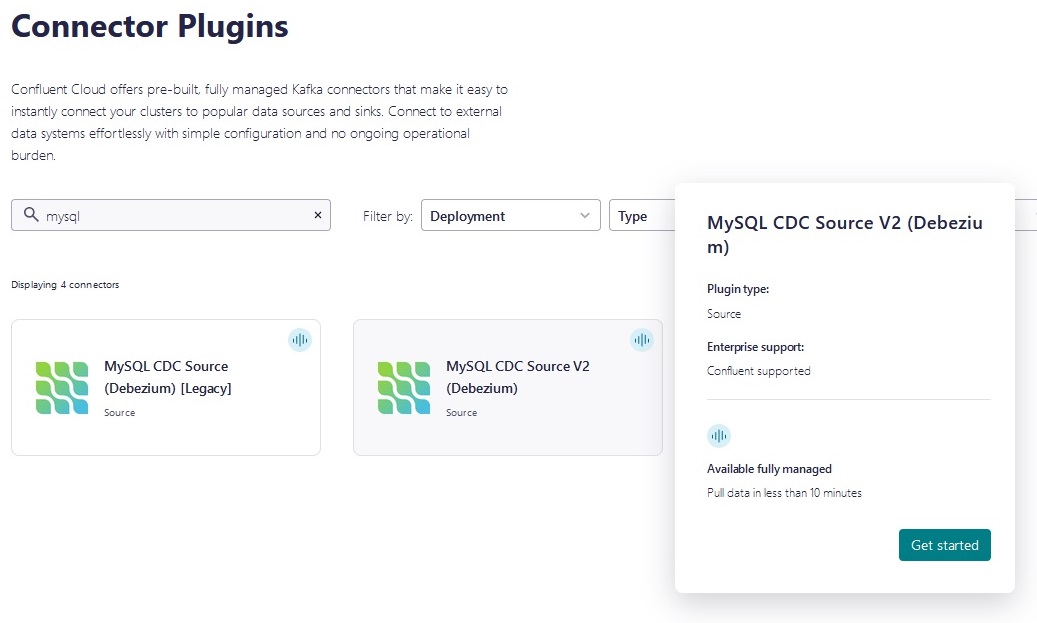
After you click on the connector, you can start the configuration process. In the next screen you will need to enter connection details for your MySQL database. There are some important matters to consider:
Provide access credentials with the necessary
permissions to perform change data capture on the database.Enable access to Confluent Cloud into the MySQL
host by adding all applicable IPs to the corresponding firewall.
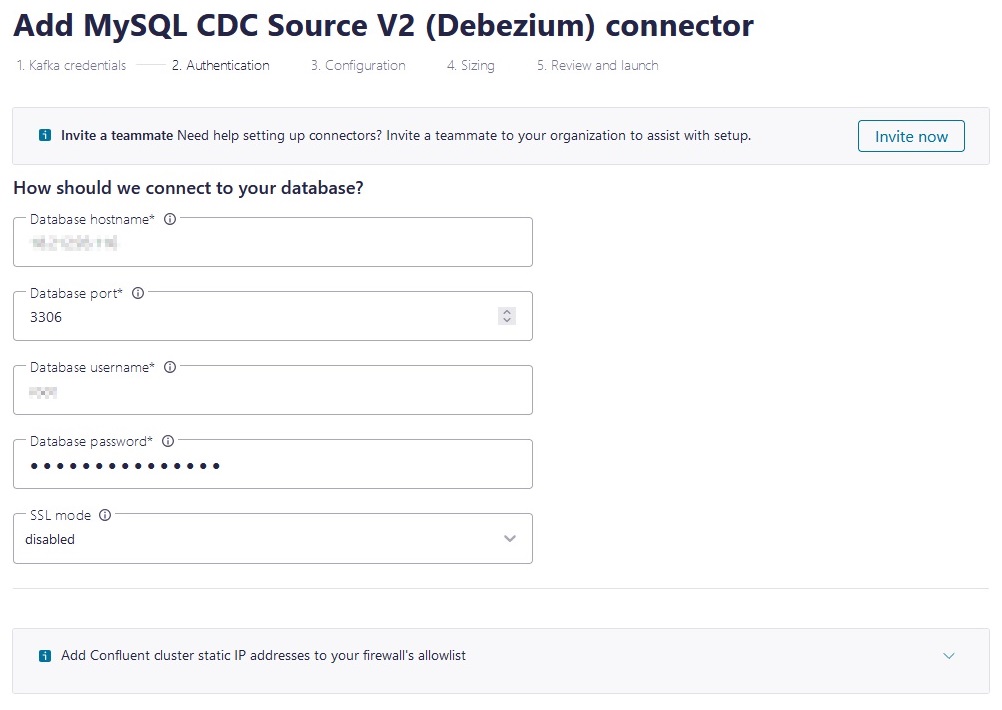
When you click OK Confluent will attempt to establish a connection to your database and confirm the database credentials provided have the required permissions.
If all is good, then you need to configure the message format, Kafka topic, and other details that will be used by the connector to publish all changes to data. Following the architecture diagram shown above, we’ll name the topic “web-application.”
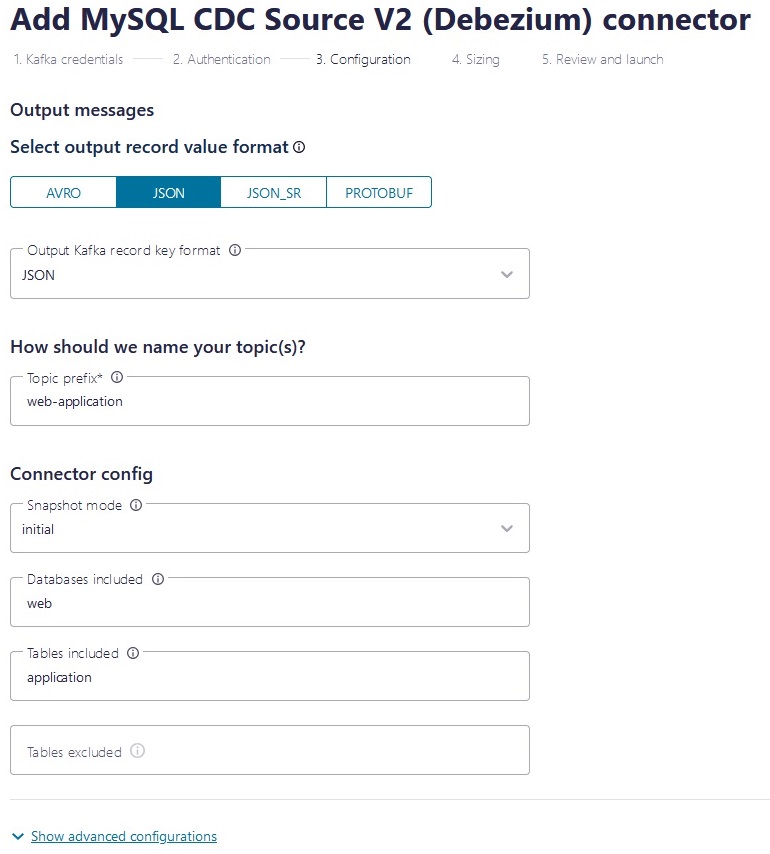
It is important to note how you can specify one or more database as well as tables to track or tables to exclude. This gives you a lot of flexibility in managing the volume of data you are pushing out.
Finally, you need to configure the size of your connector deployment. This is an important configuration parameter for two reasons: sizing will have a defining impact in the performance and scale of your connector, and it also has a cost implication.
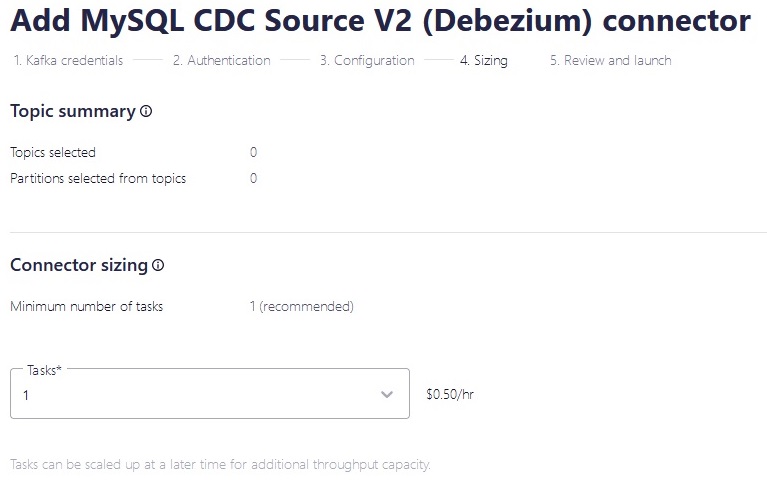
Once you’ve done these final configurations, it’s time to review and deploy!
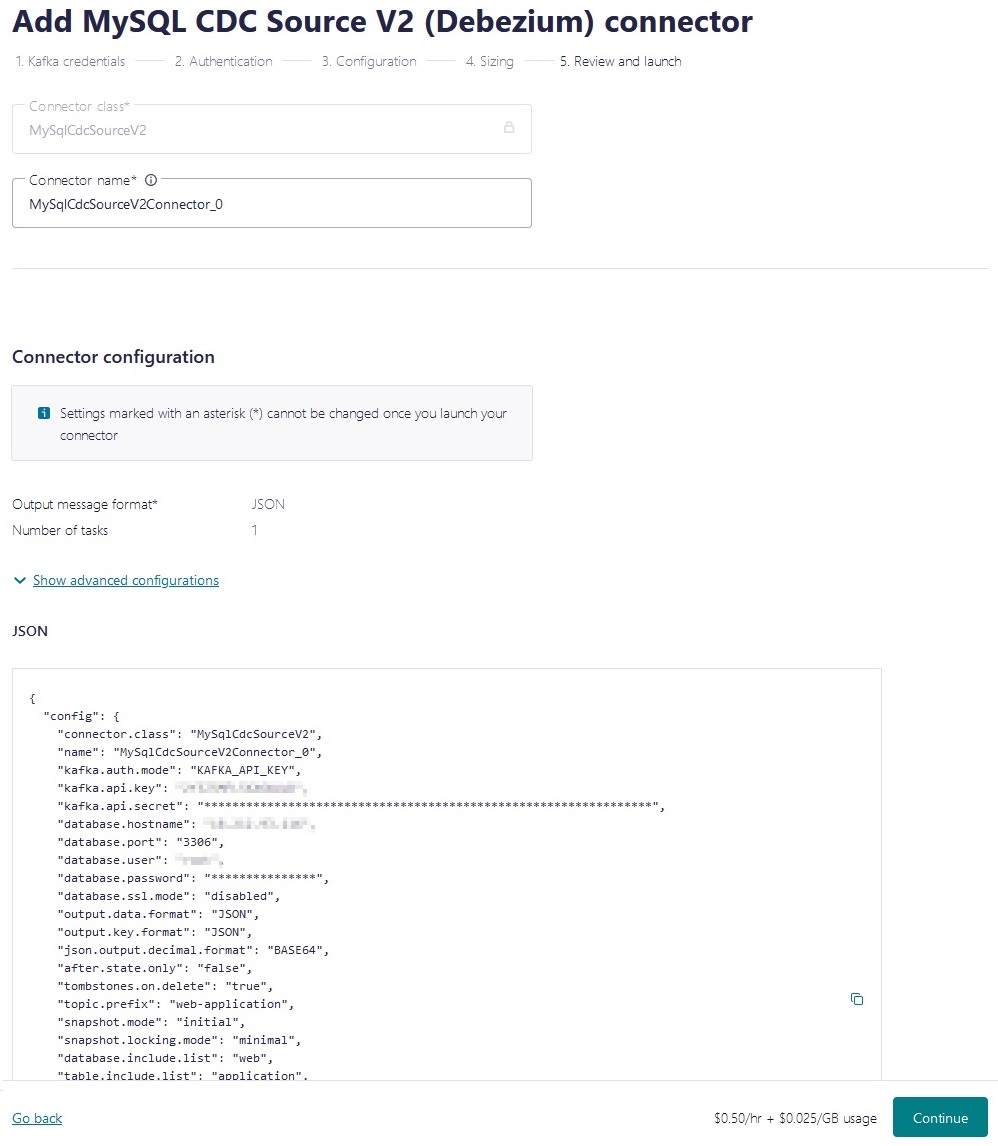
Once you hit “Continue” you’ll see the connector in provisioning state, give it a few seconds for it to reach running state.
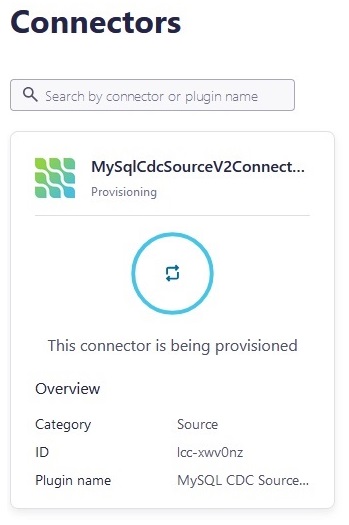
Now let’s look at our targets
In the architecture diagram you can see we have a single topic that is getting all changes to our data streamed into. But we have two targets consuming data from that topic: an AWS Lambda function and an Amazon DynamoDB table.
In Confluent Cloud terms, these are two “sinks”— in other words, locations where data will be “sunk into.”.
The process is quite like creating a source connector. Let’s have a look.
Sending data to AWS Lambda
Look for the AWS Lambda Sink connector just as you searched for the MySQL source connector and hit “Get Started.”
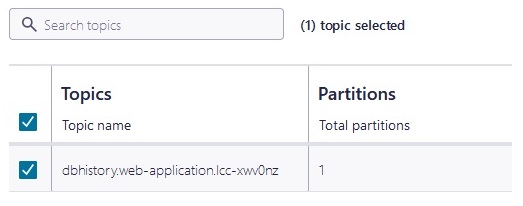
The first thing you’ll need to do is select the “Topic” that you want to consume data from as you’ll notice the topic was already created by the “Source” connector (using “web-application” for identifier).
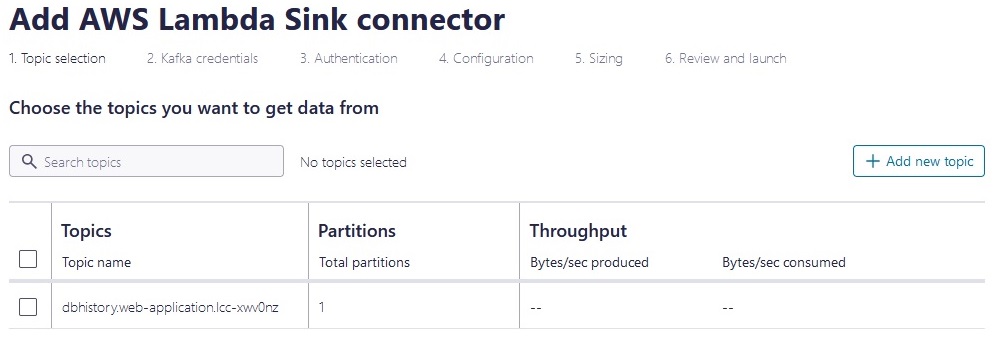
Select it by clicking the checkbox next to it:
Now you need to configure the AWS Lambda function that you want to run whenever data updates are available. For the practical purpose of this guide, we created a sample Lambda called “marketplace” in our AWS account:
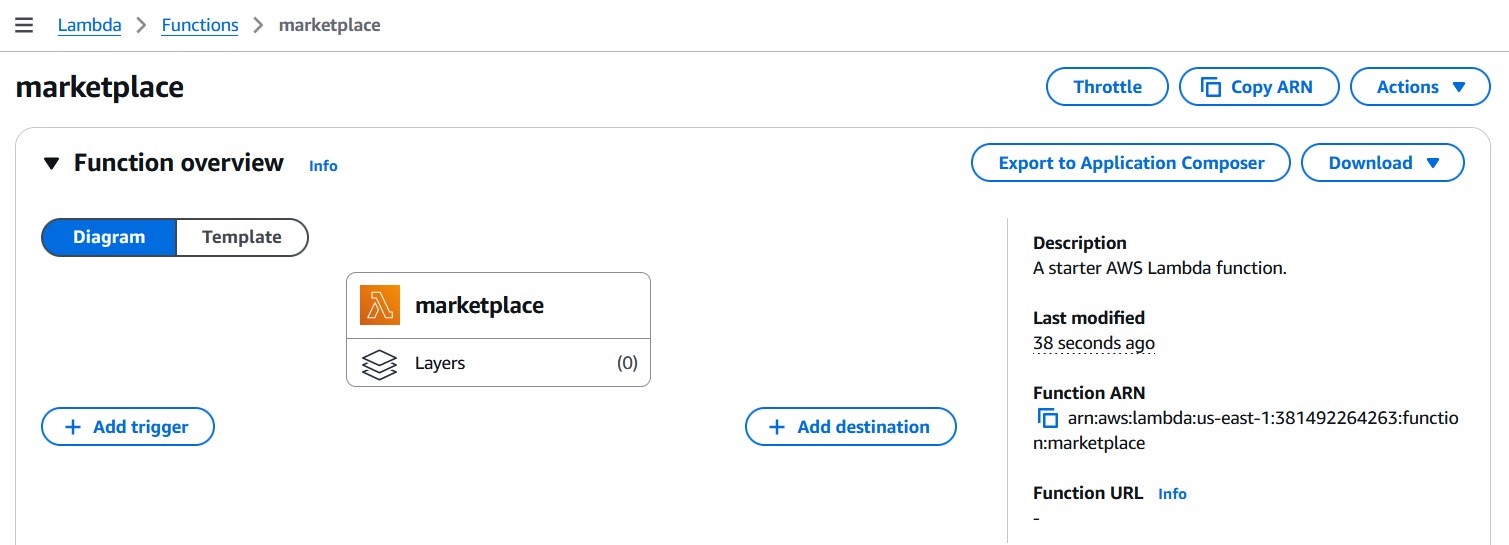
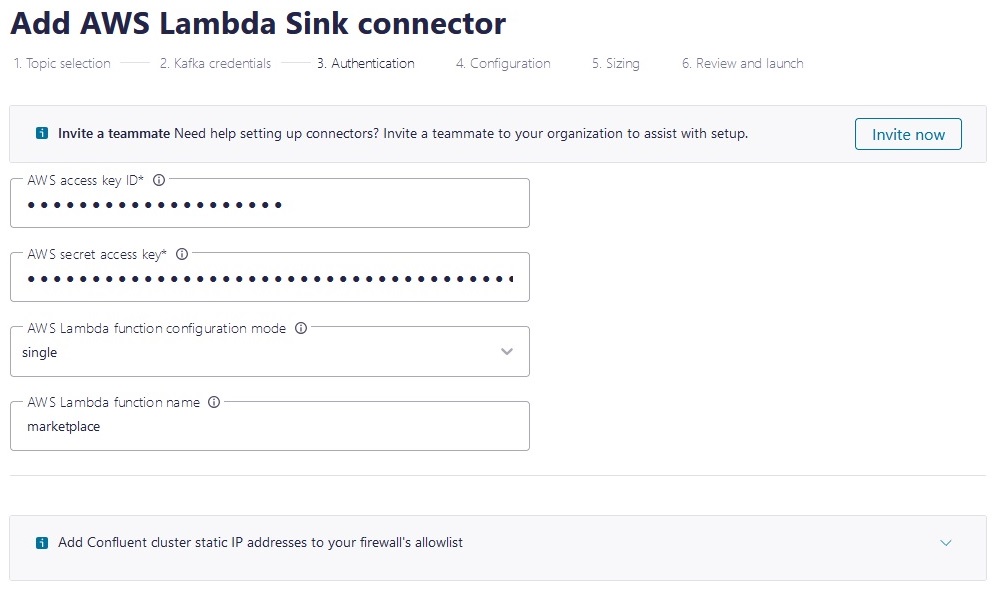
We also created a user with permissions to invoke this function, and generated an API key for it, which we will use when configuring our AWS Lambda Sink connector.
Using these details, configure the authentication details of the connector. Notice how you must specify the name of the AWS Lambda function created:
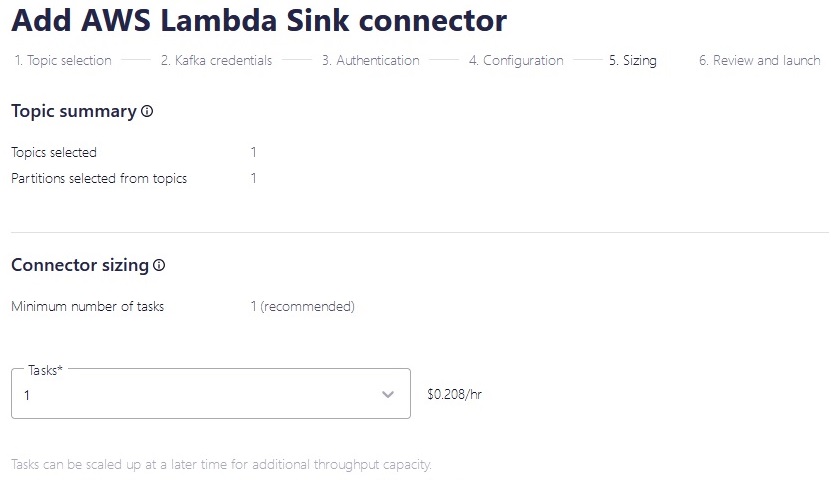
Finally configure sizing and any additional detail requested and confirm for deployment.
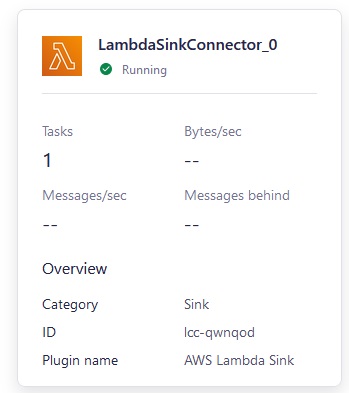
After a few seconds you will see a second connector in your Confluent Cloud dashboard for your recently created AWS Lambda Sink connector in running state.
Now let’s look at Amazon DynamoDB
The process for Amazon DynamoDB is quite similar to AWS Lambda and it all starts with finding the right connector:
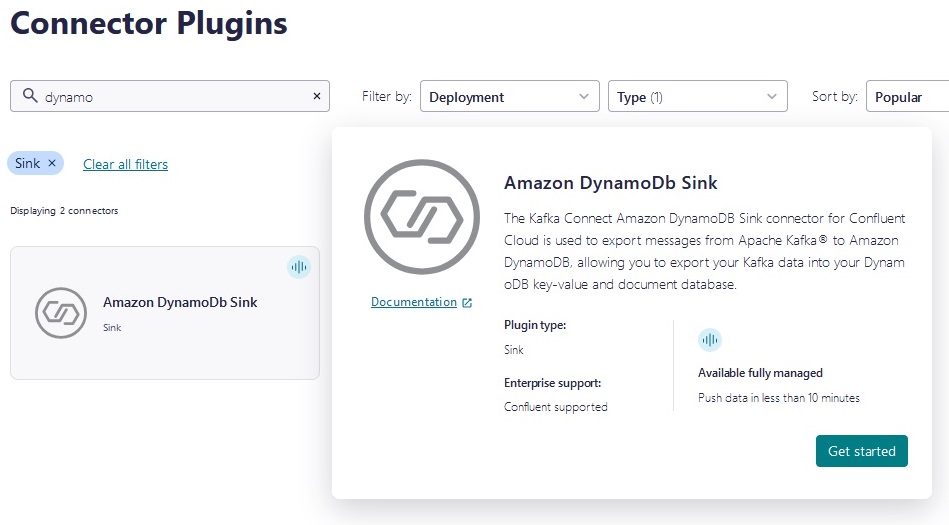
As shown in the diagram, we’re consuming from the same topic, which means we’ll select the same “web-application” topic for data source.

You don’t have to worry about creating a DynamoDB table in advance, the connector will handle that for you.
The complete Confluent Cloud connector configuration
With those very simple steps you now have all the moving pieces required to deploy the architecture we looked at earlier.
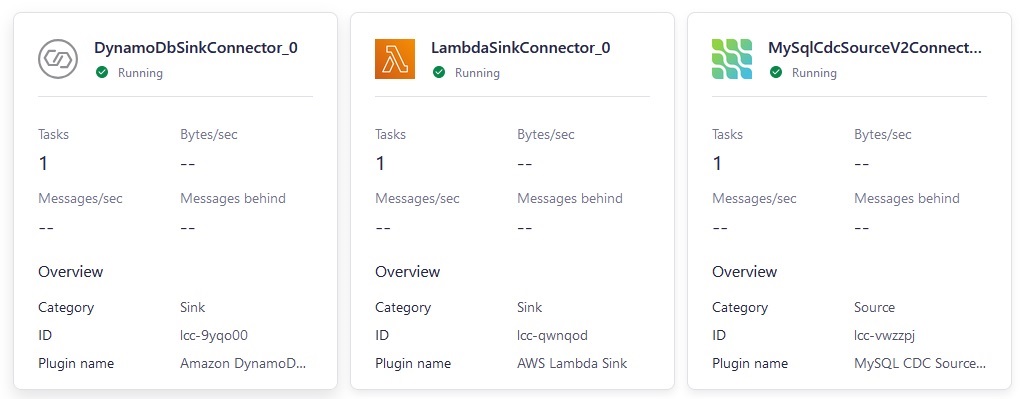
Now you can see the three connectors running in the Confluent Cloud dashboard.
Working with data in AWS
Every change that happens in the MySQL database will now be published, consumed, and available both to your AWS Lambda function as well as stored in Amazon DynamoDB.
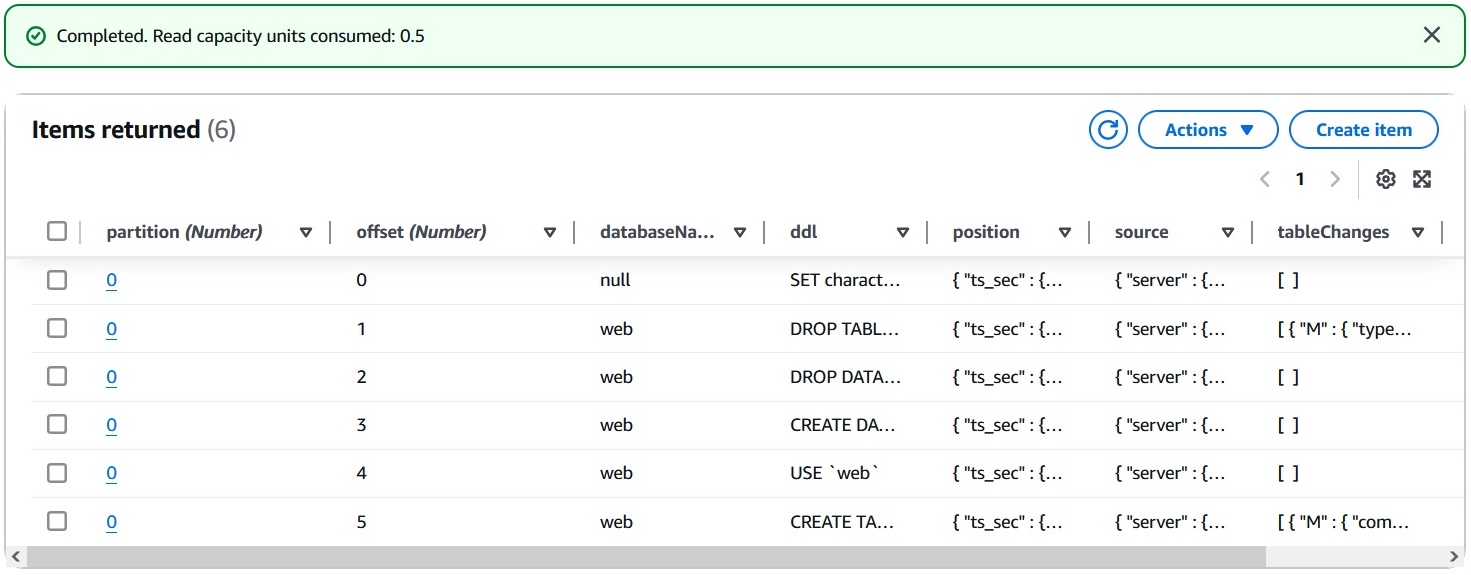
Doing a quick listing of items in Amazon DynamoDB will show you each JSON event including the corresponding data, SQL statement (since our source is a SQL DB), and many other details that you can use to transform, transport, or otherwise manipulate and store anything happening to this data, together with incredible capabilities to understand how data has changed over time.
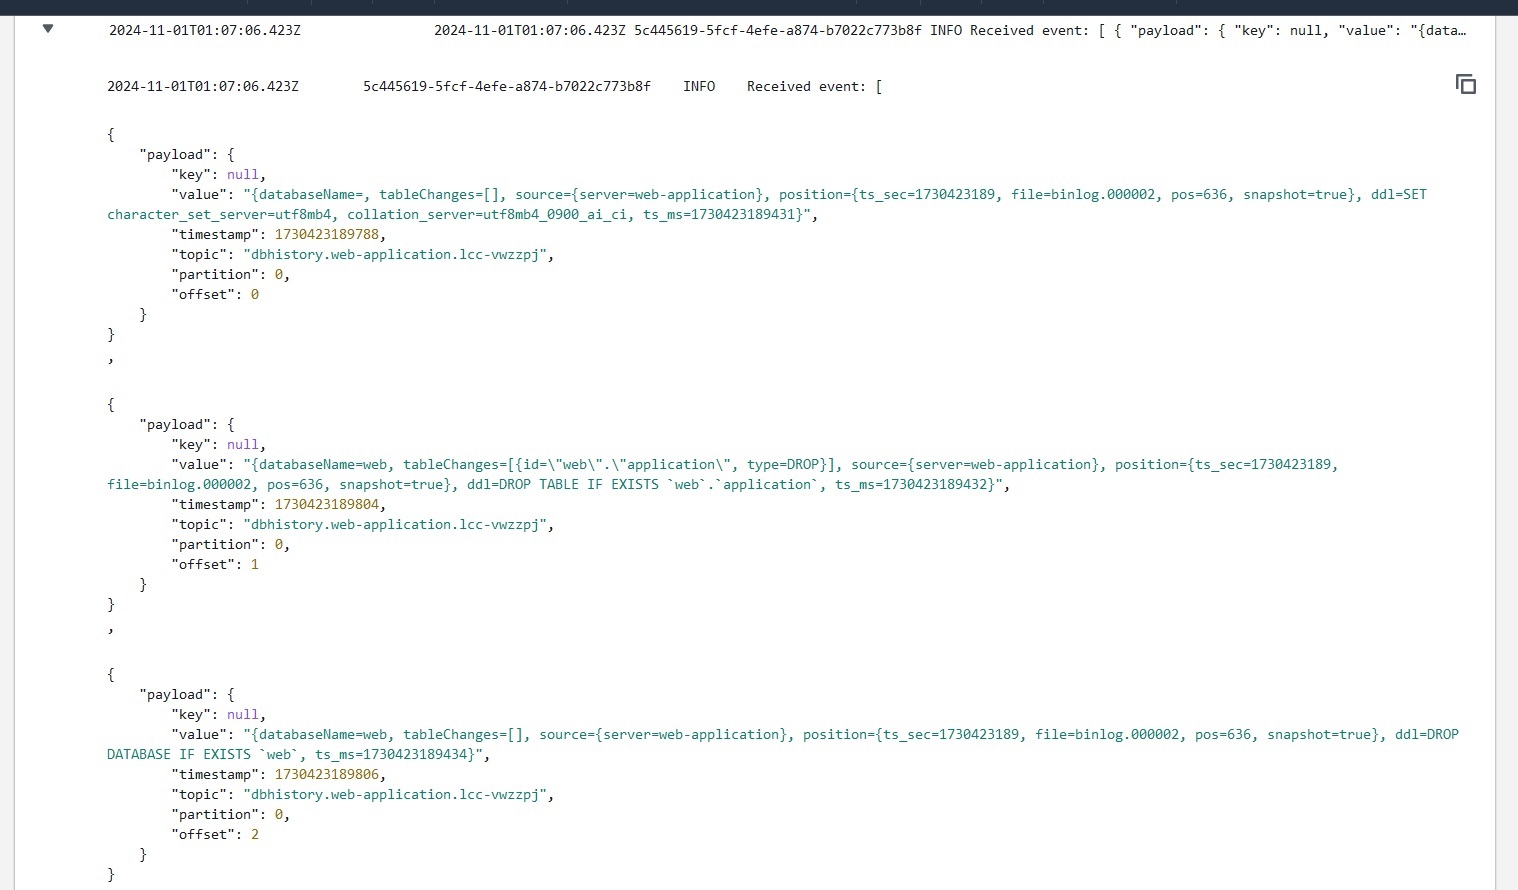
Looking at the Amazon CloudWatch logs of our AWS Lambda invocations you will notice that the same events are available for the function. This enables a whole new array of programmatic ways to manipulate and manage this data!
Key takeaways
With a handful of clicks and using Confluent Cloud’s powerful and fully managed connectors you can deploy the core pieces of a layer that will enable you to transport and transform data from any source to targets in AWS with extreme flexibility and simplicity, allowing you to take data from its origin and make it available to applications as they land in their new cloud environment. This same architecture can be used for many different objectives, such as data replication or disaster recovery!
If you haven’t yet followed along, you can get your data flowing in real time from many sources into AWS using Confluent Cloud. To get started, try Confluent Cloud free in AWS Marketplace. You can sign up using your AWS account, expedite your integration process, and consolidate billing with AWS.
Disclaimer
This guide will help you understand implementation fundamentals and serve as a starting point. The reader is advised to consider security, availability and other production-grade deployment concerns and requirements that are not within scope of this implementation guide for a full scale, production-ready implementation.
Why AWS Marketplace for on-demand cloud tools
Free to try. Deploy in minutes. Pay only for what you use.