AWS Media Blog
How to screencast apps using Amazon Kinesis Video Streams with WebRTC on Android
Over the past year, the requirements for remote communication have increased rapidly. Historically, OTT content delivery was focused on reliably delivering high-quality content. There was less concern about latency, so technology was not focused on transmitting media with minimum delay time. With WebRTC technology that supports media transmission with latency of less than 1 second, a wide range of real-time media services such as video conferencing, online classes, game broadcasting, remote drone control, and cloud games can run successfully.
Amazon Web Services (AWS) provides the Amazon Kinesis Video Streams that supports WebRTC for real-time communication as a managed service. As a fully-managed service, customers do not have to build, operate, or scale any WebRTC-related cloud infrastructure like signaling or media relay servers.
In this blog, we look at how to use Amazon Kinesis Video Streams for WebRTC to relay your smartphone screen to remote users in real time.
Pre-requisites
- AWS Management Console admin access
- Install the latest Amplify CLI version
- Open terminal and run npm install -g @aws-amplify/cli to update to the latest Amplify CLI.
- Have Amplify CLI configured
- If you haven’t configured the Amplify CLI yet, follow this guide on our documentation page.
- Install Android Studio
Instructions
Step 1: Source Download from GitHub
To download the source, run the following command:
git clone https://github.com/aws-samples/amazon-kinesis-video-streams-media-screencast-android.git
It was implemented by adding only the screencast function while maintaining the function provided in the Amazon Kinesis Video Streams Android WebRTC SDK’s sample app .
Step 2: Amazon Cognito for user authentication
1. Create and integrate Cognito using amplify cli.
Move to the root directory of the downloaded source and run cli command. The ‘amplify init’ command does the following: Initializes a new Amplify project, sets up deployment resources in the cloud, and makes your project ready for Amplify
cd amazon-kinesis-video-streams-webrtc-sdk-android
amplify init
See below for ‘amplify init’ input values.
? Enter a name for the environment dev

The downloaded source is set up so Cognito can be created by amplify push command. The ‘amplify push’ command does the following: Provisions cloud resources.
amplify pushRefer to the ‘amplify push’ input value below.
? Are you sure you want to continue? Yes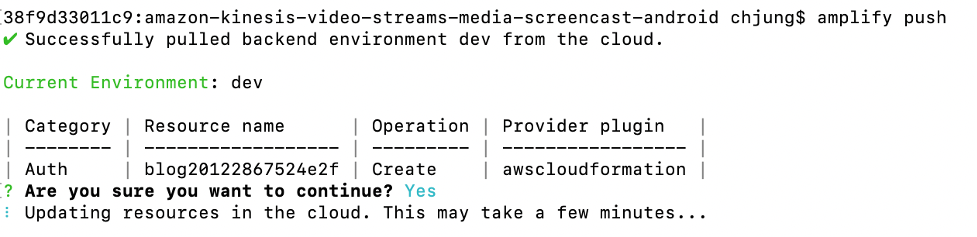
After about 10 minutes, Amazon Cognito starts in your AWS account, and json file (res/raw/amplifyconfiguration.json) is created as metadata in your Android project downloaded.
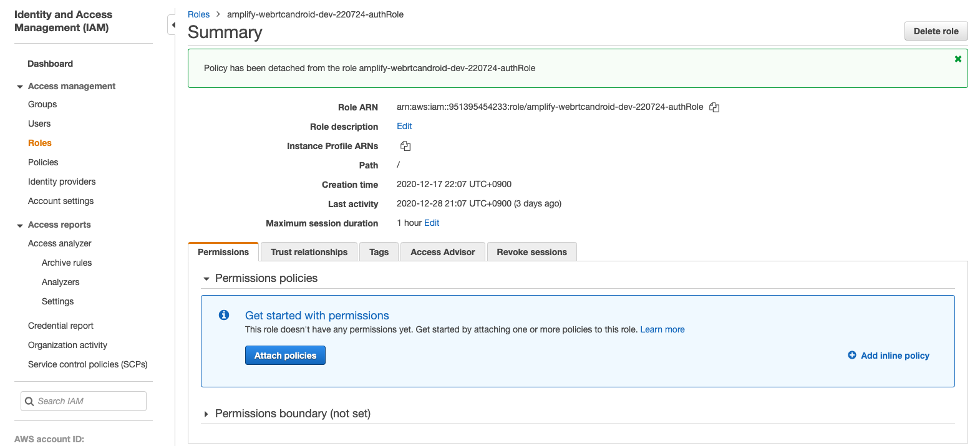
2. Add policy to IAM Role
Through Amazon Cognito, authorize logged-in users to access the AWS service. This app uses the Kinesis Video Streams service [LA9] for screen casting. You must add the AmazonKinesisVideoStreamFullAccess policy to the IAM role specified in the Authenticated role so that authenticated users can use the Kinesis Video Streams service.
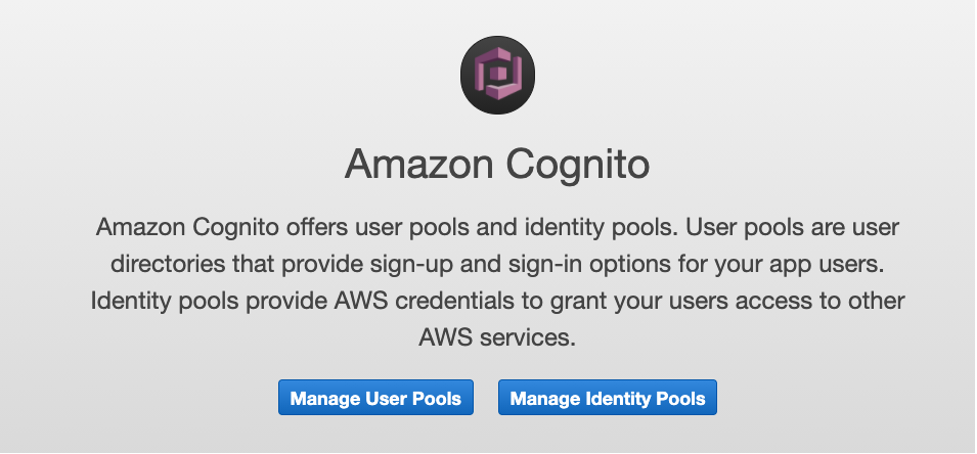
AWS Management Console > Amazon Congito > Manage Identity Pools
Select created pool > Edit identity pool
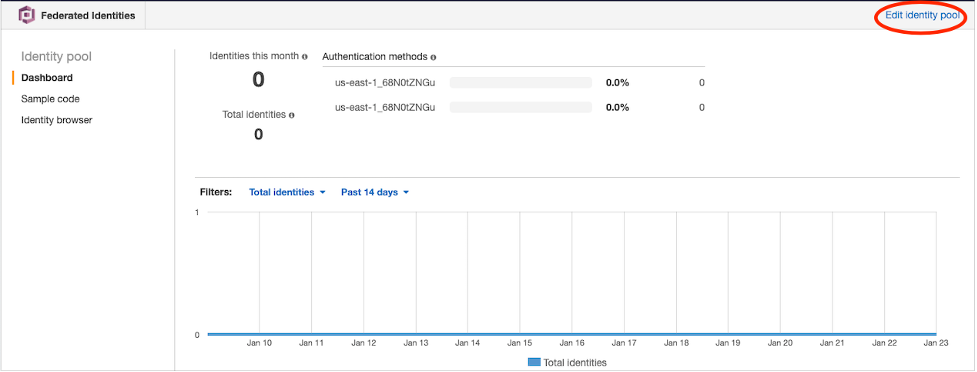
Remember the Authenticated role name.
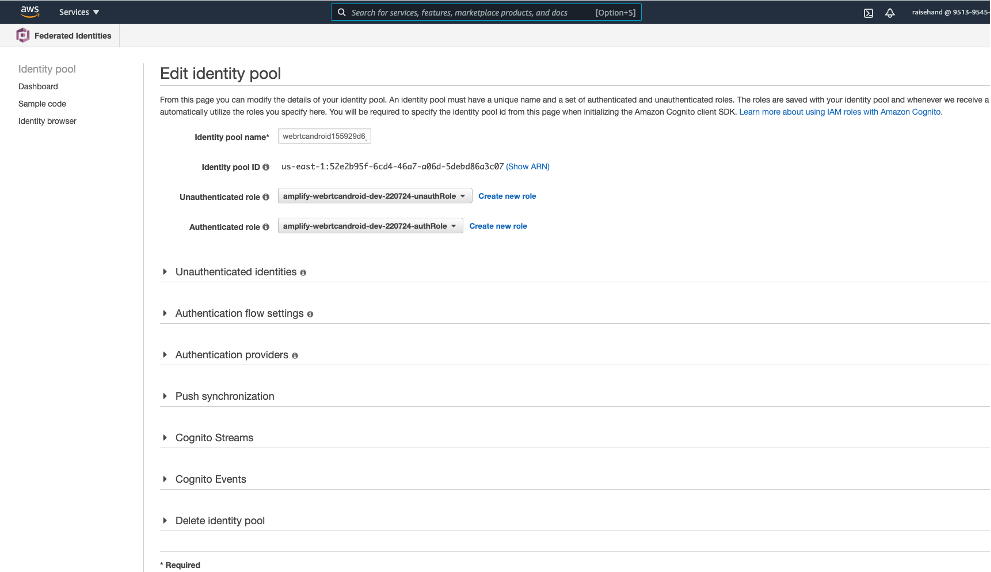
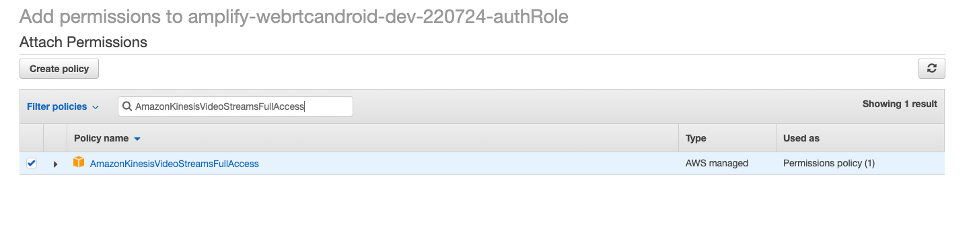
AWS Management Console > IAM > Roles > [ select your authenticated role.] > Attach policies
Type the “AmazonKinesisAnalyticsFullAccess” and select

Step 3. Cast phone screen
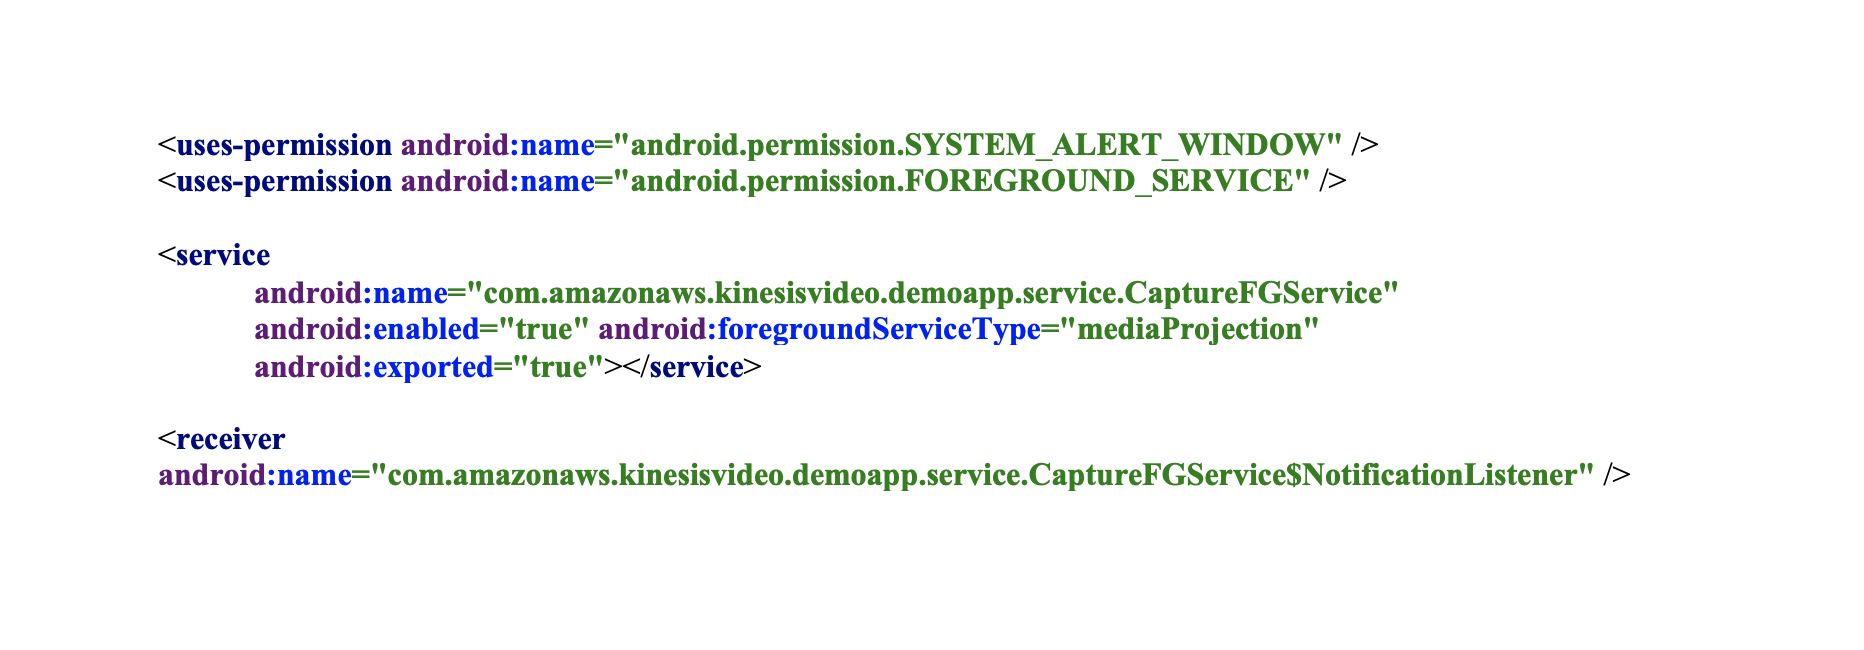
1. Add permissions, service and receiver to the AndroidManifest.xml file
On the Android, the service is an application component that can perform tasks running in the background. There are several types of services in Android. The foreground service keep running even when the user is not interacting with the app.
To create a foreground service, you need to define permissions and a service that has mediaProjection as the value of the foregroundServiceType property in the AndroidManifest file. And the foreground service needs to display a notification, which also registers the receiver to receive events when the notification is touched.
2. Media Projection
To run the screen cast service, create a button (Fragment_stream_webrtc_configuration.xml) and add onClickListener(StreamWebRtcConfigurationFragment.java).
mStartServicerButton.setOnClickListener(new View.OnClickListener() {
   @Override
   public void onClick(View v) {
      createMediaProjection();
   }
});
When the button is pressed, the screen capture session can be started through MediaProjectionManager#createScreenCaptureIntent.
private void createMediaProjection() {
    MediaProjectionManager mediaProjectionManager =
            (MediaProjectionManager) getContext().getSystemService(
                    Context.MEDIA_PROJECTION_SERVICE);
    startActivityForResult(
            mediaProjectionManager.createScreenCaptureIntent(), RETURN_CODE);
}
And the activity will prompt the user whether to allow screen capture.
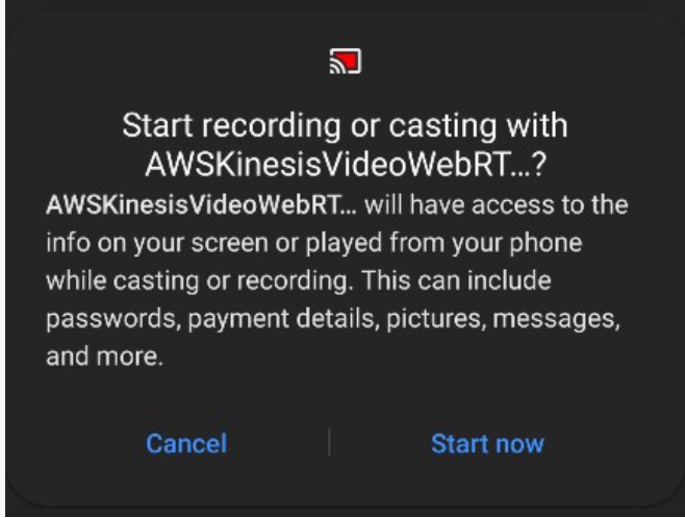
When the user agrees, the service starts.
@Override
public void onActivityResult(int requestCode, int resultCode, Intent data) {
    super.onActivityResult(requestCode, resultCode, data);
    if (requestCode != RETURN_CODE || data ==null){
        return;
    }
    startFGService();
}
3. Screencast Service
- Foreground service. If your service is started, make it run in the foreground, supplying the ongoing notification to be shown to the user while in this state. Refer to services#Foreground document and write as below
void runAsForeground() {
    Log.d(TAG, "runAsForeground ");

Intent notificationIntent = new Intent(this, NotificationListener.class);
    PendingIntent pendingIntent = PendingIntent.getBroadcast(this, 0, notificationIntent, 0);

if (Build.VERSION.SDK_INT >= 26) {

NotificationChannel channel = new NotificationChannel(CHANNEL_ID,
       "Kinesis Screen Capturer Channel",
        NotificationManager.IMPORTANCE_DEFAULT);

NotificationManager manager = getSystemService(NotificationManager.class);

manager.createNotificationChannel(channel);

}
    Notification notification = new NotificationCompat.Builder(this, CHANNEL_ID)
            .setContentTitle("Kinesis Screen Capturer")
            .setContentText("Currently capturing. If you want to stop, please touch this notification")
            .setSmallIcon(R.mipmap.ic_launcher)
            .setContentIntent(pendingIntent)
                    .build();

    startForeground(1, notification);
}
- Casting phone screen. Create a PeerConnectionFactory to use WebRTC in Android
PeerConnectionFactory.initialize(PeerConnectionFactory
        .InitializationOptions
        .builder(this)
        .createInitializationOptions());

peerConnectionFactory =
        PeerConnectionFactory.builder()
                .setVideoDecoderFactory(new DefaultVideoDecoderFactory(rootEglBase.getEglBaseContext()))
                .setVideoEncoderFactory(new DefaultVideoEncoderFactory(rootEglBase.getEglBaseContext(), ENABLE_INTEL_VP8_ENCODER, ENABLE_H264_HIGH_PROFILE))
                .createPeerConnectionFactory();
Create a VideoSource through the created PeerConnectionFactory instance. When the VideoSource is created, it is used to create a VideoTrack.
   videoSource = peerConnectionFactory.createVideoSource(true);
     localVideoTrack =
          peerConnectionFactory.createVideoTrack(VideoTrackID, videoSource);
Create the VideoCapturer to capture the screen content as a video stream.
private void startScreenCast() {
    Log.d(TAG, "startScreenCast()");
    surfaceTextureHelper = SurfaceTextureHelper.create(Thread.currentThread().getName(), rootEglBase.getEglBaseContext());

    videoCapturer = createScreenCapturerAndroid();
    videoCapturer.initialize(surfaceTextureHelper, this.getApplicationContext(), videoSource.getCapturerObserver());
    videoCapturer.startCapture(VIDEO_SIZE_WIDTH, VIDEO_SIZE_HEIGHT, VIDEO_FPS);
}


private VideoCapturer createScreenCapturerAndroid() {

    Log.d(TAG, "createScreenCapturerAndroid()");

    return new ScreenCapturerAndroid(
            mPermissionResultData, new MediaProjection.Callback() {
        @Override
        public void onStop() {
            Log.e(TAG, "user select cancel ");
        }
    });
}
- Stop Casting phone screen. When the user touches the notification, the application ends the casting. To do this, we create a receiver to receive the user’s touch event and call the casting stop api on touch.
public static class NotificationListener extends BroadcastReceiver {
    @Override
    public void onReceive(Context context, Intent intent) {
        Log.d(TAG, "NotificationListener onReceive");
        Toast.makeText(context, "capture stopped!", Toast.LENGTH_LONG).show();
        try {
            videoCapturer.stopCapture();
        } catch (InterruptedException e) {
            e.printStackTrace();
        }

    }
}
Step 4. Build and run the demo application using Android Studio
Load the downloaded source into Android Studio through File> New> Import Project. Run the demo application in simulator or on an Android device.
Sign up and log in. And press the ‘start screencast’ button to start screen casting.
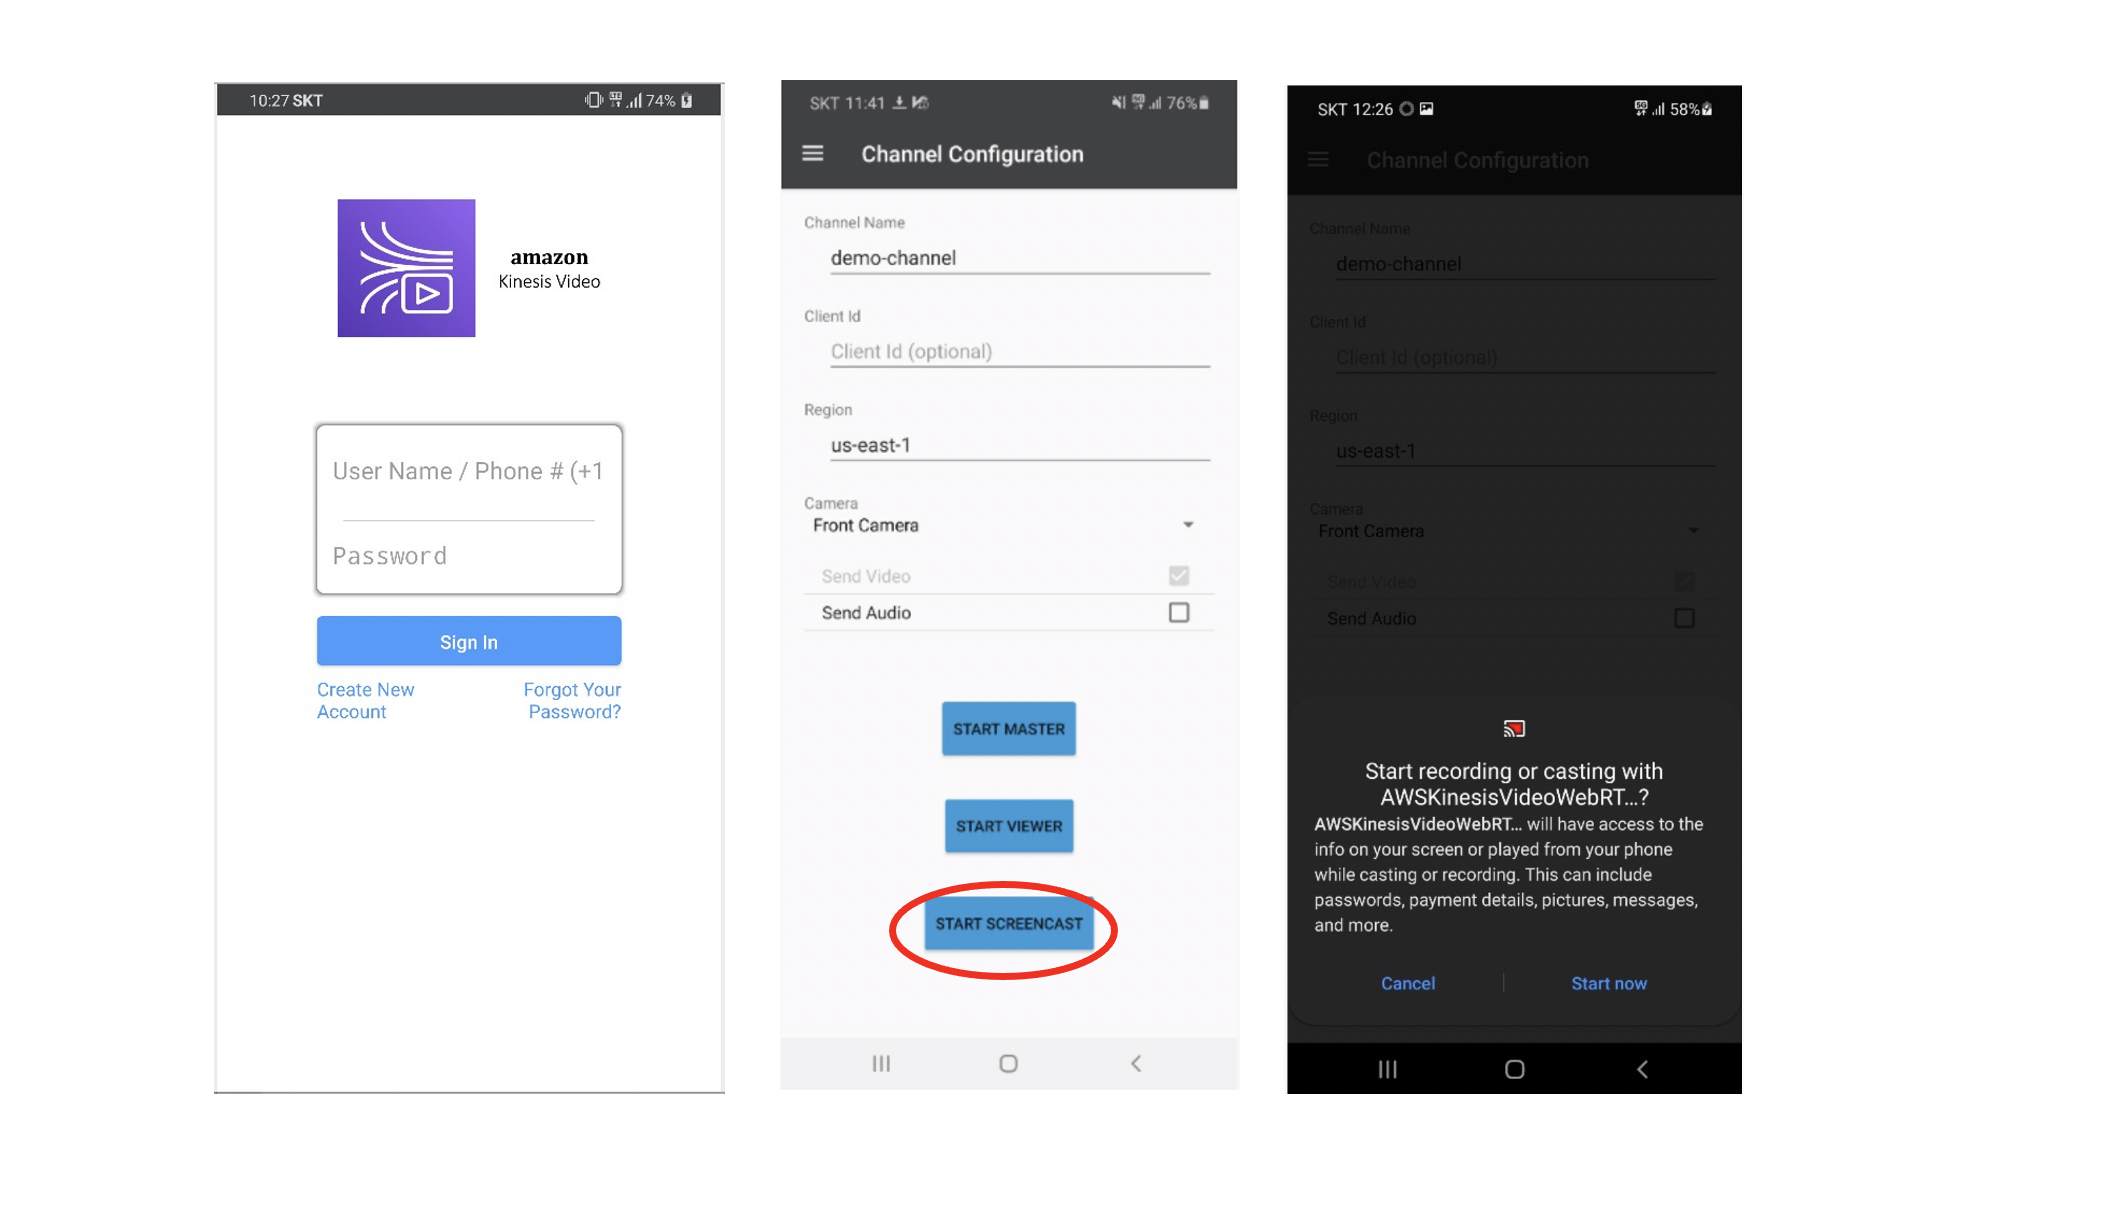
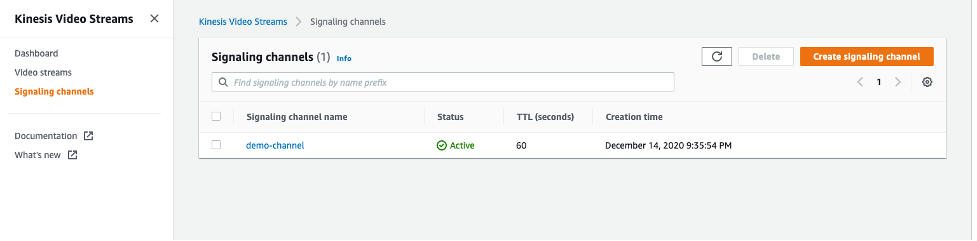
Connect to the Kinesis Video Streams console. Select the created channel (Kinesis Video Streams > Signaling channels > demo-channel.
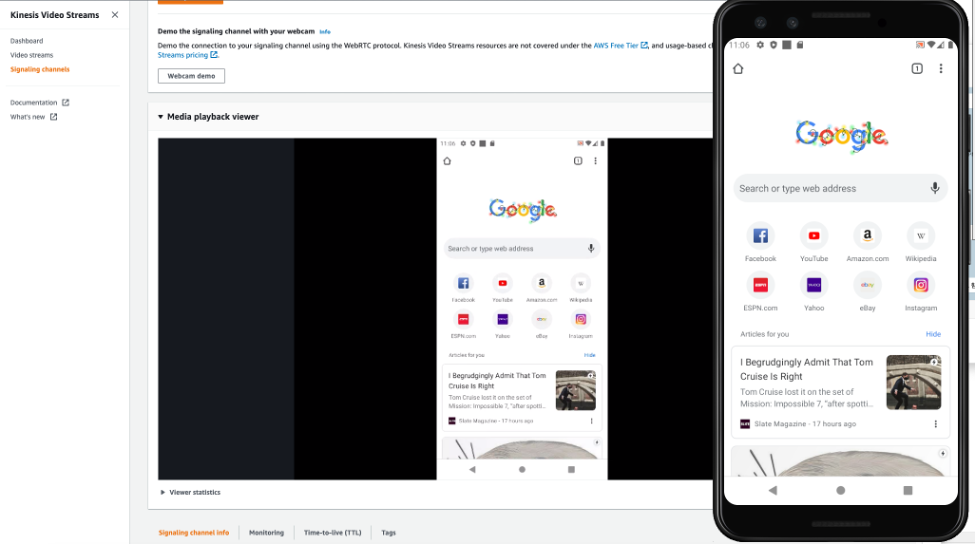
And open the Media playback viewer, you can see that the screen of the smartphone screen will be casting after a while.
Cleanup
Cleanup the following AWS resources:
With the ‘amplify delete’ command, deletes all of the resources tied to the project from the cloud
amplify deleteSee below for ‘amplify delete’ input values.
 ? Are you sure you want to continue? This CANNOT be undone. (This would delete all the env
ironments of the project from the cloud and wipe out all the local files created by Amplif
y CLI) Yes

Summary
This blog covered how to cast to an Android smartphone screen in real time. If you are interested in the WebRTC protocols and KVS Signaling Channel APIs, please refer to KVS WebRTC Developer Guide. Also, this blog introduced to use the Amplify CLI to create the AWS Cognito service required for user authentication, and to integrate it with the application source. If you want to know more about Amplify, please refer to Amplify Android doc.