AWS News Blog
AWS Management Console Support for the Amazon Virtual Private Cloud

|
The AWS Management Console now supports the Amazon Virtual Private Cloud (VPC). You can now create and manage a VPC and all of the associated resources including subnets, DHCP Options Sets, Customer Gateways, VPN Gateways and the all-important VPN Connection from the comfort of your browser.
Put it all together and you can create a secure, seamless bridge between your existing IT infrastructure and the AWS cloud in a matter of minutes. You’ll need to get some important network addressing information from your network administrator beforehand, and you’ll will need their help to install a configuration file for your customer gateway.
Here are some key VPC terms that you should know before you should read the rest of this post (these were lifted from the Amazon VPC Getting Started Guide):
VPC – An Amazon VPC is an isolated portion of the AWS cloud populated by infrastructure, platform, and application services that share common security and interconnection. You define a VPC’s address space, security policies, and network connectivity.
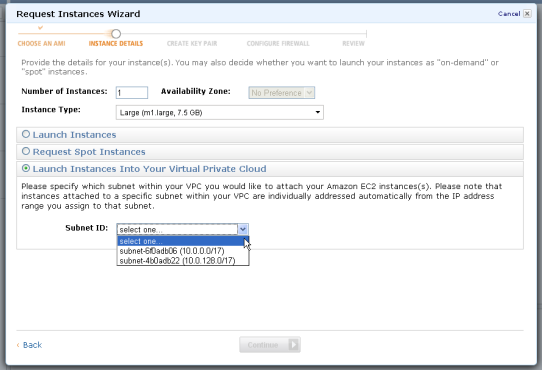
Subnet – A segment of a VPC’s IP address range that Amazon EC2 instances can be attached to.
VPN Connection – A connection between your VPC and data center, home network, or co-location facility. A VPN connection has two endpoints: a Customer Gateway and a VPN Gateway.
Customer Gateway – Your side of a VPN connection that maintains connectivity.
VPN Gateway – The Amazon side of a VPN connection that maintains connectivity.
Let’s take a tour through the new VPC support in the console. As usual, it starts out with a new tab in the console’s menu bar:

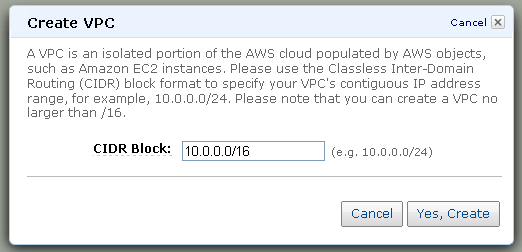
The first step is to create a VPC by specifying its IP address range using CIDR notation. I’ll create a “/16” to allow up to 65536 instances (the actual number will be slightly less because VPC reserves a few IP addresses in each subnet) in my VPC:
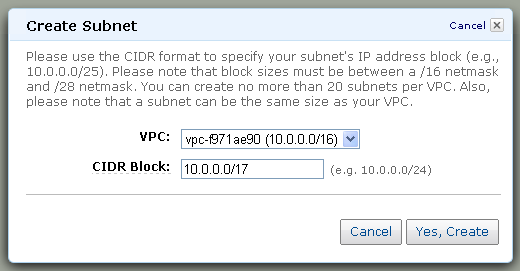
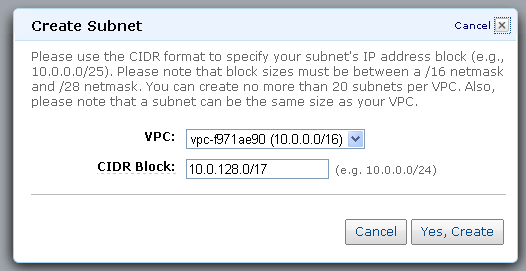
The next step is to create one or more subnets within the IP address range of the VPC. I’ll create a pair, each one covering half of the overall IP address range of my VPC:
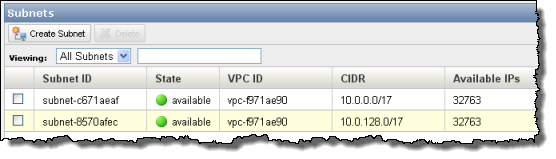
The console shows all of the subnets and the number of available IP addresses in each one:
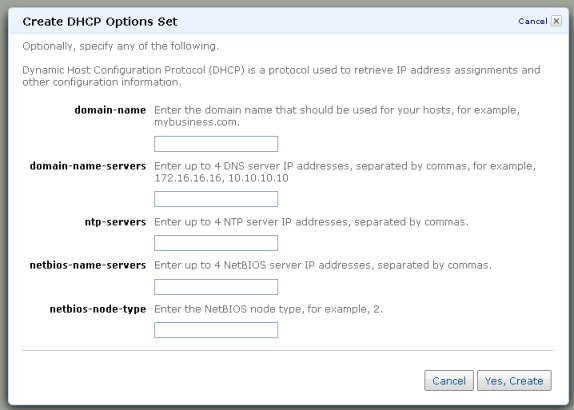
You can choose to create a DHCP Option Set for additional control of domain names, IP addresses, NTP servers, and NetBIOS options. In many cases the default option set will suffice.
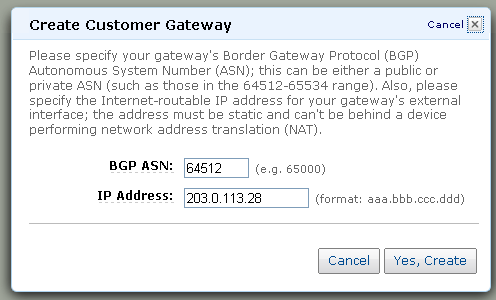
And the next step is to create a Customer Gateway to represent the VPN device on the existing network (be sure to use the BGP ASN and IP Address of your own network):
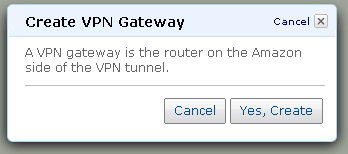
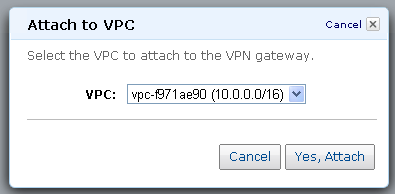
We’re almost there! The next step is to create a VPN Gateway (to represent the VPN device on the AWS cloud) and to attach it to the VPC:
The VPC Console Dashboard displays the status of the key elements of the VPC:
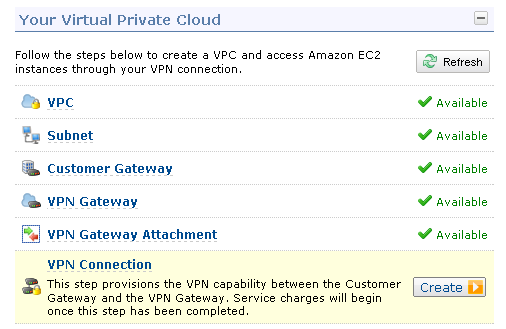
With both ends of the connection ready, the next step is to make the connection between your existing network and the AWS cloud:
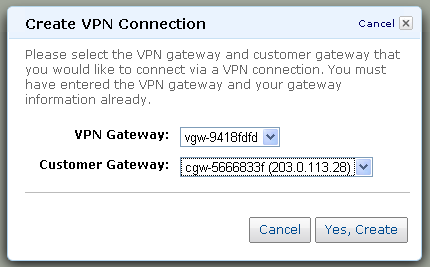
This step (as well as some of the others) can take a minute or two to complete.
Now it is time to download the configuration information for the customer gateway.

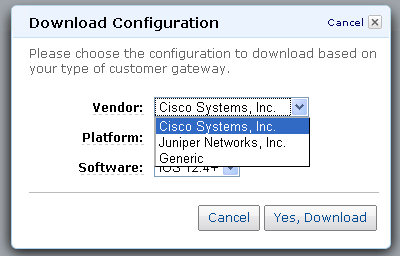
The configuration information is provided as a text file suitable for use with the specified type of customer gateway:
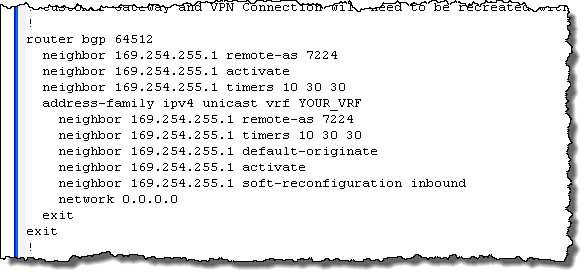
Once the configuration information has been loaded into the customer gateway, the VPN tunnel can be established and it will be possible to make connections from within the existing network to the newly launched EC2 instances.
I think that you’ll agree that this new feature really simplifies the process of setting up a VPC, making it accessible to just about any AWS user. What do you think?
–Jeff;