AWS Compute Blog
Improved Testing on the AWS Lambda Console
(This post has been written by Chris Tate, SDE on the Lambda Console team)
Today, AWS Lambda released three console enhancements:
- A quicker creation flow that lets you quickly create a function with the minimum working configuration, so that you can start iterating faster.
- A streamlined configuration page with Lambda function settings logically grouped into cards, which makes locating and making changes much easier.
- Persisting multiple events to help test your function.
This post focuses on persisting test events, and I discuss how I’ve been using this new feature. Now when you are testing on the Lambda console, you can save up to 10 test events per function, and each event can be up to 6 megabytes in size, the maximum payload size for synchronous invocations. The events are saved for the logged-in user, so that two different users in the same account have their own set of events.
Testing Lambda functions
As a Lambda console developer, when I work on side projects at home, I sometimes use our development server. I’ve been using this new feature to test a Lambda function in one of my projects. The function is probably more complicated than it should be, because it can be triggered by an Alexa skill, Amazon CloudWatch schedule, or an Amazon API Gateway API. If you have had a similarly complicated function, you may have run into the same problem I did: How do you test?
For quick testing, I used the console but the console used to save only one test event at a time. To work around this, my solution was a text file with three different JSON events, one for each trigger. I would copy whatever event I needed into the Lambda console, tweak it, and choose Test. This would become particularly annoying when I wanted to quickly test all three.
I also switch between my laptop and desktop depending on my mood. For that reason, I needed to make sure this text file with the events were shared in some way, as the console only locally saved one test event to the current browser. But now you don’t have to worry about any of that.
Walkthrough
In the Lambda console, go to the detail page of any function, and select Configure test events from the test events dropdown (the dropdown beside the orange test button). In the dialog box, you can manage 10 test events for your function. First, paste your Alexa trigger event in the dialog box and type an event name, such as AlexaTrigger.
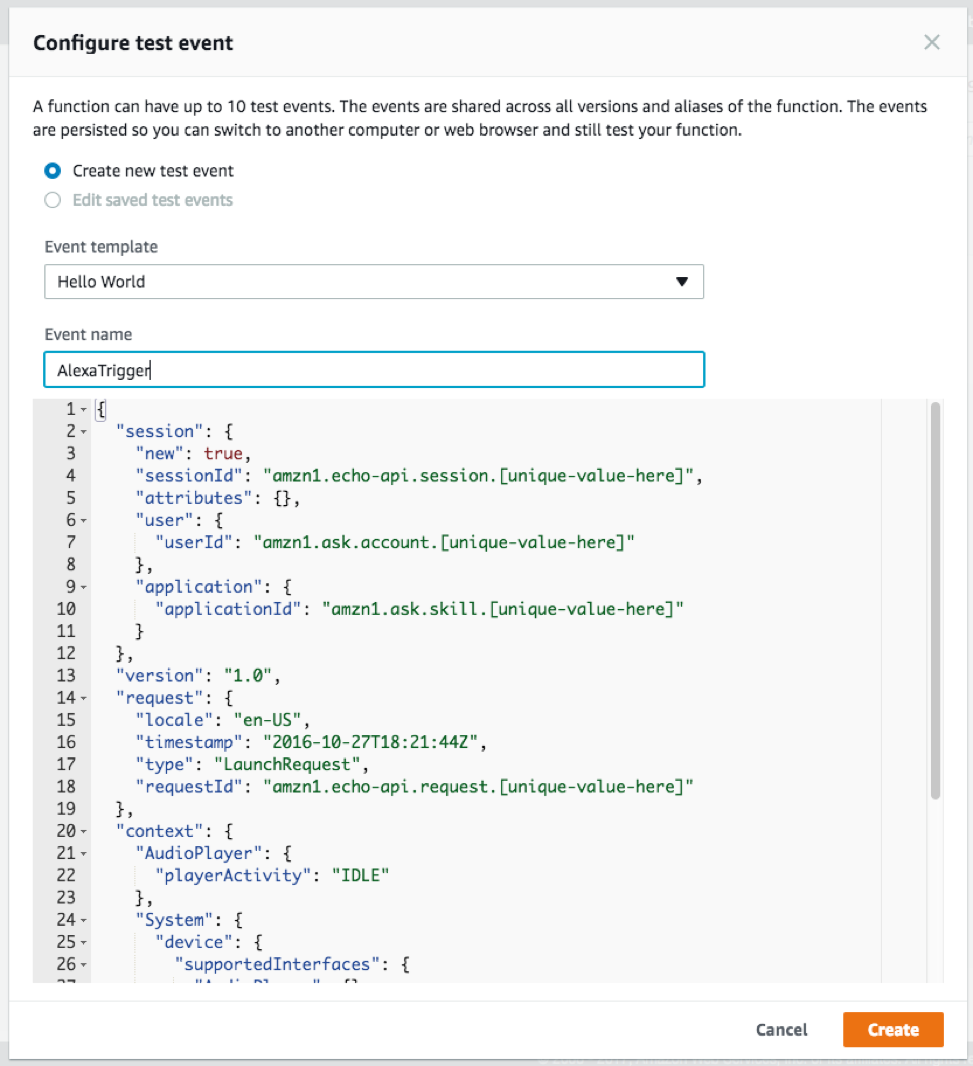
Choose Create. After it saves, you see AlexaTrigger in the Test list.
When you open the dialog box again by choosing Configure test events, you are in edit mode.
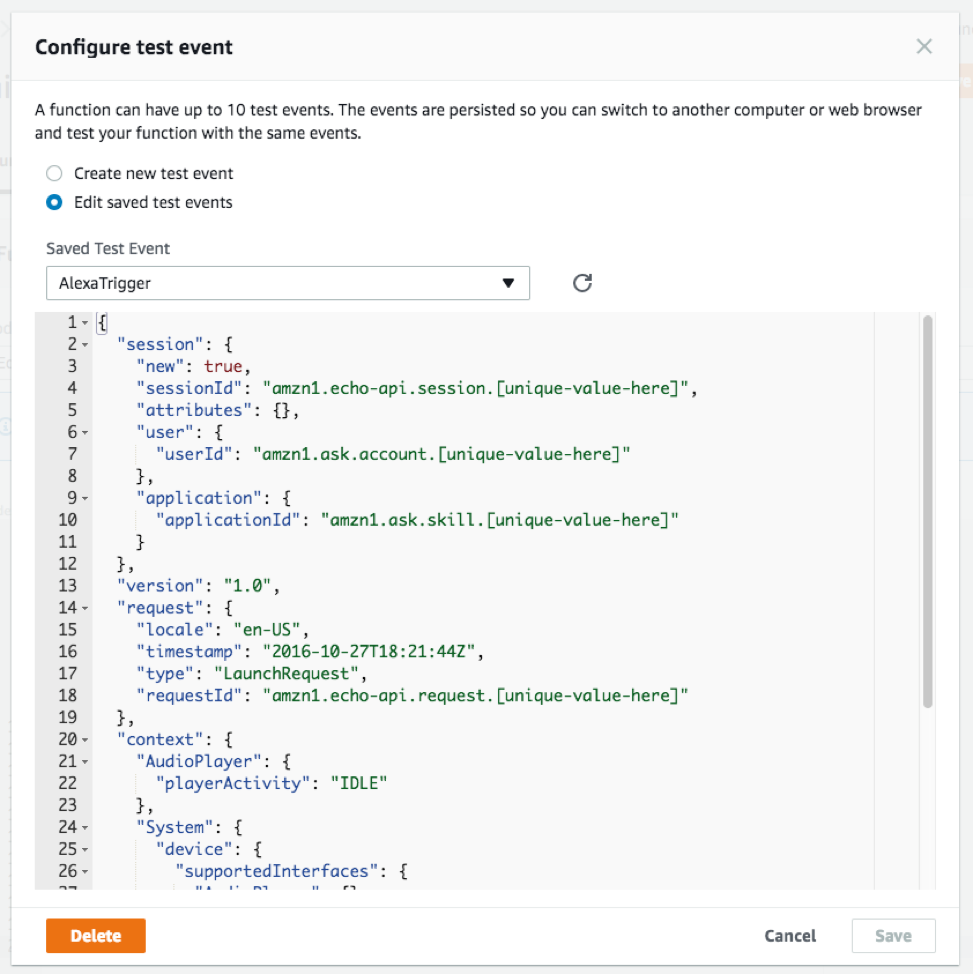
To add another event, choose Create new test event. Now you can choose from a list of templates or any of your previously saved test events. This is very useful for a couple of reasons:
- First, when you want to slightly tweak one of your existing events and still keep the earlier version intact.
- Second, when you are not sure how to structure a particular event from an event source. You can use one of the sample event templates and tweak them to your needs. Skip it when you know what your event should be.
Paste in your CloudWatch schedule event, give it a name, and choose Create. Repeat for API Gateway.
Now that you have three events saved, you can quickly switch between them and repeatedly test. Furthermore, if you’re on your desktop but you created the test events on your laptop, there’s no problem. You can still see all your events and you can switch back and forth seamlessly between different computers.
Conclusion
This feature should allow you to more easily test your Lambda functions through the console. If you have more suggestions, add a comment to this post or submit feedback through the console. We actually read the feedback, believe it!