AWS News Blog
AWS Management Console Now Supports Amazon Route 53
|
|
The AWS Management Console now includes complete support for Amazon Route 53. You can now create your hosted zones and set up the appropriate records (A, CNAME, MX, and so forth) in a convenient visual environment.
Let’s walk through the entire process of registering a domain at a registrar and setting it up in Route 53. Here are the principal steps:
- Buy a domain name from a registrar.
- Create a hosted zone.
- Update the NS (Name Server) records at the registrar.
- Set up hosting.
- Create an A record.
- Create an MX record for email.
As a bonus (no extra charge!) we’ll see how to set up Weighted Round Robin (WRR) DNS.
Buy a Domain
The first step in the process to acquire a domain name from a registrar. ICANN maintains a master list of accredited domain registrars. Choose a registrar based on the top-level domain (TLD) of the name that you want to register. Note that the next few screens will vary depending on the registrar that you choose. The basic search and data entry process will be more or less the same.
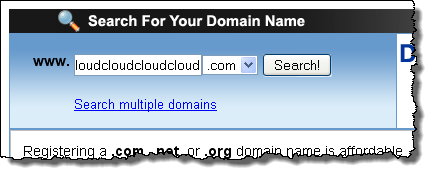
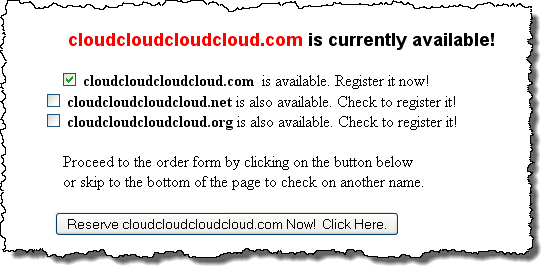
Let’s say that I want to register the domain cloudcloudcloudcloud.com. I search for the domain using the registrar’s search function and I find that it is available:
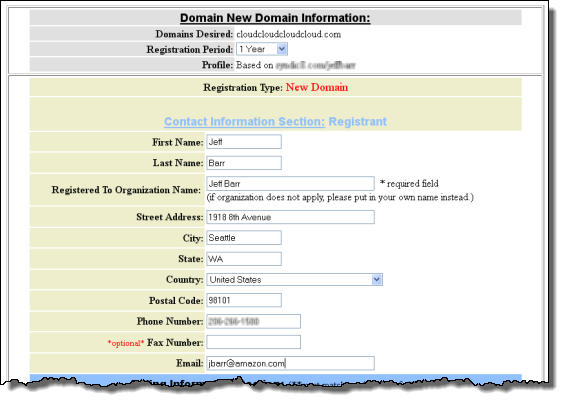
I fill out the contact and billing information, and proceed to pay for the domain name:
During the registration process I have the opportunity to change the name server (NS) records for my new domain. I will leave these as-is for now:

At this point the new domain exists. Now we need to establish two mappings:
- The first mapping is from the domain registrar to Route 53. This mapping tells the domain registrar (and any client application that performs a lookup on domain cloudcloudcloudcloud.com) that further information about the domain can be found in Route 53.
- The second mapping connects individual names within the domain (e.g. www.cloudcloudcloudcloud.com) to IP addresses or lists of IP addresses.
Before we can do this, we need to create a container, known in Route 53 terminology, as a Hosted Zone, for the domain.
Create a Hosted Zone
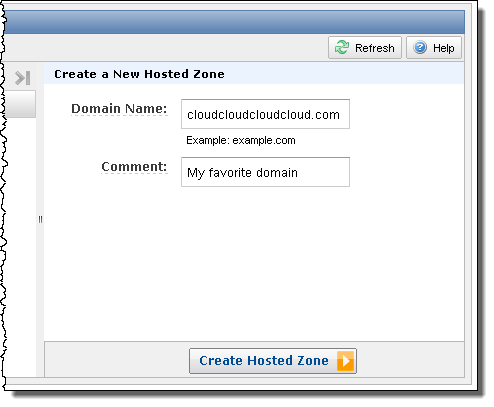
The next step is to visit the Route 53 tab of the console and click on the Create Hosted Zone button:

I fill out the form and create the zone:
Route 53 creates the hosted zone. Click on the zone will display the list of name servers (also known as the Delegation Set) for the hosted zone:
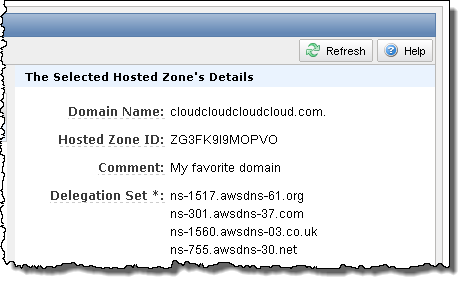
Copy the list and set it aside:
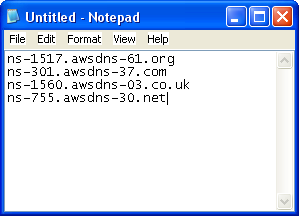
Update NS Records at the Registrar
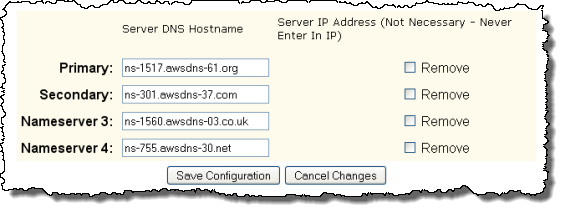
Now we can connect the domain’s entry at the registrar to Route 53. The interface for this will vary from registrar to registrar. I will select the option Change DNS NameServers at my registrar:

I delete the existing records and then enter the four new ones as replacements (your registrar will undoubtedly do this in a completely different way than mine does):

Set Up Hosting
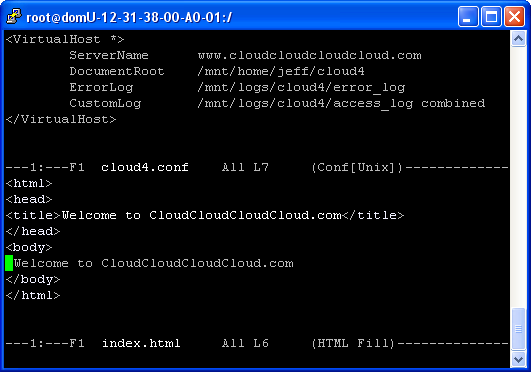
You will, of course, need a place to host your web site. This could be something as simple as an S3 bucket (see my post on S3 website hosting for more info), a single EC2 instance, or a load-balanced auto-scaled group of EC2 instances.
I’ll use one of my existing EC2 instances. I host a number of domains on the instance using name-based virtual hosting. I created a new configuration file and a simple index page:
Create an A Record
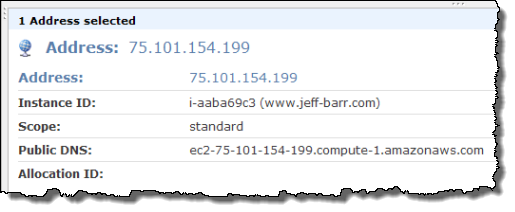
The next step is to create an A record (short for “Address”). In my case the A record will map the name “www” to the public IP address of my EC2 instance. I use an Elastic IP address for my instance (the actual address is 75.101.154.199):
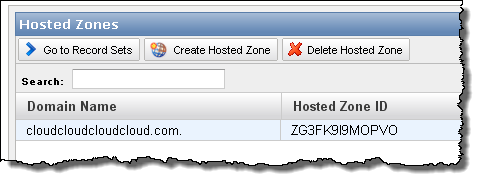
It is easy to create the A record in the console. Start by clicking on the button labeled Go to RecordSets:
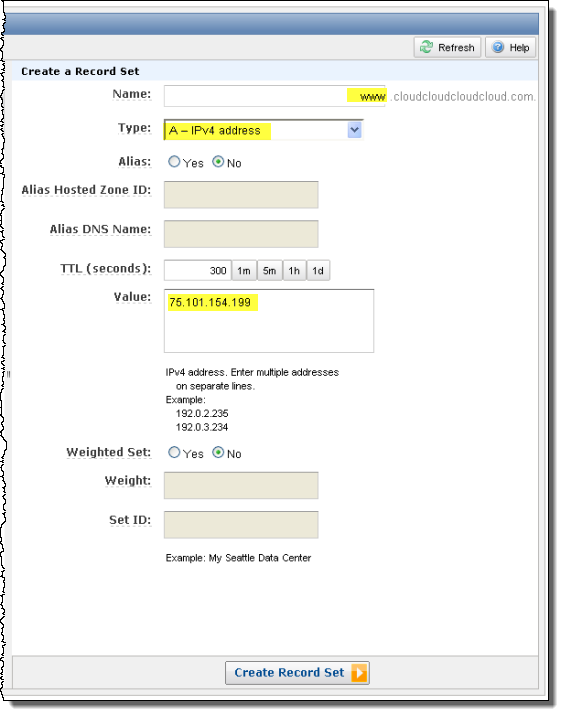
Then click on Create Record Set, fill in the resource name and IP address, and click Create Record Set. I’ve highlighted the relevant fields in yellow:
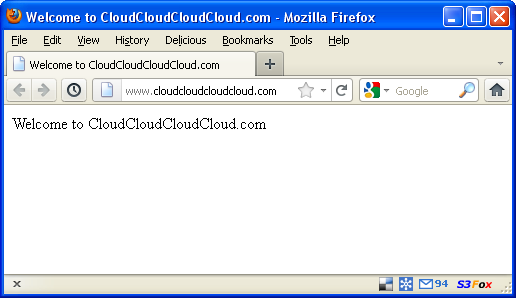
The information will be propagated to the Route 53 servers within seconds and the web site becomes accessible:
Create an MX Record
MX (Mail Exchange) records are used to route inbound email to the final destination. You can host and run an email server on an EC2 instance, or you can configure an external (third-party) email service provider so that it can receive email for your domain. I use an external provider for my own domains; here’s how I set it up for cloudcloudcloudcloud.com:

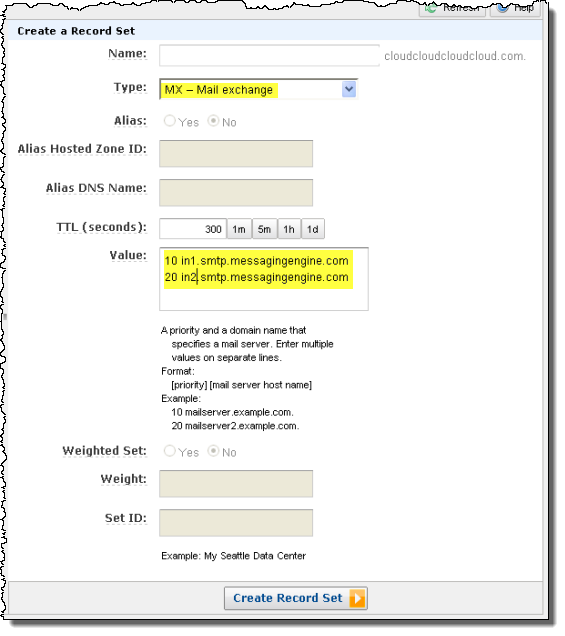
The next step is to create a pair of MX records (primary and secondary) for the domain. The Value field of the MX record will be specific to, and provided by, your email service provider:
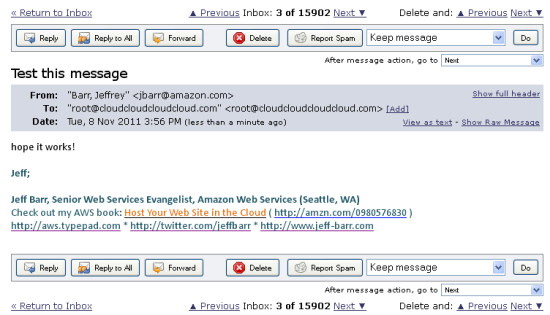
And (just to prove that it all works), here’s a test message:
Weighted Round Robin
Ok, so that covers the basics. Route 53 also supports Weighted Round Robin (WRR) record sets. You can use a WRR set to send a certain proportion of your inbound traffic to a test server for A/B testing. It is important to note, however, that WRR is based on DNS lookups, not on actual traffic.
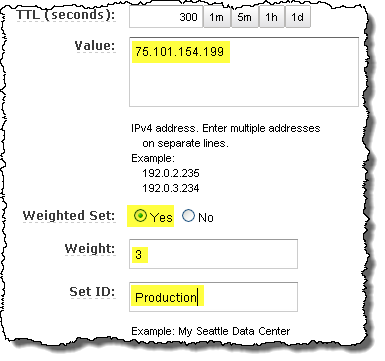
To implement WRR with Route 53, you will need multiple servers (and the corresponding IP addresses). I’ll use 75.101.154.199 (as seen above) and 107.20.250.2, a second Elastic IP that I allocated for demo purposes. Each record set has a weight. The proportion of a set’s weight to sum of the weights in all record sets with the same name (e.g. “www”) determines the approximate number of times that an IP address (there can be more than one) in the record set will be returned as the result of a DNS lookup.
Here’s what I ended up with. The first record set (“Production”) has a weight of 3:
And the second record set (“Test”) has a weight of 1:
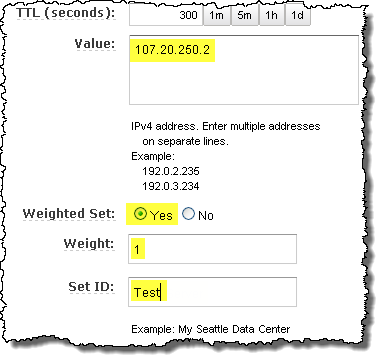
The sum of the weights of the record sets named “Web Server” is 4. Therefore, 3/4 of the DNS lookups for www.cloudcloudcloudcloud.com will return the first IP address and 1/4 will return the second IP address.
And there you have it! What do you think? Does this make it easier for you to manage your Amazon Route 53 DNS entries?
— Jeff;
