AWS News Blog
Live Streaming With Amazon CloudFront and Adobe Flash Media Server

|
You can now stream live audio or video through AWS using the Adobe Flash Media Server using a cost-effective pay-as-you-go model that makes uses of Amazon EC2, Amazon CloudFront, and Amazon Route 53, all configured and launched via a single CloudFormation template.
We’ve used AWS CloudFormation to make the signup and setup process as simple and straightforward as possible. The first step is to actually sign up for AWS CloudFormation. This will give you access to all of the AWS services supported by AWS CloudFormation, but you’ll pay only for what you use.
I’ve outlined the major steps needed to get up and running below. For more information, you’ll want to consult our new tutorial, Live Streaming Using Adobe Flash Media Player and Amazon Web Services.
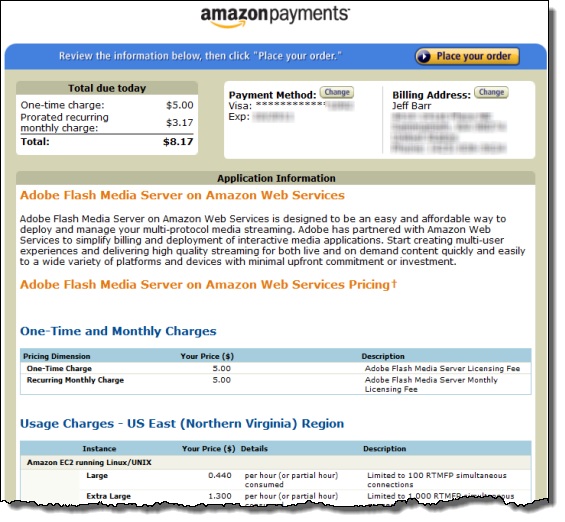
Once you’ve signed up, you need to order Flash Media Server for your AWS Account by clicking here. After logging in, you can review the subscription fee and other charges before finalizing your order:
Then you need to create a Route 53 hosted zone and an EC2 key pair. The tutorial includes links to a number of Route 53 tools and you can create the key pair using the AWS Management Console.
The next step is to use CloudFormation to create a Live Streaming stack. As you’ll see in the documentation, this step makes use of a new feature of the AWS Management Console. It is now possible to construct a URL that will open up the console with a specified CloudFormation template selected and ready to use. Please feel free to take a peek inside the Live Streaming Template to see how it sets up all of the needed AWS resources.
When you initiate the stack creation process you’ll need to specify a couple of parameters:
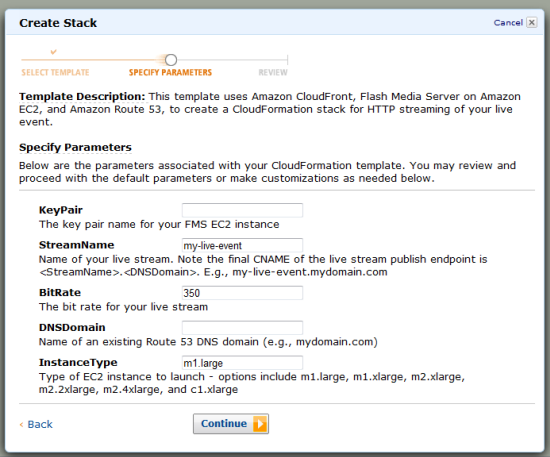
Note that you’ll need to specify the name of the Route 53 hosted domain that you set up earlier in the process so that it can be populated with a DNS entry (a CNAME) for the live stream.
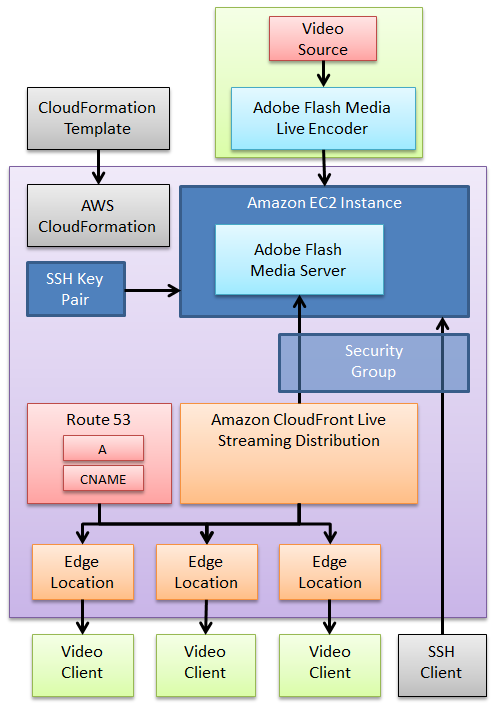
The CloudFormation template will create and connect up all of the following:
- An EC2 instance of the specified instance type running the appropriate Flash Media Server AMI and accessible through the given Key Pair. You can, if desired, log in to the instance using the SSH client of your choice.
- An EC2 security group with ports 22, 80, and 1935 open.
- A CloudFront distribution.
- An A record and a CNAME in the hosted domain.
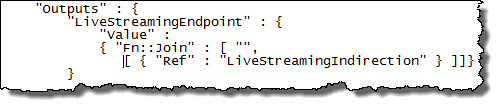
The template will produce the URL of the live stream as output:
The resulting architecture looks like this:
The clients connect to the EC2 instance every 4 seconds to retrieve the manifest.xml file. This is specified in the template and can be modified as needed. You have complete access to the Flash Media Server and you can configured it as desired.
Once you’ve launched the Flash Media Server, you can install and run the Flash Media Live Encoder on your desktop, connect it up to your video source, and stream live video to your heart’s content. After you are done, you can simply delete the entire CloudFormation stack to release all of the AWS resources. In fact, you must do this in order to avoid on-going charges for the AWS resources.
The CloudFormation template specifies the final customizations to be applied to the AMI at launch time. You can easily copy and then edit the script if you need to make low-level changes to the running EC2 instance.
As you can see, it should be easy for you to set up and run your own live streams using the Adobe Flash Media Server and AWS if you start out with our tutorial. What do you think?
Update: The newest version of CloudBerry Explorer includes support for this new feature. Read their blog post to learn more.
— Jeff;