Front-End Web & Mobile
AWS Amplify Studio now offers direct support for GraphQL APIs
AWS Amplify is excited to announce direct support for GraphQL APIs in AWS Amplify Studio. Now, the existing data-powered features in Studio, like Connected Forms and Data Manager, are available for every new and existing Amplify app — with or without DataStore.
What’s new?
Before today, many Amplify Studio features required all APIs to have a Conflict Resolution mode set, which enables Amplify DataStore. Amplify DataStore is a wrapper for your GraphQL API that uses local, on-device storage to handle data while a device is offline. DataStore uses your selected Conflict Resolution strategy to handle inconsistencies in your data that arise from offline use.
Developers have been asking us to extend our suite of Studio features to apps without DataStore, and we’ve listened. With this launch, Studio can now interface directly with all Amplify GraphQL APIs. For developers not using DataStore, the following features are now available:
Data Manager
Creating, managing, and seeding data to your GraphQL API can be time consuming and cumbersome. Data manager is a visual content manager that makes data management a breeze. Data manager is automatically connected to your API, and is always in sync with your data schema.
Figma to Code + data binding
Go from Figma designs to real time, cloud-connected components in just a few lines of code. Data binding with Figma to Code allows you to generate dynamic collections of unique components, powered by the data in your API.
Connected Forms
Get beautiful, cloud-connected React forms the minute you need them. Studio’s connected forms are automatically linked to your GraphQL API, and completely customizable, both in design and behavior.
Studio’s extended support applies to all existing Amplify apps as well. Just launch Studio, or add Studio to an existing app, and all Studio features will immediate be available for your app.
Build a new GraphQL API with Amplify Studio
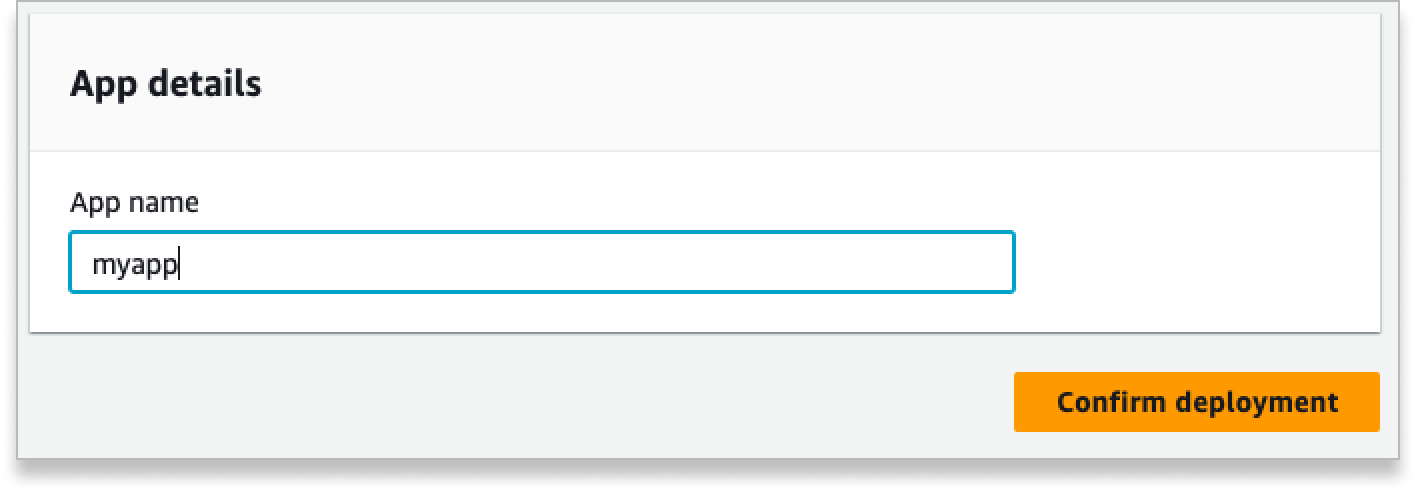
To build a new GraphQL API with Amplify Studio, you’ll first need to open a new or existing Amplify app and launch Studio. You can find your existing Amplify apps in the Amplify console, or you can create a new app. If you create a new app, provide your app and name, and select “Confirm deployment.”
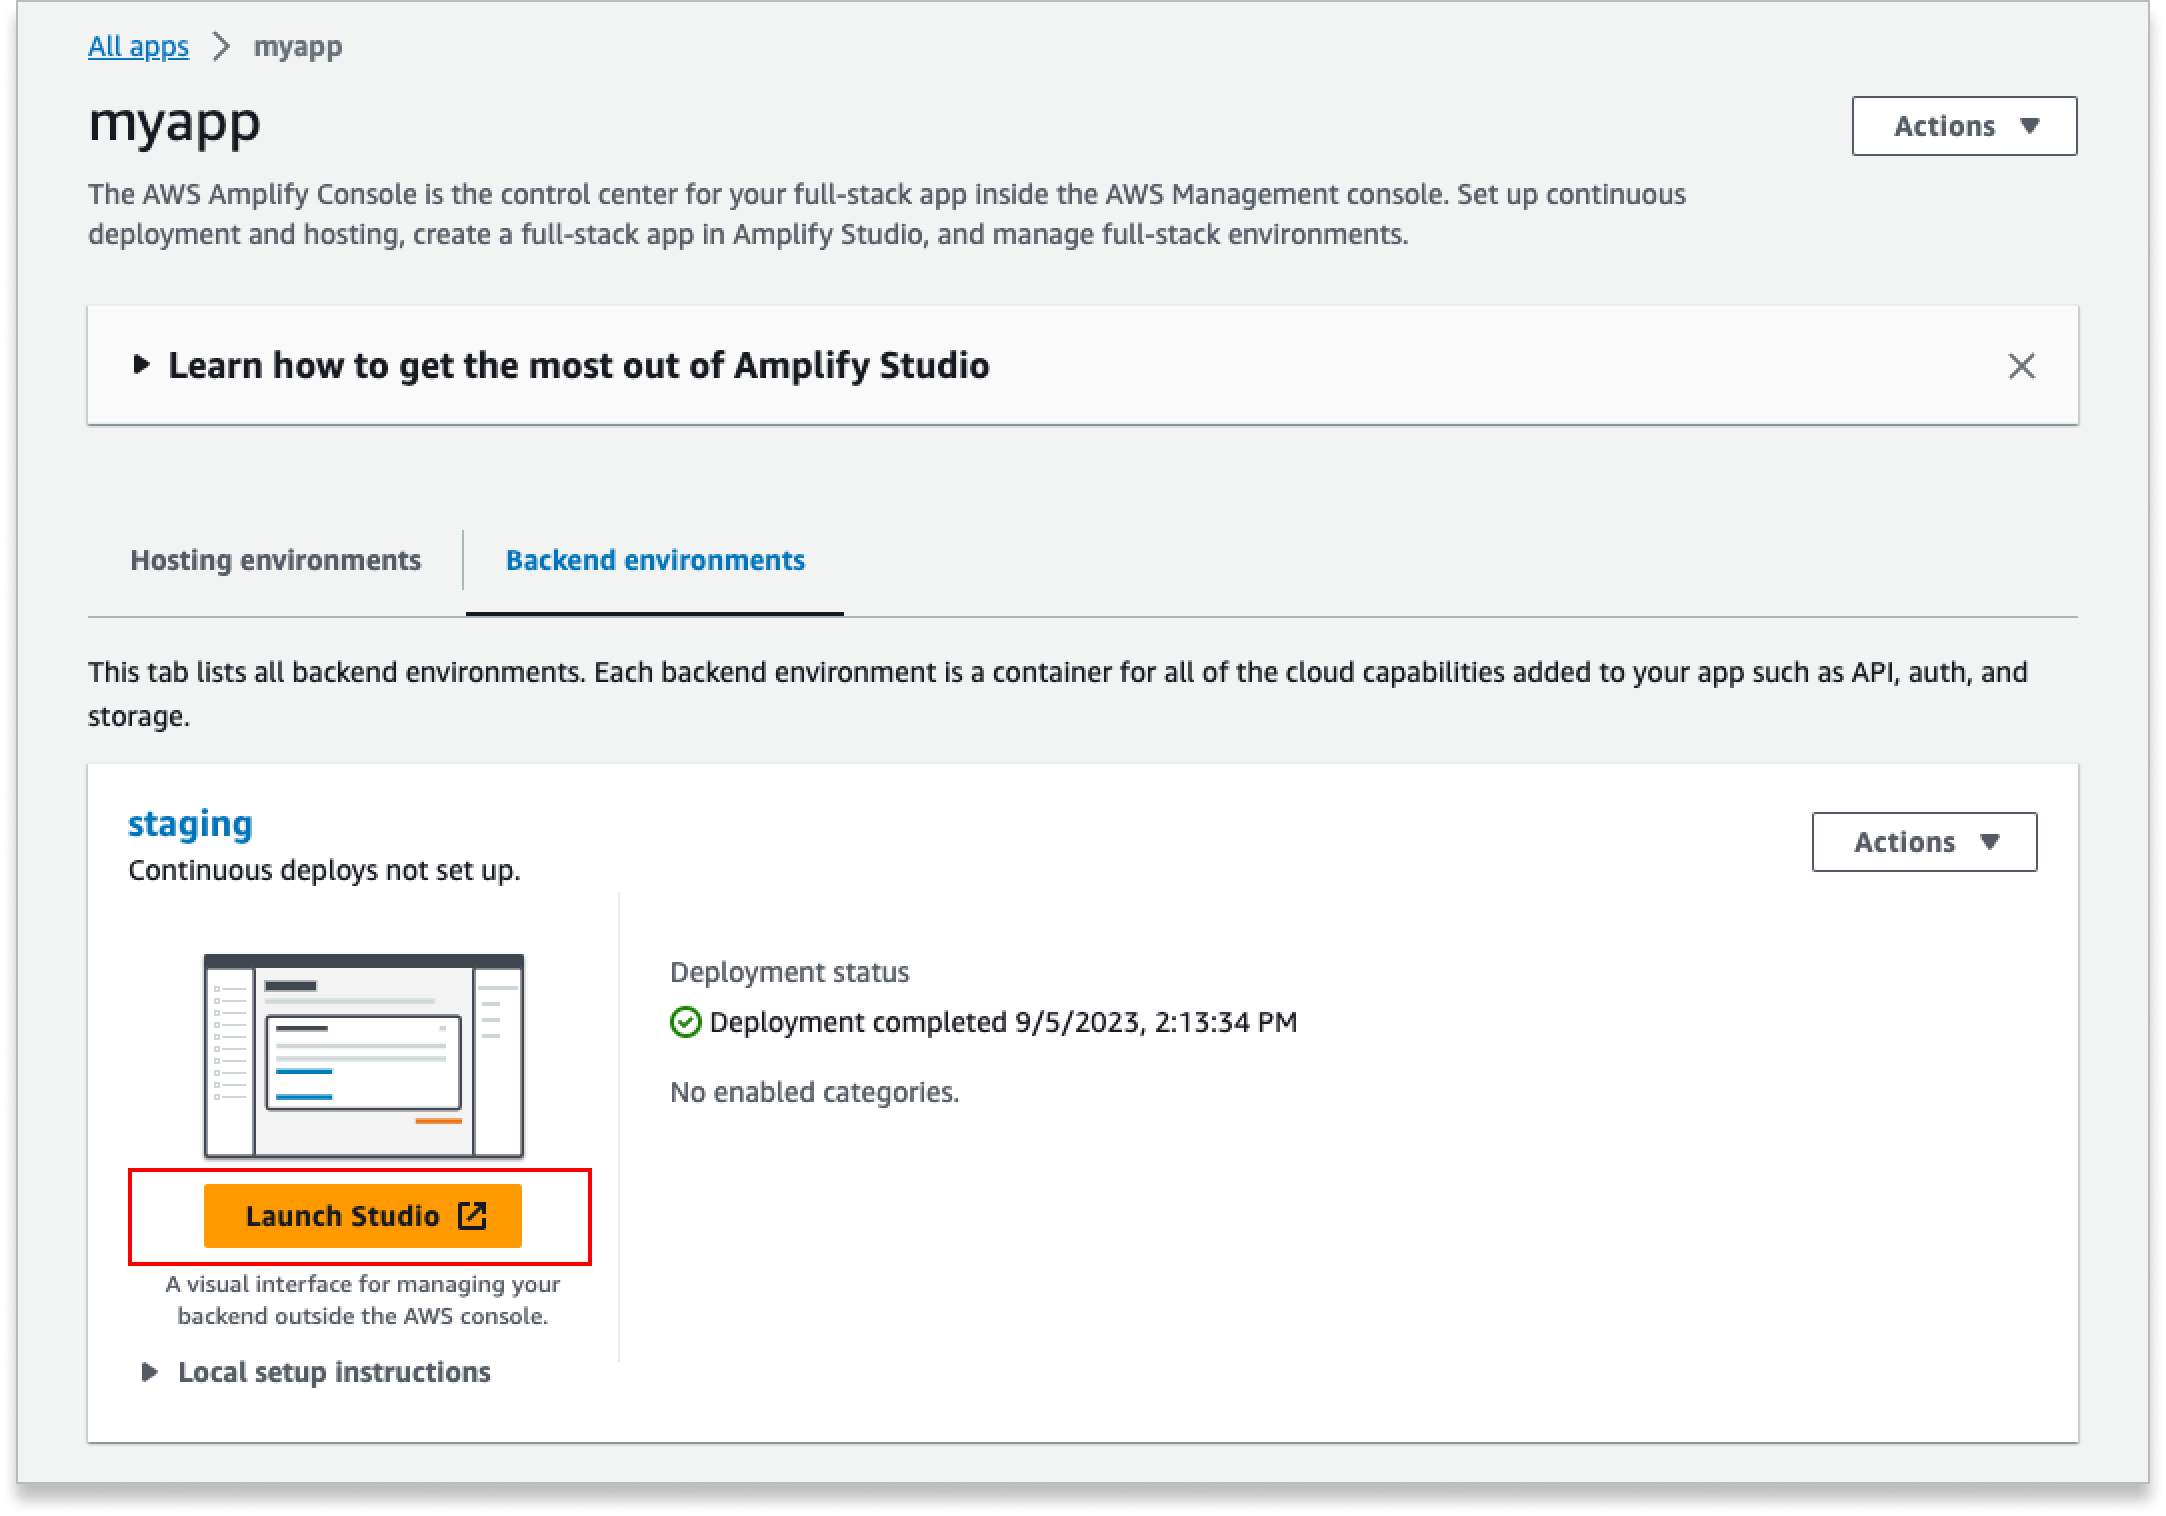
After deployment is complete, use the “Launch Studio” button to open Studio.
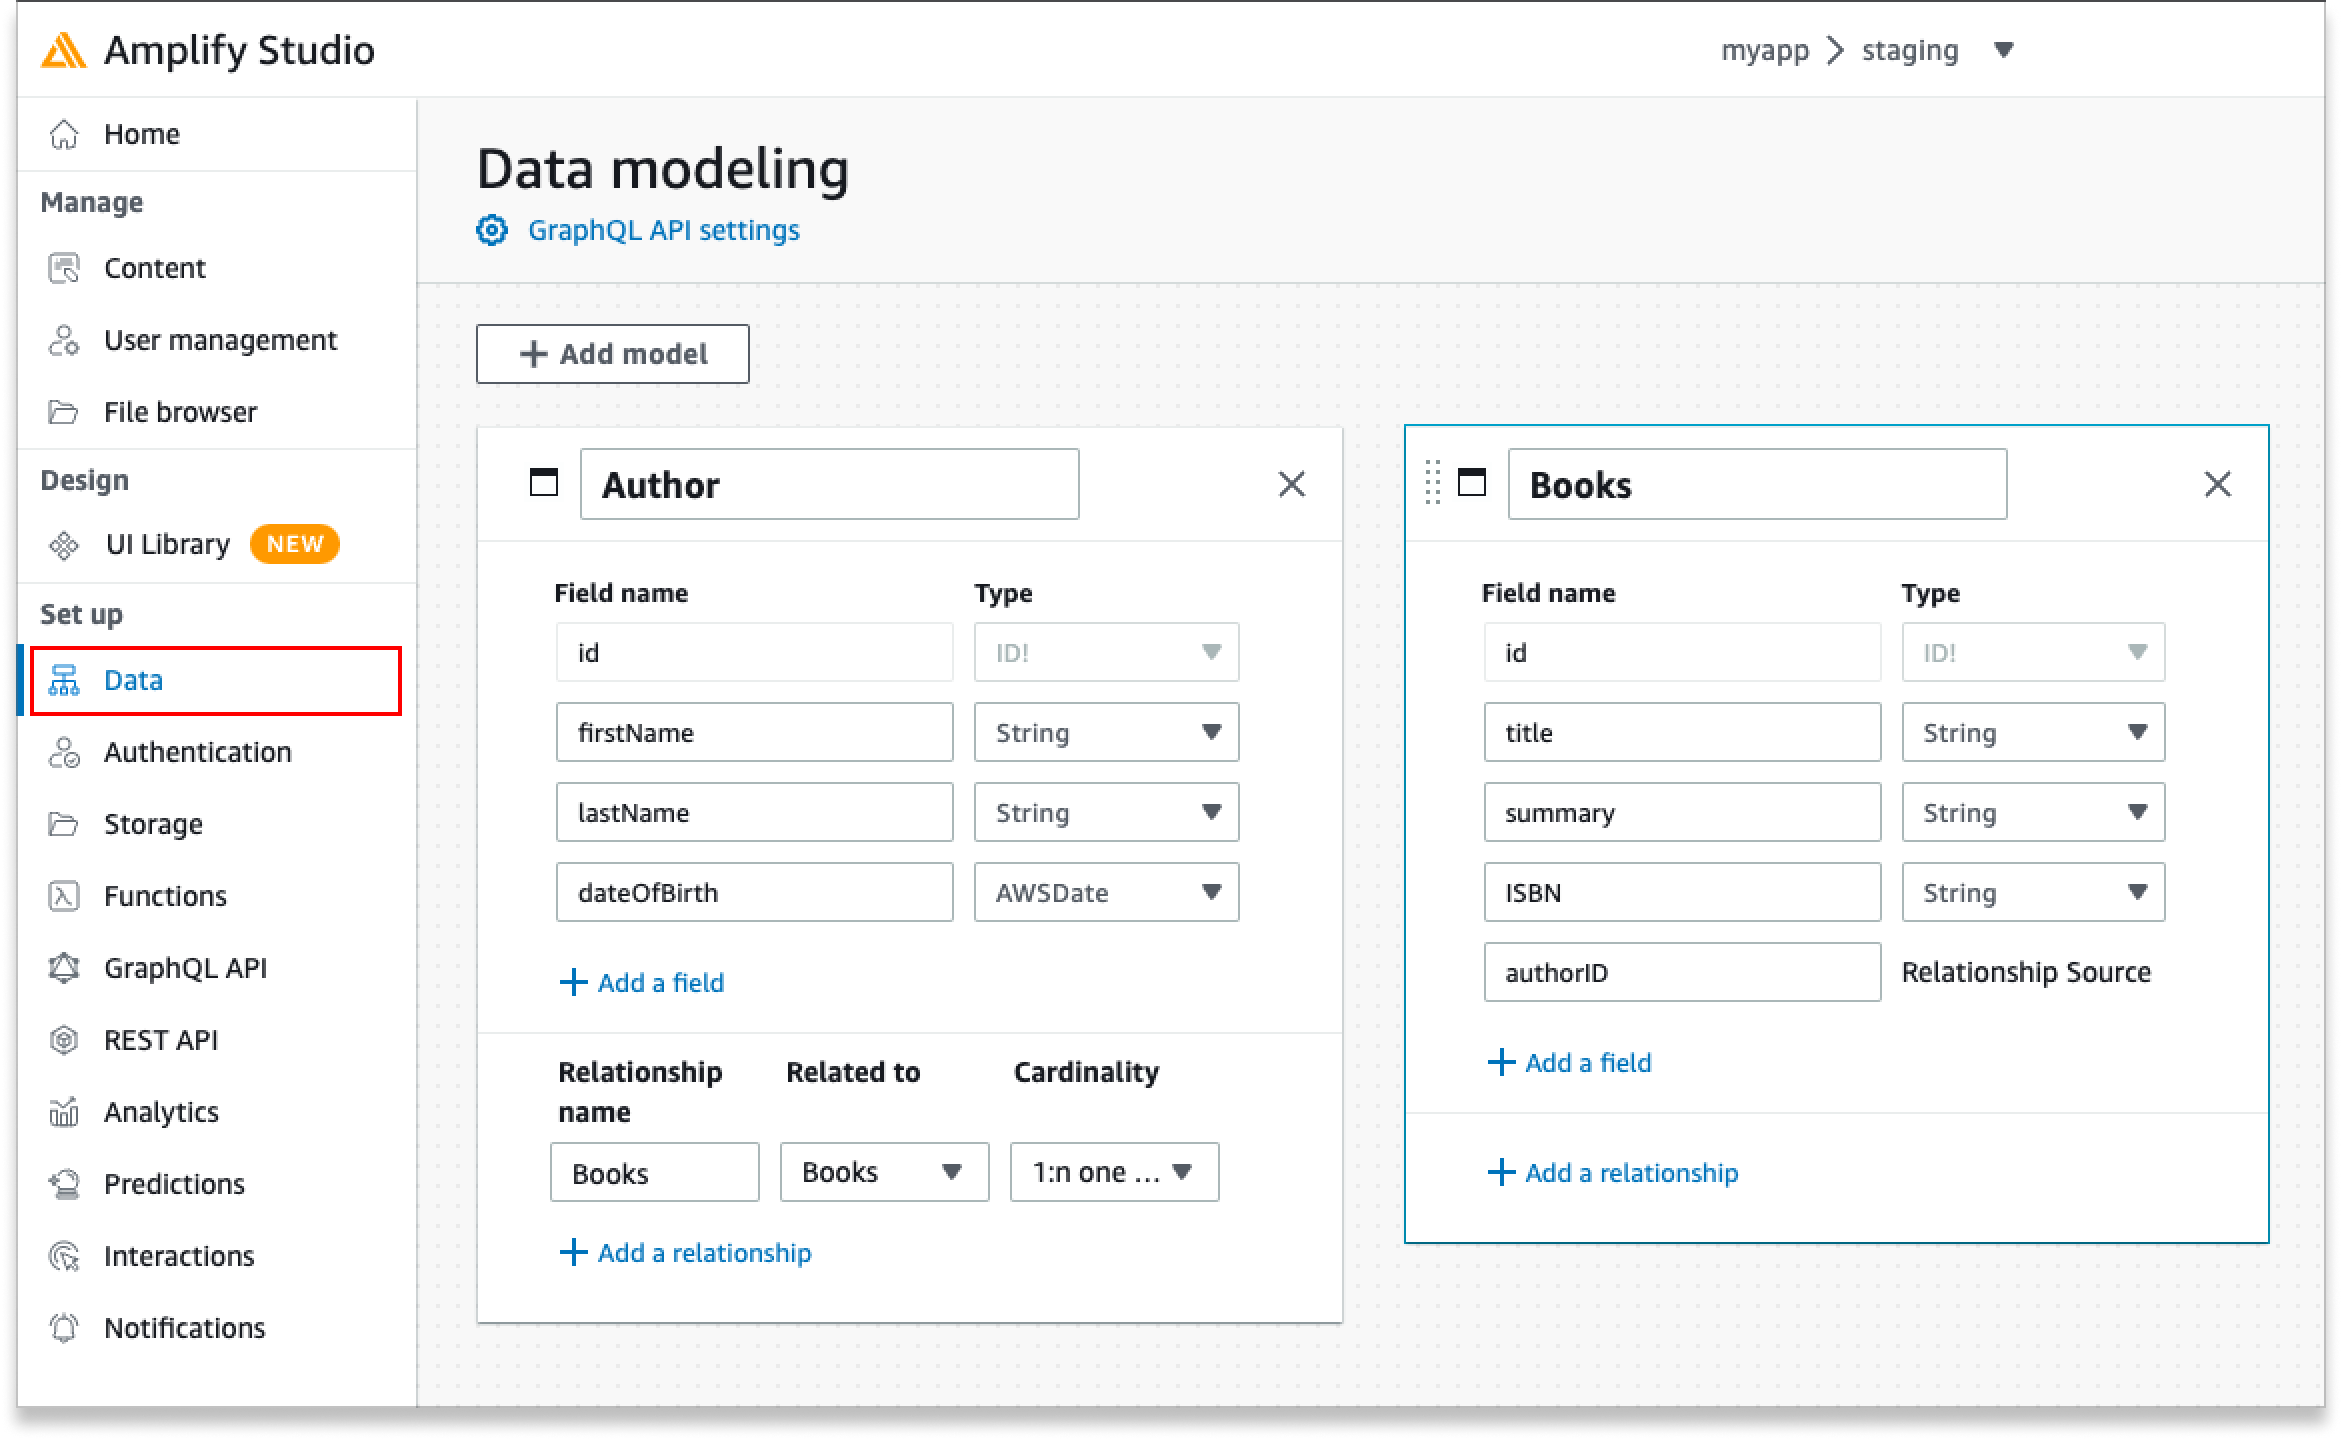
Once you’ve opened Studio, select the Data tab in the left-hand nav bar to open the visual data modeler. Click “Add model” to create and define a table in your schema. When you’re happy with your schema, select the Save and Deploy button in the upper right-hand corner.
Upon submission, Amplify will generate a new GraphQL API with your schema. After your API has been deployed, your Amplify backend is ready to be added to a local project. Copy the generated amplify pull command and run it in the root directory of your local project to import your newly created API.

If you don’t have a local project already, you can follow our documentation to get started with a NextJS app, or any other supported framework.
Once you’ve completed amplify pull, your API is ready for use. Run amplify add codegen to have the Amplify CLI automatically generate GraphQL queries, and then use the Amplify Library for your framework or language to interface with your data.
Important note: During amplify add codegen, we recommend setting your query depth to 4. This ensures all Studio features will work as expected. You can change your query depth at any time by running amplify configure codegen
Change your Conflict Resolution settings
By default, Amplify will now provision your GraphQL API with Conflict Resolution disabled. While Conflict Resolution is disabled, Amplify will interface directly with your GraphQL API using the Amplify libraries. If your app needs to work both offline and online, you can activate Conflict Resolution to enable DataStore.
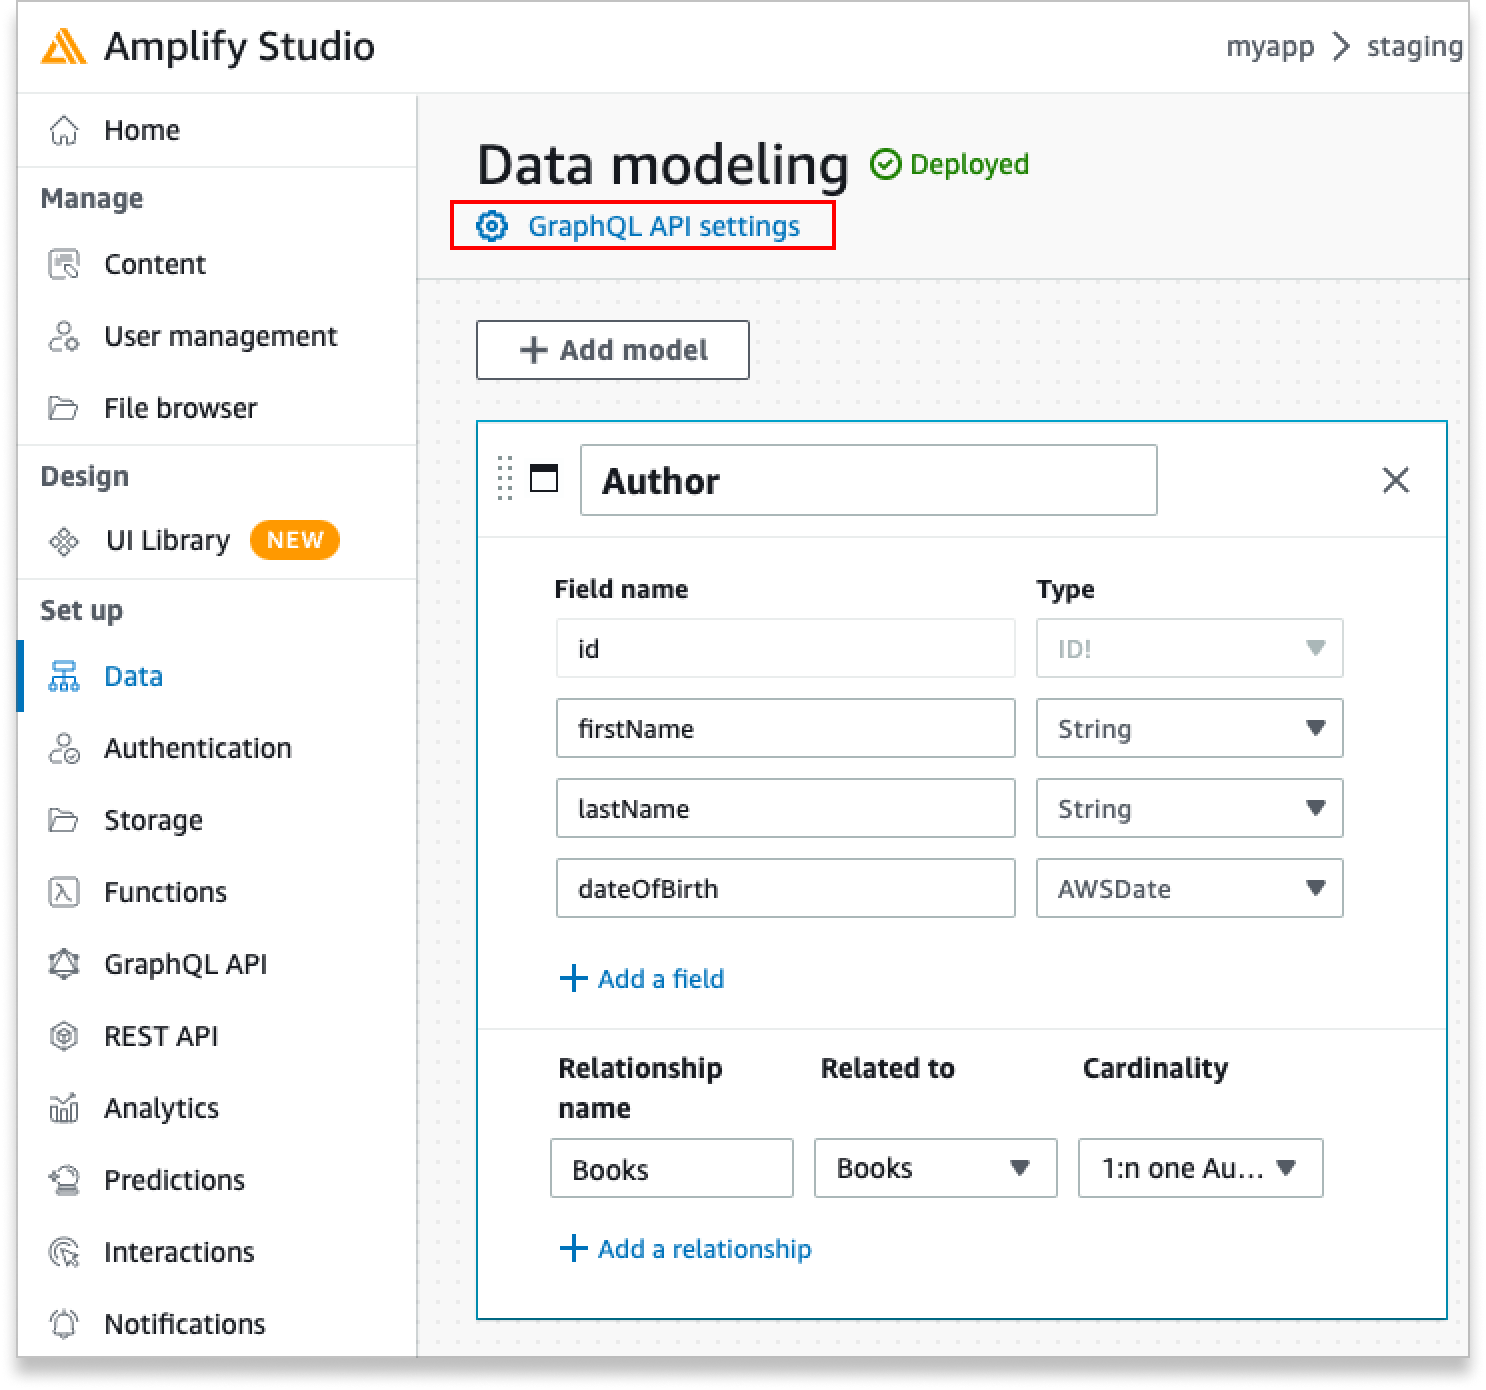
To enable/disable Conflict Resolution, or to change your Conflict Resolution strategy, navigate to the Data tab and select GraphQL API Settings.
 In your GraphQL API Settings, click the switch to enable or disable Conflict Resolution. If Conflict Resolution is enabled, you can select from available Conflict Resolution strategies via the dropdown.

After making your configurations, click “Back to Data Modeling” in the upper left-hand corner, and “Save and Deploy” to apply your changes. Finally, use the terminal to run amplify pull in the root directory of your project, and your API – with its updated settings – will be ready for use.
IMPORTANT NOTE: Disabling Conflict Resolution is a destructive change to your data. We recommend only changing Conflict Resolution settings on GraphQL APIs with no data. Learn more in our documentation.
Get started today
Amplify Studio makes visually designing and deploying a GraphQL API simple, and provides you tools like Data Manager, Figma to Code, and connected forms to help you differentiate your app. Whether you’re a new Studio user or a long time Amplify developer, Studio has something to help accelerate your app development. Get started building a Studio app in the AWS console today.