AWS Storage Blog
Getting started with CloudEndure Disaster Recovery projects
CloudEndure Disaster Recovery minimizes downtime and data loss by providing fast, reliable recovery of physical, virtual, and cloud-based servers into AWS. Customers use CloudEndure to protect their most critical applications.
One of the first tasks you’ll encounter when working with CloudEndure Disaster Recovery is to create a project in the CloudEndure console. We often get questions, such as when should I create a new or different project? What are the best practices for setting up the projects within CloudEndure? Are there limitations? How many projects can I create?
In this blog, I explain CloudEndure projects in detail. I cover some restrictions, and provide example scenarios for creating new projects. Finally, I walk you through creating your own CloudEndure project.
What is a CloudEndure project?
Organizing and running CloudEndure Disaster Recovery is based on creating projects. A project is a part of an account, and is associated with one of the license packages of the account. Each project has its own installation token. This installation token is used to install agents on the source machines of the project. The monitoring and managing of the source machines is done at the project level.
Scenarios for creating new CloudEndure projects
Sometimes it makes sense to organize your projects into multiple projects. The following are some examples of when you should create a new CloudEndure project instead of adding to an existing CloudEndure project.
Replicating to a different AWS account
If you have machines that must replicate into different AWS accounts, create new projects for each of those AWS accounts.
Replicating to a different Region
If you have machines that must replicate into different AWS Regions, then you should create new projects for each of those Regions. Keep in mind the rule is one Region per project.
Setting up different tiers for your machines
To separate your machines based on tiers, use different projects. Each project can be strategically created into tier 1, tier 2, or tier 3. The previous example (different Region/account) helps you define your disaster recovery (DR) strategy planning. Grouping your machines into “tiers” within CloudEndure does not represent different Recovery Time Objectives (RTO) or Recovery Point Objectives (RPO) for those machines. You will have continuous replication regardless.
Grouping machines based on customers, department, or application
Use projects to separate your machines based on customers, departments, or the application. If you offer IT as a service, separating projects can help serve your end users since you may have a different AWS account for cost center purposes. Separating departments allows you to meet the different DR requirements per department, such as finance or DevOps.
Restrictions with CloudEndure projects
Now that you have an understanding of what projects are, it’s also important to understand a couple of general restrictions.
- CloudEndure supports up to 100 projects per single CloudEndure account. This is a soft limit. If you want to increase the number of projects in an account beyond 100, contact CloudEndure support.
- CloudEndure does recommend including no more than 300 machines per project. This helps prevent unexpected behavior within the console and helps you manage your machines within each project. If you have more than 300 machines, divide them into two or more CloudEndure projects.
- When moving a machine from one project to another, the target Region must be the same between the two projects. The data has already replicated to your target Region and this prevents it from being replicated twice. You may have to move one or more machines from a failed over scenario and prepare them for failback. CloudEndure requires the entire project to be failed back. If you only need one, or a few machines, you can move them to another project.
How to create a new project
You should have a better understanding of the best practices and scenarios associated with CloudEndure projects. This section describes how to create a new project in the console.
The first step is to create a project. Only the account owner and admin can create a project.
To install agents on a source machine as part of a project, the project must be associated with a license package with the appropriate licenses.
Note: If you want to increase the number of projects in an account beyond 100, contact CloudEndure support.
In the CloudEndure console, select the + button on the upper left corner, as shown in the following screenshot:

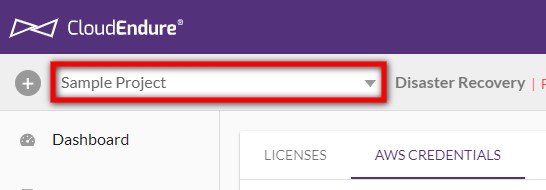
If there are already projects in your console, the + button appears in gray to the left of the project list, as shown in the following screenshot:

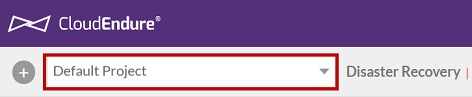
If you registered and purchased your licenses via the AWS Marketplace, a Default Project is already set up for you. In this case, you can start working with the Default Project, or create new projects.
On the Create New Project dialog box, enter a unique Project name. The name can contain up to 255 characters. Then click CREATE PROJECT.
Note: After you create a Project, you can change its name but you cannot change the values of the Project type and Target cloud. If you want a Project with different settings, create a new Project in the Account.

Your new project is created and now appears in the Project lists on the top left.
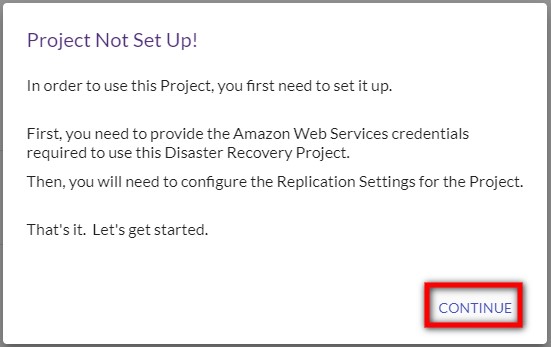
You will receive a message stating that your project is not set up until you provide credentials and configure its Replication Settings. Click CONTINUE to dismiss the message.
Renaming and deleting projects
You can change the name of or delete an existing project. Renaming does not affect the operation of the project.
Renaming a project
From the Project list in the CloudEndure console, select the project whose name you want to change.
Select the Setup & Info menu, and click the OTHER SETTINGS tab.
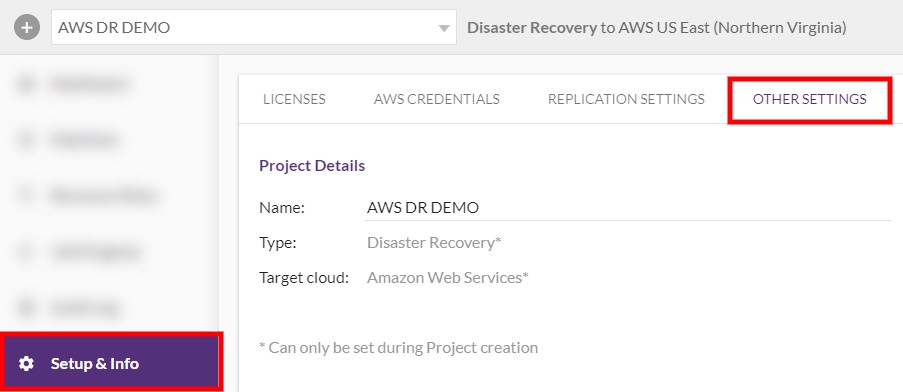
On the Project Details section, for Name, enter a new name for the project. Click the CHANGE PROJECT NAME button.

Deleting a project
Deleting a project removes the following from the target infrastructure:
- Replication Servers
- Conversion Servers
- Snapshots
- Staging Area Volumes
In addition, CloudEndure Agents are uninstalled from the Source infrastructure.
Notes when deleting a project:
- The deletion of certain resources may take longer than others.
- Target machines and related Target resources are NOT deleted following a project deletion.
- Deleting a project is highly destructive. Do not delete a project unless you are absolutely sure that you want to delete it.
From the Project list, select the Project you want to delete.
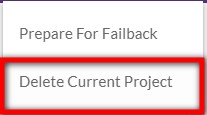
Click the PROJECT ACTIONS button at the top-right, and select the Delete Current Project action.
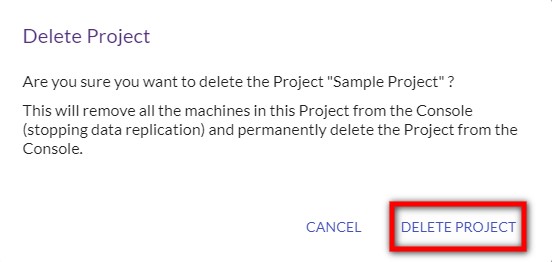
A message appears, asking you to confirm the deletion. Click the DELETE PROJECT button.
Conclusion
CloudEndure Disaster Recovery reduces downtime and protects against data loss. This post showed you how to get started using this service by creating a CloudEndure project, including best practices, and use case scenarios. Applying these methods helps you easily manage CloudEndure Disaster Recovery and protect your machines.
If you have any comments or questions, you can leave them in the comments section. For more information about CloudEndure Disaster Recovery, you can visit our technical documentation.