AWS News Blog
New – EC2 Compute Instances for AWS Snowball Edge

|
I love factories and never miss an opportunity to take a tour. Over the years, I have been lucky enough to watch as raw materials and sub-assemblies are turned into cars, locomotives, memory chips, articulated buses, and more. I’m always impressed by the speed, precision, repeat-ability, and the desire to automate every possible step. On one recent tour, the IT manager told me that he wanted to be able to set up and centrally manage the global collection of on-premises industrialized PCs that monitor their machinery as easily and as efficiently as he does their EC2 instances and other cloud resources.
Today we are making that manager’s dream a reality, with the introduction of EC2 instances that run on AWS Snowball Edge devices! These ruggedized devices, with 100 TB of local storage, can be used to collect and process data in hostile environments with limited or non-existent Internet connections before shipping the processed data back to AWS for storage, aggregation, and detailed analysis. Here are the instance specs:
| Instance Name | vCPUs | Memory |
| sbe1.small | 1 | 1 GiB |
| sbe1.medium | 1 | 2 GiB |
| sbe1.large | 2 | 4 GiB |
| sbe1.xlarge | 4 | 8 GiB |
| sbe1.2xlarge | 8 | 16 GiB |
| sbe1.4xlarge | 16 | 32 GiB |
Each Snowball Edge device is powered by an Intel® Xeon® D processor running at 1.8 GHz, and supports any combination of instances that consume up to 24 vCPUs and 32 GiB of memory. You can build and test AMIs (Amazon Machine Images) in the cloud and then preload them onto the device as part of the ordering process (I’ll show you how in just a minute). You can use the EC2-compatible endpoint exposed by each device to programmatically start, stop, resume, and terminate instances. This allows you to use the existing CLI commands and to build tools and scripts to manage fleets of devices. It also allows you to take advantage of your existing EC2 skills and knowledge, and to put them to good use in a new environment.
There are three main setup steps:
- Creating a suitable AMI.
- Ordering a Snowball Edge Device.
- Connecting and Configuring the Device.
Let’s take an in-depth look at the first two steps. Time was tight and I didn’t have time to get hands-on experience with an actual device, so the third step will have to wait for another time.
Creating a Suitable AMI
I have the ability to choose up to 10 AMIs that will be preloaded onto the device. The AMIs must be owned by my AWS account, and must be based on one of the following Marketplace AMIs:
- Ubuntu Server 14.04 LTS (HVM)
- Ubuntu Server 16.04 LTS – Xenial (HVM)
- CentOS7 with Updates (HCM)
These AMIs have been tested for use on Snowball Edge devices and can be used as a starting point for customization. We will be adding additional options over time, so let us know what you need.
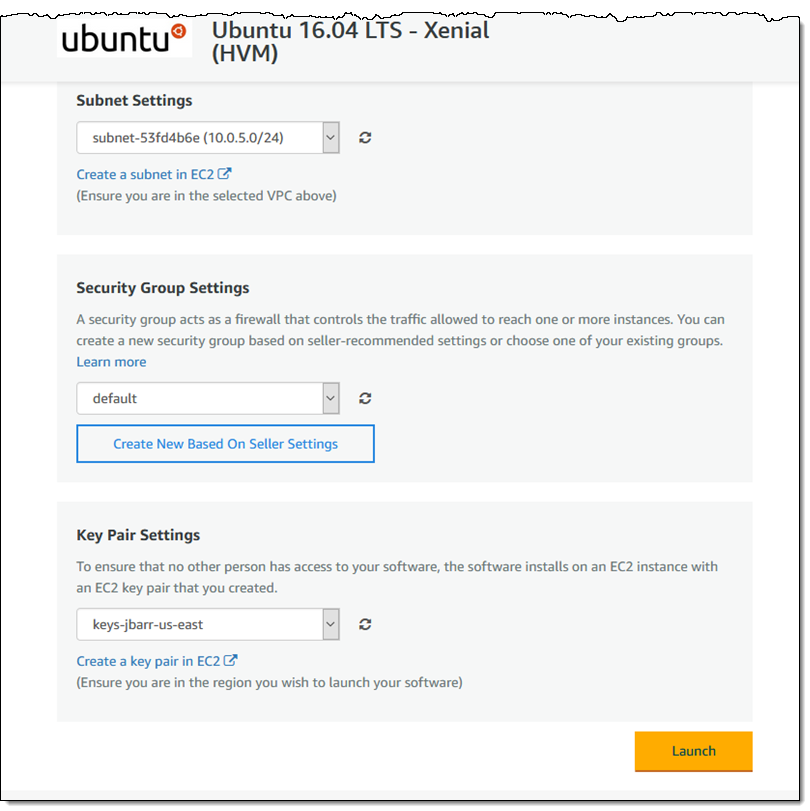
I decided to start with the newest Ubuntu AMI, and launch it on an M5 instance, taking care to specify the SSH keypair that I will eventually use to connect to the instance from my terminal client:
After my instance launches, I connect to it, customize it as desired for use on my device, and then return to the EC2 Console to create an AMI. I select the running instance, choose Create Image from the Actions menu, specify the details, and click Create Image:
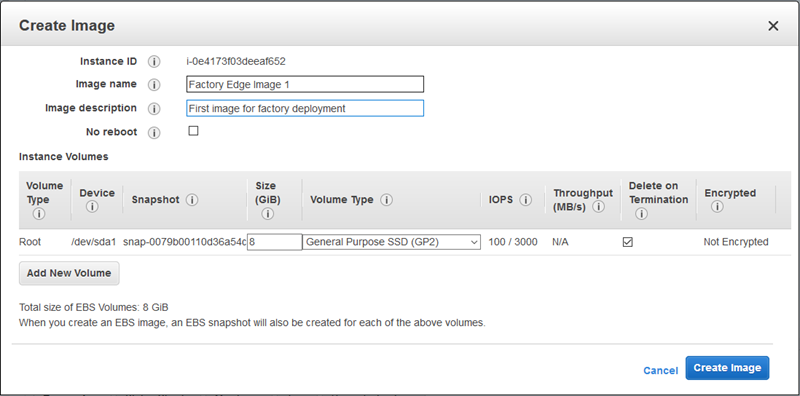
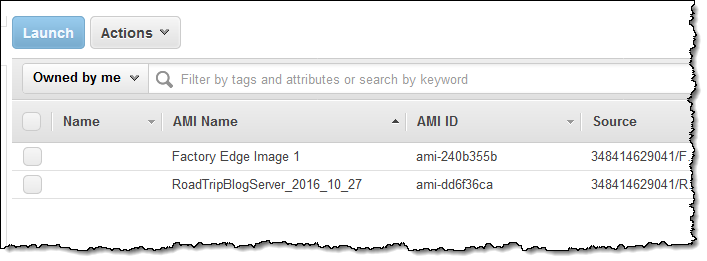
The size of the root volume will determine how much of the device’s SSD storage is allocated to the instance when it launches. A total of one TB of space is available for all running instances, so keep your local file storage needs in mind as your analyze your use case and set up your AMIs. Also, Snowball Edge devices cannot make use of additional EBS volumes, so don’t bother including them in your AMI. My AMI is ready within minutes (To learn more about how to create AMIs, read Creating an Amazon EBS-Backed Linux AMI):
Now I am ready to order my first device!
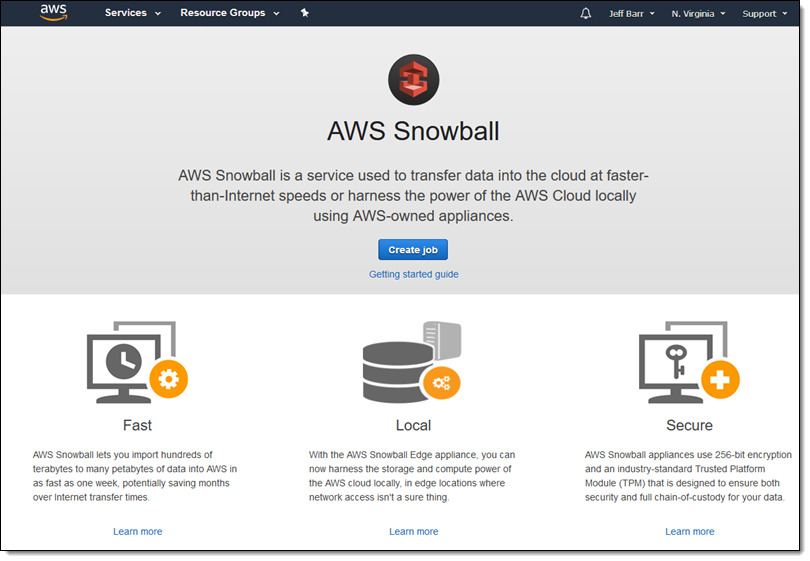
Ordering a Snowball Edge Device
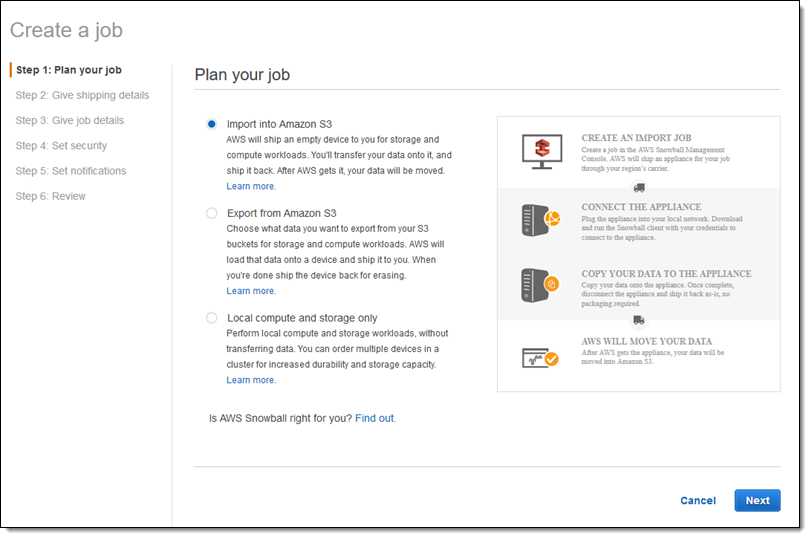
The ordering procedure lets me designate a shipping address and specify how I would like my Snowball device to be configured. I open the AWS Snowball Console and click Create job:
I specify the job type (they all support EC2 compute instances):
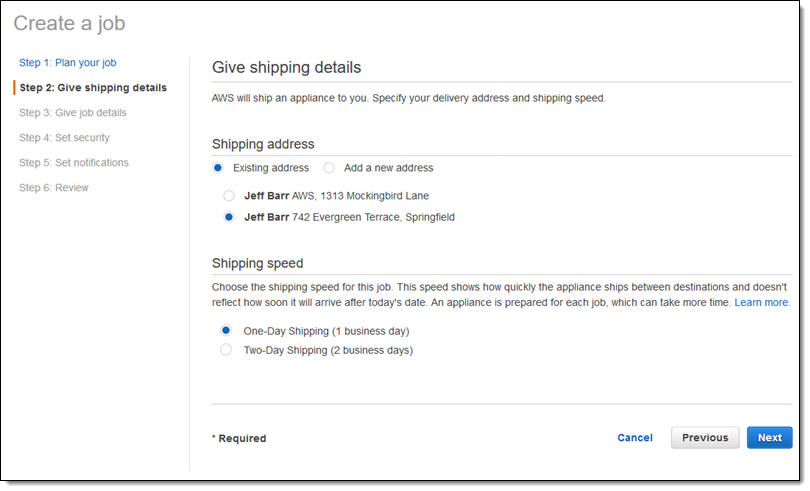
Then I select my shipping address, entering a new one if necessary (come and visit me):
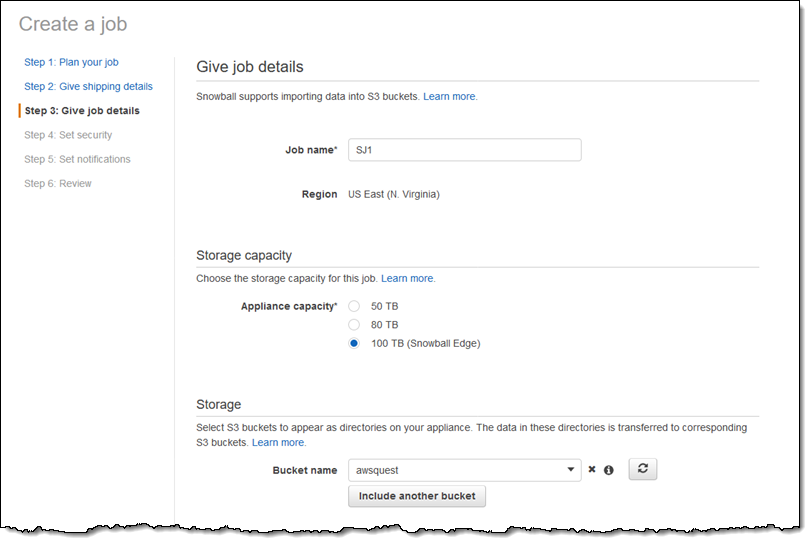
Next, I define my job. I give it a name (SJ1), select the 100 TB device, and pick the S3 bucket that will receive data when the device is returned to AWS:
Now comes the fun part! I click Enable compute with EC2 and select the AMIs to be loaded on the Snowball Edge:
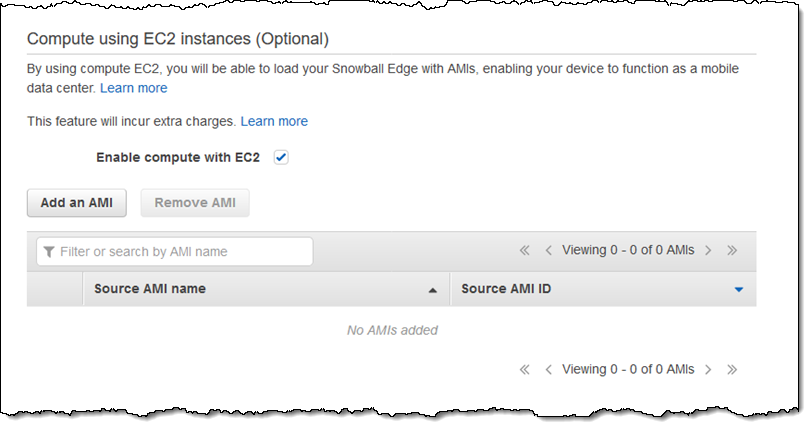
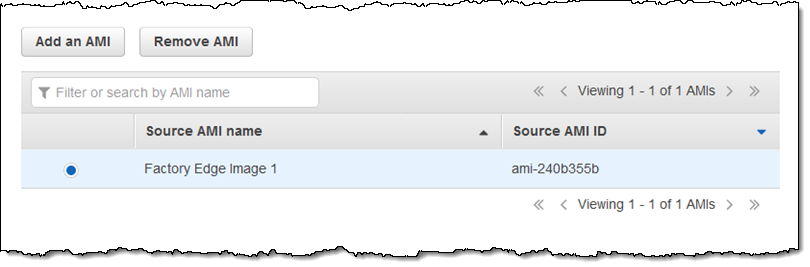
I click Add an AMI and find the one that I created earlier:
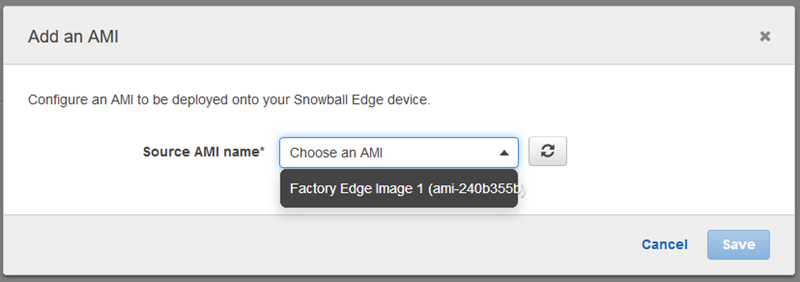
I can add up to ten AMIs to my job, but will stop at one for this post:
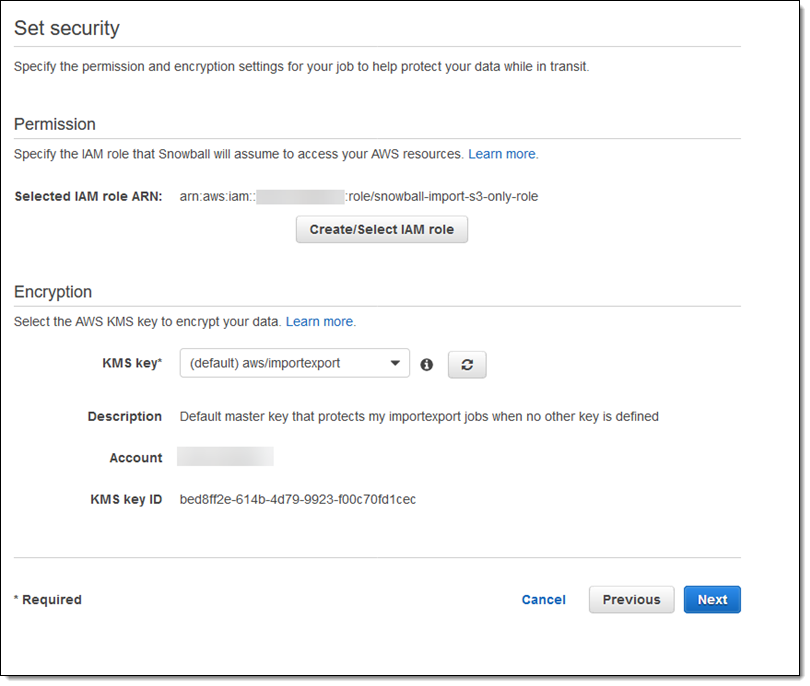
Next, I set up my IAM role and configure encryption:
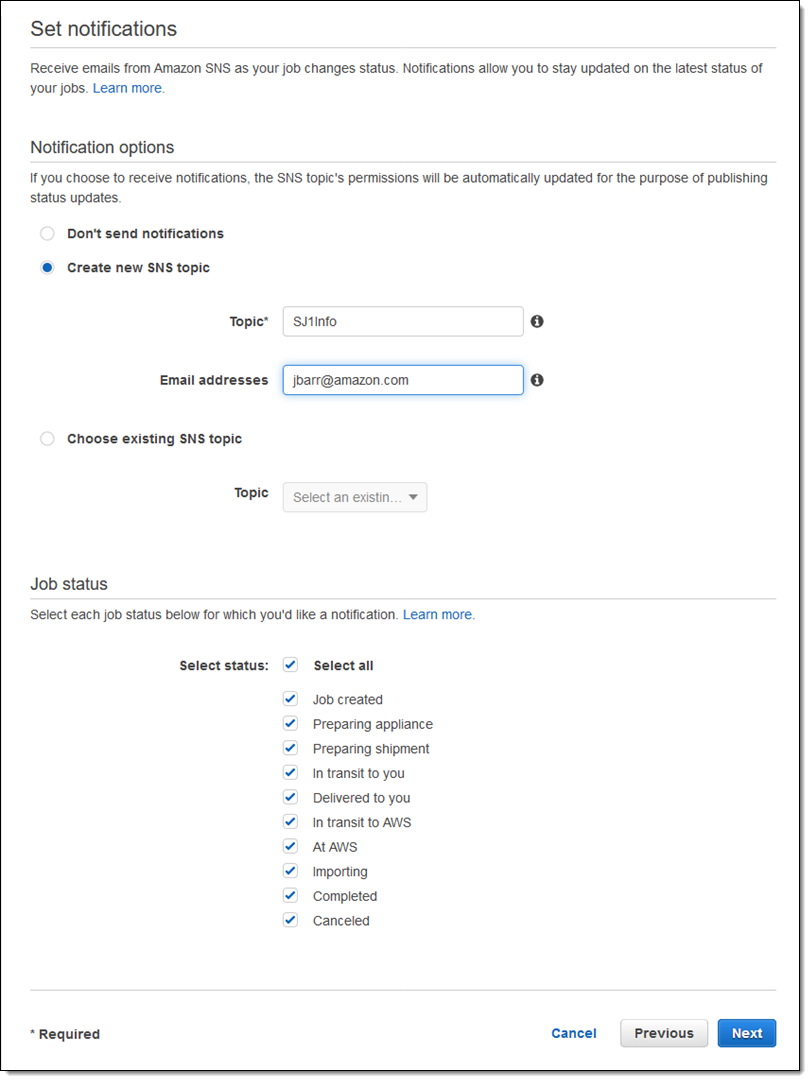
Then I configure the optional SNS notifications. I can choose to receive notification for a wide variety of job status values:
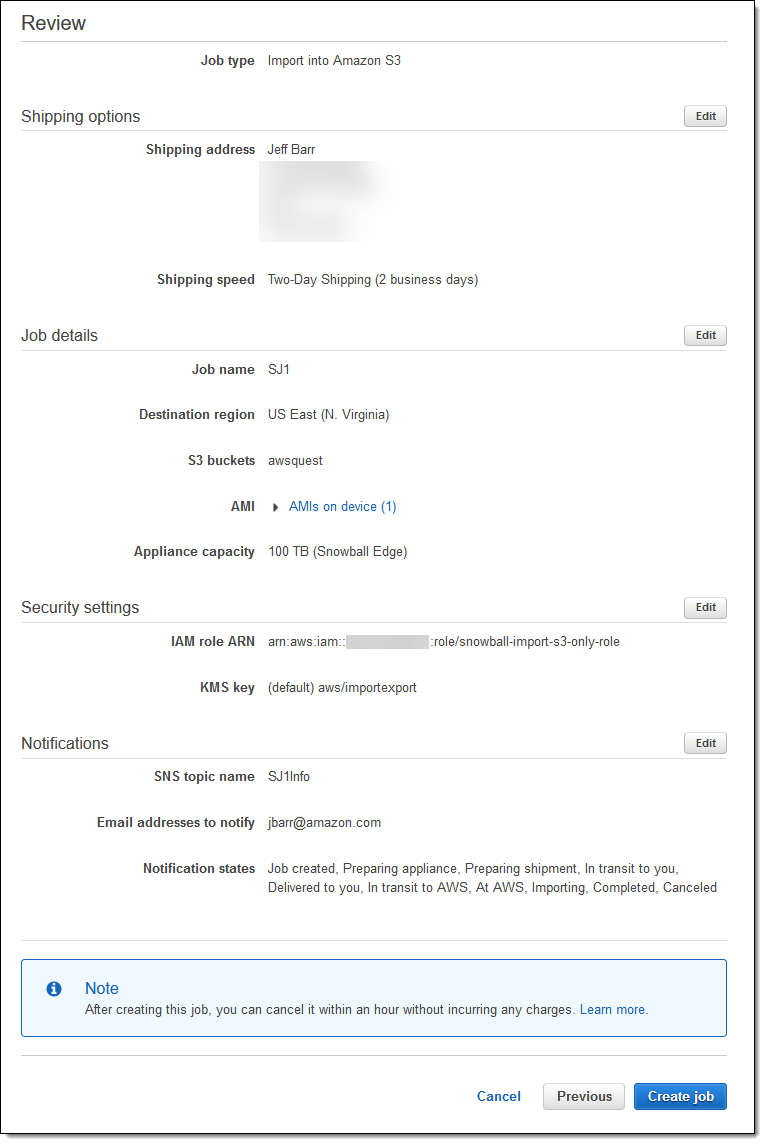
My job is almost ready! I review the settings and click Create job to create it:
Connecting and Configuring the Device
After I create the job, I wait until my Snowball Edge device arrives. I connect it to my network, power it on, and then unlock it using my manifest and device code, as detailed in Unlock the Snowball Edge. Then I configure my EC2 CLI to use the EC2 endpoint on the device and launch an instance. Since I configured my AMI for SSH access, I can connect to it as if it were an EC2 instance in the cloud.
Things to Know
Here are a couple of things to keep in mind:
Long-Term Usage – You can keep the Snowball Edge devices on your premises and hard at work for as long as you would like. You’ll be billed for a one-time setup fee for each job; after 10 days you will pay an additional, per-day fee for each device. If you want to keep a device for an extended period of time, you can also pay upfront as part of a one or three year commitment.
Dev/Test – You should be able to do much of your development and testing on an EC2 instance running in the cloud; some of our early users are working in this way as part of a “Digital Twin” strategy.
S3 Access – Each Snowball Edge device includes an S3-compatible endpoint that you can access from your on-device code. You can also make use of existing S3 tools and applications.
Now Available
You can start ordering devices today and make use of this exciting new AWS feature right away.
— Jeff;