Front-End Web & Mobile
Complete guide to full-stack CI/CD workflows with AWS Amplify
June 27, 2024: This blog post covers Amplify Gen 1. For new Amplify apps, we recommend using Amplify Gen 2. You can learn more about Gen 2 in our launch blog post.
Today AWS Amplify launched new enhancements to it’s CI/CD workflow for full-stack deployments that include conditional backend deployments, automatic build-time generation of the Amplify cloud configuration (aws-exports.js file), and easy re-use of backends across Amplify apps. These features make it even simpler to set up a full-stack, production-ready web app on AWS.
AWS Amplify offers a fully managed CI/CD and hosting service that gives developers a zero-config way to deploy their single page (SPA) or server-rendered (SSR) frontend apps on AWS by simply connecting their Git repository. Amplify automatically builds, deploys and hosts the web app globally on a CDN powered by Amazon CloudFront. Once the web app is hosted, Amplify makes it easy to create and connect to an app backend with capabilities such as authentication, real-time data, file storage, AI/ML (and more) to build richer app experiences. The Amplify full-stack CI/CD workflow is feature branch based, each branch consisting of a frontend, and (optionally) a backend. This gives development teams a streamlined experience for deploying the frontend (web app) and backend together in a single workflow on every code commit.
This post is written by Nikhil Swaminathan, Principal Product Manager at AWS Amplify.
Get started – zero config frontend deployments
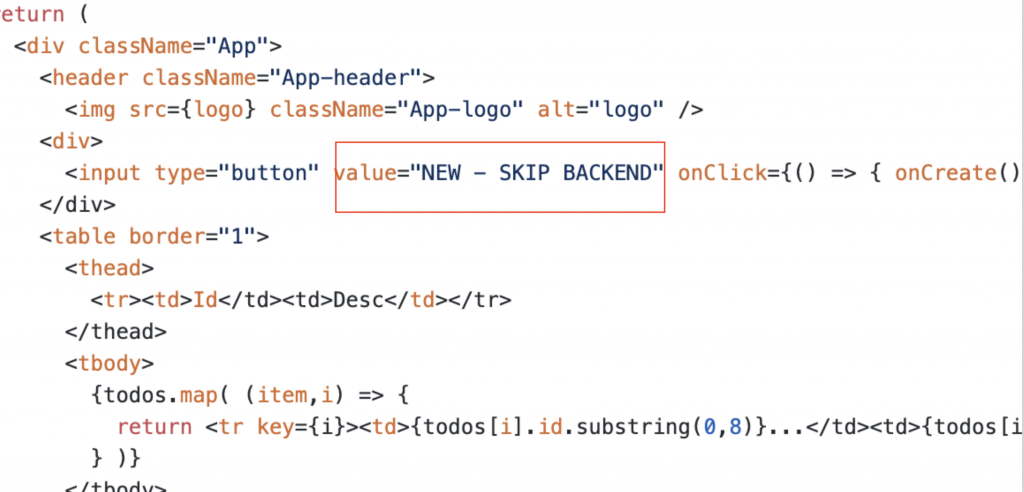
To get started, deploy your own web app or use the provided sample. For this blog post, we will deploy a basic create-react-app sample by clicking on the button below.
You will be asked to connect your GitHub account. Once connected, Amplify will fork the sample repository in your account and ask you to confirm deployment.
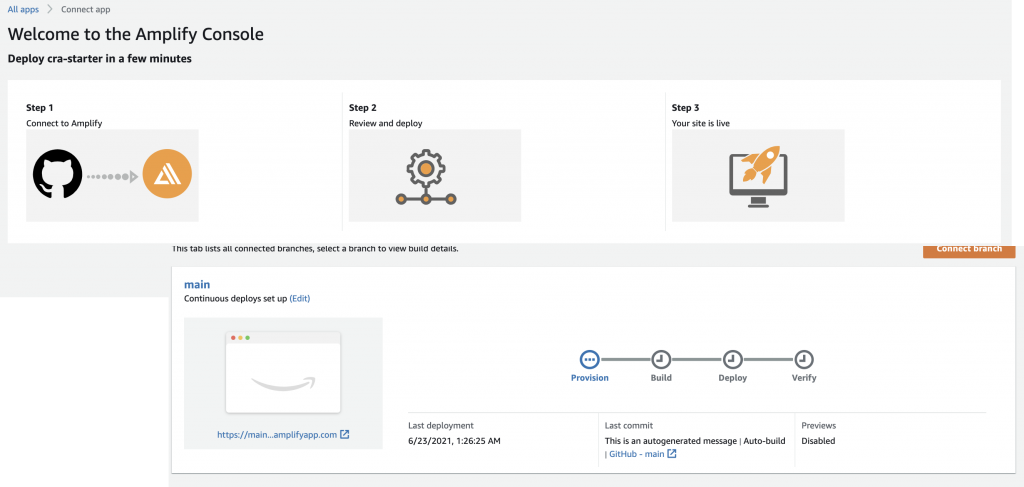
That’s it! This triggers a CI/CD pipeline as shown and within a minute or two your main branch should be hosted at an amplifyapp.com domain.
Create an app backend with a database and GraphQL API endpoint
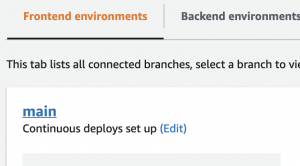
Now that our app is hosted, let’s build a backend. Navigate to the backend environment tab and choose ‘Get started’. This will trigger a workflow to setup a default staging Amplify environment. Once setup, choose open Admin UI – the Admin UI is a visual interface to create and manage your backend, hosted outside the AWS console. This gives easier access (via email) to both developers and non-developers to update the Amplify backend.

In the Admin UI, navigate to the ‘Data’ tab and build a data model. For this example, we are just going to create a basic data model named Todo with a description field. Hitting ‘Save and deploy’ will create all the needed AWS resources in the backend, such as an AWS AppSync GraphQL API to access data and an Amazon DynamoDB table to host the todo items. Amplify uses CloudFormation to deploy your backend that allows you to store your backend definition as infrastructure-as-code. Going back to the AWS console, you’ll see the staging environment deployment in progress.

Connect your cloud backend to local frontend
To connect to this backend, install the Amplify CLI and run amplify pull --appId XXX --envName staging to pull your backend definition down to your app project. That’s it! You are now connected to your app backend. Amplify offers DataStore, a client library that provides an intuitive API for accessing and updating data in your database with real-time and offline support built-in. You can . While this post isn’t going to go into detail about DataStore (learn more here), you can checkout the app code by opening the repository you deployed above and navigating to src/App.js (or browse the app code here).

Connect deployed branch to the backend without CI/CD (automatic aws-exports.js generation)
Now it’s time to update our app. Simply git push your changes and watch a build trigger in the Amplify console. You should observe the build fails with an error saying Cannot find file './aws-exports' in ./src. This happens because the Amplify config file (aws-exports.js) is not checked into your source repo. The Amplify CLI automatically adds the aws-exports file to the .gitignore to prevent merge conflicts associated with generated files.
The new release from Amplify fixes this problem with automatic build-time Amplify config generation. In the Amplify console, hit Edit under the frontend branch to connect to a the staging backend.
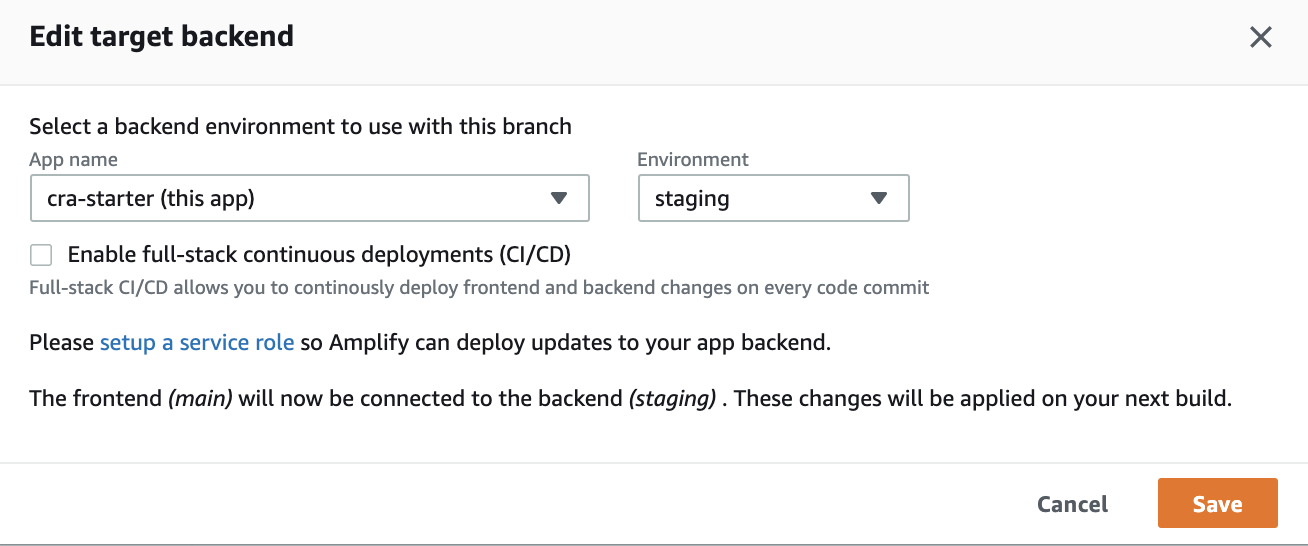
This opens a modal asking you to connect to a target backend. Since you are using staging as your sandbox environment to manually push backend updates, (either via the Admin UI or from the CLI by running amplify push), uncheck the full-stack CI/CD checkbox. Unchecking the box, turns off full-stack CI/CD allowing the app to autogenerate the Amplify config at build time while ensuring no updates are made to your backend at build time. Before hitting Save you will see instructions on how to setup a service role needed for Amplify to access your backend configuration.
Follow the instructions on how to to setup the service role. Once setup in the IAM console, return to the Amplify console to use that role within the app. Head over to App settings > General > Edit and pick the service role you just created from the dropdown.

Now trigger a new build either by pushing some code, or by choosing Redeploy this version from the build details page. Your build should now pass successfully without making any updates to the backend. Try visiting the app and creating some data – you should successfully see data appear in the browser as well as in the Content tab in the Admin UI.


Setup a production workflow
So far we have successfully deployed a branch, setup an app backend database, and then connected the app backend (staging) to the deployed branch (main) without CI/CD. I can iterate on this backend by visiting the Admin UI to change my data model, or add a new feature such as authentication. This is however not a workflow we want for production – imagine manually adding a new field to your data model that breaks your app! Deploying to production should always be done via a CI/CD pipeline so your deployments are safe and can be tested in isolation from production. Amplify makes it easy to setup a production workflow.
First, clone staging environment and name it prod. The clone operation takes some time, but it is essentially creating a completely new app backend for you (with its own CloudFormation stack).

When the deployment completes you will have a new prod environment show up with its own database and GraphQL API.

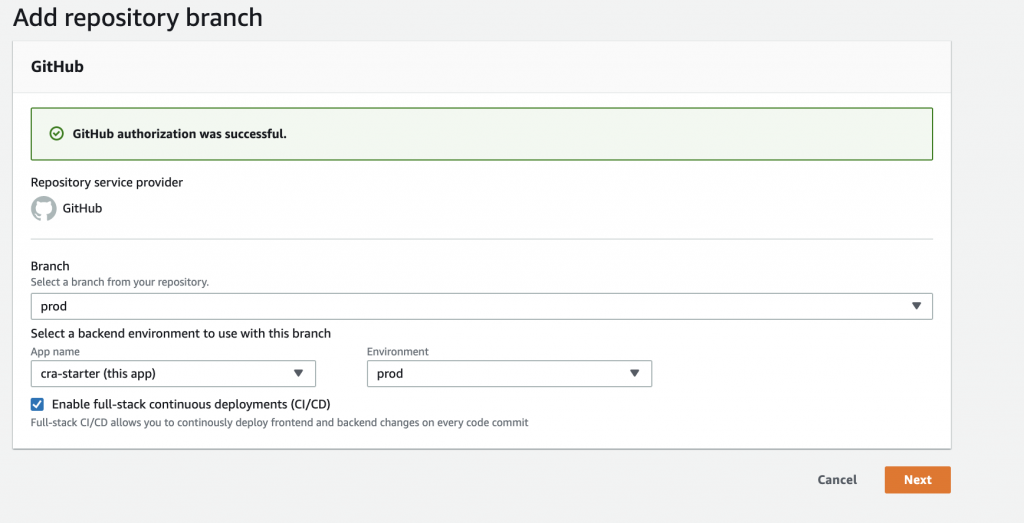
Now let’s setup our production frontend, Create a branch in your Git repo named prod and connect the branch in the Amplify console. This time, leave the full-stack CI/CD box checked and point the prod branch to the prod Amplify environment- this will give Amplify permission to deploy any updates to the backend that it finds in your checked in amplify folder.
You are now setup to manage production deployments. To recap, here’s the workflow for getting new changes to production:
- Add a new field to your data model in the
stagingenvironment - Run
amplify pullto update your backend definition in your project so you can access/update the field. - Push code to your
mainbranch – with your app code changes you will also see updates to theamplifyfolder with references to the new field. - Submit a pull request to merge
maintoprodbranch. Review the PR with your team to make sure everything looks good. Ideally add end-to-end tests. - Merge changes to
prod– this will trigger an Amplify CI/CD build. The new field should now be visible in yourproddata model.
Conditional backend builds
With this launch, Amplify adds support for conditional backend builds on all branches. This feature is currently opt-in by setting an environment variable AMPLIFY_DIFF_BACKEND to true. If this is set, the Amplify CI/CD build system will monitor backend changes at build time, and will skip running a backend build if no changes are detected. This will help speed up builds where changes are only made to the frontend.

To test this out, go to your App.js and make a small change to your frontend code.
Commit the changes to your Git repo to trigger a new build. You should see a log saying that the backend build was skipped.

Multiple frontends sharing the same backend
Today’s launch makes it easier to reuse backends across multiple frontends. Common use cases for this are teams building micro-frontends, migrating web apps from one technology to another, or working in mono-repositories. To test this workflow, connect another repo to deploy an app (with no backend). Once deployed, choose the Edit button as before, and pick a backend environment from a different app in the modal that pops up. When connecting to a backend in a different app, we recommend not enabling full-stack CI/CD.
