Front-End Web & Mobile
Testing web applications hosted in a private network using AWS Device Farm
AWS Device Farm offers an elastic Selenium Grid in the cloud that provides instant access to different versions of Chrome, Firefox, Internet Explorer, and Microsoft Edge browsers running on Windows servers. Today, thousands of web developers are leveraging Device Farm’s Grid to verify that their applications function and perform as intended on popular browsers. Recently, AWS Device Farm announced integration with Amazon Virtual Private Cloud (VPC), enabling developers to test web applications hosted in their private network (such as internal apps, or web apps hosted in a development or test environments). This blog post will describe how you can integrate Device Farm’s Desktop Browser Testing service with Amazon VPC to test your private web applications.
Solution overview
In this solution, we will be creating and hosting a sample static website on Amazon S3 and restricting access to it via an Amazon VPC in the us-west-2 Region. We will then create a new project in AWS Device Farm and configure the project to use our VPC. Once a Device Farm project is associated with a VPC, all future test sessions will be scheduled through that VPC. The following diagram illustrates our solution architecture:

Note: AWS Device Farm is only available in the us-west-2 Region. Hence, Device Farm can only connect to VPCs within the us-west-2 Region. To access resources in a VPC in another Region, you must create a VPC in the us-west-2 Region and peer the VPCs. For information on peering VPCs, see Amazon VPC Peering Guide.
For this guide, we will be creating all our resources in us-west-2. In the AWS Management Console, set your Region to us-west-2 before proceeding to the next steps.
Step 1: Create an Amazon VPC
- Create a public-private Amazon VPC by following Step 1 and Step 2 in the Creating a VPC with Public and Private Subnets Once the VPC creation is successful, note the VPC ID, private subnet ID, and security group IDs. We will need this when configuring Device Farm to use this VPC.
- Check if a NAT gateway was created for your public subnet. You can do this by choosing NAT Gateways in the left navigation pane of the VPC console.
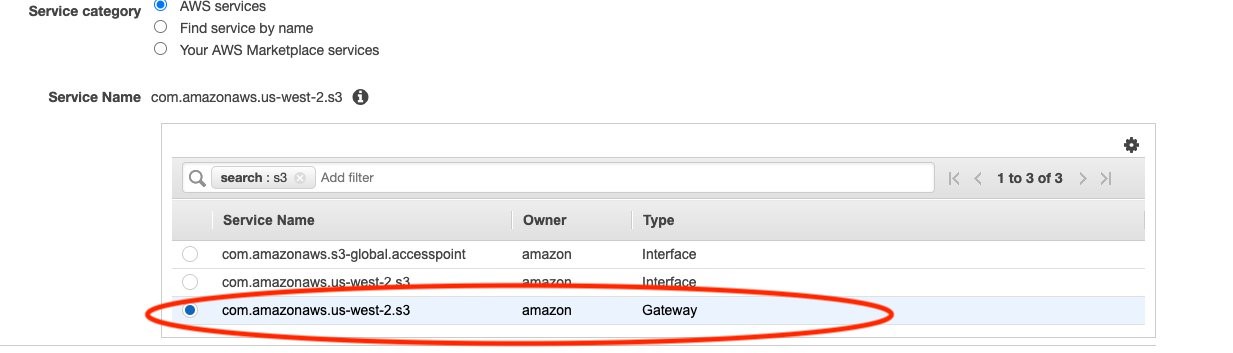
- Finally, create a VPC endpoint for Amazon S3 by following the steps here.
Important: Make sure to select the “Gateway” option when creating the endpoint:
After completing the preceding three steps, the VPC setup should look like the following :
VPC:

Private and Public Subnets:

NAT gateway:

Step 2: Create a sample static website using Amazon S3
We will now create a sample static website using Amazon Simple Storage Service (Amazon S3). To create the website using AWS Management Console, follow Configure a bucket as Static website guide.
After we have created a static website by following the steps in the guide, we will have an Amazon S3 website in one of the following formats:
http://bucket-name.s3-website.us-west-2.amazonaws.com
http://bucket-name.s3-website-us-west-2.amazonaws.com
For this blog, we can create a website using the sample index.html file provided in the preceding guide. Here is the file again for reference:
Once the bucket is created, we can see the URL of the website in the Amazon S3 console under the Properties section:
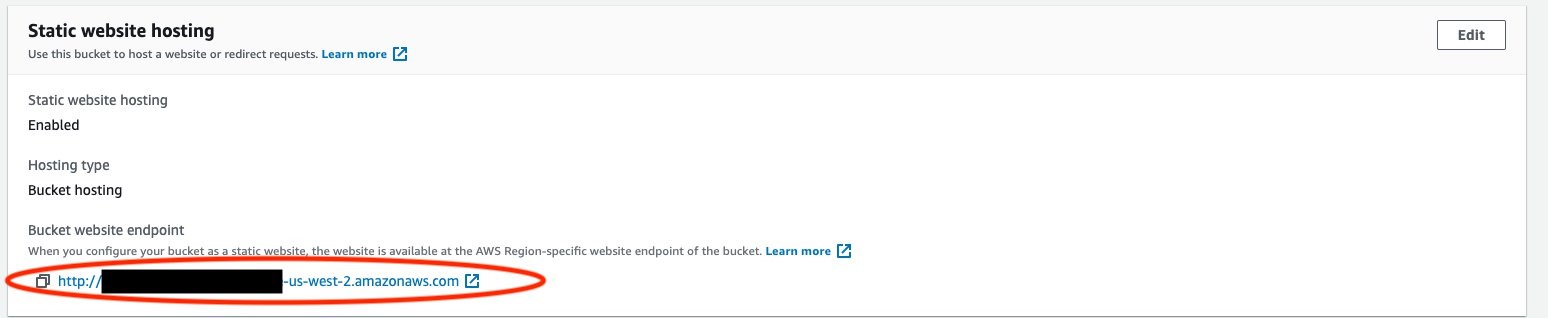
Using the URL, we can navigate to the website.
Note: If you are unable to view the website at this stage, make sure you have given public access to your S3 bucket.
Now, let us update our S3 bucket’s policy to allow access only from the VPC we created in Step 1 of this guide. We can do this by updating our S3 bucket policy to the following (make sure to replace the bucket name and VPC ID with your information):
Note: If you open your website after applying the preceding bucket policy, you should not be able to access it from the public internet.
Step 3: Create an AWS Device Farm project and configure your VPC
Now that we have a static website hosted in our private Amazon VPC, let’s understand how we can test that website using AWS Device Farm.
First, create a Device Farm project with your VPC details by following these steps:
- Sign in to the Device Farm console at https://console.aws.amazon.com/devicefarm.
- On the left side navigation panel, choose Desktop Browser Testing, then choose Projects.
- Click “New Project” on the top right side of the console.
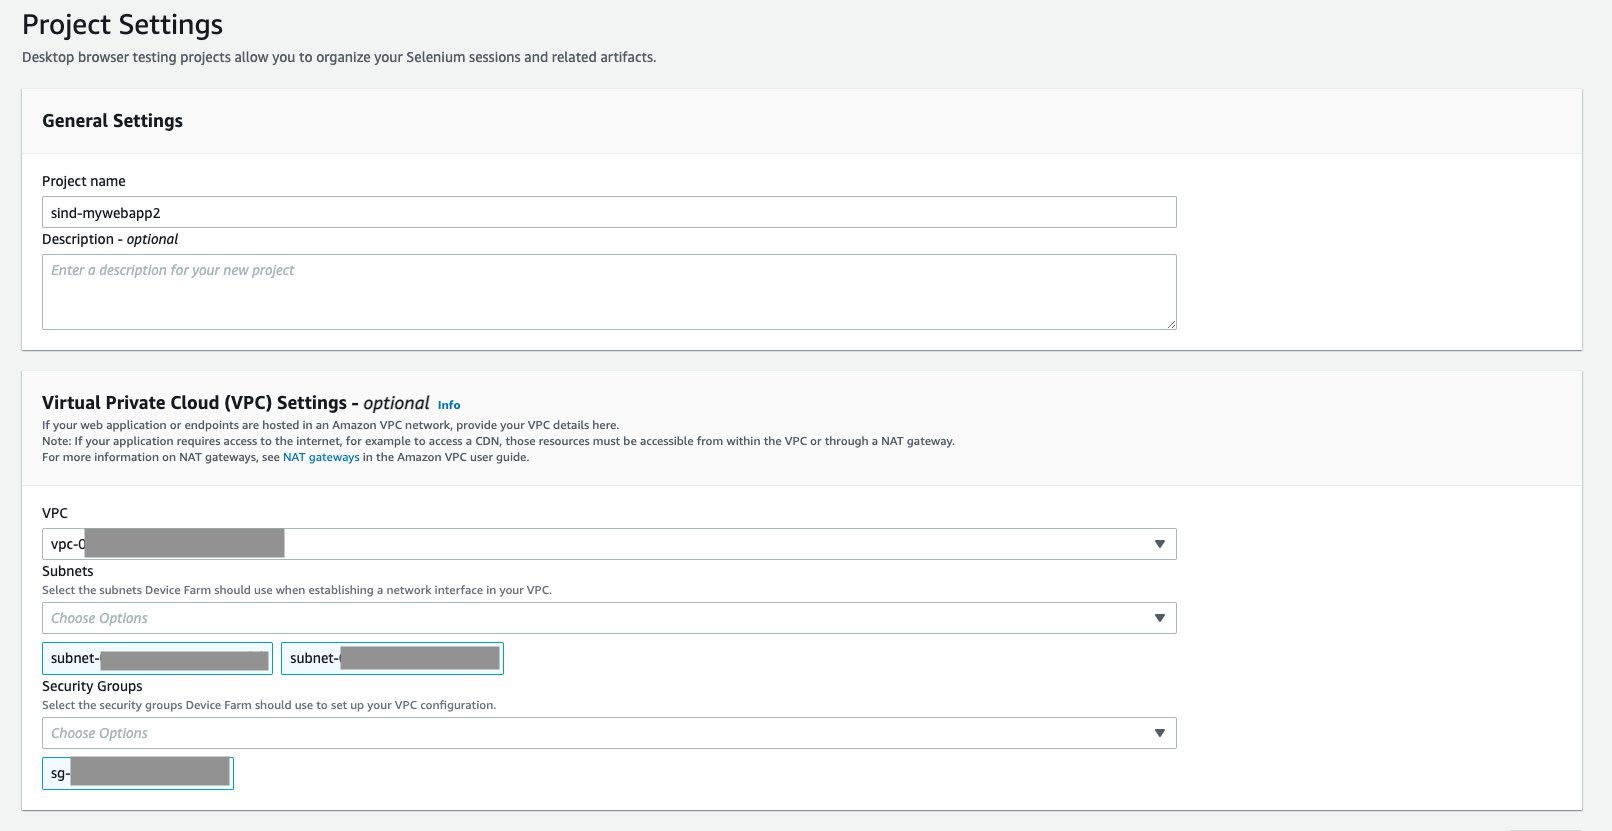
- Enter a name for your project.
- In the Virtual Private Cloud (VPC) Settings section, select the VPC we created in the previous section, and the Private Subnets and Security Group attached to that VPC.
- Then click Create to create the project. From the project page, make a note of the project ARN. It looks like arn:aws:devicefarm:us-west-2:111122223333:testgrid-project:123e4567-e89b-12d3-a456-426655440000. We will need the project ARN in the next step.
Step 4: Create a Selenium test script and run it on AWS Device Farm
To test the static web app we created, we need to write an automated test script using the Selenium framework. We can use the following sample Selenium Python script to test the website we created. The script first launches a Selenium Session in our Device Farm account. It then launches a Firefox browser instance hosted in AWS Device Farm and navigates to the web URL. It then asserts if the words “Welcome to my website” appear on the webpage.
test.py:
Make the following changes to the preceding script:
- Replace the projectArn with the ARN of the project you have created in Step 3.
- Update the URL with the Amazon S3 URL of your website that you have created in Step 1.
We can now run the script from our local machine by navigating to the folder where we have stored the script and running the following:
Once the script starts running, navigate to the Device Farm console, choose Projects under “Desktop Browser Testing”, and select the relevant Project to see the session artifacts:
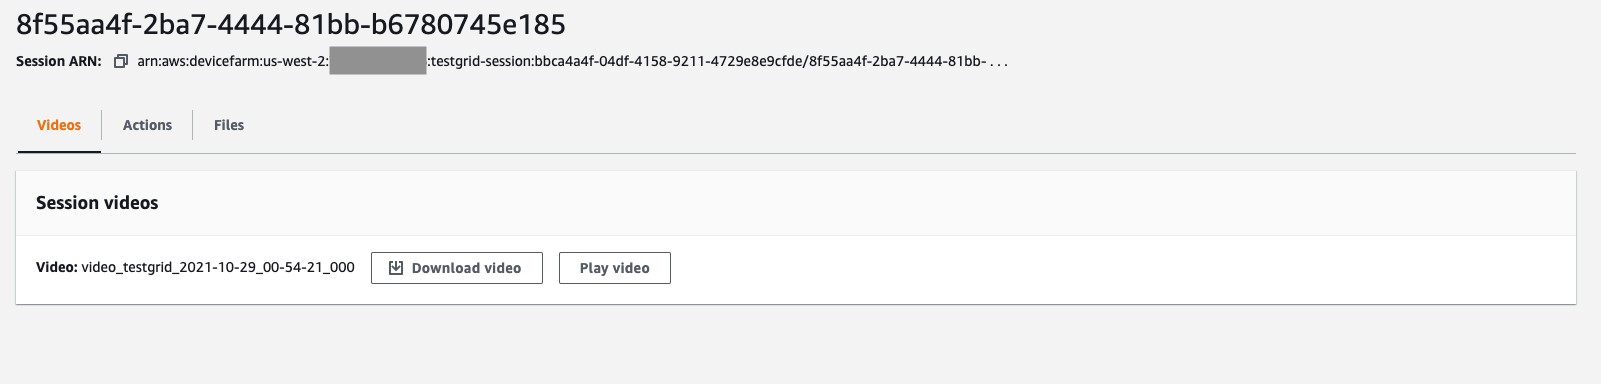
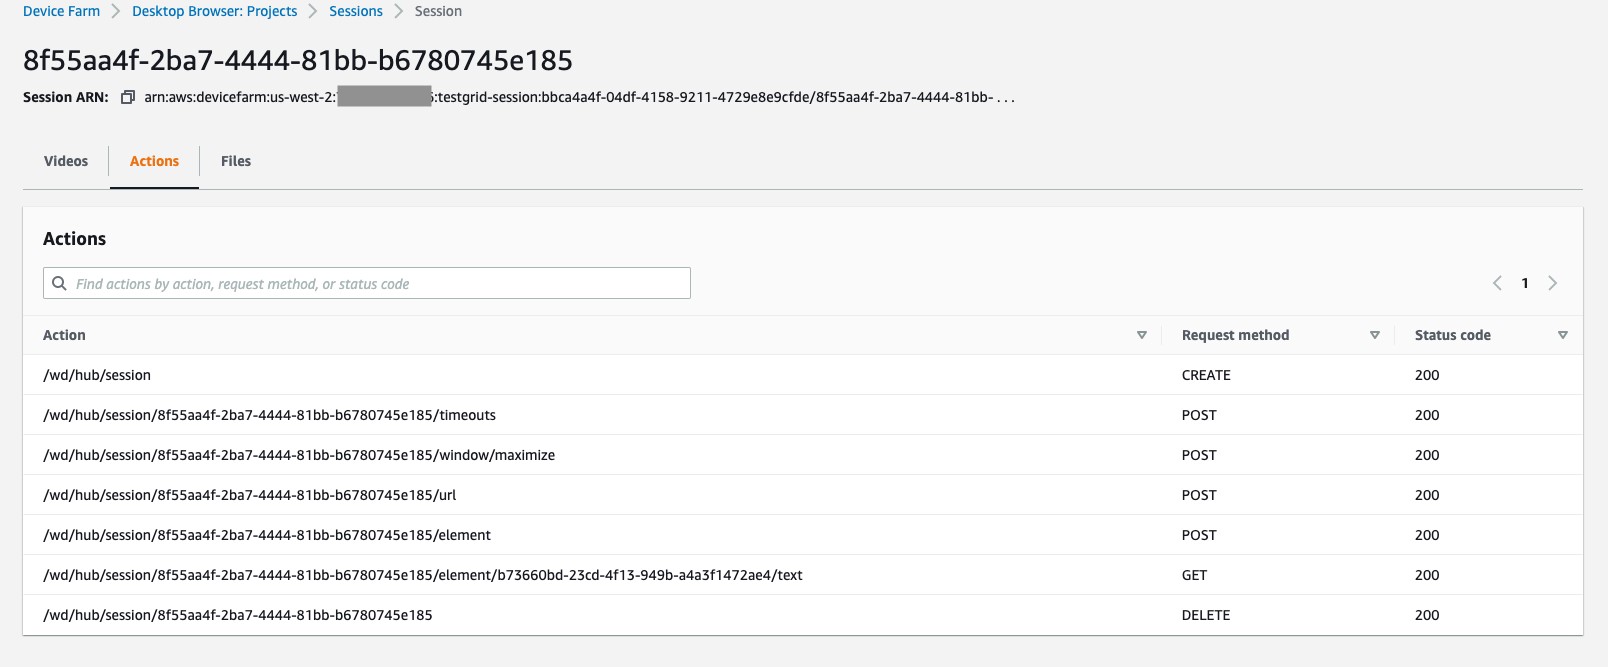
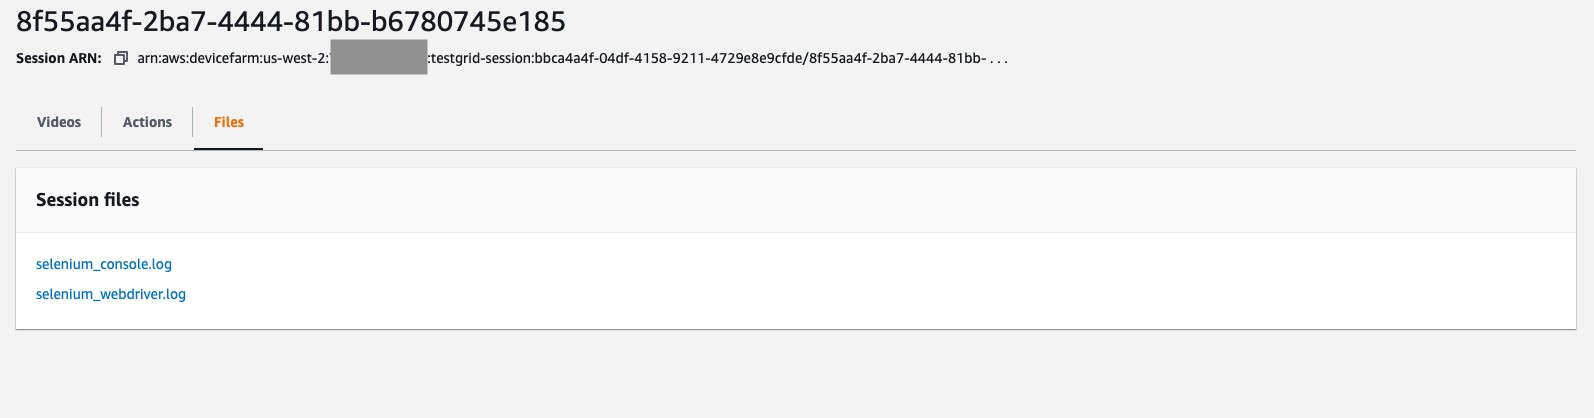
You can see from the video recording that Device Farm was able to launch our website from within our VPC and validate the assertion in our test.
Conclusion
Testing your web applications on different browser environments helps ensure your application delivers a delightful user experience, independent of the browser used to access it. AWS Device Farm offers a one-stop solution for testing your web applications on desktop and mobile browsers. Start using AWS Device Farm today.