AWS Security Blog
How to verify AWS KMS asymmetric key signatures locally with OpenSSL
August 31, 2021: AWS KMS is replacing the term customer master key (CMK) with AWS KMS key and KMS key. The concept has not changed. To prevent breaking changes, AWS KMS is keeping some variations of this term. More info.
In this post, I demonstrate a sample workflow for generating a digital signature within AWS Key Management Service (KMS) and then verifying that signature on a client machine using OpenSSL.
The support for asymmetric keys in AWS KMS has exciting use cases. The ability to create, manage, and use public and private key pairs with KMS enables you to perform digital signing operations using RSA and Elliptic Curve (ECC) keys. You can also perform public key encryption or decryption operations using RSA keys.
For example, you can use ECC or RSA private keys to generate digital signatures. Third parties can perform verification outside of AWS KMS using the corresponding public keys. Similarly, AWS customers and third parties can perform unauthenticated encryption outside of AWS KMS using an RSA public key and still enforce authenticated decryption within AWS KMS. This is done using the corresponding private key.
The commands found in this tutorial were tested using Amazon Linux 2. Other Linux, macOS, or Unix operating systems are likely to work with minimal modification but have not been tested.
Creating an asymmetric signing key pair
To start, create an asymmetric AWS KMS key (KMS key) using the AWS Command Line Interface (AWS CLI) example command below. This generates an RSA 4096 key for signature creation and verification using AWS KMS.
If successful, this command returns a KeyMetadata object. Take note of the KeyID value. As a best practice, I recommend assigning an alias for your key. The command below assigns an alias of sample-sign-verify-key to your newly created KMS key (replace the target-key-id value of <1234abcd-12ab-34cd-56ef-1234567890ab> with your KeyID).
Creating signer and verifier roles
For the next phase of this tutorial, you must create two AWS principals. You’ll create two roles: a signer principal and a verifier principal. First, navigate to the AWS Identity and Access Management (IAM) “Create role” Console dialogue that allows entities in a specified account to assume the role. Enter your Account ID and select Next: Permissions, as shown in Figure 1 below.
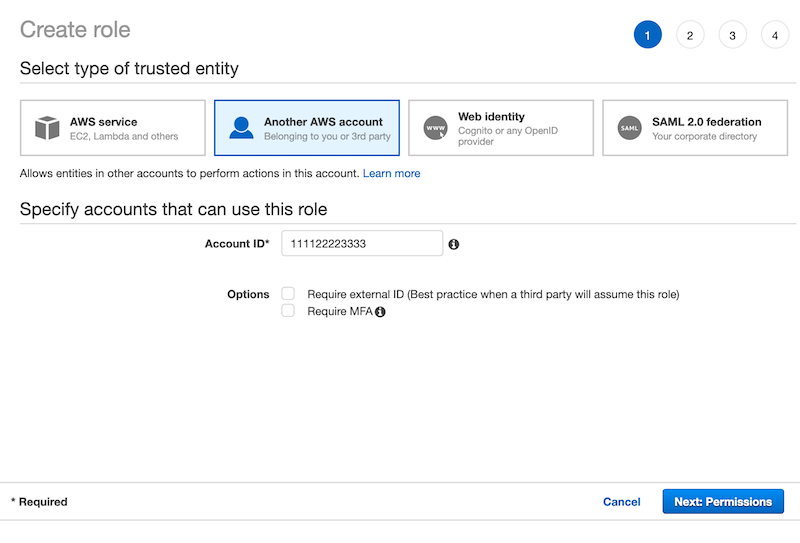
Figure 1: Enter your Account ID to begin creating a role in AWS IAM
Select Next through the next two screens. On the fourth and final screen, enter a Role name of SignerRole and Role description, as shown in Figure 2 below.
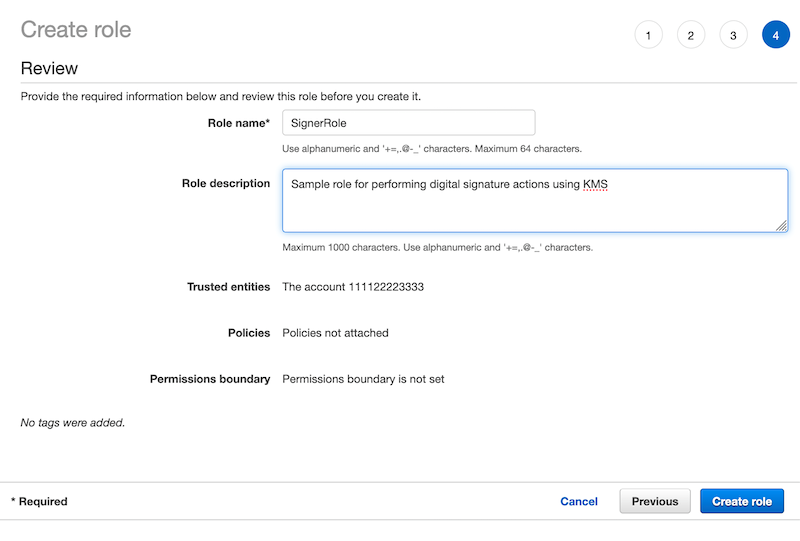
Figure 2: Enter a role name and description to finish creating the role
Select Create role to finish creating the signer role. To create the verifier role, you must perform this same process one more time. On the final screen, provide the name OfflineVerifierRole for the role instead.
Configuring key policy permissions
A best practice is to adhere to the principle of least privilege and provide each AWS principal with the minimal permissions necessary to perform its tasks. The signer and verifier roles that you created currently have no permissions in your account. The signer principal must have permission to be able to create digital signatures in KMS for files using the public portion of your KMS key. The verifier principal must have permission to download the plaintext public key portion of your KMS key.
To provide access control permissions for KMS actions to your AWS principals, attach a key policy to the KMS key. The IAM role for the signer principal (SignerRole) is given kms:Sign permission in the KMS key key policy. The IAM role for the verifier principal (OfflineVerifierRole) is given kms:GetPublicKey permission in the KMS key key policy.
Navigate to the KMS page in the AWS Console and select customer-managed keys. Next, select your KMS key, scroll down to the key policy section, and select edit.
To allow your signer principal to use the KMS key for digital signing, append the following stanza to the key policy (replace the account ID value of <111122223333> with your own):
To allow your verifier principal to download the KMS key public key, append the following stanza to the key policy (replace the account ID value of <111122223333> with your own):
You can permit the verifier to perform digital signature verification using KMS by granting the kms:Verify action. However, the kms:GetPublicKey action enables the verifier principal to download the KMS key public key in plaintext to verify the signature in a local environment without access to AWS KMS.
Although you configured the policy for a verifier principal within your own account, you can also configure the policy for a verifier principal in a separate account to validate signatures generated by your KMS key.
Because AWS KMS enables the verifier principal to download the KMS key public key in plaintext, you can also use the verifier principal you configure to download the public key and distribute it to third parties. This can be done whether or not they have AWS security credentials via, for example, an S3 presigned URL.
Signing a message
To demonstrate signature verification, you need KMS to sign a file with your KMS key using the KMS Sign API. KMS signatures can be generated directly for messages of up to 4096 bytes. To sign a larger message, you can generate a hash digest of the message, and then provide the hash digest to KMS for signing.
For messages up to 4096 bytes, you first create a text file containing a short message of your choosing, which we refer to as SampleText.txt. To sign the file, you must assume your signer role. To do so, execute the following command, but replace the account ID value of <111122223333> with your own:
The return values provide an access key ID, secret key, and session token. Substitute these values into their respective fields in the following command and execute it:
Then confirm that you have successfully assumed the signer role by issuing:
If the output of this command contains the text assumed-role/SignerRole then you have successfully assumed the signer role and you may sign your message file with:
To indicate that the file is a message and not a message digest, the command passes a MessageType parameter of RAW. The command then decodes the signature and writes it to a local disk as SampleText.sig. This file is important later when you want to verify the signature entirely client-side without calling AWS KMS.
Finally, to drop your assumed role, you may issue:
followed by:
Verifying a signature client-side
Assume your verifier role using the same process as before and issue the following command to fetch a copy of the public portion of your KMS key from AWS KMS:
This command writes to disk the DER-encoded X.509 public key with a name of SamplePublicKey.der . You can convert this DER-encoded key to a PEM-encoded key by running the following command:
You now have the following three files:
- A PEM file, SamplePublicKey.pem containing the KMS key public key
- The original SampleText.txt file
- The SampleText.sig file that you generated in KMS using the KMS key private key
With these three inputs, you can now verify the signature entirely client-side without calling AWS KMS. To verify the signature, run the following command:
If you performed all of the steps correctly, you see the following message on your console:
This successful verification provides a high degree of confidence that the message was endorsed by a principal with permission to sign using your KMS key (authentication) — in this case, your sender role principal. It also verifies that the message has not been modified in transit (integrity).
To demonstrate this, update your SampleText.txt file by adding new characters to the file. If you rerun the command, you see the following message:
Summary
In this tutorial, you verified the authenticity of a digital signature generated by a KMS asymmetric key pair on your local machine. You did this by using OpenSSL and a plaintext public key exported from KMS.
You created an asymmetric KMS key in KMS and configured key policy permissions for your signer and verifier principals. You then digitally signed a message in KMS using the private portion of your asymmetric KMS key. Then, you exported a copy of the public portion of your asymmetric key pair from KMS in plaintext. With this copy of your public key, you were able to perform signature verification using OpenSSL entirely in your local environment. A similar pattern can be used with an asymmetric KMS key configured with a KeyUsage value of ENCRYPT_DECRYPT. This pattern can be used to perform encryption operations in a local environment and decryption operations in AWS KMS.
To learn more about the asymmetric keys feature of KMS, please read the KMS Developer Guide. If you’re considering implementing an architecture involving downloading public keys, be sure to refer to the KMS Developer Guide for Special Considerations for Downloading Public Keys. If you have questions about the asymmetric keys feature, please start a new thread on the AWS KMS Discussion Forum.
If you have feedback about this post, submit comments in the Comments section below.
Want more AWS Security how-to content, news, and feature announcements? Follow us on Twitter.