AWS Open Source Blog
Continuous delivery of container applications to AWS Fargate with GitHub Actions
At the day two keynote of the GitHub Universe 2019 conference on Nov 14, Amazon Web Services announced that we have open sourced four new GitHub Actions for Amazon ECS and ECR. Using these GitHub Actions, developers and DevOps engineers can easily set up continuous delivery pipelines in their code repositories on GitHub, deploying container workloads to Amazon Elastic Container Service (Amazon ECS) and AWS Fargate.

GitHub and Amazon Web Services have collaborated to develop this initial set of four open source GitHub Actions and a starter workflow, designed to make it simple, safe, and fast to deploy containerized applications from GitHub repositories. CI/CD pipelines and release processes of course vary across teams, projects, and organizations. We hope that these open source actions in the GitHub Marketplace and the starter workflow template will serve as a starting point that will inspire software engineering teams to build their own components and customize their CI/CD workflows for their containerized applications.
As we get more feedback, issues, and pull requests from our customers, we will continue to improve these open source components to better meet our customer requirements.
In the rest of this post we are going to discuss why and how containers, ECR, ECS, and GitHub Actions can be used to build a CI/CD pipeline to deploy containerized workloads for continuous software development, thus helping to improve the productivity of software development teams.
Why containers?
As software developers, we all want to use a development and testing environment as similar as possible to the target production system. If the development environment does not accurately reflect the configuration and scale of our target production environments, we may be slowed down by bugs that occur at production scale which are hard to anticipate while testing code on a developer laptop.
Java’s famous design goal of Write Once, Run Anywhere was less about developing one codebase that could run unchanged on anything from a smartwatch to a mainframe, than about developing and testing on a developer’s PC applications that would run on whatever target infrastructure. It’s not about portability for portability’s sake, but about portability of scale: if I develop and test my application on a smaller-scale system, it should not break when I scale up and down based on real-life production needs.
Innovations such as virtual machines, JVM, SaaS, and containers were all designed (to various degrees) to solve for this portability-of-scale challenge. Because cloud platforms like AWS offer customers extreme elasticity of scale, it has become all the more important for developers to have the assurance of portability of scale.
Containers encapsulate the business application and the related libraries in a container image, which can be duplicated into as many instances as required in production. To the application code, each instance looks like the same environment where the code was developed and tested on the developer’s workstation. Portability of scale makes code less fragile.
Why ECR?
Most real-world applications are composed of various loosely-coupled subsystems, commonly referred to as services or microservices, designed to scale independently with changing production demands (for example, the web subsystem might need to scale at a different rate than the message queuing subsystem). The various subsystems are commonly developed and tested independently on different technology stacks: the web subsystem might be based on the node.js stack, while the message queuing subsystem uses Java and Kafka. In these situations, it’s more efficient, secure, and performant to containerize them into different container images. Once containerized, we need to scan for vulnerabilities, and manage various versions of these container images in a container repository. On AWS, we can use Amazon ECR to serve as the repository of our images.
Why ECS on Fargate?
If you need a cluster with multiple EC2 instances to start, configure, scale, network, and secure multiple containers, you will need a container orchestrator like Amazon ECS or Amazon EKS. If you don’t want to take on the administrative overhead of managing resource utilization for a cluster but just want your containers to be started, configured, scaled, networked, and secured to your specifications, you can use the serverless compute option: AWS Fargate.

Why Continuous Integration and Continuous Delivery?
How can you build a pipeline to deploy code changes throughout the continuous development lifecycle of an application? How can you ensure that the code changes that the various independent teams of developers are pushing daily to the source code repository, resulting in new images, can actually be launched without breaking the entire application? For example, when there is a pull request on our GithHub repo from a developer, it would be nice to know even before we do the code review whether merging this pull request will break the build.
Once we are confident that a code change will not break anything, and will actually make the intended improvements, we want to deploy it without anyone having to run any manual commands, which can be error prone and tedious.
Why GitHub Actions?
If your code repository is on GitHub, GitHub Actions provides a very convenient way to execute a CI/CD pipeline. It provides action hooks like pull (when pull requests are made) and push (when commits are pushed to your repository). These action hooks can be connected so that when an action occurs, the appropriate workflows run within GitHub. A workflow is composed of multiple actions.
We have open sourced the following actions at github.com/aws-actions:
- github.com/aws-actions/configure-aws-credentials – Retrieves AWS credentials from GitHub secrets and makes them available for use by the rest of the actions in the workflow.
- github.com/aws-actions/amazon-ecr-login – Lets you log into your ECR registry so you can pull images from and push them to your ECR repositories.
- github.com/aws-actions/amazon-ecs-render-task-definition – Inserts the ID of a container image into the task definition for ECS.
- github.com/aws-actions/amazon-ecs-deploy-task-definition – Deploys an updated task definition and image to your ECS service.
We have also provided a starter workflow in the GitHub Marketplace, which you can customize and build upon as required.
Now let’s wire all this up to see how it works.
Step by step
Step 1: Set up and configure the AWS CLI
Please follow the instructions to set up the AWS CLI and configure it with your identity.
Step 2: Configure Amazon ECR
You can create an ECR repository with a command like the one below, where the name of your repo is my-ecr-repo and the region is us-west-2:
aws ecr create-repository --repository-name my-ecr-repo --region us-west-2
Follow the Getting started with ECR guide for more options.
Step 3: Create your task definition file
Create a directory for your project:
mkdir FargateActionDemo && cd./FargateActionDemo
Create the task definition file task-def.json: Here is a sample task definition:
{
    "family": "sample-fargate",
    "networkMode": "awsvpc",
    "containerDefinitions": [
        {
            "name": "fargate-app",
            "image": "httpd:2.4",
            "portMappings": [
                {
                    "containerPort": 80,
                    "hostPort": 80,
                    "protocol": "tcp"
                }
            ],
            "essential": true,
            "entryPoint": [
                "sh",
		"-c"
            ],
            "command": [
                "/bin/sh -c \"echo '<html> <head> <title>Amazon ECS Sample App</title> <style>body {margin-top: 40px; background-color: #333;} </style> </head><body> <div style=color:white;text-align:center> <h1>Amazon ECS Sample App</h1> <h2>Congratulations!</h2> <p>Your application is now running on a container in Amazon ECS.</p> </div></body></html>' >  /usr/local/apache2/htdocs/index.html && httpd-foreground\""
            ]
        }
    ],
    "requiresCompatibilities": [
        "FARGATE"
    ],
    "cpu": "256",
    "memory": "512"
}
Step 4: Set up a Fargate service
Before you can set up a Fargate service, you first need to ensure that your AWS user has the required permissions. You can follow the permissions specified in the Amazon ECS First Run Wizard Permissions IAM policy example. Then, ensure that you have an ecsTaskExecutionRole IAM role in your account. You can follow the Amazon ECS Task Execution IAM Role guide to create the role. Finally, ensure that you have a VPC and security group created. For more information, see the Tutorial: Creating a VPC with Public and Private Subnets for Your Clusters.
Register the task definition:
aws ecs register-task-definition --region us-west-2 --cli-input-json file://$HOME/FargateActionDemo/task-def.jsonCreate an ECS cluster:
aws ecs create-cluster --region us-west-2 --cluster-name defaultCreate a Fargate service:
aws ecs create-service --region us-west-2 --service-name fargate-service --task-definition sample-fargate:1 --desired-count 2 --launch-type "FARGATE" --network-configuration "awsvpcConfiguration={subnets=[subnet-abcd1234],securityGroups=[sg-abcd1234]}"Step 5: Configure your GitHub repository
Create the repo from your browser; in this case we are naming the repository “FargateActionDemo.”

Then commit and push the task definition into the repository:
git init
git add taskdef.json
git commit -m "first commit"
git remote add origin git@github.com:saptak/FargateActionDemo.git
git push -u origin master
Step 6: Configure secrets
In Secrets in the Settings section of the repository, configure the two Secrets below with the credentials for an IAM user (which you can obtain from the AWS console):
AWS_ACCESS_KEY_ID
AWS_SECRET_ACCESS_KEY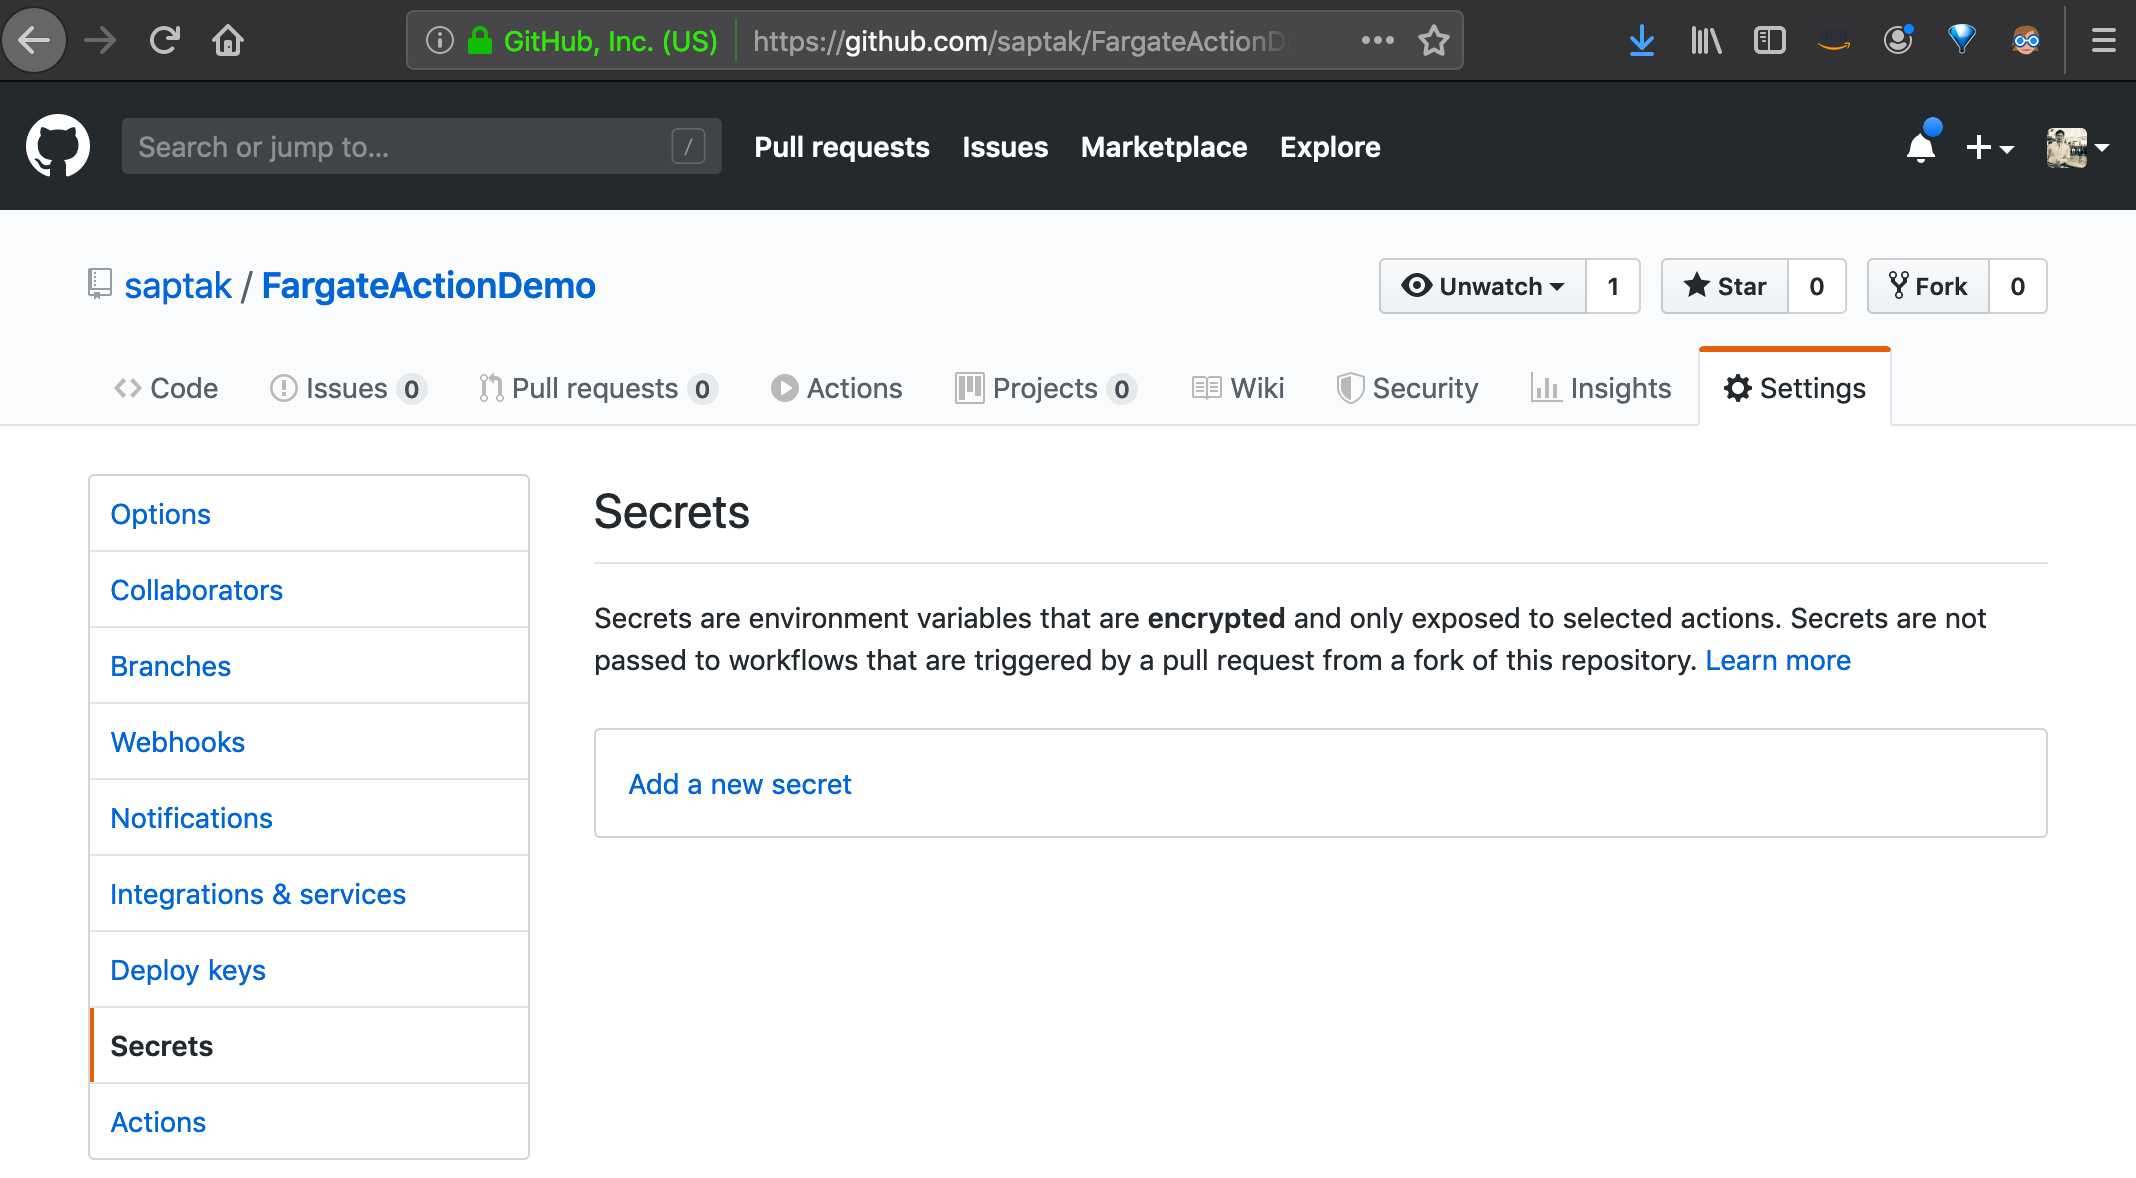
Step 7: Add GitHub Actions workflow on push to deploy
Go to the Actions tab of your repository to find the starter workflow.

Select Set up this workflow to add it to your repository. This workflow file is now added to the .github/workflows folder of your repository.
Step 8: Configure the workflows file
First, replace the value of aws-region in the workflow with your repository’s region. In Step 2 above we specified us-west-2 as our region.
aws-region: us-west-2
Second, replace the value of ECR_REPOSITORY in the workflow with your repository’s name. In Step2 above we had named the repo my-ecr-repo.
ECR_REPOSITORY: my-ecr-repo
Next, replace the value task-definition in the workflow with the filename of your task definition. In Step 4, we committed and pushed task-def.json as our task definition file.
task-definition: task-def.json
Now replace the value of the container name in the workflow with the container name that you specified in the containerDefinition section of the task definition in Step 4. We had named our container fargate-app.
container-name: fargate-app
Replace the value of the service in the workflow with the service name assigned in Step 4.
service: fargate-service
Finally, replace the value of the cluster in the workflow with the cluster name assigned in Step 4. We named our cluster default.
cluster: default
Commit and push all the changes to your GitHub repository.
Once you have your simple workflow going, you can edit this workflow file to customize the workflow to meet your needs.
Step 9: Test the deploy workflow
To test it, make a minor change in the task-def.json file. Commit and push the changes. Then switch to the Actions tab on your repository and you should see the workflow running:

Summary
Containers are a great mechanism to develop applications that scale elastically. Continuous integration and delivery pipelines automate the error-prone work of building, pushing, and deploying your containers during the iterative development lifecycle of your containerized applications. This helps reduce frustration among your customers and engineers by minimizing avoidable outage from code changes. We’re excited to continue to work closely with our customers and the open source community as we innovate further in the ever-growing containers space.
Please provide us your feedback by opening issues, pull requests and starring our GitHub repositories.