AWS News Blog
CodePipeline Update – Build Continuous Delivery Workflows for CloudFormation Stacks
When I begin to write about a new way for you to become more productive by using two AWS services together, I think about a 1980’s TV commercial for Reese’s Peanut Butter Cups! The intersection of two useful services or two delicious flavors creates a new one that is even better.
Today’s chocolate / peanut butter intersection takes place where AWS CodePipeline meets AWS CloudFormation. You can now use CodePipeline to build a continuous delivery pipeline for CloudFormation stacks. When you practice continuous delivery, each code change is automatically built, tested, and prepared for release to production. In most cases, the continuous delivery release process includes a combination of manual and automatic approval steps. For example, code that successfully passes through a series of automated tests can be routed to a development or product manager for final review and approval before it is pushed to production.
This important combination of features allows you to use the infrastructure as code model while gaining all of the advantages of continuous delivery. Each time you change a CloudFormation template, CodePipeline can initiate a workflow that will build a test stack, test it, await manual approval, and then push the changes to production.The workflow can create and manipulate stacks in many different ways:

As you will soon see, the workflow can take advantage of advanced CloudFormation features such as the ability to generate and then apply change sets (read New – Change Sets for AWS CloudFormation to learn more) to an operational stack.
The Setup
In order to learn more about this feature, I used a CloudFormation template to set up my continuous delivery pipeline (this is yet another example of infrastructure as code). This template (available here and described in detail here) sets up a full-featured pipeline. When I use the template to create my pipeline, I specify the name of an S3 bucket and the name of a source file:
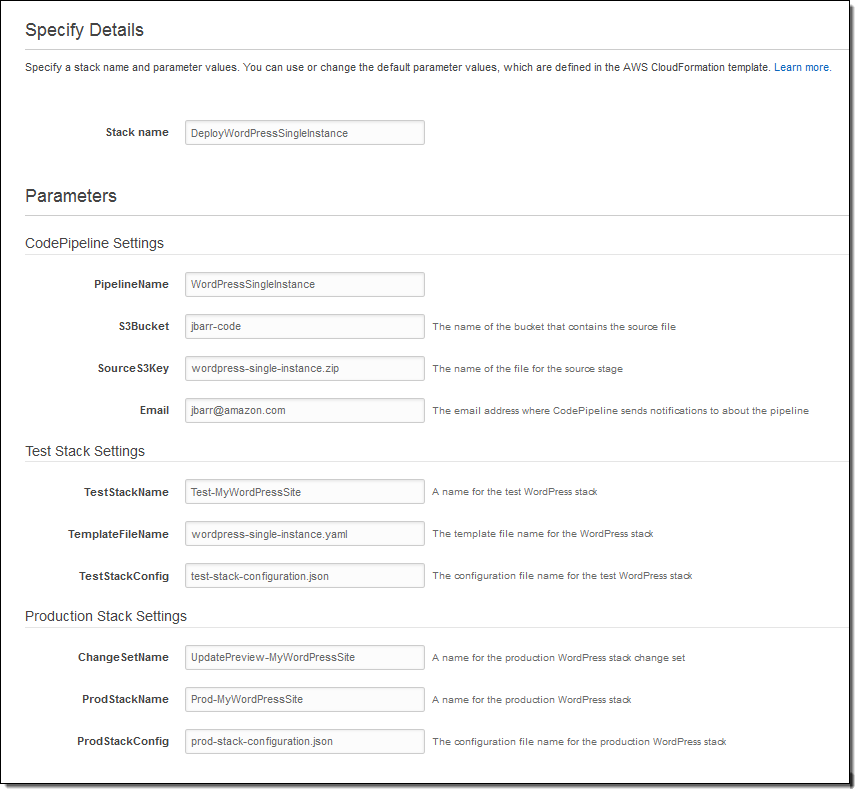
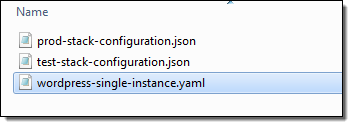
The SourceS3Key points to a ZIP file that is enabled for S3 versioning. This file contains the CloudFormation template (I am using the WordPress Single Instance example) that will be deployed via the pipeline that I am about to create. It can also contain other deployment artifacts such as configuration or parameter files; here’s what mine looks like:
The entire continuous delivery pipeline is ready just a few seconds after I click on Create Stack. Here’s what it looks like:
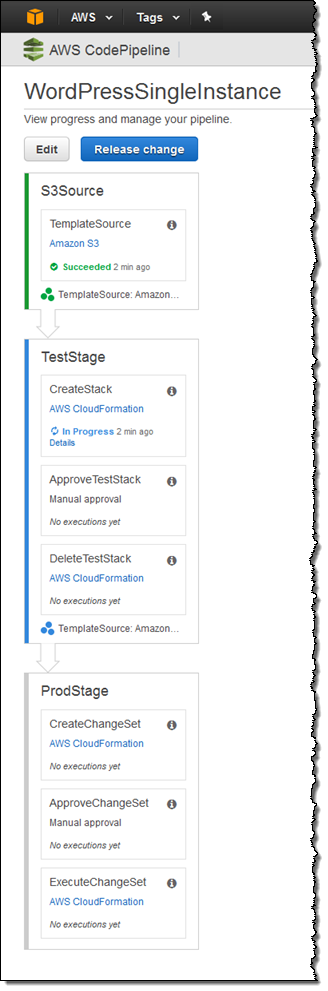
The Action
At this point I have used CloudFormation to set up my pipeline. With the stage set (so to speak), now I can show you how this pipeline makes use of the new CloudFormation actions.
Let’s focus on the second stage, TestStage. Triggered by the first stage, this stage uses CloudFormation to create a test stack:
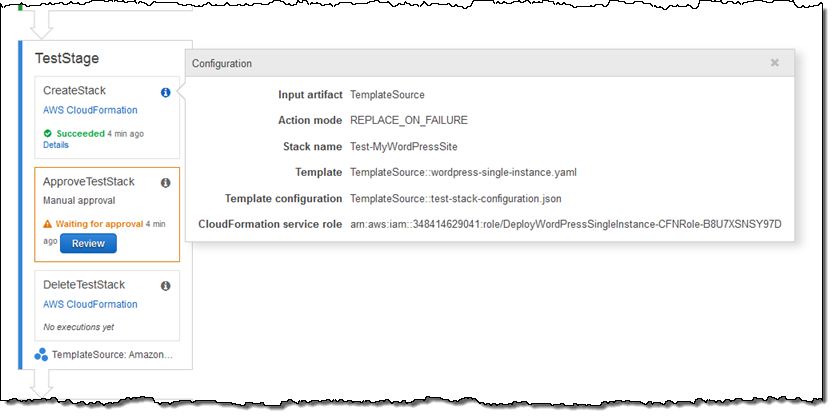
The stack is created using parameter values from the test-stack-configuration.json file in my ZIP. Since you can use different configuration files for each CloudFormation action, you can use the same template for testing and production.
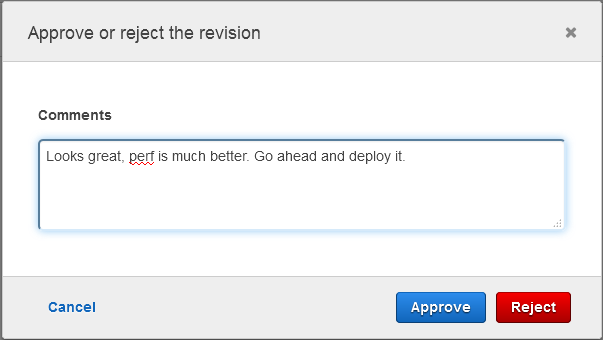
After the stack is up and running, the ApproveTestStack step is used to await manual approval (it says “Waiting for approval above.”). Playing the role of the dev manager, I verify that the test stack behaves and performs as expected, and then approve it:
After approval, the DeleteTestStack step deletes the test stack.
Now we are just about ready to deploy to production. ProdStage creates a CloudFormation change set and then submits it for manual approval. This stage uses the parameter values from the prod-stack-configuration.json file in my ZIP. I can use the parameters to launch a modestly sized test environment on a small EC2 instance and a large production environment from the same template.
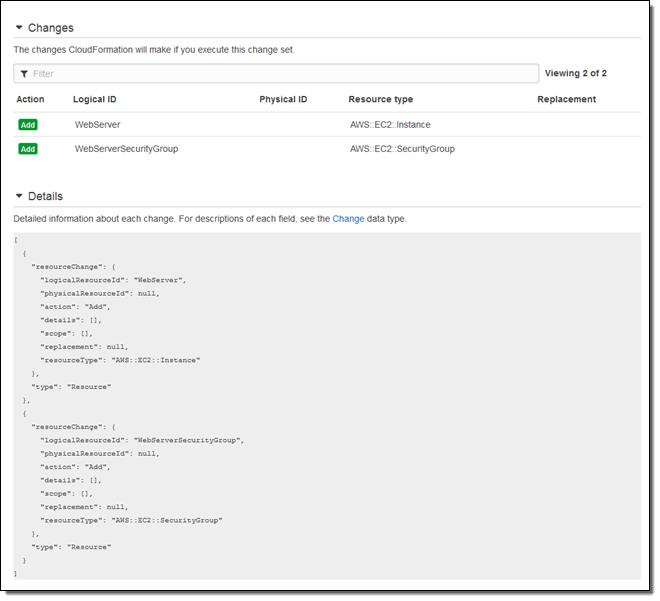
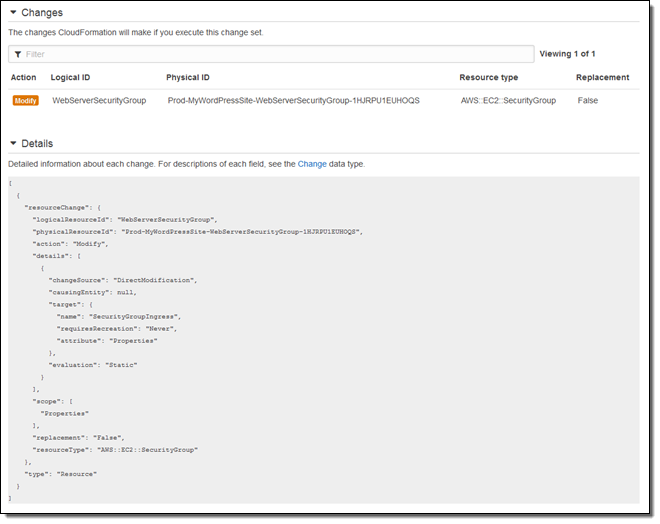
Now I’m playing the role of the big boss, responsible for keeping the production site up and running. I review the change set in order to make sure that I understand what will happen when I deploy to production. This is the first time that I am running the pipeline, so the change set indicates that an EC2 instance and a security group will be created:
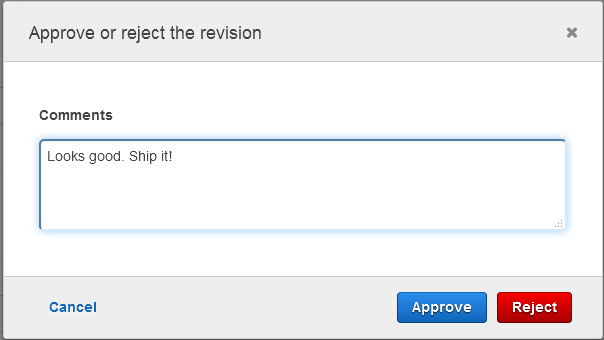
And then I approve it:
With the change set approved, it is applied to the existing production stack in the ExecuteChangeSet step. Applying the change to an existing stack keeps existing resources in play where possible and avoids a wholesale restart of the application. This is generally more efficient and less disruptive than replacing the entire stack. It keeps in-memory caches warmed up and avoids possible bursts of cold-start activity.
Implementing a Change
Let’s say that I decide to support HTTPS. In order to do this, I need to add port 443 to my application’s security group. I simply edit the CloudFormation template, put it into a fresh ZIP, and upload it to S3. Here’s what I added to my template:
- CidrIp: 0.0.0.0/0
FromPort: '443'
IpProtocol: tcp
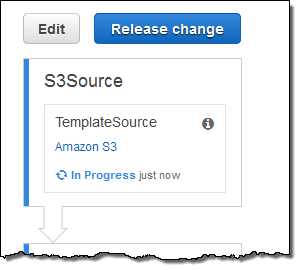
ToPort: '443'Then I return to the Console and see that CodePipeline has already detected the change and set the pipeline in to motion:
The pipeline runs again, I approve the test stack, and then inspect the change set, confirming that it will simply modify an existing security group:
One quick note before I go. The CloudFormation template for the pipeline creates an IAM role and uses it to create the test and deployment stacks (this is a new feature; read about the AWS CloudFormation Service Role to learn more). For best results, you should delete the stacks before you delete the pipeline. Otherwise, you’ll need to re-create the role in order to delete the stacks.
There’s More
I’m just about out of space and time, but I’ll briefly summarize a couple of other aspects of this new capability.
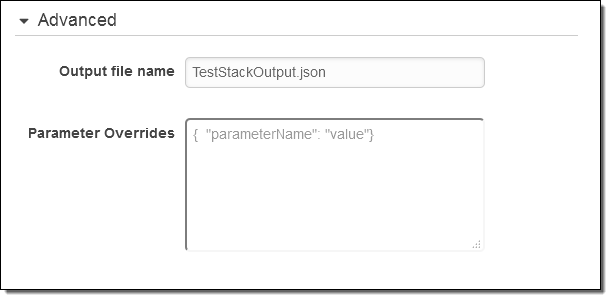
Parameter Overrides – When you define a CloudFormation action, you may need to exercise additional control over the parameter values that are defined for the template. You can do this by opening up the Advanced pane and entering any desired parameter overrides:
Artifact References – In some situations you may find that you need to reference an attribute of an artifact that was produced by an earlier stage of the pipeline. For example, suppose that an early stage of your pipeline copies a Lambda function to an S3 bucket and calls the resulting artifact LambdaFunctionSource. Here’s how you would retrieve the bucket name and the object key from the attribute using a parameter override:
{
  "BucketName" : { "Fn::GetArtifactAtt" : ["LambdaFunctionSource", "BucketName"]},
  "ObjectKey" : { "Fn::GetArtifactAtt" : ["LambdaFunctionSource", "ObjectKey"]}
}
Access to JSON Parameter – You can use the new Fn::GetParam function to retrieve a value from a JSON-formatted file that is included in an artifact.
Note that Fn:GetArtifactAtt and Fn::GetParam are designed to be used within the parameter overrides.
S3 Bucket Versioning – The first step of my pipeline (the Source action) refers to an object in an S3 bucket. By enabling S3 versioning for the object, I simply upload a new version of my template after each change:
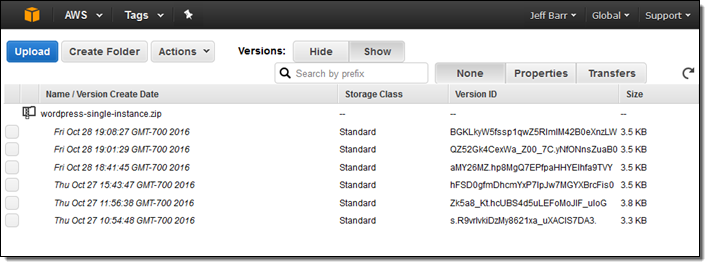
If I am using S3 as my source, I must use versioning (uploading a new object over the existing one is not supported). I can also use AWS CodeCommit or a GitHub repo as my source.
Create Pipeline Wizard
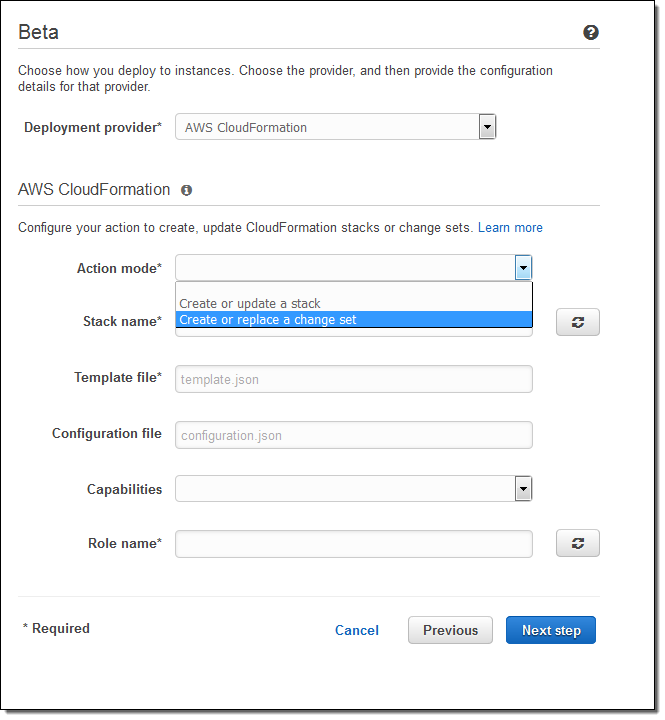
I started out this blog post by using a CloudFormation template to create my pipeline. I can also click on Create pipeline in the console and build my initial pipeline (with source, build, and beta deployment stages) using a wizard. The wizard now allows me to select CloudFormation as my deployment provider. I can create or update a stack or a change set in the beta deployment stage:
Available Now
This new feature is available now and you can start using it today. To learn more, check out the Continuous Delivery with AWS CodePipeline in CodePipeline Documentation.
— Jeff;